parve

Matbucha

fullsizeoutput_a219.jpeg

Spring has sprung and for me, that means more salad.

So I got to thinking about that word salad, which I realize means so many things that I was never able to fit all of my salad recipes into a file folder simply marked “salad.” I had to sub-categorize them into files such as “grain salads,” “tomato salads,” “fruit salads” and so on.

Over the years I’ve made salads of all sorts. Some based mostly on greens and some that had no greens at all.

I’ve made beet salads, dinner salads, fish salads and quinoa salads.

I could go on. But really, there is no one way to describe “salad,” even though a dictionary might say something like “a mixture of raw and cooked vegetables served with dressing.”

No.

Because recently I prepared some Matbucha, which is an entirely different salad category.

Matbucha is a “salade cuit” — that is, “cooked salad.” In fact the word Matbucha, is an Arabic word that means “cooked salad".”

Cooked salad may seem odd to Western thinking except for the fact that most of us actually eat lots of cooked salads, such as potato salad and egg salad too. We just don’t think of them as “cooked salads,” but that’s what they are.

Matbucha is a Moroccan dish, especially popular in the Moroccan Jewish community, which was once large and thriving in North Africa. When good numbers of Moroccan Jews migrated to Israel, they brought their love of this dish with them and it is now wildly popular in Israel too.

For good reason: Matbucha is vibrantly tasty, easy to cook and is ideal for Shabbat because, even though it’s cooked, you can serve it at room temperature. Use it as a salad course or as a side dish with dinner. I’ve always served it with hors d’oeuvre, as a topping for crackers or pita wedges (it works well with other Middle Eastern nibbles and dips such as hummus, raheb, baba ghanoush and so on).

You can make Matbucha 3-4 days ahead. That’s handy isn’t it?

Matbucha

  • 2 large red bell peppers

  • 3 tablespoons olive oil

  • 1 serrano pepper, deseeded and chopped

  • 2 large cloves garlic, finely chopped

  • 6 medium tomatoes peeled and finely chopped

  • 1-1/2 teaspoons paprika

  • 1 teaspoon sugar

  • 1/2 teaspoon salt or to taste

Preheat the broiler. Place the peppers under the broiler, about 4-6" away from the heat, and broil for 2-3 minutes, until the skin has blistered. Turn the peppers and repeat this process until the entire surface is blistered and lightly charred. Remove the peppers and place them in a paper bag. Let rest at least 10 minutes. Remove the peppers from the bag, peel off the skin and discard the stem and the seeds. Cut the peppers into pieces. Heat the olive oil in a large saucepan over medium heat. Add the peppers, serrano pepper and garlic and cook for 2-3 minutes. Add the tomatoes, paprika, sugar and salt. Bring to a simmer over medium-high heat. Cook for 30-35 minutes, until most of the liquid has evaporated and the mixture is thick.

 Makes 1-1/2 to 2 cups


Wine-Poached Pears

fullsizeoutput_a0f0.jpeg

Purim is a loud, raucous, festive, hilarious holiday. Although its origins are somber - Haman’s attempt to annihilate the Jews of ancient Persia - it didn’t end so well for him. But it did for us and, in keeping with the victory we celebrate!

It’s been one of the traditions of Purim for adults to, let’s say, make merry by imbibing in more alcohol than usual. In fact, some say, we are told to become intoxicated with wine, based on a statement in the Talmud by Rava, a fourth century rabbi, who said:

”A person is obligated to become intoxicated with wine on Purim until he is so intoxicated that he does not know how to distinguish between cursed is Haman and blessed is Mordecai.”

And so, on Purim, count on the fact that wine will be on the menu somewhere.

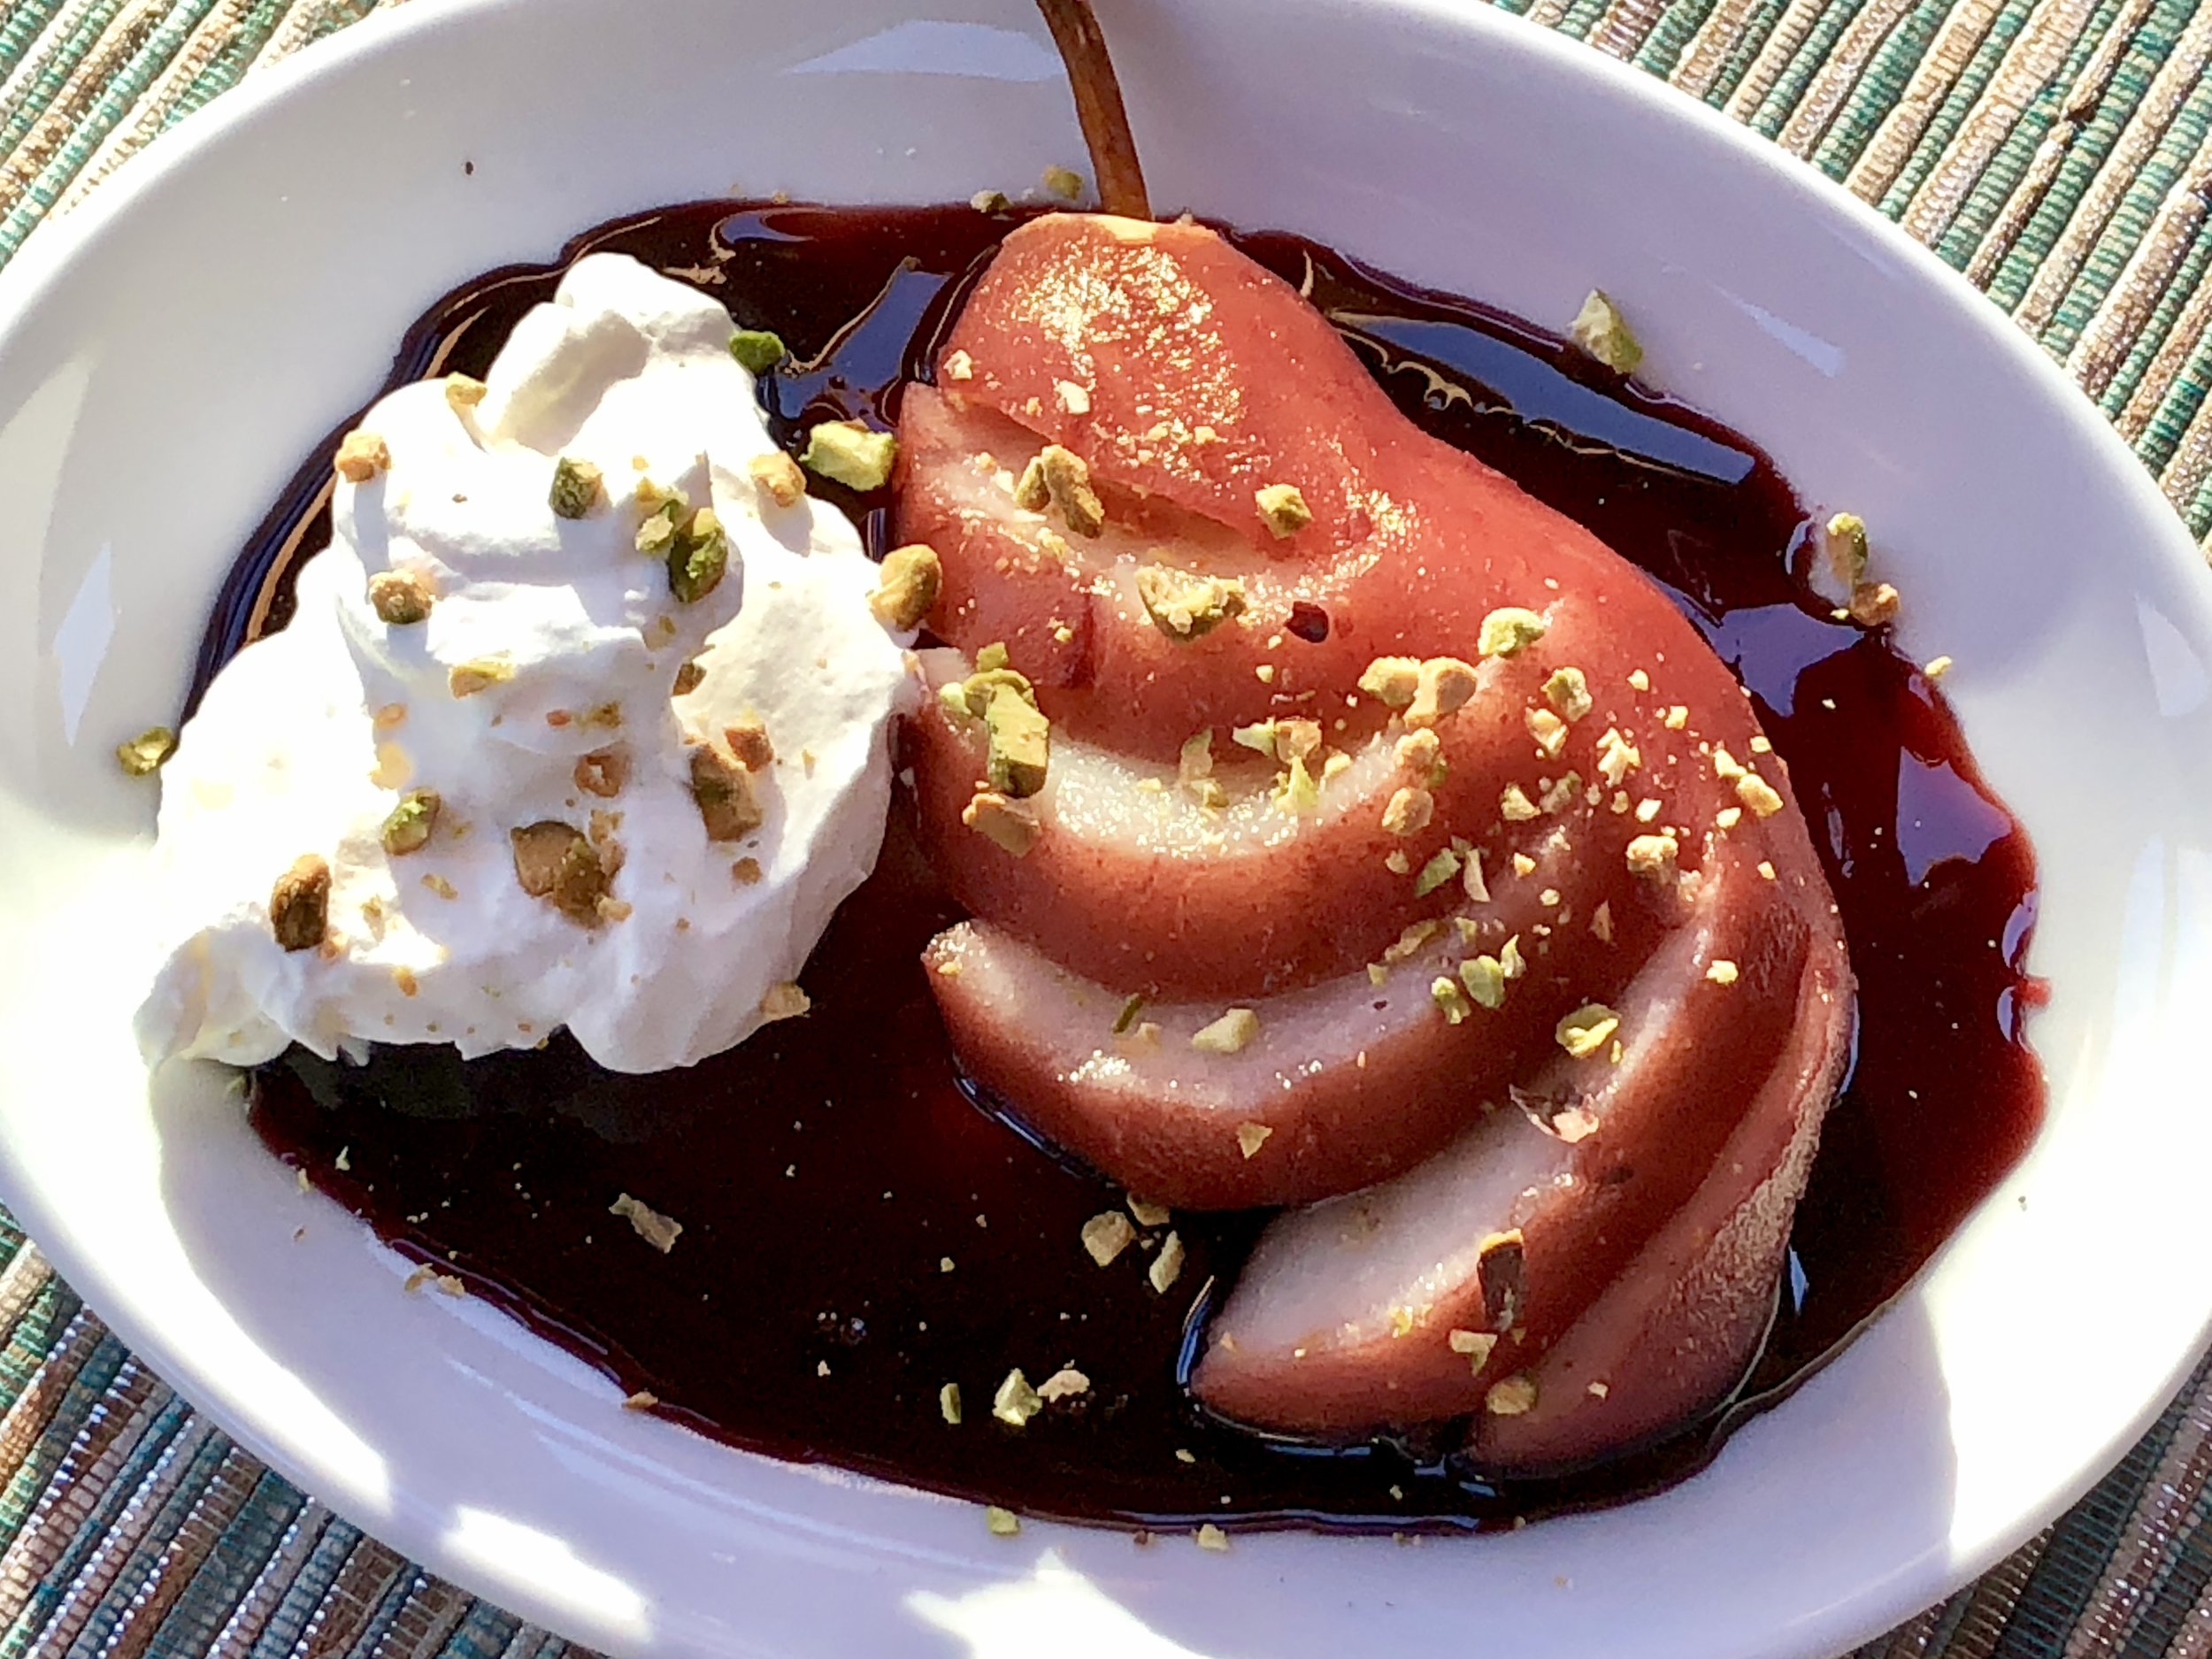
This year I decided that wine would appear on my dessert menu. I’ll poach some seasonal pears (I prefer comice or bartlett) in a hearty, aromatic wine-based sauce. I’ve made this dessert many times (tastes different each time of course because I use a different wine).

You can make it a day or so ahead; store everything in the fridge. Serve it with the sauce, strained and boiled down to a velvety finish, and maybe a garnish of whipped cream, ice cream or sorbet. Or just by itself.

Wine- Poached Pears

  • 2-1/2 cups red wine

  • 1-1/2 cups water

  • 1 cup sugar

  • peel from one orange

  • 2 2-inch strips of lemon peel

  • 1 cinnamon stick, about 4" long

  • 12 whole allspice

  • 4 cardamom pods, slightly crushed (or use 2 tablespoons chopped crystallized ginger)

  • 3-4 pears, preferably comice or bartletts

  •  whipped cream, optional

  • crushed pistachio nuts for garnish (or use toasted coconut or fresh chopped mint), optional

Combine the wine, water, sugar, orange peel, lemon peel, cinnamon stick, allspice and cardamom pods in a stainless steel, pyrex, enamel or other non-reactive saucepan. Bring the mixture to a boil, then lower the heat and simmer the ingredients for 5-6 minutes. While the sauce is cooking, peel the pears and cut them in half. Remove the core and seeds. When the sauce has simmered for 5 minutes, immerse the pear halves and cook them for about 4-5 minutes or until they are barely tender. Remove the pan from the heat; let the pears cool in the liquid. Remove the pears. Strain the poaching liquid and return the plain liquid to the saucepan. Boil the liquid over high heat for several minutes until it has reduced to a syrupy consistency.  Let the liquid cool. When ready to serve, spoon some of the syrup on dessert plates and top each with a pear half. Serve with whipped cream, if desired, and garnish with a sprinkle of crushed pistachio nuts.

Makes 6-8 servings

Banana Bread with Orange Flavor

fullsizeoutput_8860.jpeg

Once again I was loaded down with bananas. We had sleepover guests for New Year’s weekend and I bought a lot of fruit. Too many bananas as it turns out.

Which is fine, because I love baking new versions of banana bread.

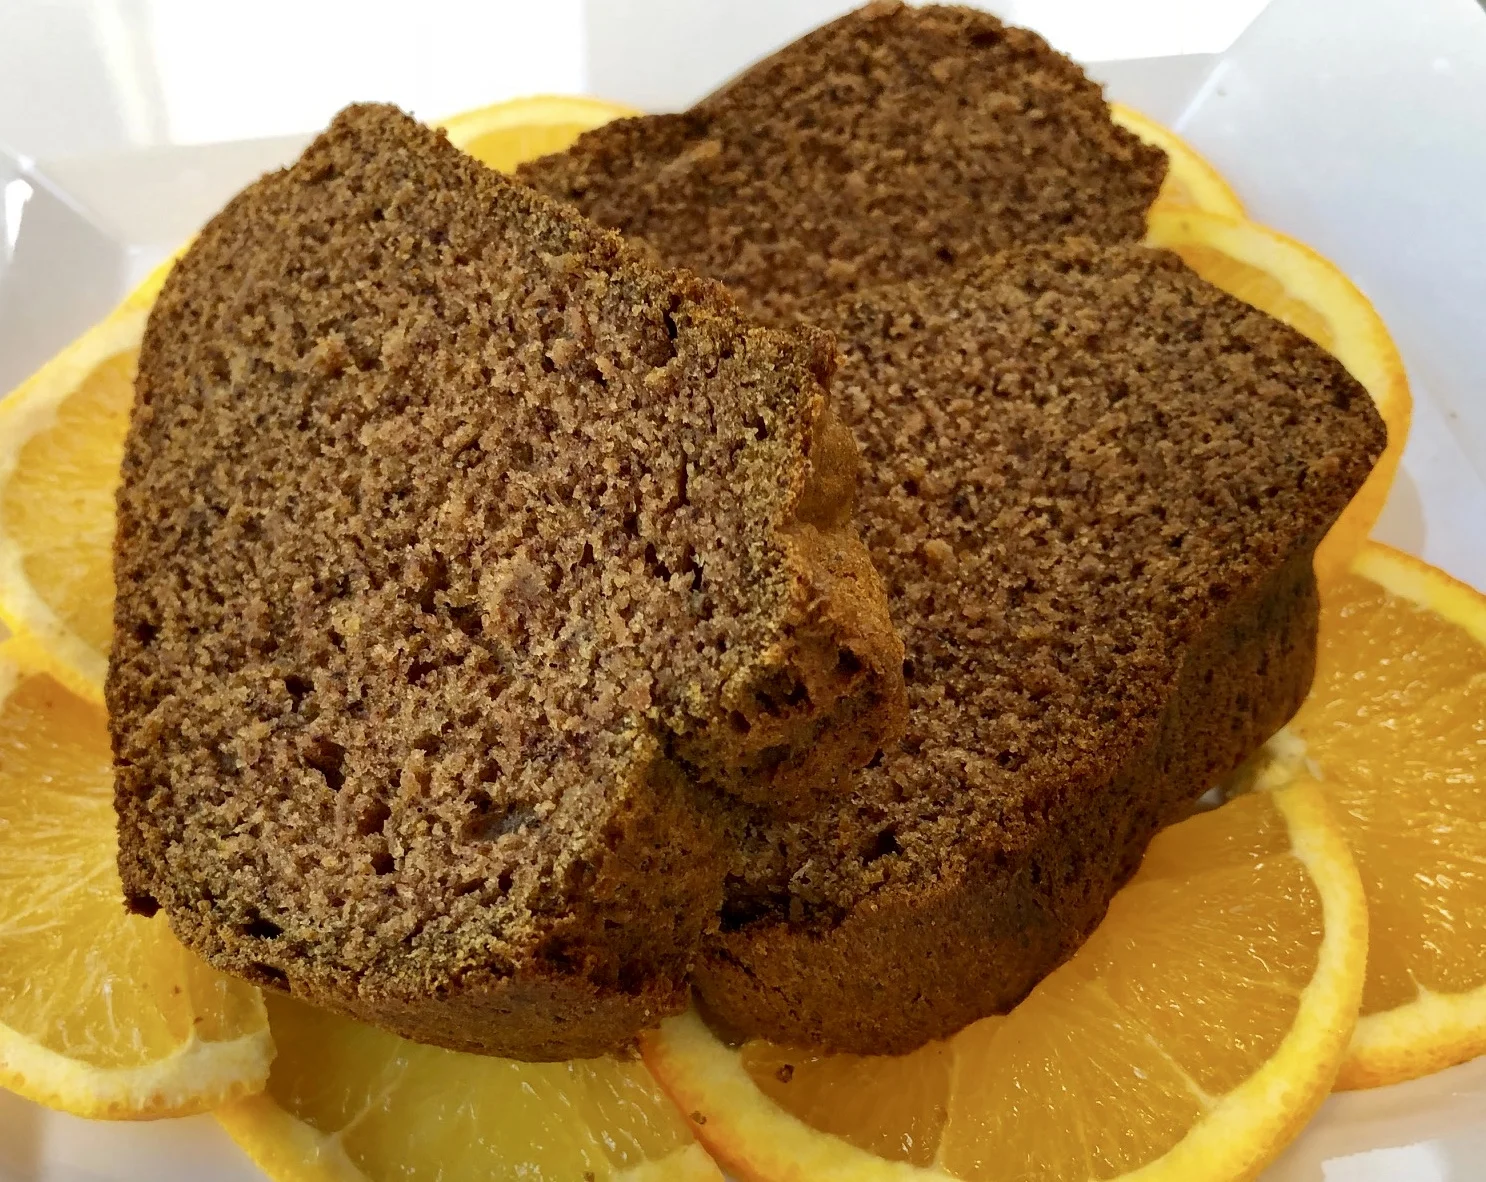
If you read my blog you know I hate to waste food. So for me, this particular recipe is really good because it’s a three-fer. Not only did I get to use up the bananas, I also was able to use fresh orange peel from some of the fruit I squeezed for juice. And I used up the date sugar I had in my cabinet (although this recipe is also fine with brown or white sugar as well).

The added citrus peel gives this bread a perky citrus taste. A refreshing thing, much needed in the gloom of January.

Because it isn’t very sweet, this is also especially good as a breakfast or brunch bread. You can use it to make cream cheese sandwiches too.

Banana Bread with Orange Flavor

  • 2-1/2 cups all-purpose flour

  • 1 tablespoon grated fresh orange peel

  • 2 teaspoons baking soda

  • 1 teaspoon salt

  • 1 cup vegetable shortening

  • 1 cup date sugar

  • 4 ripe bananas, mashed

  • 4 large eggs

  • 1 teaspoon vanilla extract

Preheat the oven to 350 degrees. Grease and flour a 10-cup bundt pan. Mix the flour, orange peel, baking soda and salt in a bowl. In the bowl of an electric mixer set at medium speed, beat the shortening and date sugar until well blended. Add the bananas and beat them in thoroughly. Add the eggs and vanilla extract and beat them in thoroughly. Add the flour mixture and beat for a minute or so until the batter is well blended. Pour the batter into the prepared pan and bake for about one hour or until a cake tester inserted into the center comes out clean. Remove from the oven and let cool in the pan for 15 minutes. Remove to a cake rack to cool completely.

Makes one bread, serving 16-18


Beet Tarte Tatin

fullsizeoutput_889a.jpeg

Every New Year’s Eve my brother and sister-in-law come over for the day, my cousins sleep over for a couple of days. We start our celebration early with a round of drinks and hors d’oeuvre. A few hours later we have another round of drinks and hors d’oeuvre.

No dinner.

We have dessert much later, near midnight. The anticipation of something sweet helps keep us up so we can watch the ball drop and then go to bed.

Some of the hors d’oeuvre I serve are fancy, some plain; some homemade, some from a package (like the Spring Valley or Hebrew National franks-in-blankets that everyone loves).

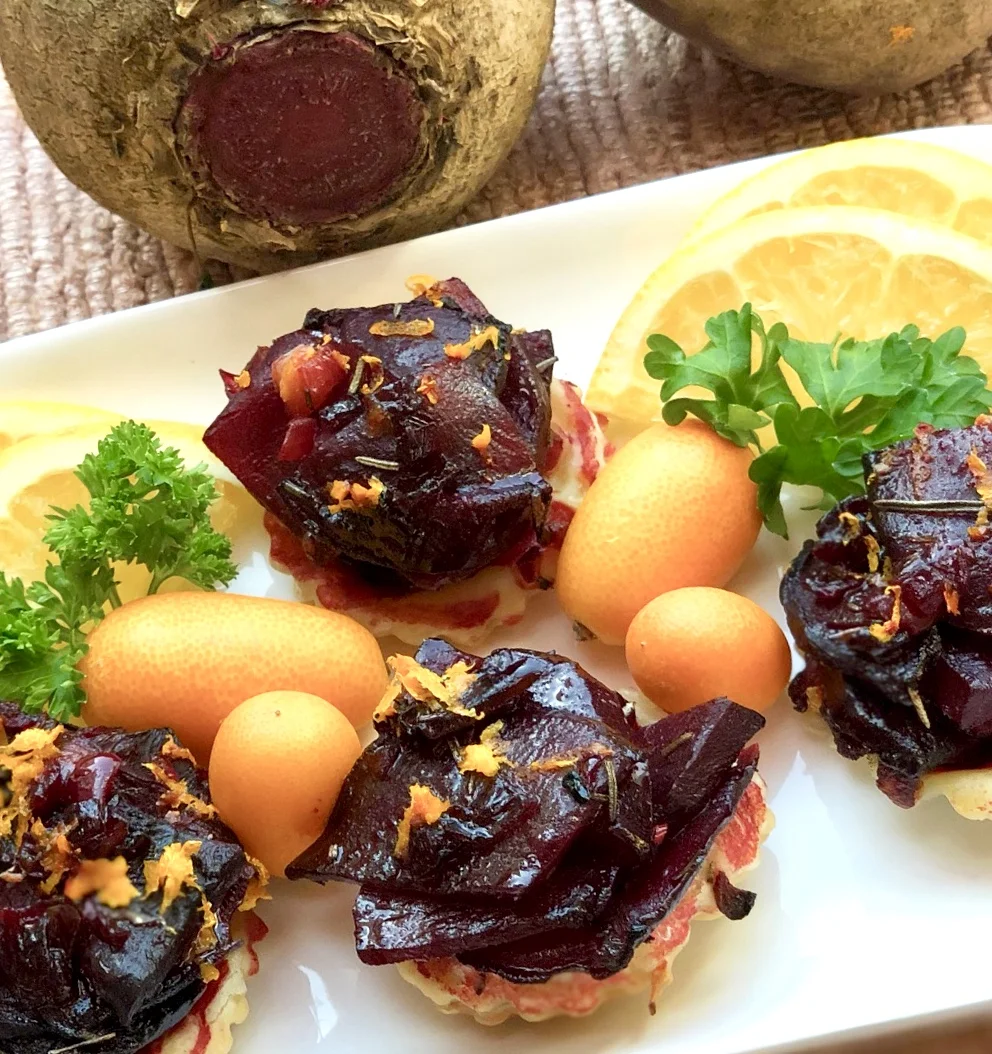
A while ago I read a blog post about Beet tarte tatins and was inspired to make some because they looked and sounded so appealing. I made up my own recipe, tried it a few times and decided that they would be perfect as one of the fancies at this year’s New Year get-together.

I wrote down whose blog it was, so I could credit her with the inspiration, but I can’t find the paper and forgot the name.

But — to that wonderfully creative person who alerted me to beet tarte tatin —- thank you.

Here’s my recipe.

Beet Tarte Tatins

  • 2 tablespoons olive oil

  • 1 large beet (8-10 ounces)

  • 2 small chopped shallots or 1/3 cup chopped red onion

  • 1 teaspoon Mirin (rice vinegar)

  • 1 teaspoon brown sugar

  • 1 teaspoon crushed, dried rosemary (or 2 teaspoons chopped fresh rosemary)

  • salt to taste

  • 1/2 pound puff pastry

  • 2 teaspoons grated fresh orange peel

Preheat the oven to 350 degrees. Use a small amount of the olive oil to brush the insides of 6 muffin tins. Peel the beet and cut it into thin slices, then cut the slice to make them small enough to fit inside the muffin tins. Place the cut beet slices in a bowl. Add the shallots and toss the ingredients. In another small bowl, whisk together the remaining olive oil, Mirin and brown sugar and pour the dressing over the beet mixture. Sprinkle with the rosemary and salt and spoon equal amounts of the beet mixture inside the muffin tins. Cover the filled tins with aluminum foil and bake for 30 minutes. Remove the tin from the oven. Raise the oven heat to 400 degrees. Cut out 6 circles from the puff pastry to cover the top of the muffin tins. Place over the beets. Bake for another 20 minutes or until the pastry is puffed and golden brown. Carefully spoon each beet mixture from the bottom and turn it over onto a dish so that the pastry is at the bottom. Spoon any remaining beets that do not come up and place them on the tarte tatins. Garnish with the orange peel and serve (may be served hot or at room temperature).

Makes 6

Barley with Carrots, Raisins and Almonds

fullsizeoutput_92d5.jpeg

For me, the appeal of winter foods is their ability make me feel warm and well-nourished. I don’t expect them to be gorgeous. When I look at dishes such as beef stew or a beloved chicken-and-soup, I don’t see art, I see safety and memory and the expectation of comfort.

This is why, when winter comes, I look for side dishes or desserts or an appetizer that can provide some color or add some beauty to the entree or the meal.

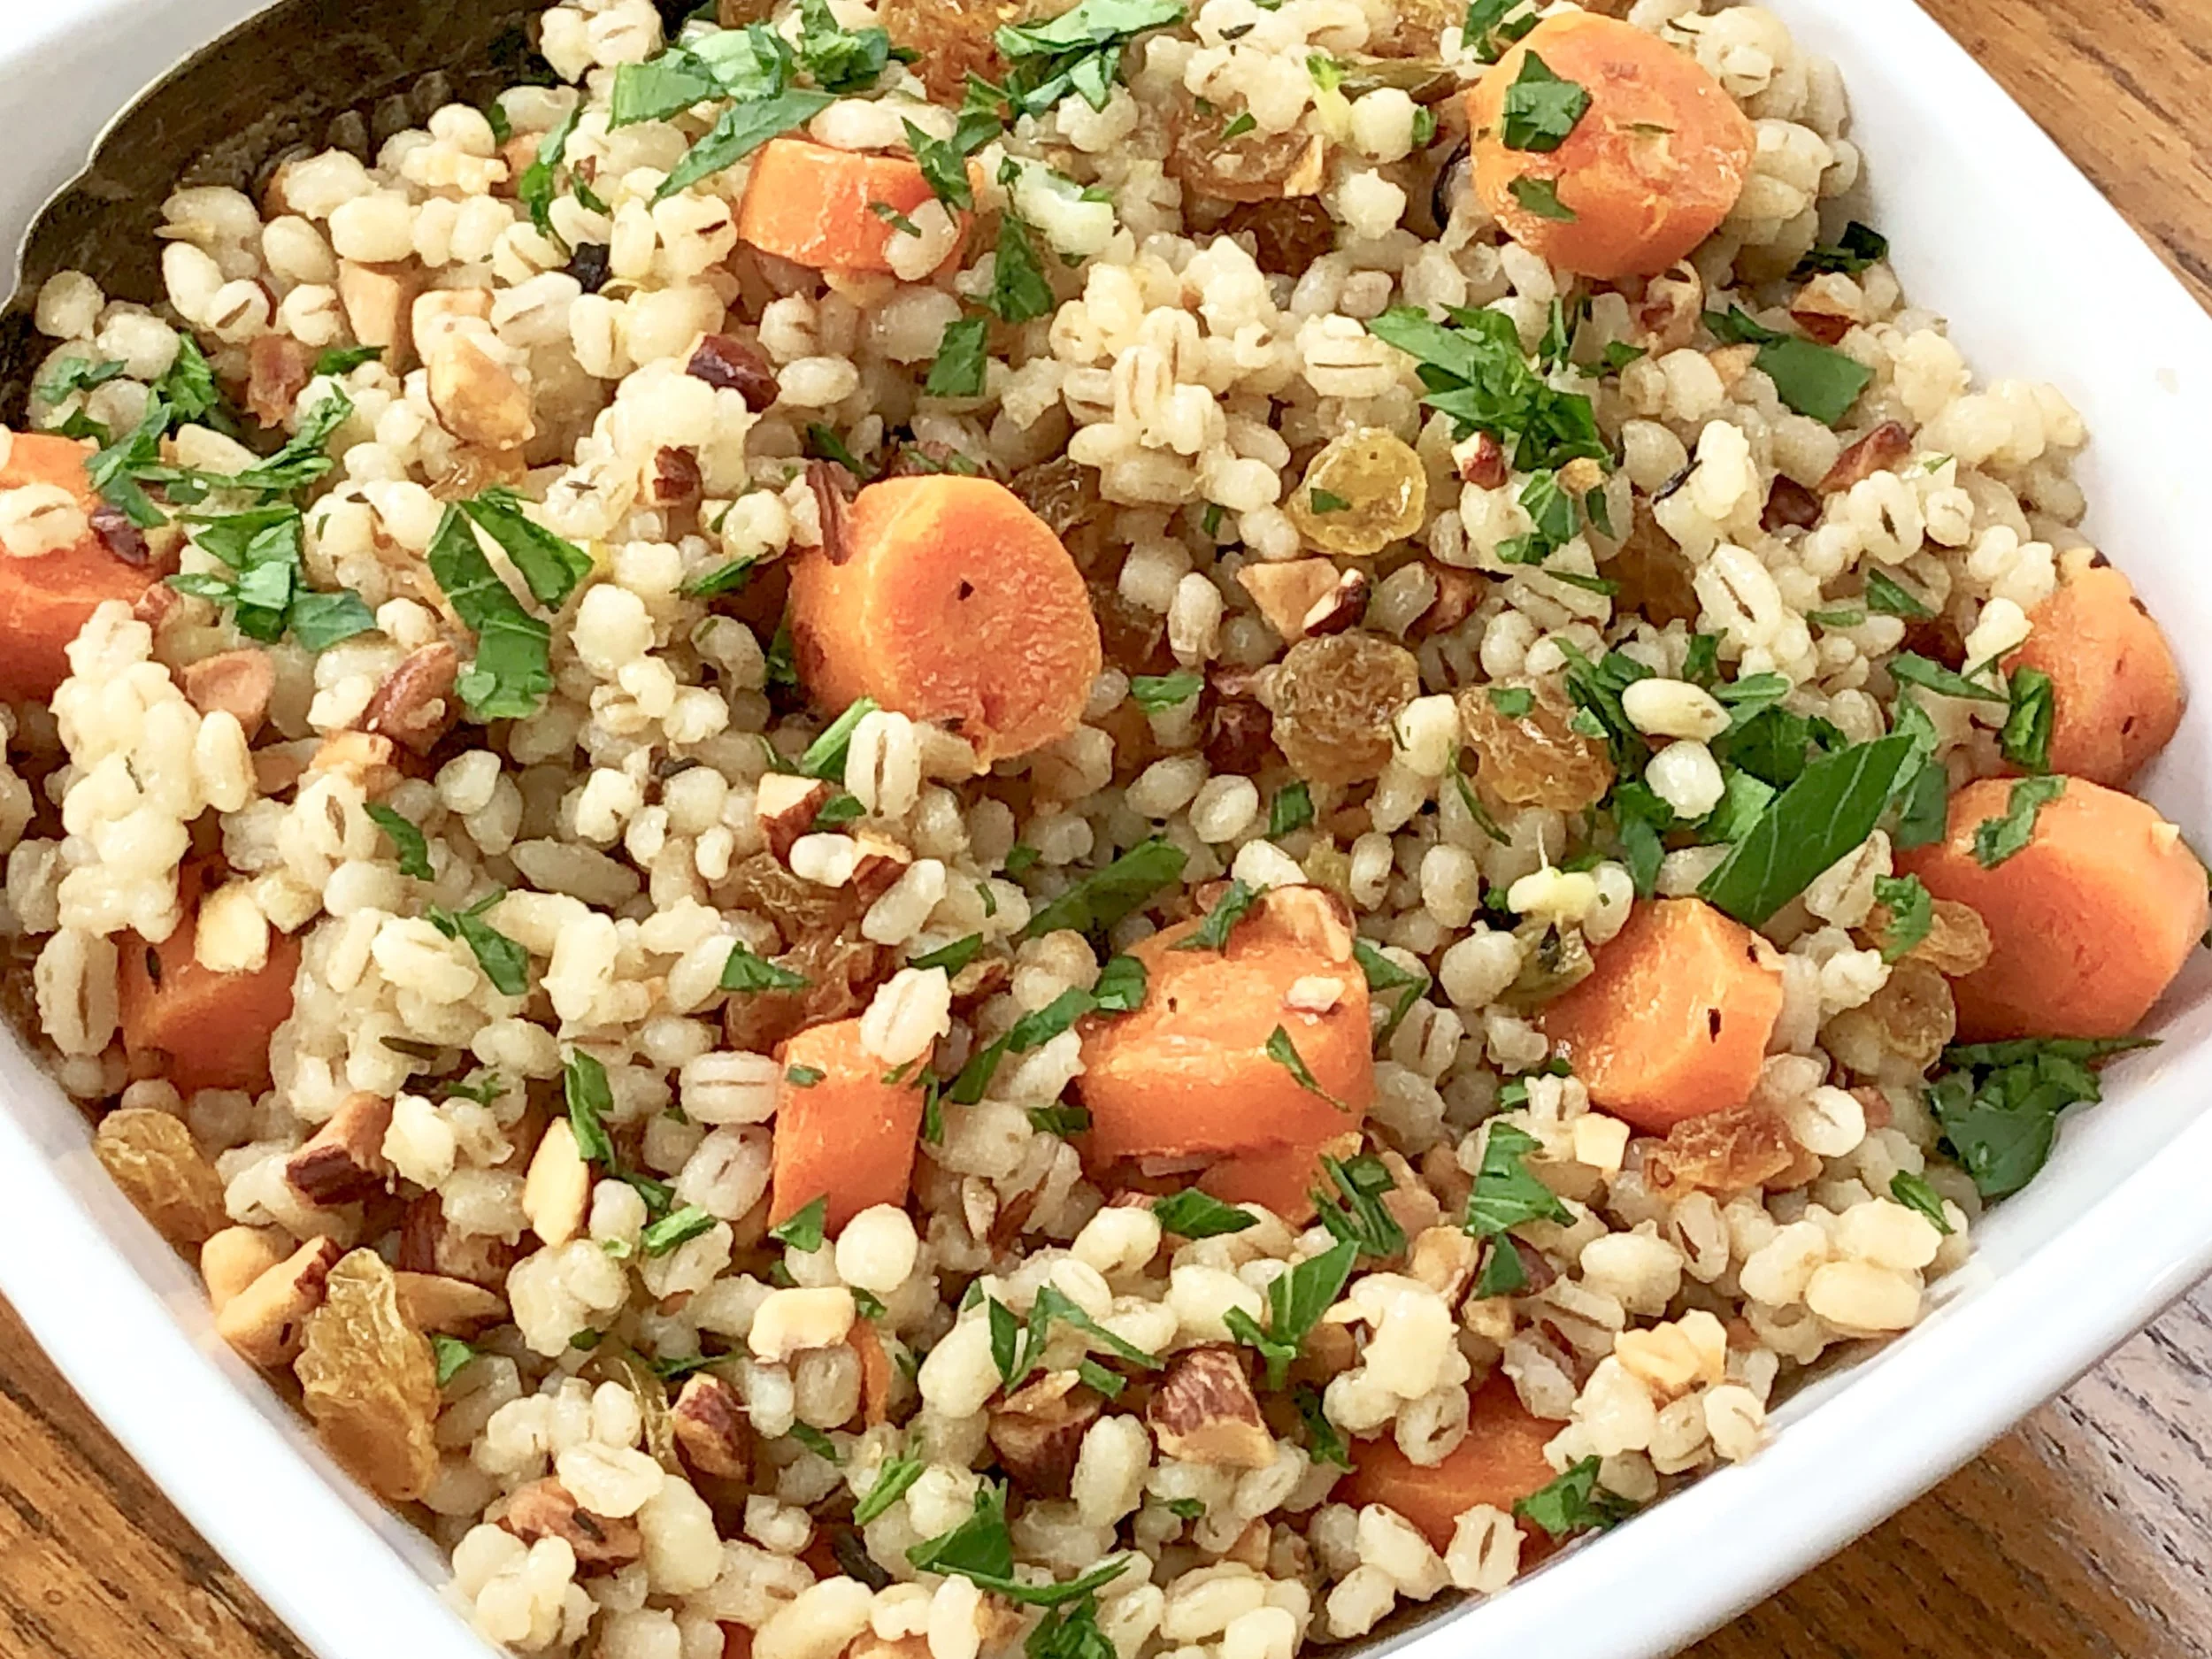
This barley casserole fits the bill. It’s a substantial side dish that works with meat, fish and poultry, with stews and hearty winter casseroles and for vegetarian meals too. It’s colorful and makes for an attractive addition to a winter dinner.

Barley with Carrots, Raisins and Almonds

  • 2 tablespoons olive oil

  • 2-3 carrots, sliced 1/2-inch thick

  • 3-4 scallions, chopped

  • 1 cup pearled barley

  • 2-1/2 cups vegetable stock

  • salt and freshly ground black pepper to taste

  • 1-1/2 teaspoons chopped fresh thyme

  • 1/2 cup golden raisins

  • 1/2 cup chopped toasted almonds

  • 2 tablespoons chopped fresh parsley

Heat the olive oil in a sauté pan over medium heat. Add the carrots and scallions and cook for about 2 minutes. Add the barley and cook for another 2 minutes, stirring often. Pour in the stock and add the salt, pepper and thyme. Stir, bring to a boil, lower the heat, cover the pan and simmer for about 50 minutes or until all the liquid has been absorbed. Stir in the raisins and almonds and toss gently to distribute the ingredients evenly. Cover the pan and let rest for 5 minutes. Spoon into a serving bowl and sprinkle with parsley.

Makes 6-8 servings


Mashed Potatoes, Two Ways (dairy-free and dairy-loaded)

fullsizeoutput_82a2.jpeg

In our nuclear family of 11, there are the pro-potato people and the no-potato people.

I am a top level pro-potato person.

And as you can see from the photos, so are two of my grand daughters, who helped me make some mashed potatoes for dinner a while ago.

The recipe we made was a butter-cream-cheese-sour-cream indulgence. (It could be a meal in itself!) But we’ve also made dairy-free versions. Pro-potato people like it all ways.

Are mashed potatoes on your menu for Thanksgiving? If so — or any other time — check out both recipes, dairy-loaded and dairy-free.

dairy-loaded Mashed Potatoes

  • 2 pounds boiling potatoes (such as Yukon Gold)

  • 4 tablespoons butter, cut into chunks

  • 4 tablespoons cream cheese, cut into chunks

  • 1/2 cup dairy sour cream

  • 1/4 cup warm milk, approximately

  • salt and freshly ground black pepper to taste

Peel the potatoes and cut them into chunks. Cook them in lightly salted simmering water for about 20 minutes or until tender. Drain and return the potatoes to the pan. Cook briefly over low heat to evaporate the excess moisture. Mash the potatoes with a ricer or potato masher. Add the butter and cream cheese and mash them in thoroughly until the butter and cheese are completely blended in. Add the sour cream and blend in thoroughly. Mix in enough milk for desired consistency. Season to taste with salt and pepper.

Makes 6 servings


DAIRY-FREE Mashed Potatoes

  • 5 medium all-purpose potatoes such as Yukon Gold

  • 1/4 cup olive oil

  • 1 small onion, chopped

  • 1 large clove garlic, chopped

  • 3 tablespoons lemon juice

  • 3 tablespoons chicken or vegetable stock

  • salt to taste

  • pinch or two of cayenne pepper

  • 3 tablespoons fresh bread crumbs

Preheat the oven to 400 degrees. Peel the potatoes, cut them into chunks and cook them in lightly salted water for about 15 minutes, or until they are fork tender. While the potatoes are cooking, heat the olive oil in a sauté pan and add the onion. Cook, stirring occasionally, for about 3 minutes, then add the garlic. Cook for another 1-2 minutes, or until the vegetables are beginning to brown. Set aside. Drain the potatoes and mash them with a ricer or potato masher until the lumps have disappeared. Add the vegetables and olive oil and stir them in gently. Stir in the lemon juice, stock, salt and the cayenne pepper. Place the mixture in a baking dish. Sprinkle with the bread crumbs. Bake for 10-15 minutes or until the top is crispy and brown.

Makes 6 servings

Roasted Bell Pepper Soup

fullsizeoutput_9534.jpeg

I’ve lived most of my life in Connecticut and so I am used to cold winters, snow and all that comes with it. I don’t mind really. I actually love the change of seasons and think it makes life more interesting.

But it’s those first days of chill that take some getting used to as we transition from summer’s heat and the gradual change of temperature when autumn comes..

Those are soup days.

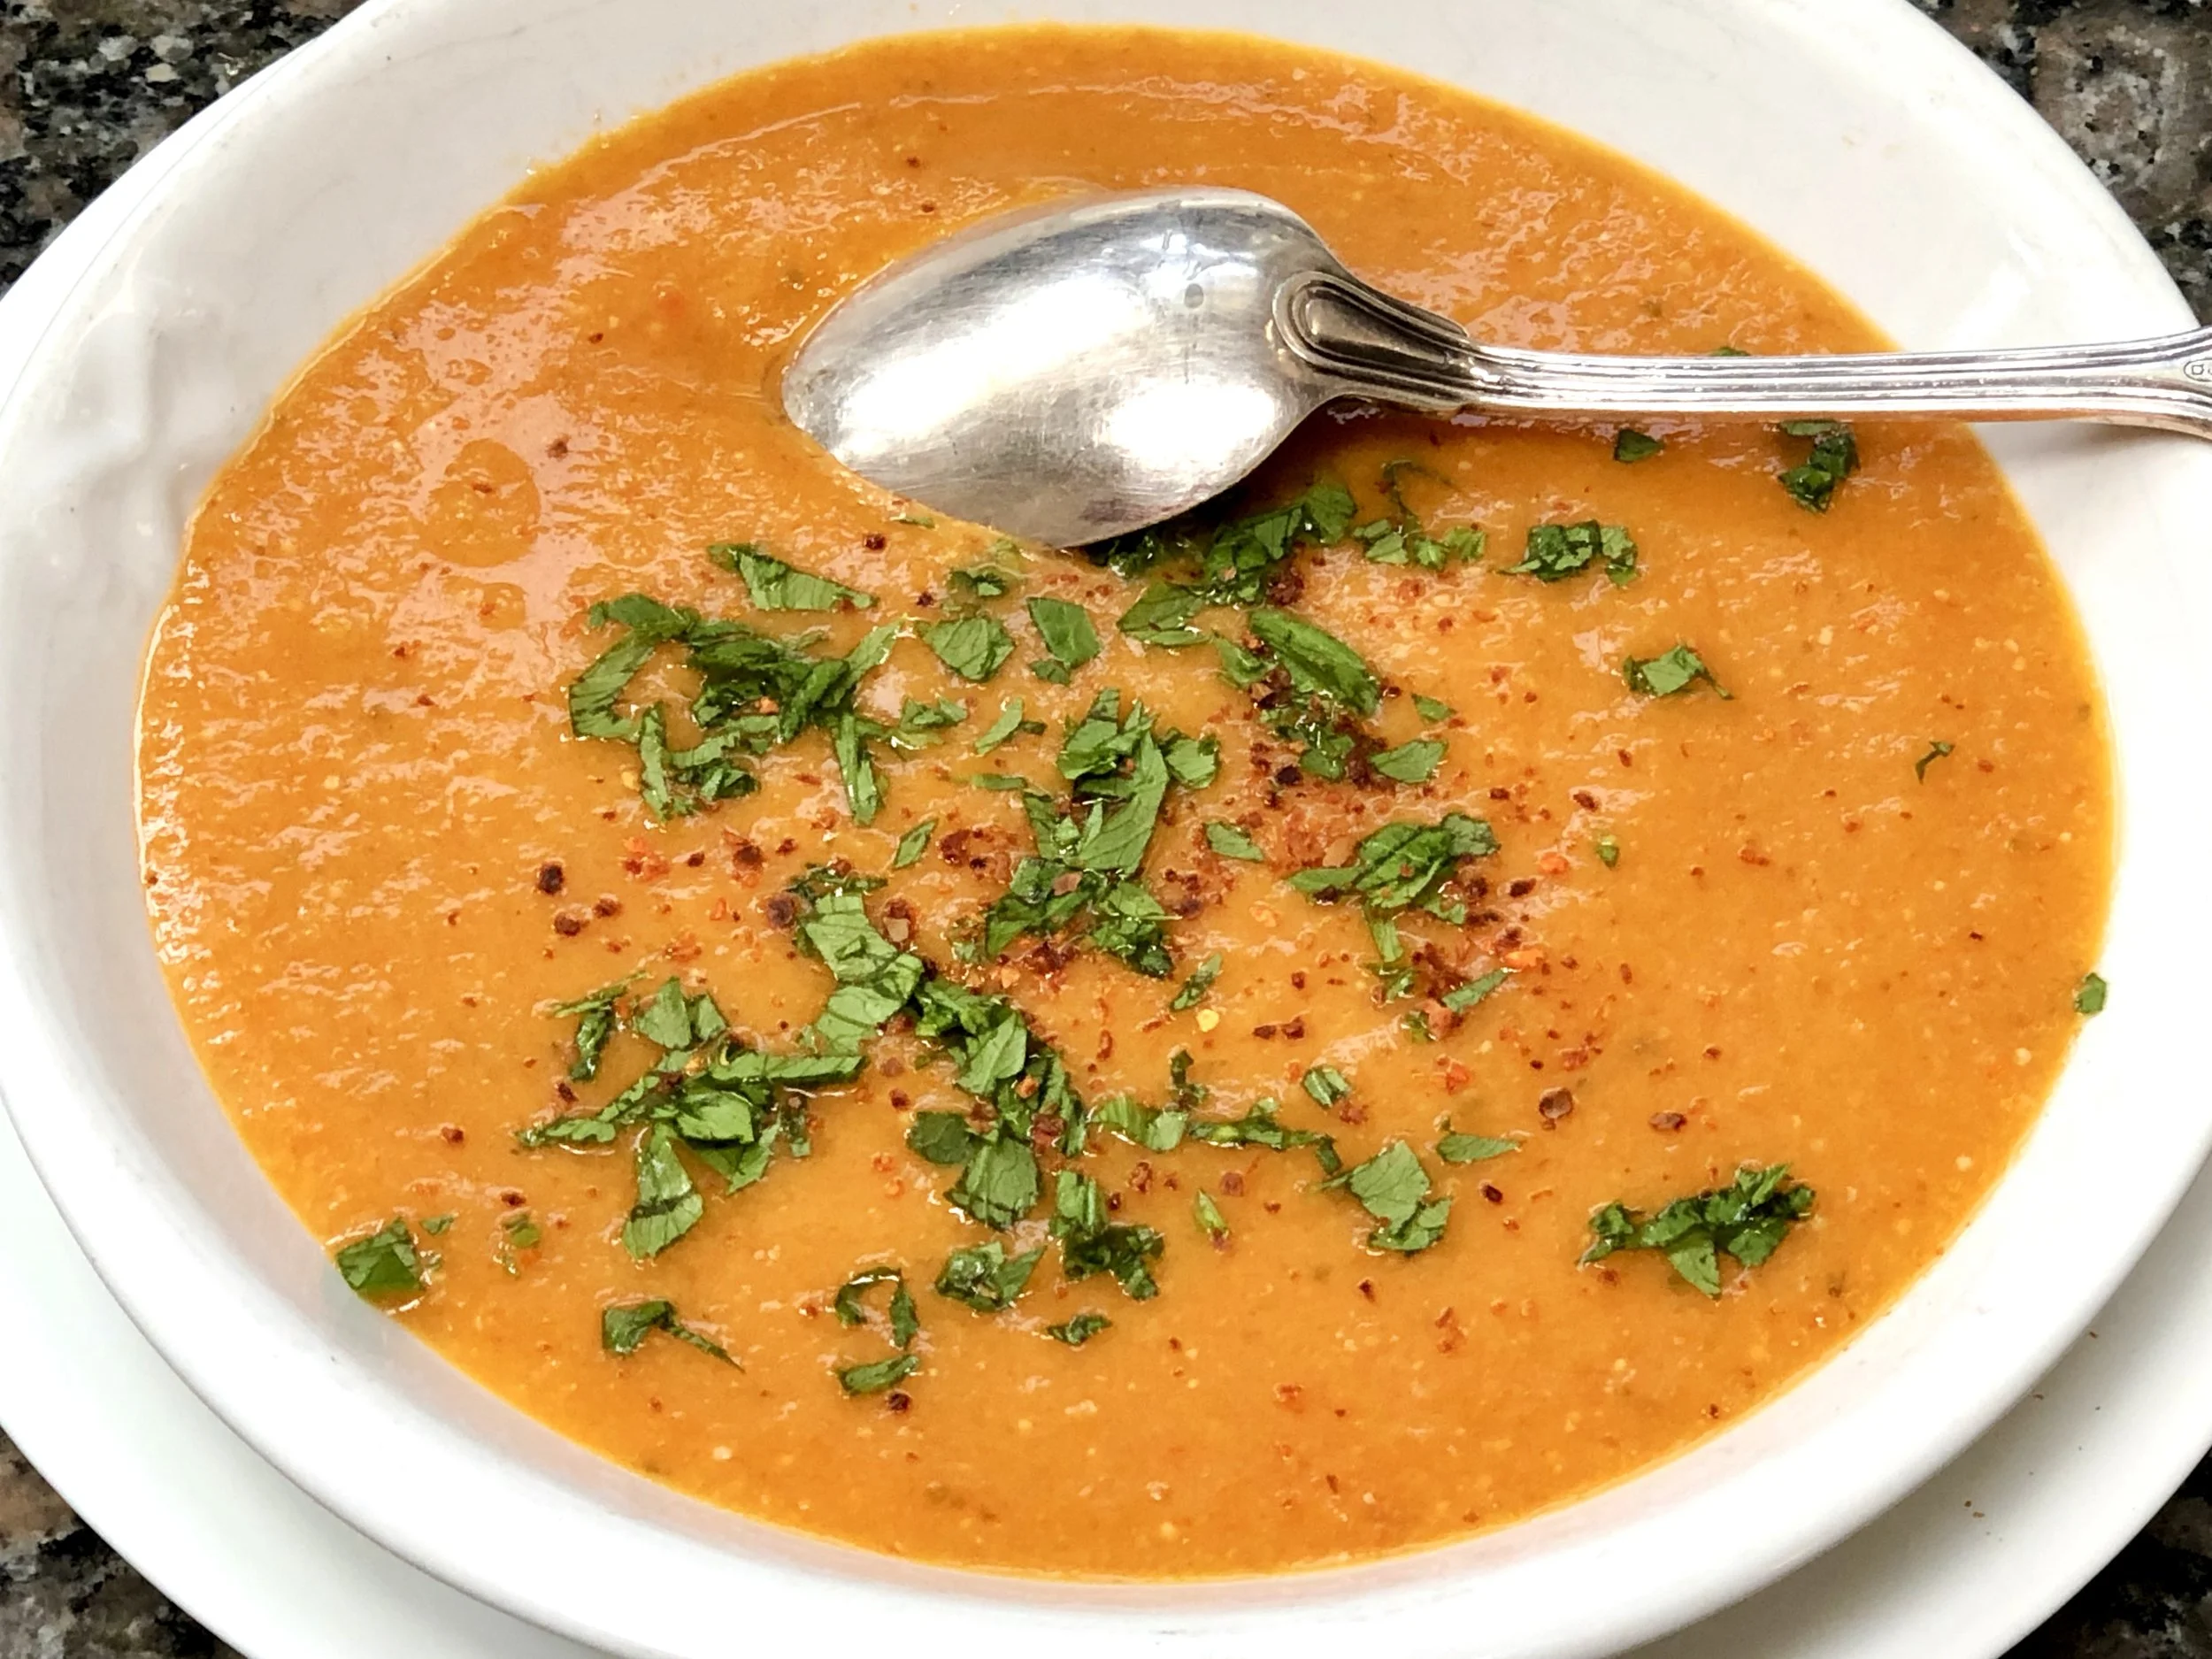
I recently made this Roasted Red Pepper soup. It’s exactly what’s needed when the weather turns.

Also makes a good first course for Thanksgiving dinner.

Roasted Red Pepper Soup

  • 5-6 sweet red, orange and/or yellow bell peppers

  • 2 tablespoons olive oil

  • 1 small onion, chopped

  • 1 carrot, chopped

  • 1 stalk celery, chopped

  • 1 tablespoon freshly minced parsley plus more for garnish if desired

  • 1/3 cup raw white rice

  • 5 cups vegetable stock (or chicken stock)

  • 1-1/2 teaspoon salt or to taste

  • freshly ground black pepper

Preheat the broiler. Place the peppers under the broiler, about 4-6" away from the heat. Broil for 2-3 minutes, until the skin has blistered. Turn the peppers and repeat this process until the entire surface is blistered and lightly charred. Remove the peppers and place them in a paper bag. Let rest at least 10 minutes. Remove the peppers from the bag, peel off the skin and discard the stem and the seeds. Cut the peppers into pieces. 

Heat the olive oil in a large saucepan over medium heat. Add the onion, carrot, celery and parsley. Cook, stirring occasionally for 3-4 minutes or until the vegetables have softened. Stir in the rice. Add the peppers and stock. Season to taste with salt and pepper. Bring the mixture to a boil, lower the heat and cook at a simmer for 25 minutes. Puree in a food processor or blender.

Makes 6 servings

Chocolate-Banana-Applesauce Cake

fullsizeoutput_97d5.jpeg

When I was a kid my mother sometimes made macaroni-and-cheese using somewhat older, hard-around-the-edges American cheese that didn’t look fit to eat. I thought it was appalling.

But she told me that these cheese wasn’t spoiled, just hard because maybe it wasn’t wrapped quite so well, and that in any event she would never make any dish for us using an ingredient that could be harmful.

Of course.

And also, why waste perfectly good cheese that’s going to melt anyway. So if it isn’t perfect to eat cold, as is, it is perfectly fine for macaroni and cheese.

And it was. She made delicious macaroni and cheese.

My children are appalled if I use an ingredient that’s past its sell-by/expiration date. I feel the same way my mother did. I would never use an ingredient that is spoiled or harmful. But some of those expiration dates are meant more as a “use them soon because the flavor or texture won’t be perfect” than “do not eat this EVER!”

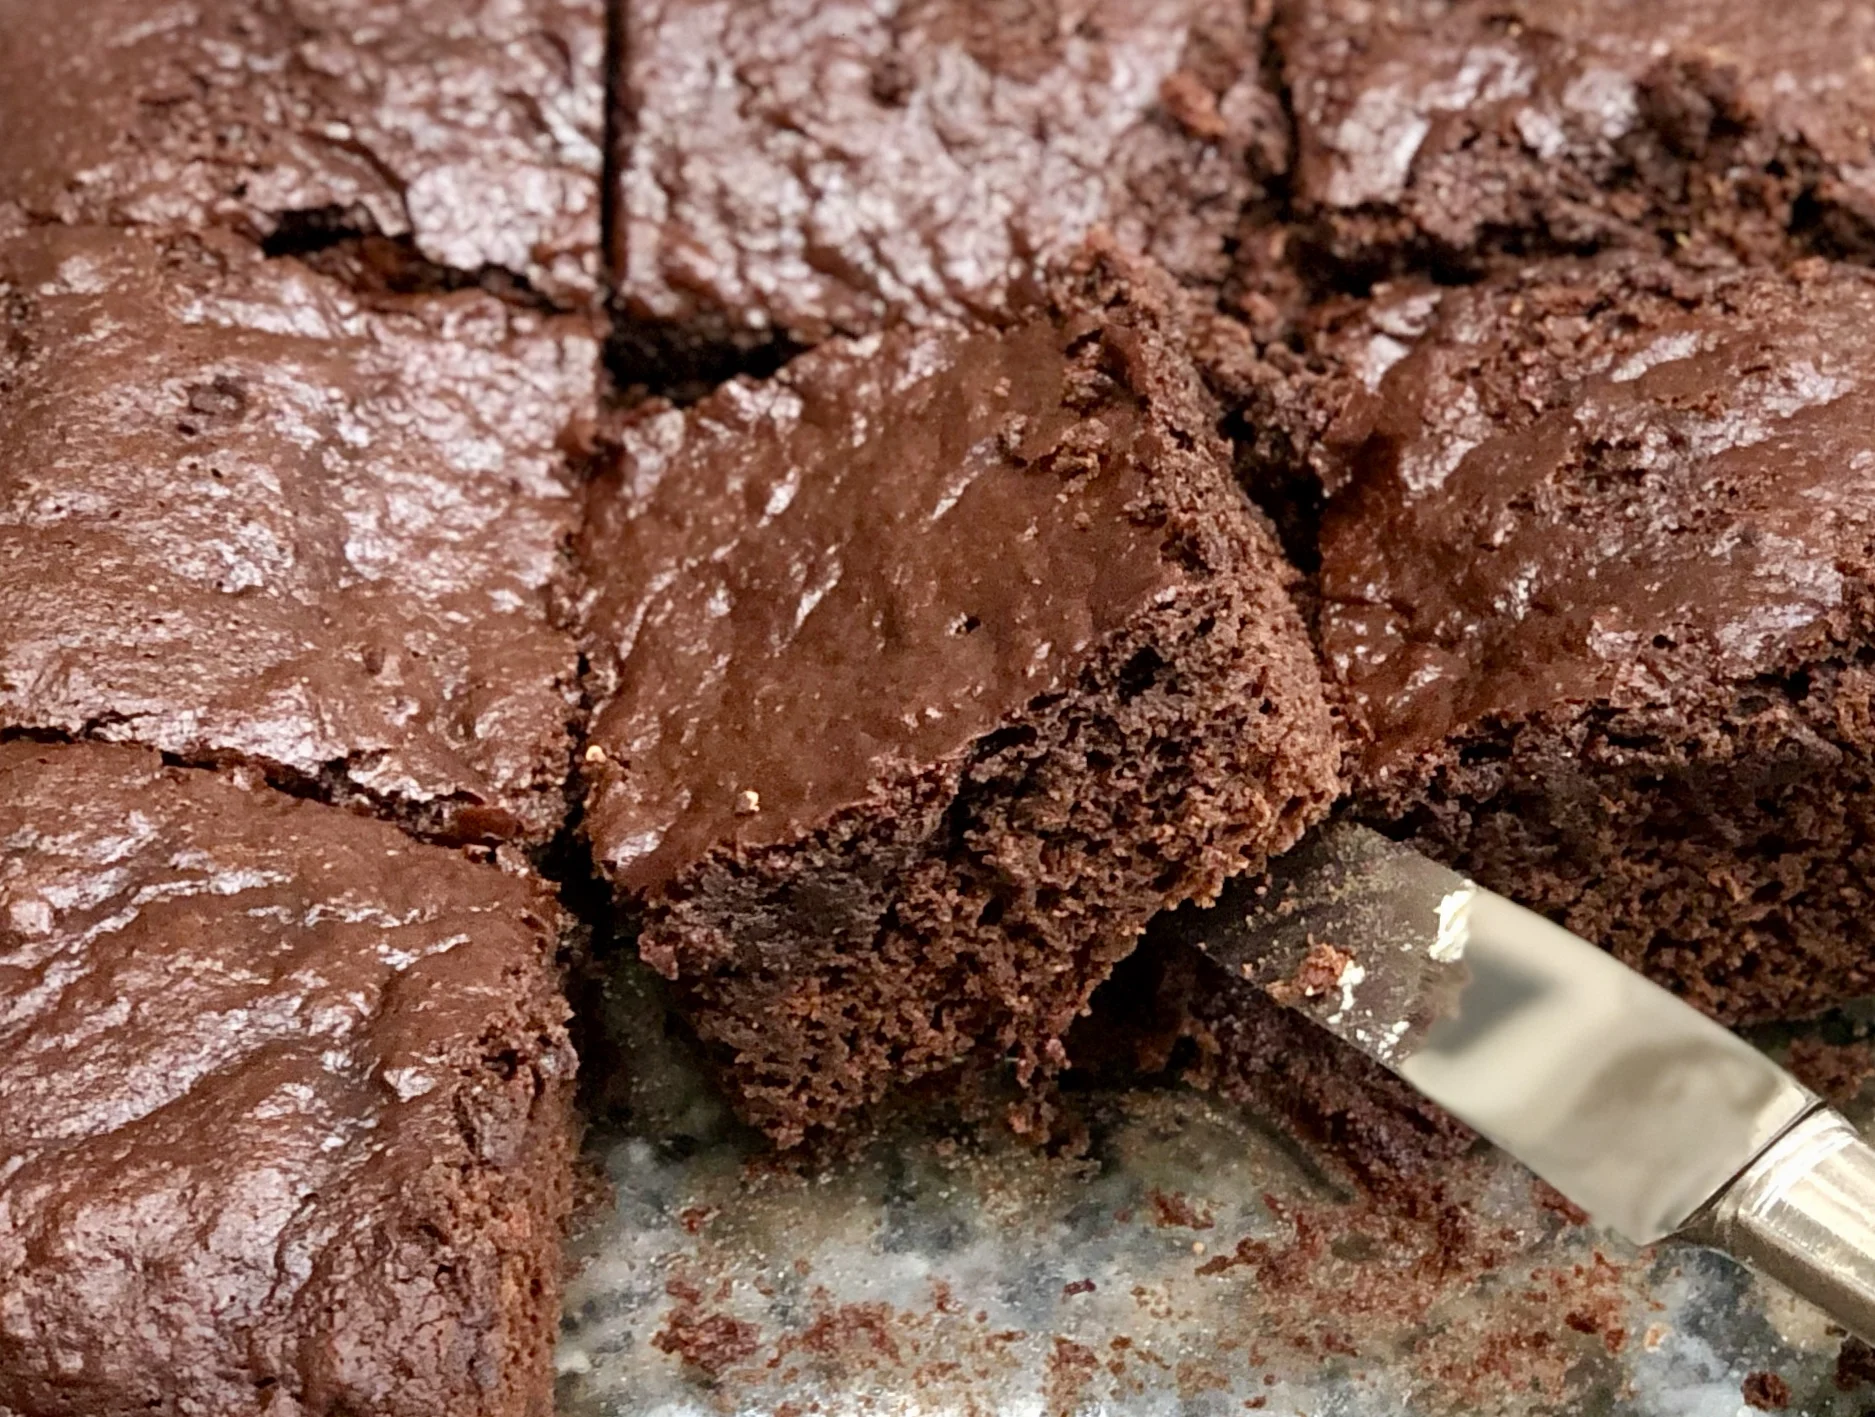
So recently, I noticed that in addition to some fresh bananas turned black-spotty, my snack packages of applesauce were a month beyond their expiration date. Rather than give the applesauce to my grandkids and have my daughters feel appalled, I used it in chocolate cake, in the place of eggs.

Not only was I able to use up a perfectly good ingredient, the cake was delicious and also a good vegan choice.

So there.

Chocolate-Banana-Applesauce Cake

  • 3 ounces semisweet chocolate

  • 1-1/3 cups all-purpose flour

  • 1/3 cup unsweetened cocoa powder

  • 1 teaspoon baking soda

  • 1 teaspoon salt

  • 2 medium ripe bananas

  • 1 cup sugar

  • 1/2 cup applesauce

  • 1/3 cup apple juice (or orange juice)

  • 1 teaspoon vanilla extract

Preheat the oven to 350 degrees. Lightly grease an 8”x8” cake pan. Melt the chocolate and set it aside to cool. In a bowl, whisk together the flour, cocoa powder, baking soda and salt. Set the flour mixture aside. Mash the bananas and place them in the bowl of an electric mixer (or use a hand mixer and bowl). Add the sugar and mix at medium speed for a minute, or until well blended. Add the applesauce, juice, vanilla extract and melted chocolate and beat for 1-2 minutes, or until thoroughly blended. Add the flour mixture and beat for 1-2 minutes, or until throughly blended. Spoon the batter into the prepared cake pan. Bake for 25-30 minutes or until a cake tester inserted into the center comes out clean.

Makes 9 servings

Roasted Carrots with Balsamic Vinegar Glaze and Chives

fullsizeoutput_89bf.jpeg

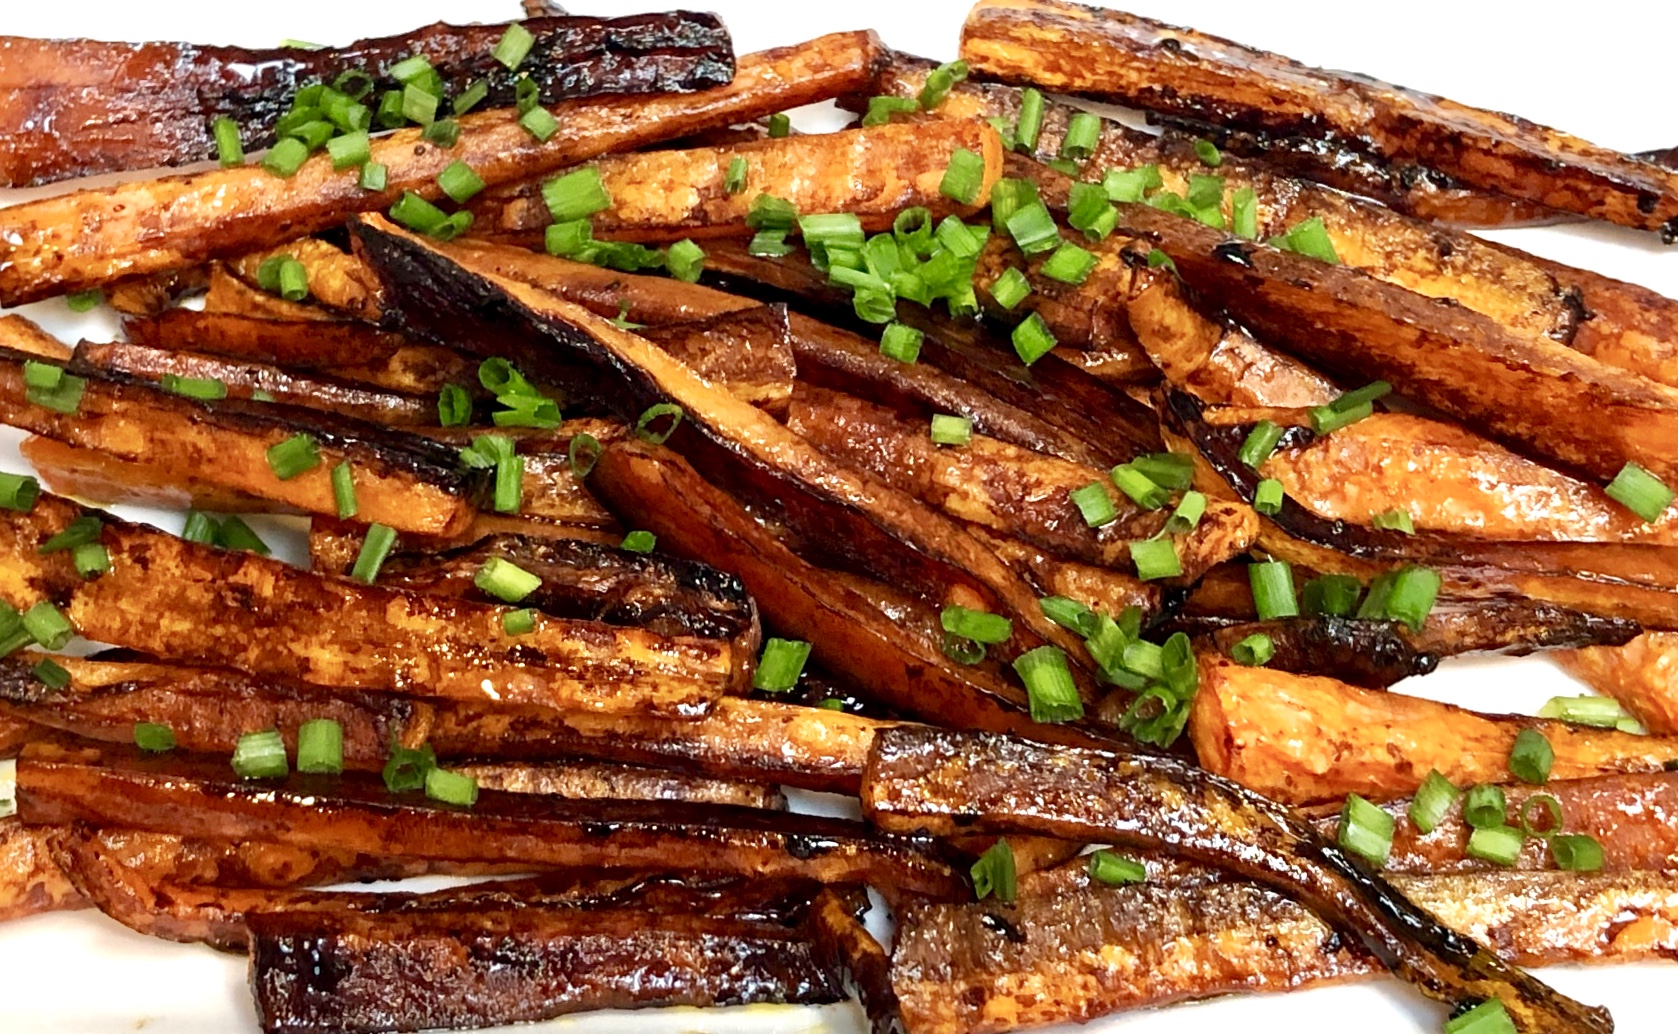
Carrots are always on my menu for Rosh Hashanah dinner. 

This recipe, the one I'm serving this year, is so easy. And you can set it up ahead -- peel and cut the carrots 2-3 days before you have to cook them, and store them in a plastic bag in the fridge.

This dish will go with practically any main course you might serve for dinner. 


Roasted Carrots with Balsamic Vinegar and Chives

  • 1 pound carrots
  • 2 tablespoons olive oil
  • kosher salt to taste
  • pinch cayenne pepper
  • 2 tablespoons balsamic vinegar
  • 2 tablespoons chopped fresh chives

Preheat the oven to 425 degrees. Line a baking sheet with parchment paper. Peel the carrots and cut them lengthwise in half or quarters, depending on thickness. Place the carrots on the baking sheet. Pour the olive oil over the carrots and toss to coat them completely. Sprinkle with kosher salt and a pinch of cayenne. Roast the carrots, stirring occasionally, for 10 minutes. Pour the Balsamic vinegar over the carrots, toss and bake for another 8-10 minutes or until they are tender. Sprinkle with chives and serve. 

Makes 4 servings

Rhubarb Oat Bread

fullsizeoutput_93cc.jpeg

You know how, when you have company for dinner and you make a lot of food, you sometimes forget to serve one (or more) of the dishes you cooked?

I did that recently. I made stewed rhubarb because my brother was coming to my house for dinner and it's one of his favorite things to eat.

Not only did I forget to serve it, I forgot about it in the fridge for a couple of days.

It was still good, of course, and we ate some, but there was some left over too.

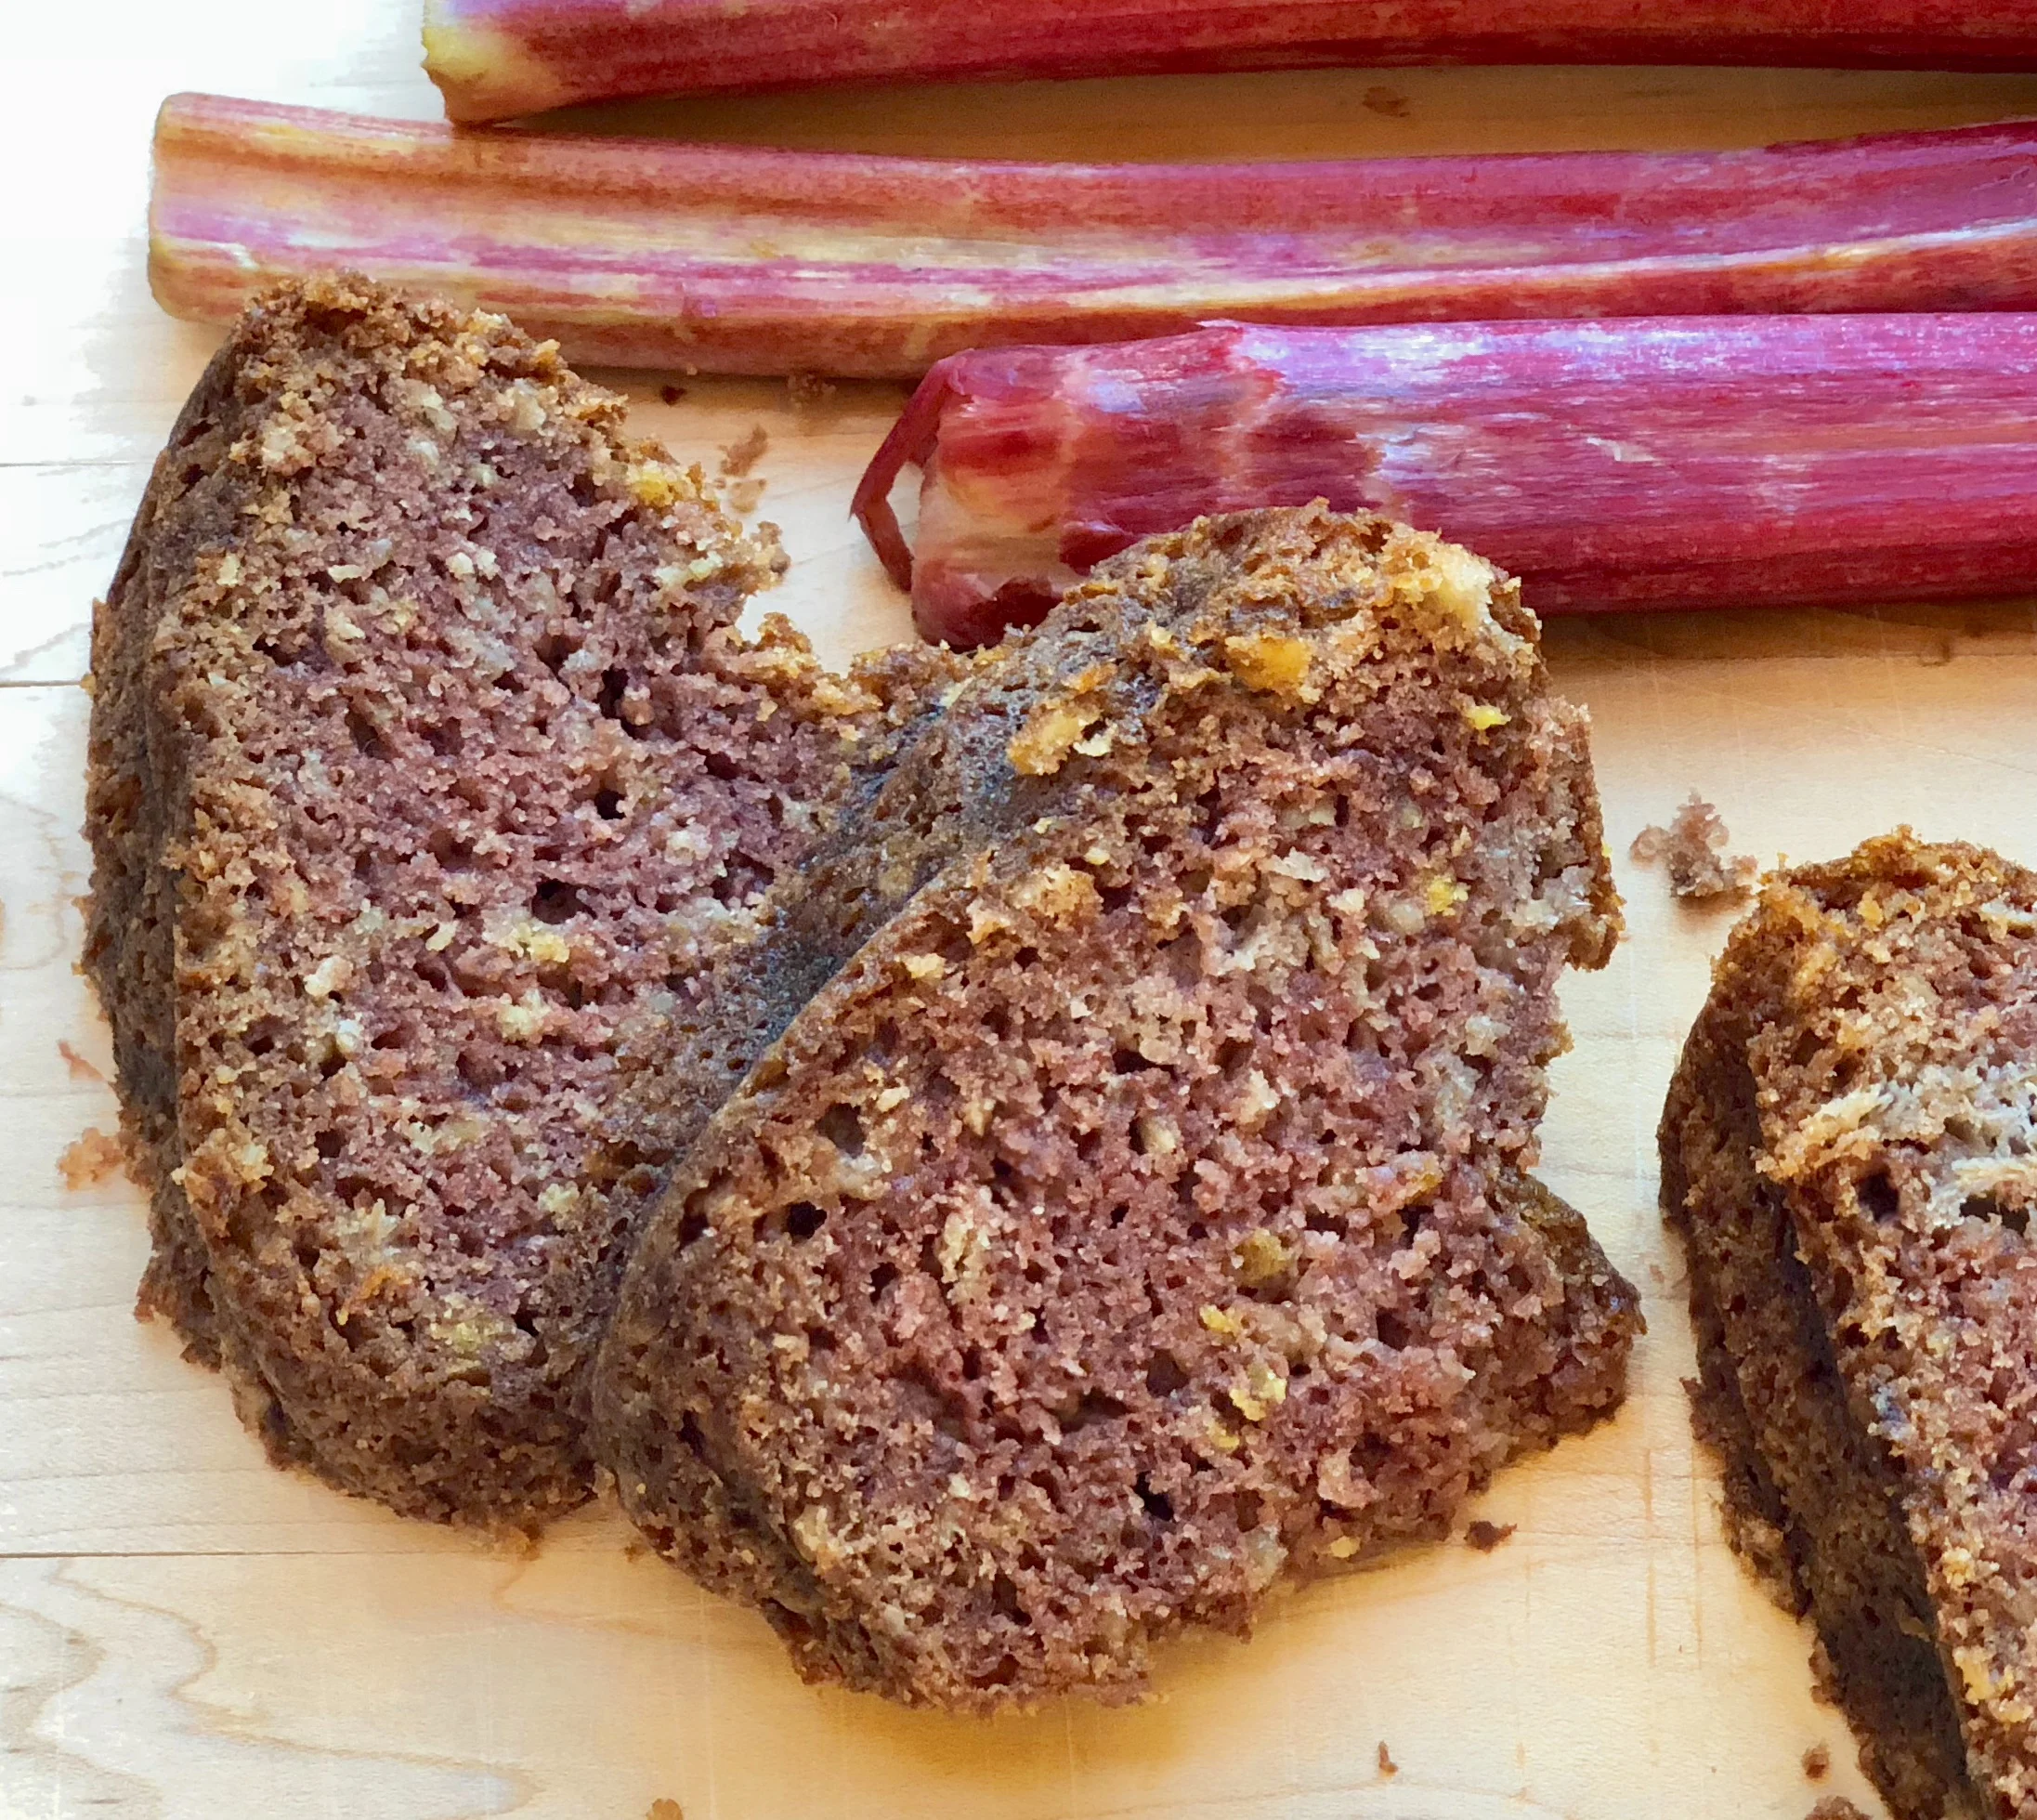
So I made banana bread but used the stewed rhubarb instead of mashed bananas. (Also added some lemon peel which I thought would work nicely with rhubarb.)

Voila! This is sometimes how good recipes are born. It was well-loved.

And if you don't have stewed rhubarb, you could use applesauce or mashed banana.


Rhubarb Oat Bread

  • 2 cups all-purpose flour
  • 1/2 cup quick cooking oats
  • 2 teaspoons baking soda
  • 1 teaspoon salt
  • 1-1/2 teaspoons grated fresh lemon peel
  • 1/2 cup coconut oil
  • 1/2 cup vegetable shortening
  • 1-1/3 cups sugar
  • 1-1/3 cups stewed rhubarb
  • 4 large eggs

Preheat the oven to 350 degrees. Grease and flour a 10-inch (8-cup) bundt pan. Mix the flour, oats, baking soda, salt and lemon peel together in a bowl. Set aside. In the bowl of an electric mixer beat the coconut oil, vegetable shortening and sugar at medium speed until well blended, about one minute. Add the rhubarb and blend it in thoroughly. Add the eggs and beat the ingredients well. Add the flour mixture and beat until batter is well blended. Pour the batter into the prepared pan and bake for 55-60 minutes or until a cake tester inserted into the center comes out clean. Remove from the oven and let cool in the pan for 10 minutes. Remove to a cake rack to cool completely.

Makes one bread, serving 12-16