cooking with kids

Back to School? Maybe. But there’s always Milk and Cookies, right?

592CAF6A-ADE6-4D4F-96AB-9D0739F7EB94_1_201_a.jpeg

Back in the day, when I was a young girl, I walked home from school and before I did any homework or piano practice I had a snack. My Mother was a cookie baker so invariably, the snack was milk and cookies. We didn’t have little bags of chips or puffs or granola bars back then.

I remember one time my mother veered away from her usual Fannies, peanut butter cookies and kichels. That was the day I brought my friend Joseph Lieberman (no, not that Joseph Lieberman) home to do homework together. I was happy my Mom had baked something new because Joseph had been to the house several times and maybe he was bored with the same old stuff. I had asked her if, sometime, she could bake something else. And so she did.

She made sugar cookies.

They were a great success. She made them occasionally after that but usually went back to the old favorites.

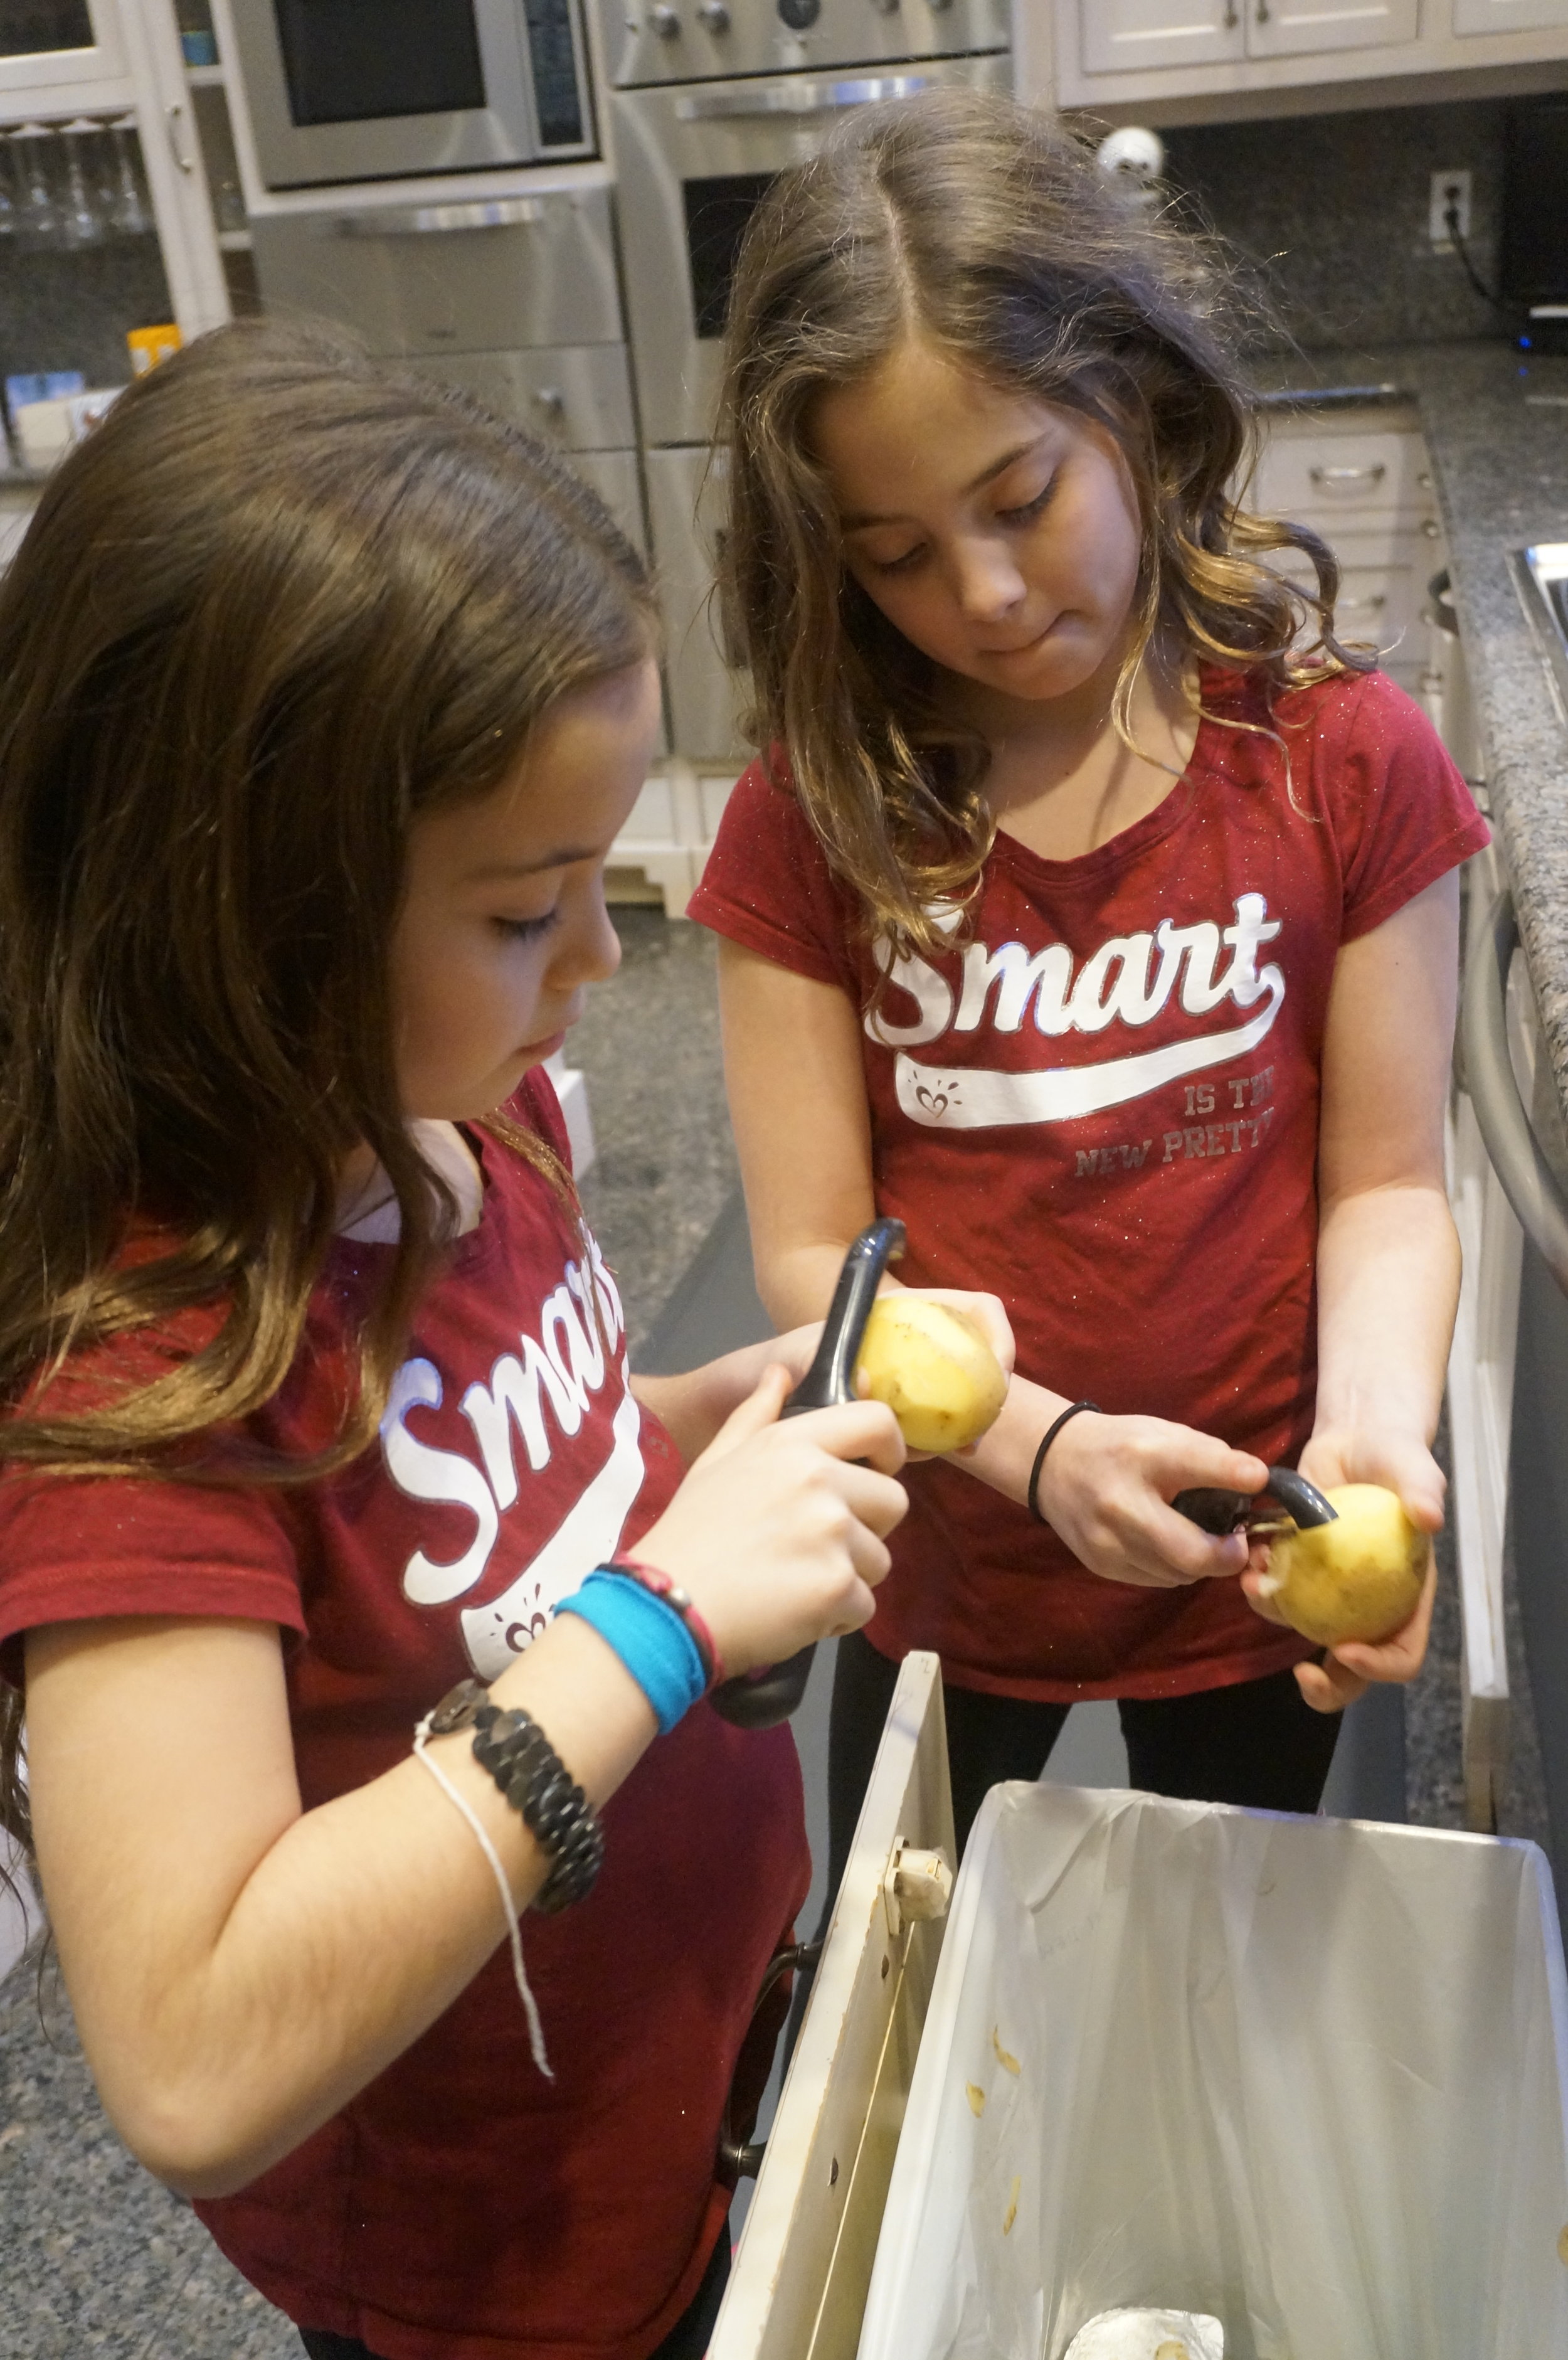
I’ve made my Mom’s recipe a few times over the years. Depending on the time of year I cut them into different shapes with cookie cutters (Hearts for Valentine’s Day usually).

This isn’t my Mom’s recipe though. I fiddled with it because hers included butter and I wanted to make it non-dairy. Also, I just bought some new jars of date honey (silan) and wanted to use that instead of the regular honey. She also added citrus peel and I didn’t.

But it is more or less her recipe.

Whether or not our children actually go back to school this season, milk and cookies is always a good treat.

In addition, these cookies, with the traditional holiday dates and honey, are a delicious choice for Rosh Hashanah (whether you use old fashioned honey or silan).

Shanah Tovah.

Date Honey Sugar Cookies

  • 1/2 cup vegetable shortening

  • 1/2 cup solid coconut oil

  • 3/4 cup sugar

  • 1/4 cup date honey

  • 2 teaspoons vanilla extract

  • 1 large egg

  • 1 large egg yolk

  • 3 cups all-purpose flour

  • 2 teaspoons baking powder

  • 1-1/2 teaspoons cornstarch

  • 1/2 teaspoon salt

  • 1/2 teaspoon ground cinnamon

  • Confectioners’ sugar

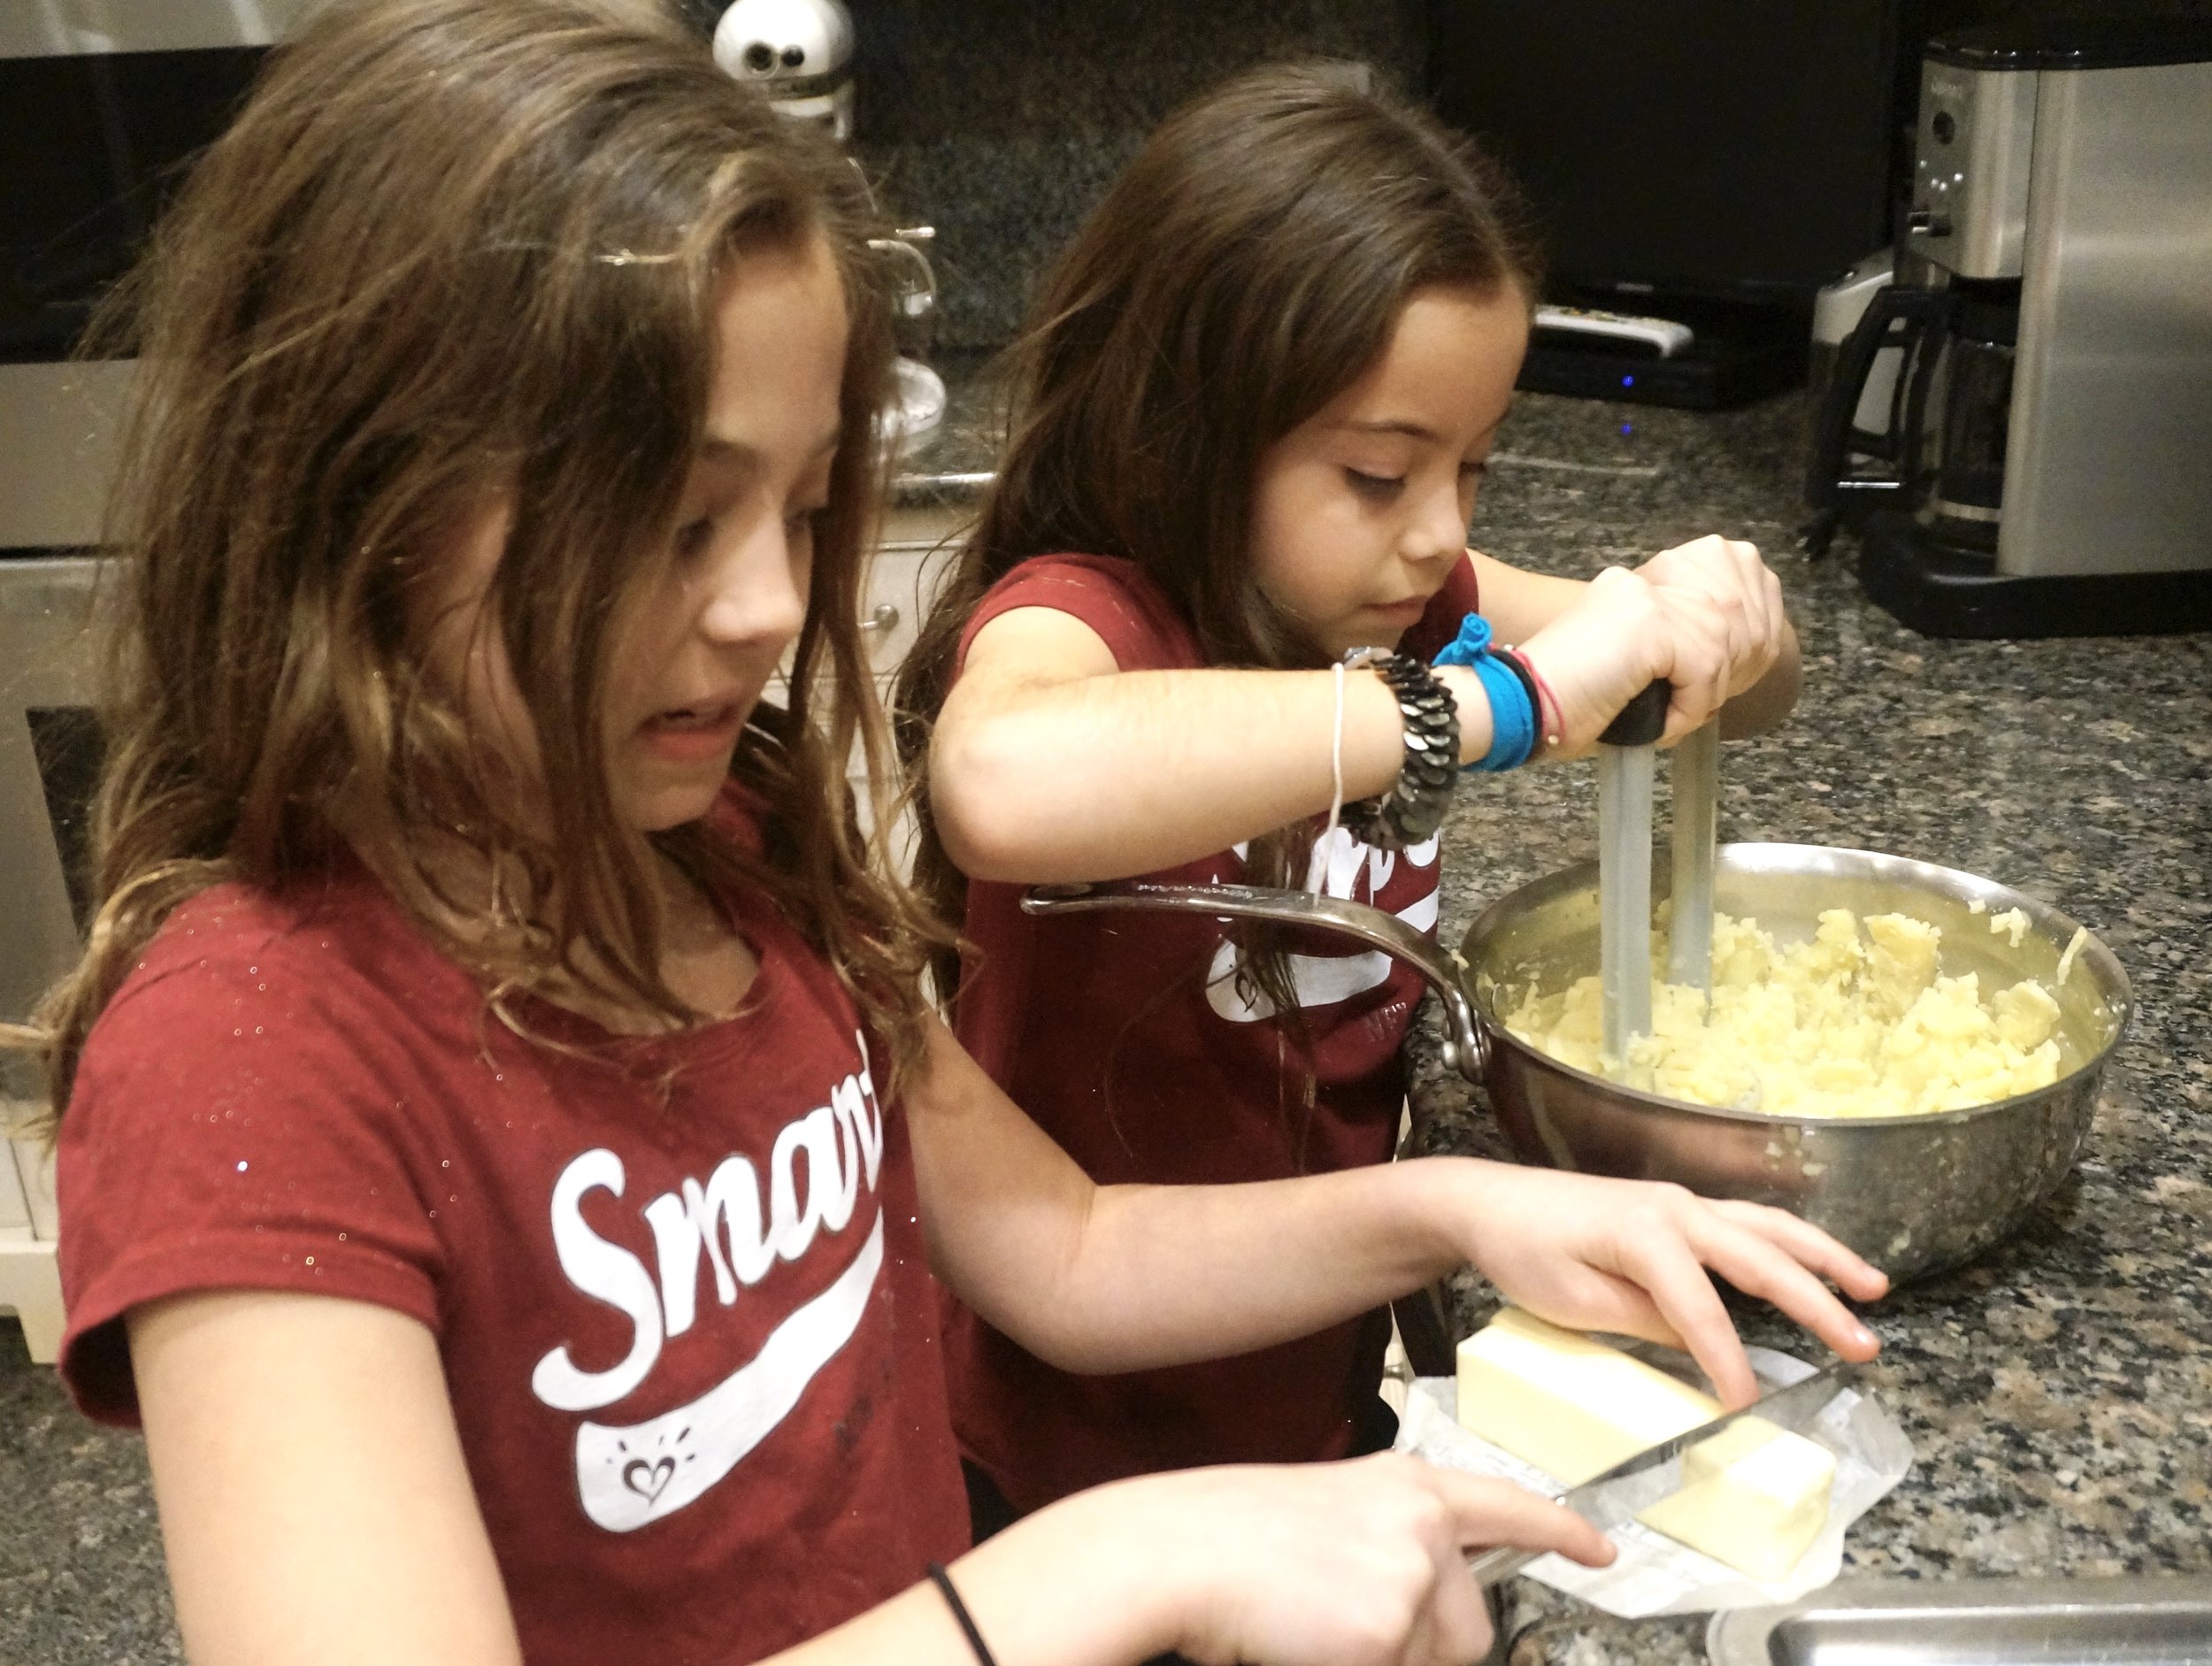
Preheat the oven to 350 degrees. Line a cookie sheet with parchment paper. Combine the shortening, coconut oil, sugar, honey and vanilla extract and beat at medium speed for 3-4 minutes or until light and fluffy. Add the egg and egg yolk and beat at medium speed for 1-2 minutes or until well blended. In a separate bowl combine the flour, baking powder, cornstarch, salt and cinnamon. Add the dry ingredients to the honey mixture and beat at medium speed until a soft dough forms. Roll the dough on a floured surface to 1/8-inch thickness. Cut out shapes with 2-inch round or heart-shaped cookie cutters. Place the cookies prepared cookie sheet. Bake for about 12 minutes or until the edges are lightly brown. Let cool. Sprinkle with confectioners’ sugar.

Makes about 36

Mashed Potatoes, Two Ways (dairy-free and dairy-loaded)

fullsizeoutput_82a2.jpeg

In our nuclear family of 11, there are the pro-potato people and the no-potato people.

I am a top level pro-potato person.

And as you can see from the photos, so are two of my grand daughters, who helped me make some mashed potatoes for dinner a while ago.

The recipe we made was a butter-cream-cheese-sour-cream indulgence. (It could be a meal in itself!) But we’ve also made dairy-free versions. Pro-potato people like it all ways.

Are mashed potatoes on your menu for Thanksgiving? If so — or any other time — check out both recipes, dairy-loaded and dairy-free.

dairy-loaded Mashed Potatoes

  • 2 pounds boiling potatoes (such as Yukon Gold)

  • 4 tablespoons butter, cut into chunks

  • 4 tablespoons cream cheese, cut into chunks

  • 1/2 cup dairy sour cream

  • 1/4 cup warm milk, approximately

  • salt and freshly ground black pepper to taste

Peel the potatoes and cut them into chunks. Cook them in lightly salted simmering water for about 20 minutes or until tender. Drain and return the potatoes to the pan. Cook briefly over low heat to evaporate the excess moisture. Mash the potatoes with a ricer or potato masher. Add the butter and cream cheese and mash them in thoroughly until the butter and cheese are completely blended in. Add the sour cream and blend in thoroughly. Mix in enough milk for desired consistency. Season to taste with salt and pepper.

Makes 6 servings


DAIRY-FREE Mashed Potatoes

  • 5 medium all-purpose potatoes such as Yukon Gold

  • 1/4 cup olive oil

  • 1 small onion, chopped

  • 1 large clove garlic, chopped

  • 3 tablespoons lemon juice

  • 3 tablespoons chicken or vegetable stock

  • salt to taste

  • pinch or two of cayenne pepper

  • 3 tablespoons fresh bread crumbs

Preheat the oven to 400 degrees. Peel the potatoes, cut them into chunks and cook them in lightly salted water for about 15 minutes, or until they are fork tender. While the potatoes are cooking, heat the olive oil in a sauté pan and add the onion. Cook, stirring occasionally, for about 3 minutes, then add the garlic. Cook for another 1-2 minutes, or until the vegetables are beginning to brown. Set aside. Drain the potatoes and mash them with a ricer or potato masher until the lumps have disappeared. Add the vegetables and olive oil and stir them in gently. Stir in the lemon juice, stock, salt and the cayenne pepper. Place the mixture in a baking dish. Sprinkle with the bread crumbs. Bake for 10-15 minutes or until the top is crispy and brown.

Makes 6 servings

Grandma Mac and Cheese

FullSizeRender-1.jpeg

All of my grandchildren think that I make the absolute most wonderful, bestest, most delicious mac and cheese. And they expect at least one mac and cheese dinner when they come for a visit.

No worries. I always have one in my freezer, just in case there is ever a surprise knock on my door from one of them.

Of course I thought my grandma made the best mac and cheese too. Hers came out of a box and the cheese part were some granules that came in a separate foil package. She was supposed to mix the granules with milk and butter I think, but she never did. She just opened the package and sprinkled it on top of the cooked elbows. 

That's the way all of us grandchildren thought mac and cheese was supposed to taste. And of course, grandma made it best.

It's the way I made it for my kids. Because that was the best.

Somewhere along the way I tasted actual homemade macaroni and cheese. It was a revelation. It was wonderful. Which is NOT to say that grandma's wasn't good. It was just a whole different dish. I still think of it with fond memories. My daughters think of it with fond memories. And, btw, they also made the packaged kind and sprinkled the dry cheesy granules on top for their children. And their children love that too and probably will have fond memories of that dish.

But when they come to visit me, it's the other kind they expect and love. The from-scratch kind.

They're also pretty clear about how they like it too: moist but not overly sauced, with a combo of American and cheddar cheeses and a crispy top. No added things like tomato or cooked vegetables. No crust -- just maybe some extra grated cheese.

This is the one:


Grandma Macaroni and Cheese

  • 1 pound small pasta such as elbows

  • 3 tablespoons butter

  • 4 tablespoons all-purpose flour*

  • 3 cups milk (preferably whole milk)

  • 14-16 ounces mixed American and cheddar cheeses plus extra for garnish, shredded

  • salt to taste

Cook the pasta according to package directions, rinse under cold water, drain and set aside. In a saucepan, melt the butter over medium heat. When the butter has melted and looks foamy, turn the heat to low-medium, add the flour and cook, stirring with a whisk, for 2-3 minutes, but do not let the mixture become brown. Gradually add the milk, stirring with a whisk to keep the sauce smooth. Cook for 4-5 minutes or until the sauce has thickened slightly. Add most of the cheeses, leaving some to top the dish as garnish. Add some salt and continue to whisk the sauce until all the cheese has melted. Add the pasta and mix to coat all the pieces. Eat as is, sprinkled with extra cheese, OR place in a preheated 350 degree oven for about 15 minutes to crisp the top. 

Makes 6-8 servings

*sometimes, if the sauce seems to be too thin, I use an additional tablespoon of flour


Banana Applesauce Cupcakes

fullsizeoutput_82d2.jpeg

One of the greatest pleasures in life is cooking with children.

Children are enthusiastic, creative and joyful abut anything they've cooked or baked.

These cupcakes are a melange of my grandchildren's ideas about what to make for dessert. It had to be dairy free. We had a few bananas and some leftover applesauce that we wanted to use.

The cupcakes were yummy. Even the adults thought so.

Decorations, including the one lone banana slice in the center, by the kids, of course, .


Banana Applesauce cupcakes

  • 2 cups all-purpose flour
  • 1 teaspoon baking soda
  • 1/2 teaspoon baking powder
  • 1/2 teaspoon salt
  • 1 teaspoon cinnamon
  • 1 cup sugar
  • 1/4 cup vegetable oil
  • 1/4 cup applesauce
  • 2 large eggs
  • 3 very ripe bananas, mashed
  • 1/4 cup apple juice
  • 1 teaspoon vanilla extract

Preheat the oven to 350 degrees. Lightly grease 12 muffin tins. In a small bowl, combine the flour, baking soda, baking powder, salt and cinnamon and whisk the ingredients to blend them thoroughly. Place the sugar, vegetable oil and applesauce in the bowl of an electric mixer. Beat the ingredients at medium speed for 3-4 minutes or until well blended. Add the eggs and beat them in. Add the bananas, apple juice and vanilla extract and beat at medium speed for about 2 minutes or until well blended. Spoon equal quantities of batter into the muffin tins. Bake for about 20 minutes or until a cake tester inserted into the center comes out clean. 

Makes 12

frosting

  • 1 cup margarine, shortening or mix of coconut oil and margarine 
  • 1-1/2 cups confectioners' sugar
  • 1 teaspoon vanilla extract
  • apple juice as necessary

Place the margarine, confectioners' sugar and vanilla extract in a bowl (or use an electric mixer) and beat with a hand mixer at medium speed for 2-3 minutes or until well blended and creamy. If the mixture seems too thick to spread as frosting, mix in a teaspoon or two of apple juice.

Makes enough for 12 cupcakes


Cream Puff Swans on the Lake

_DSC1118.jpg
IMG_4392.jpg

I love that my grandchildren love to cook and absolutely love that they like a challenge. My eldest makes perfectly shaped butter cookies; the next eldest recently cooked a vegetarian rice and beans dinner for her siblings. One of them once helped me bake a flourless chocolate roll for Passover.

Recently, my 9-year old grand daughter said she was bored and wanted to cook something really delicious, very pretty and also "hard." 

Be still my heart!

What better choice than cream puffs made into the shape of swans?!

I have taught baking classes on this particular recipe and have seen fully committed grown ups nervous about getting it right.

But off we went into the kitchen.

There are two really difficult challenges to making swan shape cream puffs. The first thing is mixing the eggs into the butter-flour dough, which is very stiff and therefore not easy to incorporate the liquidy eggs. Fortunately, this kid is athletic, with the kind of strong arms that come with spending hours doing chin-ups and stuff at the playground.

No problem! Stiff dough/eggs, perfectly mixed and blended. Check!

The second hard part is piping out small slivers of dough for the necks. There were lots of not-so-good ones (we just ate these as snacks after they were baked) but she did manage to create enough for us to use in the final product.

After that it was easy: we made some vanilla pudding but I told her that some other time you could also fill the swan bodies with whipped cream, sorbet or ice cream.

She said it would be really nice for the swans to have something to swim on.

Remember that old piano piece, Swans on the Lake? The music that so many of us learned as children taking our first year or so of piano lessons?

Well of course, there had to be a lake. We melted some chocolate. So easy. So lovely to look at when we put the swans down on each serving plate.

Wouldn't this be a beautiful finale to a lovely dinner for New Year's or someone's birthday or other special occasion?


SWAN PUFFS

  • 1 cup all purpose flour
  • 3/4 teaspoon salt
  • 3/4 teaspoon sugar
  • 1 cup water
  • 1/4 pound unsalted butter, cut into chunks
  • 4 large eggs
  • whipped cream, ice cream, sorbet or vanilla pudding
  • melted chocolate or chocolate sauce


Preheat the oven to 425 degrees. Cover two baking sheets with parchment paper. Whisk the flour, salt and sugar together in a bowl and set aside. Heat the water and butter in a medium size saucepan. Bring the mixture to a boil over medium heat. When the water comes to a boil, raise the heat and add the flour mixture, all at once. Stir vigorously with a wooden spoon until the mixture is blended and begins to come away from the sides of the pan. Remove the pan from the heat and let it cool for 2-3 minutes. Add the eggs, one at a time, blending well after each addition. Spoon 12-18 mounds of the dough onto one of the baking sheets, shaping them into ovals with your fingers, and leaving some space between each oval for the dough to spread. Place the sheet in the oven and bake for 18-20 minutes. Reduce the heat to 375 degrees and bake for another 12-18 minutes or until puffed and golden. Remove from the oven and let cool. 

To make the necks, preheat the oven to 400 degrees. Spoon some of the dough into a pastry bag fitted with a narrow-holed tip. Pipe the dough into "S" shapes about 2-inches long onto the second baking sheet. Bake the necks for about 15 minutes or until golden brown. 

To assemble: Split the swan puffs in half lengthwise using a serrated knife. Cut the top portion in half lengthwise to use as wings. Spoon some whipped cream, ice cream, sorbet or pudding into the swan bottoms. Arrange the split top wings on top of the filling. Spoon some melted chocolate or chocolate sauce onto dessert plates. Place the filled swan bottoms on top of the chocolate. Insert the necks into the front. If desired, use a toothpick to dip into some meted chocolate and make a dot as an eye on the top of the neck.

Makes 12-18


Child’s Play: How a Young Cook Makes a Perfect Meal for Meatless Monday

And so, another generation of passionate, creative cooks.

Recently I spent some memorable time with one of my grand daughters. She cooked almost an entire dinner for herself and siblings as I watched. I encouraged her to use her judgment about flavors and amounts. She was thoughtful, asked questions and was unafraid to follow her senses and taste buds rather than someone else's recipe.

At each step of the way she got off the stool she needed to reach the pan so she could write down what she did.

In the end: Rice and Beans with Roasted Brussels Sprouts for 4.

First, I must say, she knew to wash her hands before cooking. She also used disposable gloves when she tossed the Brussels sprouts in olive oil.

I watched her pour olive oil into the pan and toss a bit of chopped onion in to see if it sizzled because I had told her that's when the oil was hot enough for the rest.

She added chopped onions and made a decision about how much was enough. About 1/4 cup.

I told her how to rinse the beans, and why, and watched her do it.

She added the beans and some crushed tomatoes and when she said she didn't think it was tomatoey enough I encouraged her to add more. And she did.

She wondered about spices. I suggested either chili powder or cumin and she asked "why not both?"

Indeed. I told her to add both, starting with 1/2 teaspoon each.

When she tasted she said it needed more chili powder. And added some. And salt. To her taste.

As the beans cooked, she cut the Brussels sprouts, placed them on a baking tray, tossed them with olive oil, sprinkled them with salt and placed them in the oven.

The only thing I cooked was the rice. 

Everyone gobbled up this magnificent feast. The perfect meal for a meatless Monday or whenever you have yen for a scrumptious vegetarian dinner.

I left smiling. Still am.


RICE AND BEANS 

1 cup brown rice

1-3/4 cups water

2 tablespoons olive oil

1/4 cup chopped onion

1 15-ounce can black beans, rinsed and drained

1-1/2 cups canned crushed tomatoes

1 teaspoon chili powder

1/2 teaspoon ground cumin

salt to taste


Place the rice and water in a saucepan over high heat. Bring the water to a boil, turn the heat to low, cover the pan and cook for about 35 minutes or until the grains are tender and all the liquid has been absorbed. While the rice is cooking, pour the olive oil into a saute pan over medium heat. Add the onion and cook, stirring occasionally, for 2-3 minutes. Add the beans, tomatoes, chili powder, cumin and salt. Stir to distribute the ingredients evenly. Cook for 8-10 minutes. Spoon the rice onto plates; top with some of the rice and beans. 

Makes 4 servings

Banana Chocolate Cake

My grandson wanted to bake a cake with me. I think he actually liked the licking-out-the-bowl part the best and I actually was most thrilled that he came up with the idea about combining banana bread and chocolate cake.

I looked through my recipes for endless variations of banana bread. And chocolate cake. I fooled around with them, combining this and that from several of the recipes and came up with the one here. It's dairy-free, so his sister, my 3-1/2 year-old grand daughter, could eat some too. And we added some chocolate chips, just for good measure.

He did like the licking-out-the-bowl thing.

He also told me the cake was too dry. But I think that was because the temperature indicator on my oven has been cleaned so often for so many years that the numbers have disappeared and I can only estimate the proper cooking temperature. I do have an oven thermometer but that also needs "updating." so I don't know if the cake baked at exactly the right temperature.

Also, I forgot to set the timer.

Anyway, everyone else declared the cake delicious. Even my grandson said it was and would want it again when I finally decide what oven I want to get to replace the old one.

So here it is, the creation.

Banana Cocoa Chocolate Chip Cake

  • 1-3/4 cups flour
  • 3/4 cup unsweetened cocoa
  • 1 teaspoon salt
  • 2 teaspoons cinnamon
  • 2 teaspoons baking soda
  • 1 cup vegetable shortening
  • 1 cup sugar
  • 4 large very ripe bananas, mashed
  • 4 eggs, slightly beaten
  • 2 teaspoons vanilla extract
  • 1 cup chocolate chips

Preheat the oven to 350 degrees. Grease and flour a 10-inch (8-cup) bundt pan. Mix the flour, cocoa, salt, cinnamon and baking soda together in a bowl. In the bowl of an electric mixer beat the shortening and sugar at medium speed for 2-3 minutes or until well blended. Add the bananas and blend them in thoroughly. Add the eggs and vanilla extract and blend them in thoroughly. Add the flour mixture and beat until batter is well blended. Fold in the chocolate chips. Pour into the prepared pan and bake for 60-70 minutes or until a cake tester inserted into the center comes out clean. Remove from the oven and let cool in the pan for 10 minutes. Remove to a cake rack to cool completely.

Makes 16-18 servings


How to Substitute Ingredients: a Lesson for Kids and Everyone Else

Children learn a lot when they cook, and not just about food. You can ask the youngest ones to hand over the red pepper, not the green one. You can show them that a pie tin is round, a loaf pan is a rectangle.

Older kids can hone their measuring skills. Some begin to understand the difference between 1/4 cup and 1/2, what a dozen means, why a cake rises.

Recently my grandchildren, ages 3 and 5, learned another important cooking lesson: when and how to substitute ingredients. 

We happened to be baking Jam Cookies. 

I didn't have the chopped dates called for in my recipe. So we changed those to dark raisins.

I didn't have dried apricots, figs or cherries, so we used dried cranberries instead.

They wondered whether they could include chocolate chips.

Of course! Just throw some into the bowl.

Finally, we used a mixture of orange marmalade, rhubarb and apricot jam because I didn't have enough of any one kind except raspberry, which I couldn't use because of allergies.

The recipe worked.

But more than that, the cookies were absolutely delicious. Even the adults gobbled them. The children were happy, they learned more than they realized.

They want to cook with me again. I love that.

Jam Bars

  • 1-1/2 cups all-purpose flour

  • 1 teaspoon baking powder

  • 1/2 teaspoon salt

  • 1-1/2 cups quick cooking oats

  • 1 cup brown sugar

  • 14 tablespoons butter or margarine

  • 3/4 cup golden or dark raisins or chopped dates or a mixture

  • 1/3 cup dried cranberries or chopped dried cherries or other chopped dried fruit

  • 1/2 cup chocolate chips

  • 1-1/2 cups jam

Preheat the oven to 375 degrees. Lightly grease a 9"x13" cake pan. Mix the flour, baking powder and salt together in a bowl. Add the oats and brown sugar and mix the ingredients thoroughly to distribute them evenly. Cut the butter into chunks and work into the dry ingredients (with fingers or process on pulse in a food processor) until the butter is completely mixed in and the mixture looks crumbly. Mix in the raisins, dried fruit and chocolate chips. Press the mixture evenly inside the prepared pan. Spread the jam evenly on top. Bake for 35-40 minutes or until golden brown. Let cool in the pan. Cut into bars or squares. 

Makes about 24


.


Do Kids Enjoy Cooking?

IMG_0108.JPG

I never met a child who didn't enjoy cooking. Of course, I realize my universe is very, very small, but still ... over the years I have seen kids interested in food and be curious about such things as:

How big chunks get chopped into little pieces.

What happens to eggs when they're boiled.

What vanilla extract and whole cloves smell like.

What okra tastes like.

Why some people fry "grilled cheese" and some people cook it in a toaster oven.

How sushi/sashimi feels in your mouth.

Big questions. All of them. And if you encourage their curiosity, children learn much more than about the food. They learn that you will feed the hunger in their brain as well as in their stomach.

That's a good thing.

I think maybe kids begin the want-to-cook process when they are really young and they get to lick the bowl or taste a hunk of whatever it is you are cooking. Usually something sweet like cake batter or cookie dough. 

Two of my grand daughters once shared a batter bowl and spatula, as you can see in the first photo. YES I KNOW ALLOWING THEM TO LICK THE SAME SPATULA isn't the most sanitary thing. But that picture, one of my favorites of all time, reminds me of the great time we had that day. And that they continued to enjoy cooking, with me and their parents.

They are older now and recently graduated to knife skills. In the second photo they are chopping scallions. Another wonderful day. They are fully into the whole cooking thing and I know that these early adventures will make them unafraid of cooking for the rest of their lives.

The recipe for the cake they made on the sharing-spatula day is here

The scallions? Used for the salad recipe that follows.

If you have a child or niece or nephew or neighbor or know some other kid, encourage him/her to cook. And better yet, do it with them and have some fun.


Chopped Salad with Chickpeas and Avocado

  • 2 large ripe tomatoes, chopped
  • 1 medium cucumber, peeled, deseeded, and chopped
  • 1 large red bell pepper, deseeded and chopped
  • 1 large ripe avocado, peeled, pitted and cut into dice
  • 1 (15-ounce) can chick peas, rinsed and drained (or 1 1/2 cups cooked chickpeas)
  • 1/2 cup tangy black olives, pitted and halved
  • 2-3 hard cooked eggs, chopped
  • 3–4 scallions, chopped
  • 1/4 cup minced fresh parsley
  • 2 teaspoons chopped fresh dill
  • 4-5 tablespoons extra virgin olive oil
  • 3-4 tablespoons lemon juice or red wine vinegar
  • Salt and freshly ground black pepper to taste

Place the tomatoes, cucumber, bell pepper, avocado, chick peas, olives, eggs, scallions, parsley and dill in a bowl and toss ingredients gently. Just before serving, mix together the olive oil and lemon juice and pour over the salad. Season to taste with salt and pepper.


Makes 4 servings.


Chocolate Yogurt Pound Cake

"This is just like room service!"

That, from my almost 6-year old grand daughter Lila (who apparently already knows about room service!?!) after I let her have her dinner in the family room and watch TV.

This is something I didn’t allow my own two daughters.

But honestly, after 35 years I was a little out of practice. And, like bike riding, you may not forget how, but you also may not race through the streets or peddle yourself up a steep hill quite as often or as easily either. 

So, when the kids came for a visit, sans parents, from Friday through Sunday, there were occasional, let’s say, concessions. If my daughter Gillian, their Mom, is reading this now, I say, don’t worry. These kids are terrific and 2 meals in front of the TV won’t harm them.

As you can see from the photos we did lots of stuff like draw, have a pedicure, blow bubbles outside, ride bikes, have a fashion show. We also frosted a birthday cake for their cousin Nina’s birthday party on Saturday (although the top decoration, an Ariel rice-paper scene, was store-bought).

The little one, Remy, age 21 months talks a blue streak although sometimes it’s difficult to understand his pronunciations. However, one of the new words he learned this weekend was “chocolate cake,” which he mentioned to his parents as soon as they walked in the door Sunday night.

"Tzockickcake!" he told them, with his tongue literally licking his lips.

When a kid is this young you can’t depend on “what happens at Grandma’s stays at grandma’s.”

I had baked the chocolate cake for a Hadassah Tea and was cutting it into slices. There were a few not-so-lovely pieces that I didn’t include on the platter I sent over for that event. Remy had a small sliver of the leftovers. He liked it, that’s for sure.

Can’t say I blame him. Smart kid!

Here’s the recipe:

Chocolate Yogurt Pound Cake

  • 2-1/2 cups all-purpose flour
  • 1 cup unsweetened cocoa powder
  • 1 teaspoon baking soda
  • 3/4 teaspoon salt
  • 12 ounces butter at room temperature
  • 3 cups sugar
  • 5 large eggs
  • 2 teaspoons vanilla extract
  • 1 cup plain yogurt
  • 1 cup boiling water
  • 1 cup chocolate chips

Preheat the oven to 350 degrees. Butter and flour a 10-cup bundt pan. Sift the flour, cocoa powder, baking soda and salt into a bowl and set aside. Beat the butter and sugar in the bowl of an electric mixer and mix at medium speed for 3-4 minutes or until well combined. Add the eggs, one at a time, blending each one in. Stir in the vanilla extract. Add the dry ingredients in thirds, alternating with the yogurt, until the flour mixture and yogurt have been used and the batter is well blended and smooth. Gradually add the boiling water, beating slowly, for 2-3 minutes or until the batter is smooth and well blended. Stir in the chocolate chips. Pour the batter into the prepared pan. Bake for 65-70 minutes or until a cake tester inserted into the center comes out clean. Let the cake cool in the pan for 10 minutes, then invert onto a cake rack to cool completely. Makes 12+ servings