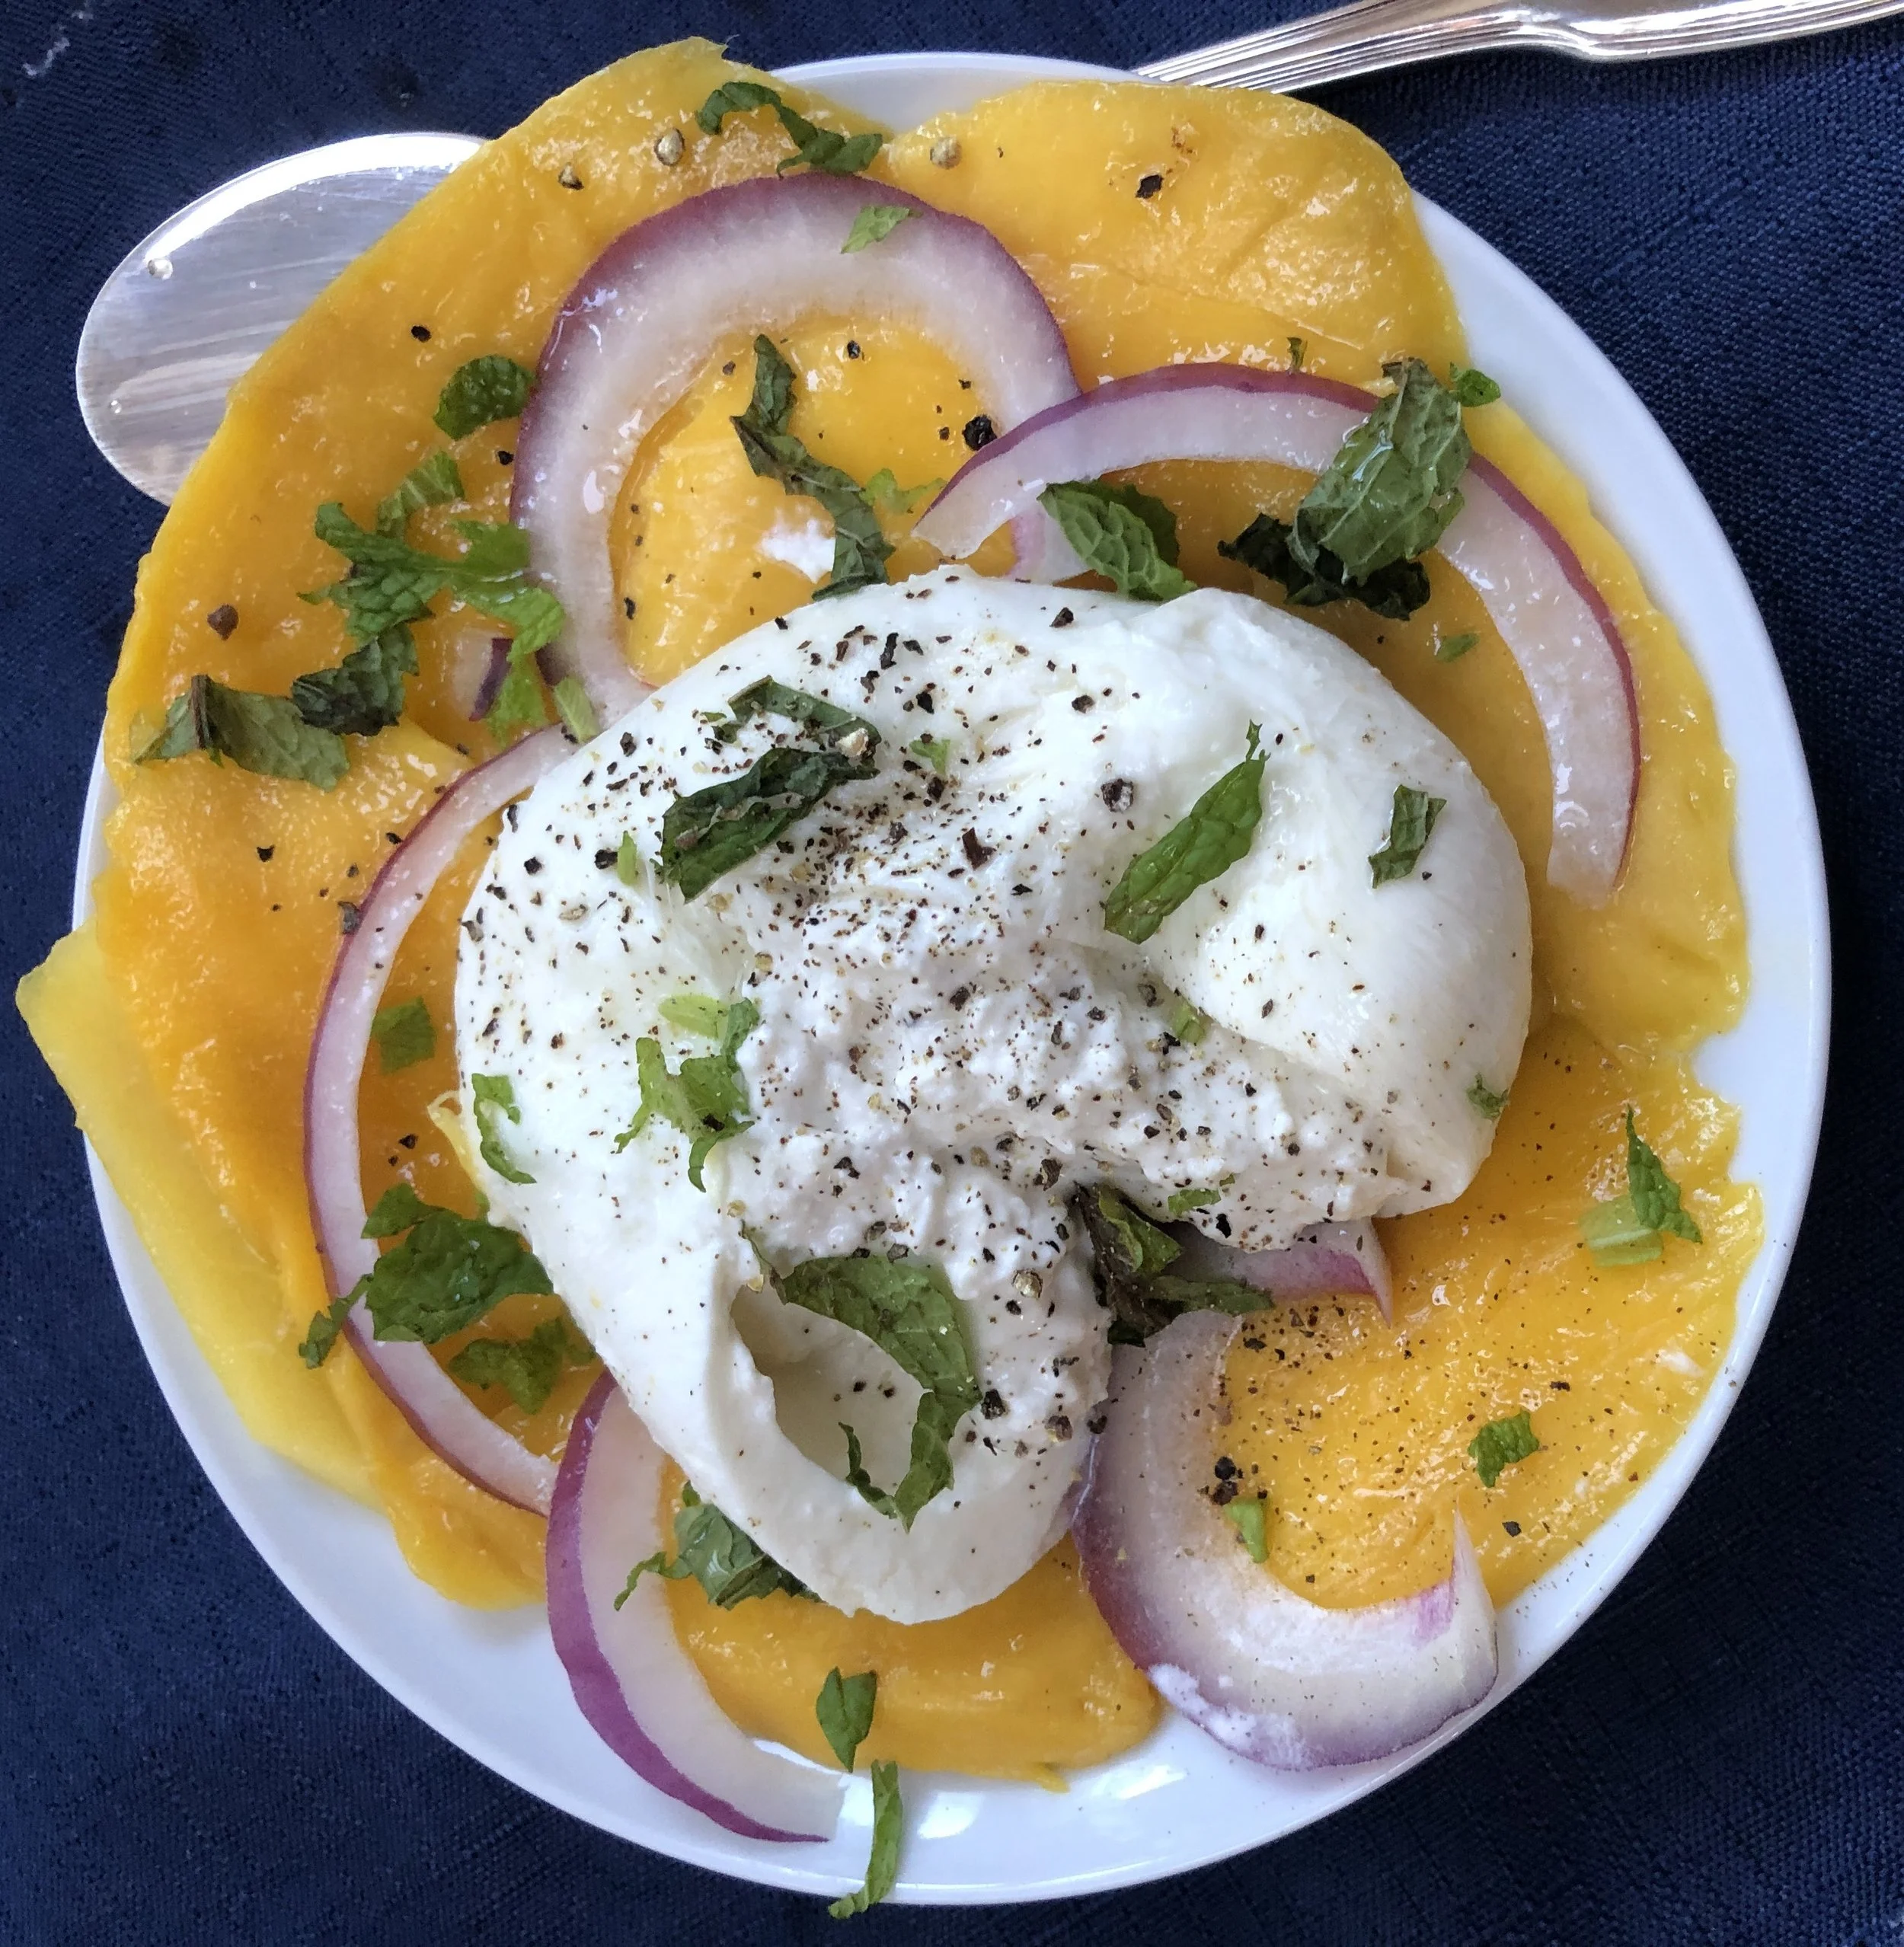
One of my favorite lunches if I’m able to find an Ataulfo or Haitian mango: slice the fruit, add a chunk or burrata and some slivers of purple onion (scallions work too) and a sprinkle of freshly ground pepper (or Aleppo pepper). It’s an “oh my, can lunch really be this wonderful?”
Grandma Mac and Cheese

All of my grandchildren think that I make the absolute most wonderful, bestest, most delicious mac and cheese. And they expect at least one mac and cheese dinner when they come for a visit.
No worries. I always have one in my freezer, just in case there is ever a surprise knock on my door from one of them.
Of course I thought my grandma made the best mac and cheese too. Hers came out of a box and the cheese part were some granules that came in a separate foil package. She was supposed to mix the granules with milk and butter I think, but she never did. She just opened the package and sprinkled it on top of the cooked elbows.
That's the way all of us grandchildren thought mac and cheese was supposed to taste. And of course, grandma made it best.
It's the way I made it for my kids. Because that was the best.
Somewhere along the way I tasted actual homemade macaroni and cheese. It was a revelation. It was wonderful. Which is NOT to say that grandma's wasn't good. It was just a whole different dish. I still think of it with fond memories. My daughters think of it with fond memories. And, btw, they also made the packaged kind and sprinkled the dry cheesy granules on top for their children. And their children love that too and probably will have fond memories of that dish.
But when they come to visit me, it's the other kind they expect and love. The from-scratch kind.
They're also pretty clear about how they like it too: moist but not overly sauced, with a combo of American and cheddar cheeses and a crispy top. No added things like tomato or cooked vegetables. No crust -- just maybe some extra grated cheese.
This is the one:
Grandma Macaroni and Cheese
1 pound small pasta such as elbows
3 tablespoons butter
4 tablespoons all-purpose flour*
3 cups milk (preferably whole milk)
14-16 ounces mixed American and cheddar cheeses plus extra for garnish, shredded
salt to taste
Cook the pasta according to package directions, rinse under cold water, drain and set aside. In a saucepan, melt the butter over medium heat. When the butter has melted and looks foamy, turn the heat to low-medium, add the flour and cook, stirring with a whisk, for 2-3 minutes, but do not let the mixture become brown. Gradually add the milk, stirring with a whisk to keep the sauce smooth. Cook for 4-5 minutes or until the sauce has thickened slightly. Add most of the cheeses, leaving some to top the dish as garnish. Add some salt and continue to whisk the sauce until all the cheese has melted. Add the pasta and mix to coat all the pieces. Eat as is, sprinkled with extra cheese, OR place in a preheated 350 degree oven for about 15 minutes to crisp the top.
Makes 6-8 servings
*sometimes, if the sauce seems to be too thin, I use an additional tablespoon of flour
Zucchini Pancakes
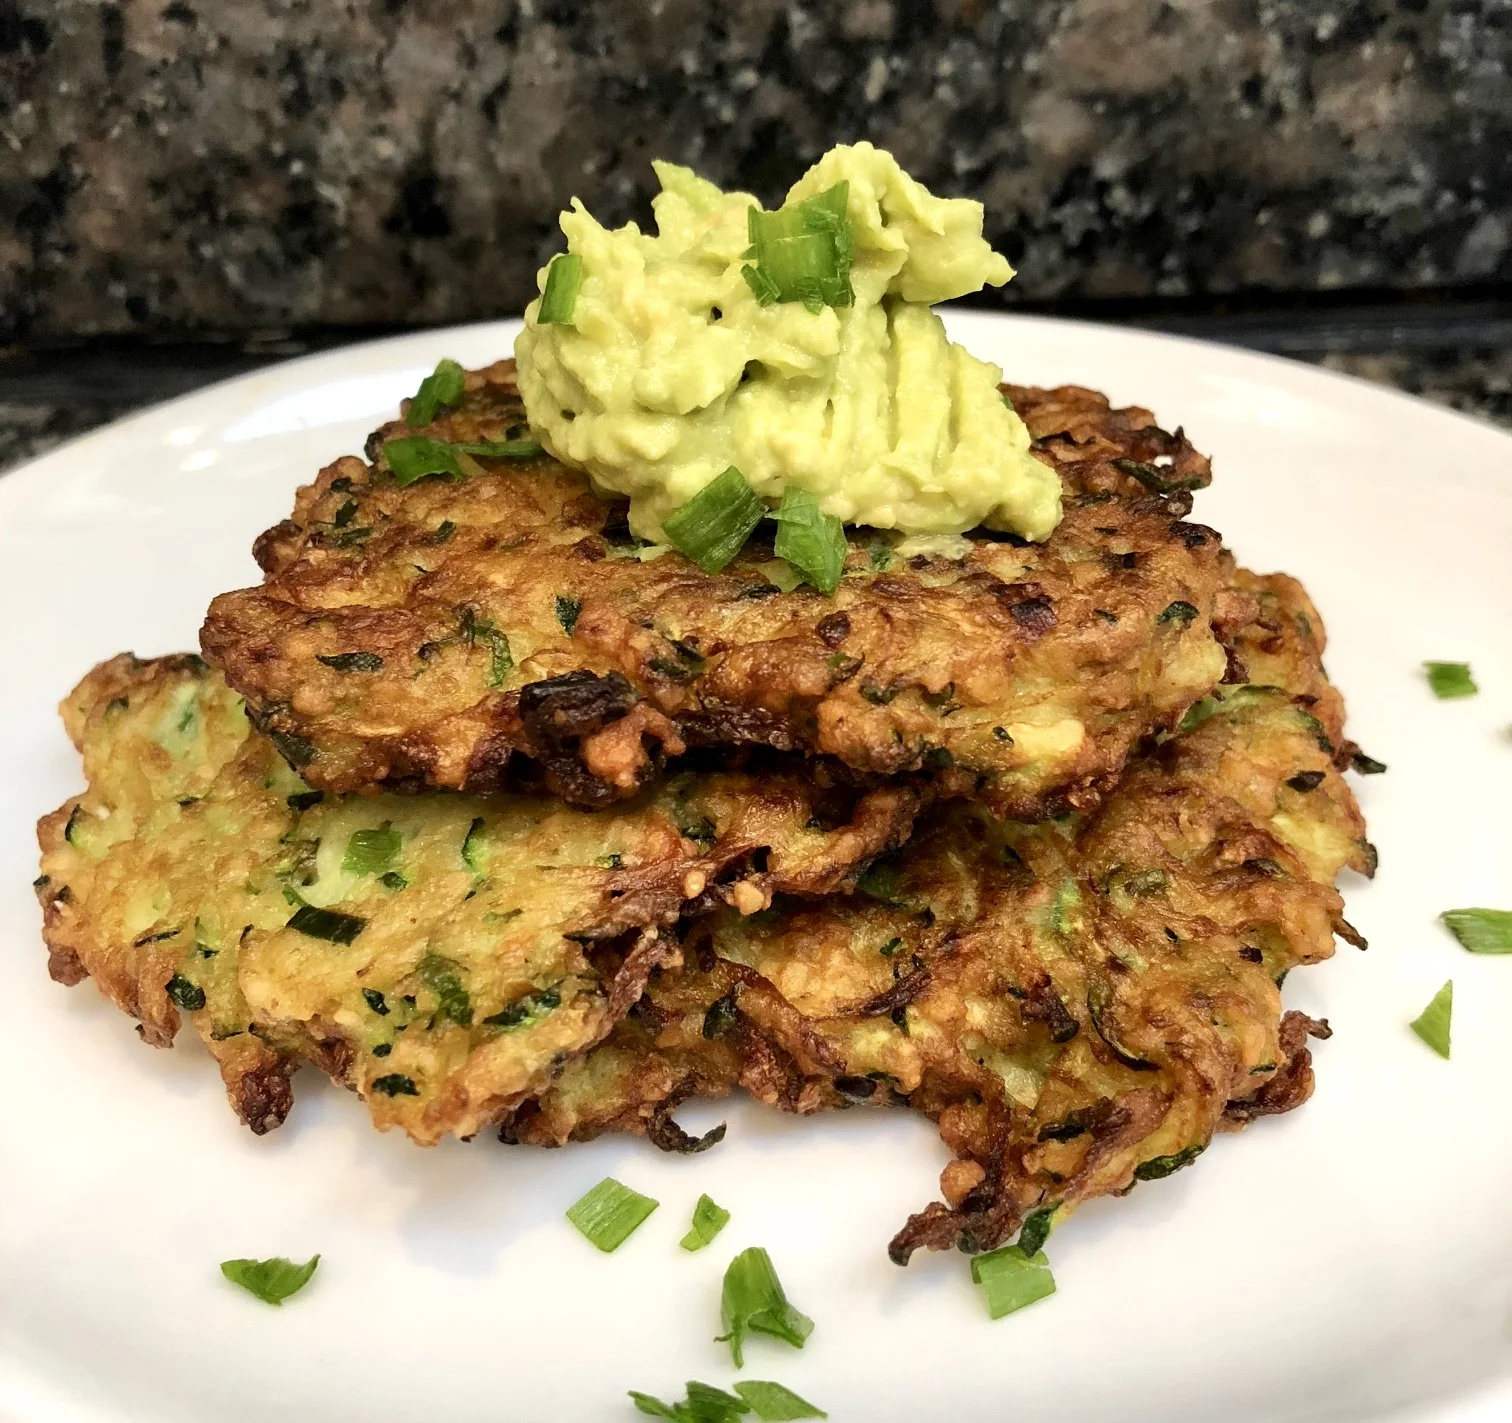
If you're looking for a good mid-week Passover meal -- here it is! I actually make these year round, but they're ideal during the holiday.
And versatile: for a dairy meal add about 1/2 cup crumbled feta cheese to the mix. For more substance -- serve with sunnyside eggs. I accompany them with mashed avocado, but sometimes with dairy sour cream or plain yogurt (any of these mixed with a squirt of lemon juice).
Zucchini Pancakes
- 2 medium zucchini (10-12 ounces each)
- 1/2 teaspoon salt
- 4 scallions, chopped
- 2 large eggs
- 2/3 cup matzo meal
- vegetable oil for frying
* for a dairy meal you can add 1/2 cup crumbled feta cheese
Shred the zucchini in a food processor (or grate by hand). Place the shreds in a bowl, sprinkle with salt, toss the shreds and let rest for 10-12 minutes. Squeeze he shreds to extract as much liquid as possible. Return the shreds to the bowl. Add the scallions and egg and mix the ingredients. Add the matzo meal and mix thoroughly. Heat about 1/8-inch vegetable oil in a large sauté pan over medium-high heat. Spoon portions of the mixture into the pan to make pancakes about 2-inches in diameter. Leave some space between each pancake. Cook for about 3 minutes per side or until crispy and golden brown. Remove to paper towels to drain. Repeat with the remaining zucchini mixture. Serve with mashed avocado, dairy sour cream or plain yogurt (mixed with some lemon juice).
Makes about 12 pancakes
Fried Green Tomatoes

I go out to my garden now and it's still warm, like summer. But the leaves on big maple trees in the back are starting to turn and I can see the vague copper tips. It's that transition season when you want to grab the last of summer but your head understands that autumn is coming.
I've picked dozens of luscious tomatoes in the last few weeks, but there are still some green ones hanging on the vines. Do I wait for them to ripen and have the last few precious bites?
What if there's a sudden frost! That happened to me last year and all my tomatoes were ruined.
Here's what to do: use some green tomatoes and leave just a few to ripen and hope for the best.
In the past I've baked green tomato pie, fried green tomato slices, baked green tomato slices, made green tomato pickles and cut green tomatoes into different kinds of chutney.
This year I decided to pack them into a sandwich.
Dee-lish.
Fried Green Tomato, Roasted Red Pepper and Cheese Sandwich
- 2 medium red bell peppers
- 2 teaspoons olive oil
- 1/3 cup all-purpose flour
- salt and freshly ground black pepper, to taste
- 2 large eggs, beaten with one teaspoon water
- 3/4 cup plain bread crumbs
- 12-16 slices green tomato (about 1/2-inch thick)
- 4 Portuguese rolls, sliced
- vegetable oil
- 1/2 cup mayonnaise
- 2 tablespoons chopped fresh basil
- 2 cups shredded mozzarella cheese
Preheat the oven broiler or outdoor grill with the rack about 4 inches from the heat source. Remove the stem and seeds from the bell peppers and cut them into quarters. Brush the pepper pieces with the olive oil. Broil the pepper pieces, turning them occasionally, for 8–10 minutes or until charred. Remove the pieces to a plate. When cool, peel off the skin.
Preheat the oven to 300 degrees. Mix the flour with some salt and pepper in a shallow dish. Place the beaten eggs in another dish. Place the breadcrumbs in a third dish. Coat the tomato slices with flour. Shake off the excess. Dip the coated slices in the beaten eggs, covering the slices completely. Coat the slices with the breadcrumbs. Place the tomato slices on a cookie sheet or baking rack to air dry for at least 15 minutes. Heat about 1/4-inch vegetable oil in a large sauté pan over medium-high heat. Fry the tomatoes for 2-3 minutes per side or until golden brown. Drain on paper towels.
Place the rolls in the oven to warm them up for about 4-5 minutes. Remove the rolls from the oven. While the rolls are warming, mix the mayonnaise and basil together. Spread equal amounts of the mayonnaise on the bottoms of each of the rolls. Top each with 3-4 tomato slices. Top each with two roasted pepper quarters. Top each with equal amounts of the cheese. Finally, cover with the top of the roll. Place back in the oven for a minute or so to slightly melt the cheese and serve.
Makes 4 sandwiches
New LaLa Lunchbox kosher content
My daughter Gillian, mother of three kids and creator of the best-selling lalalunchbox app, is expanding the content of this wildly successful tool that helps parents and children plan lunches for school, camp, field trips and so on.
It involves cute monsters and shopping lists that make it easy to get all that's needed, but mostly it encourages children to make decisions and healthy food choices. You can read more about it here.
Now there is going to be a special section geared for kosher food. Yes, many of the original items can already be kosher -- chicken leg, for example. Or made with kosher substitutions. But now there is a special section that is kosher-only. With no need to make changes or substitutions.
And I am thrilled to be curating the kosher items for the app!
Here are some of the items you can choose from when you download this app:
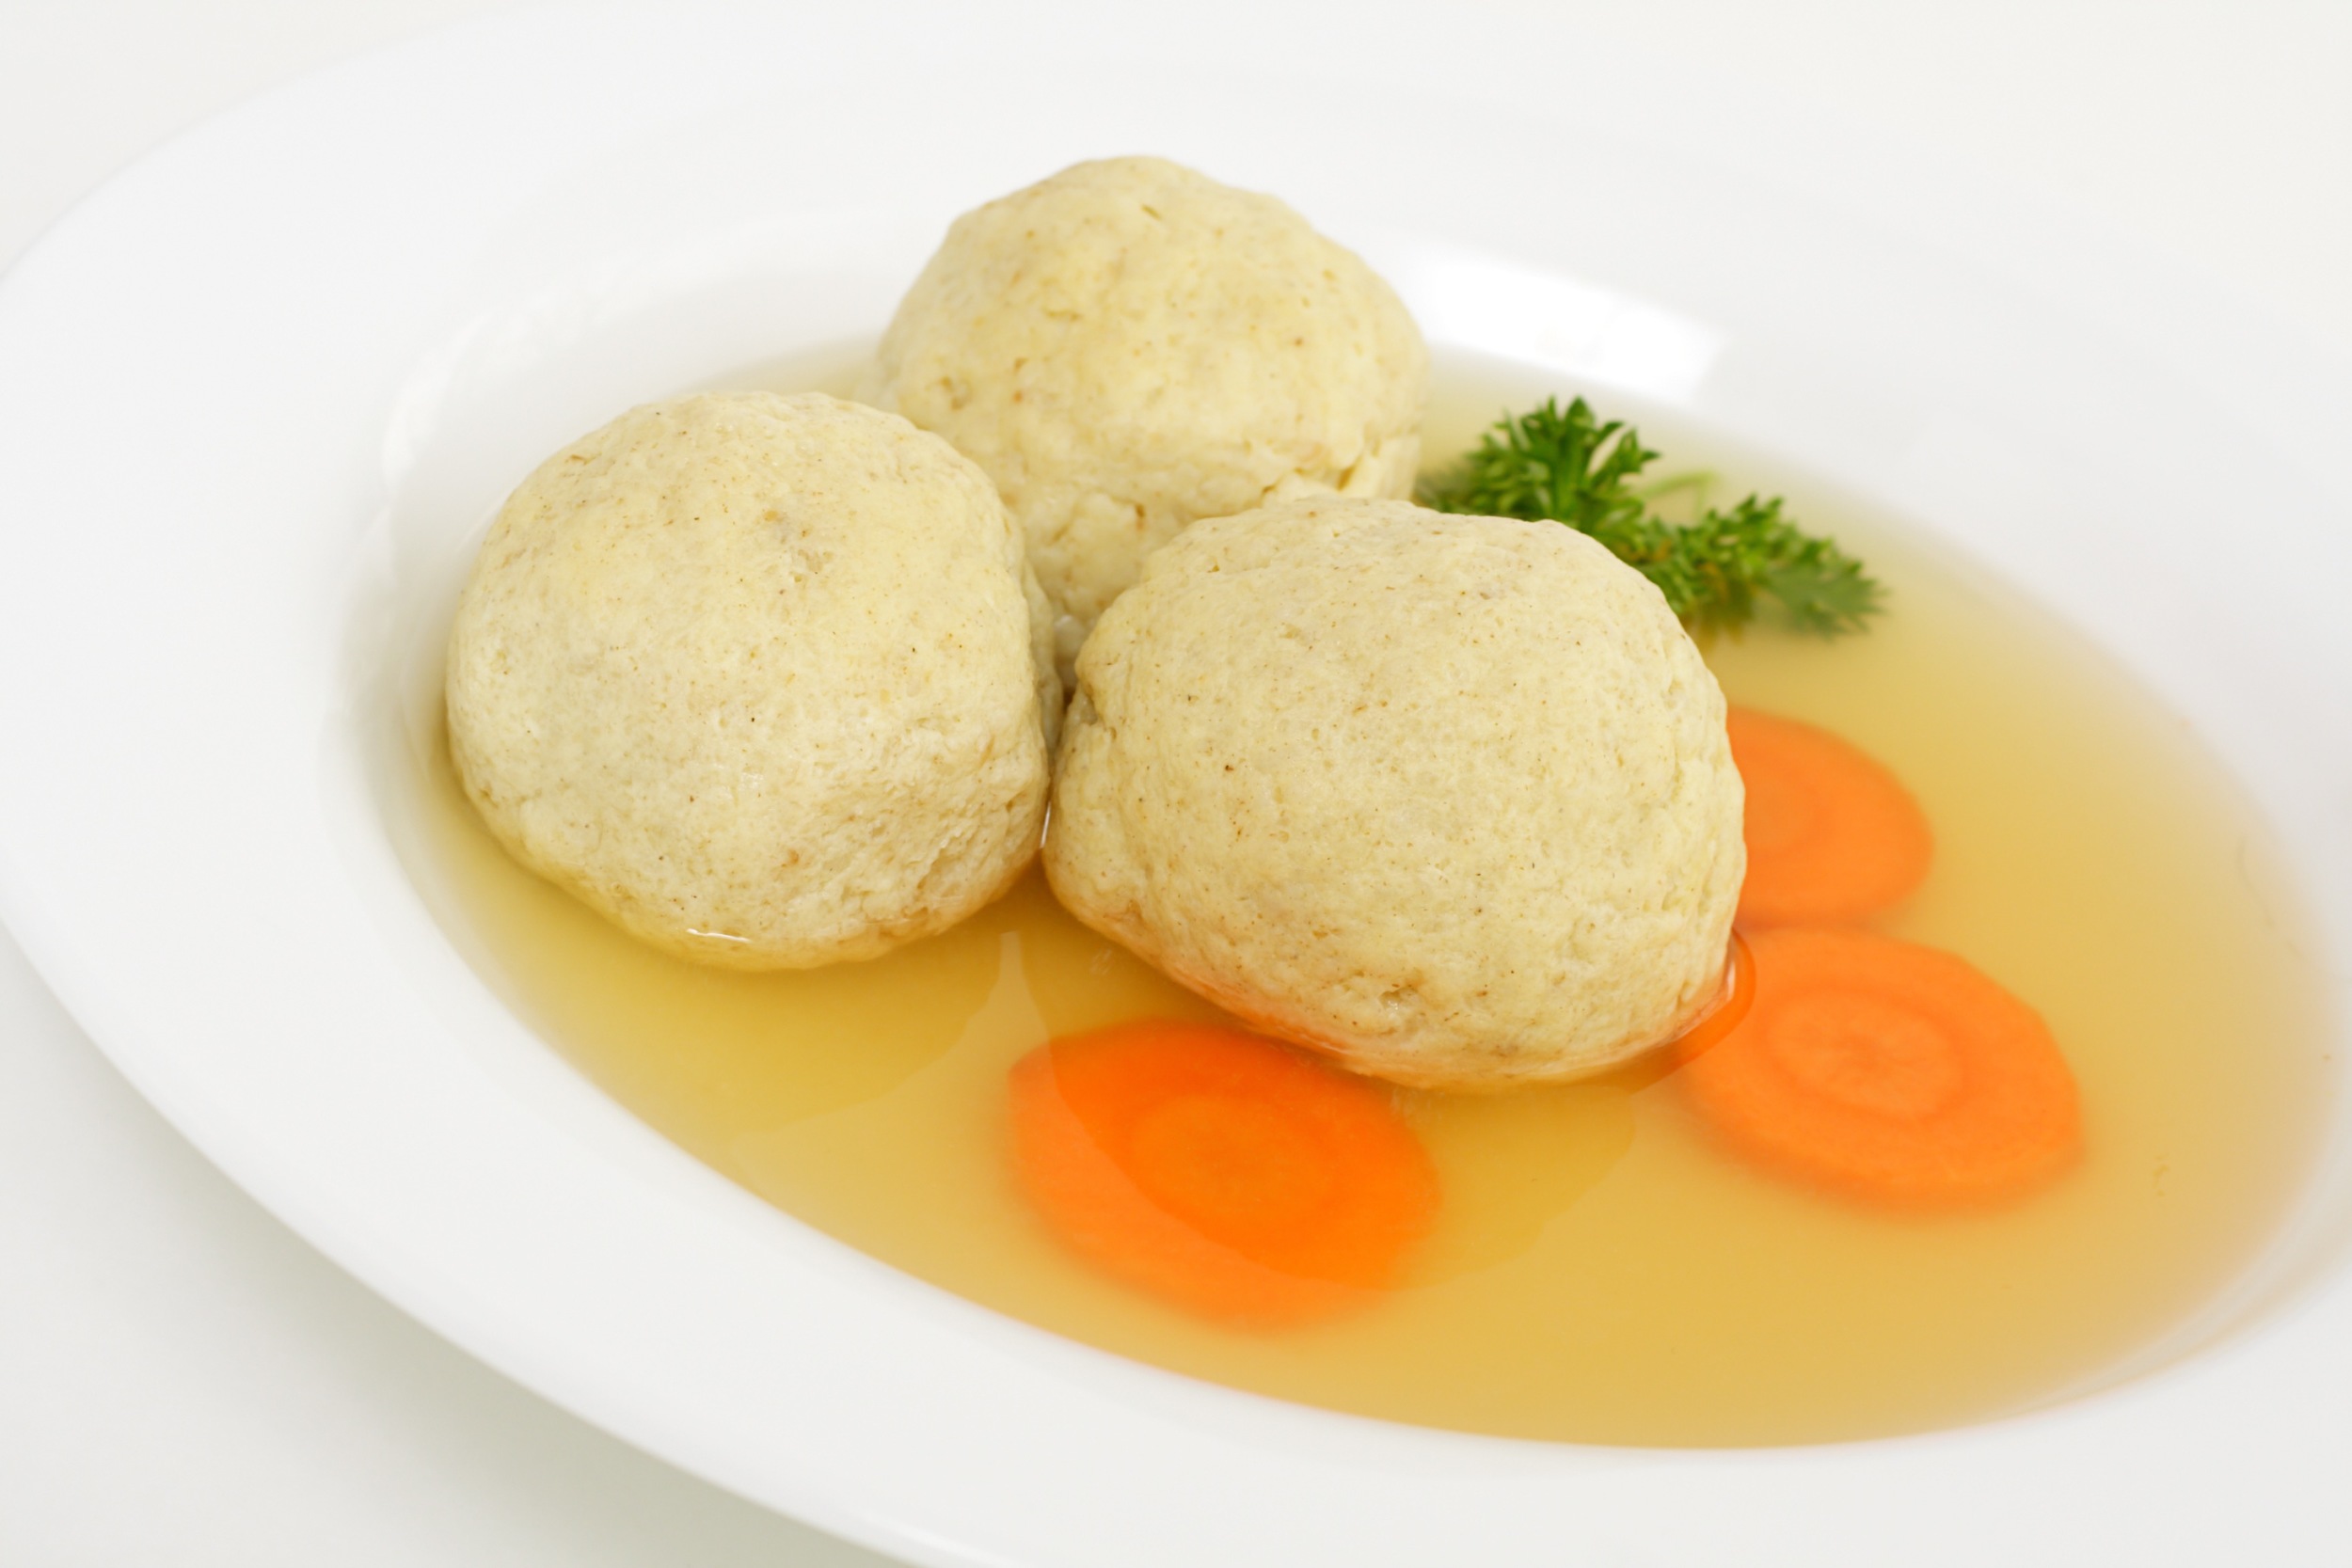
Traditional favorites such as: Pierogies! Blintzes! Banana bread! Hamantaschen! Potato Latkes! Matzo Ball Soup!

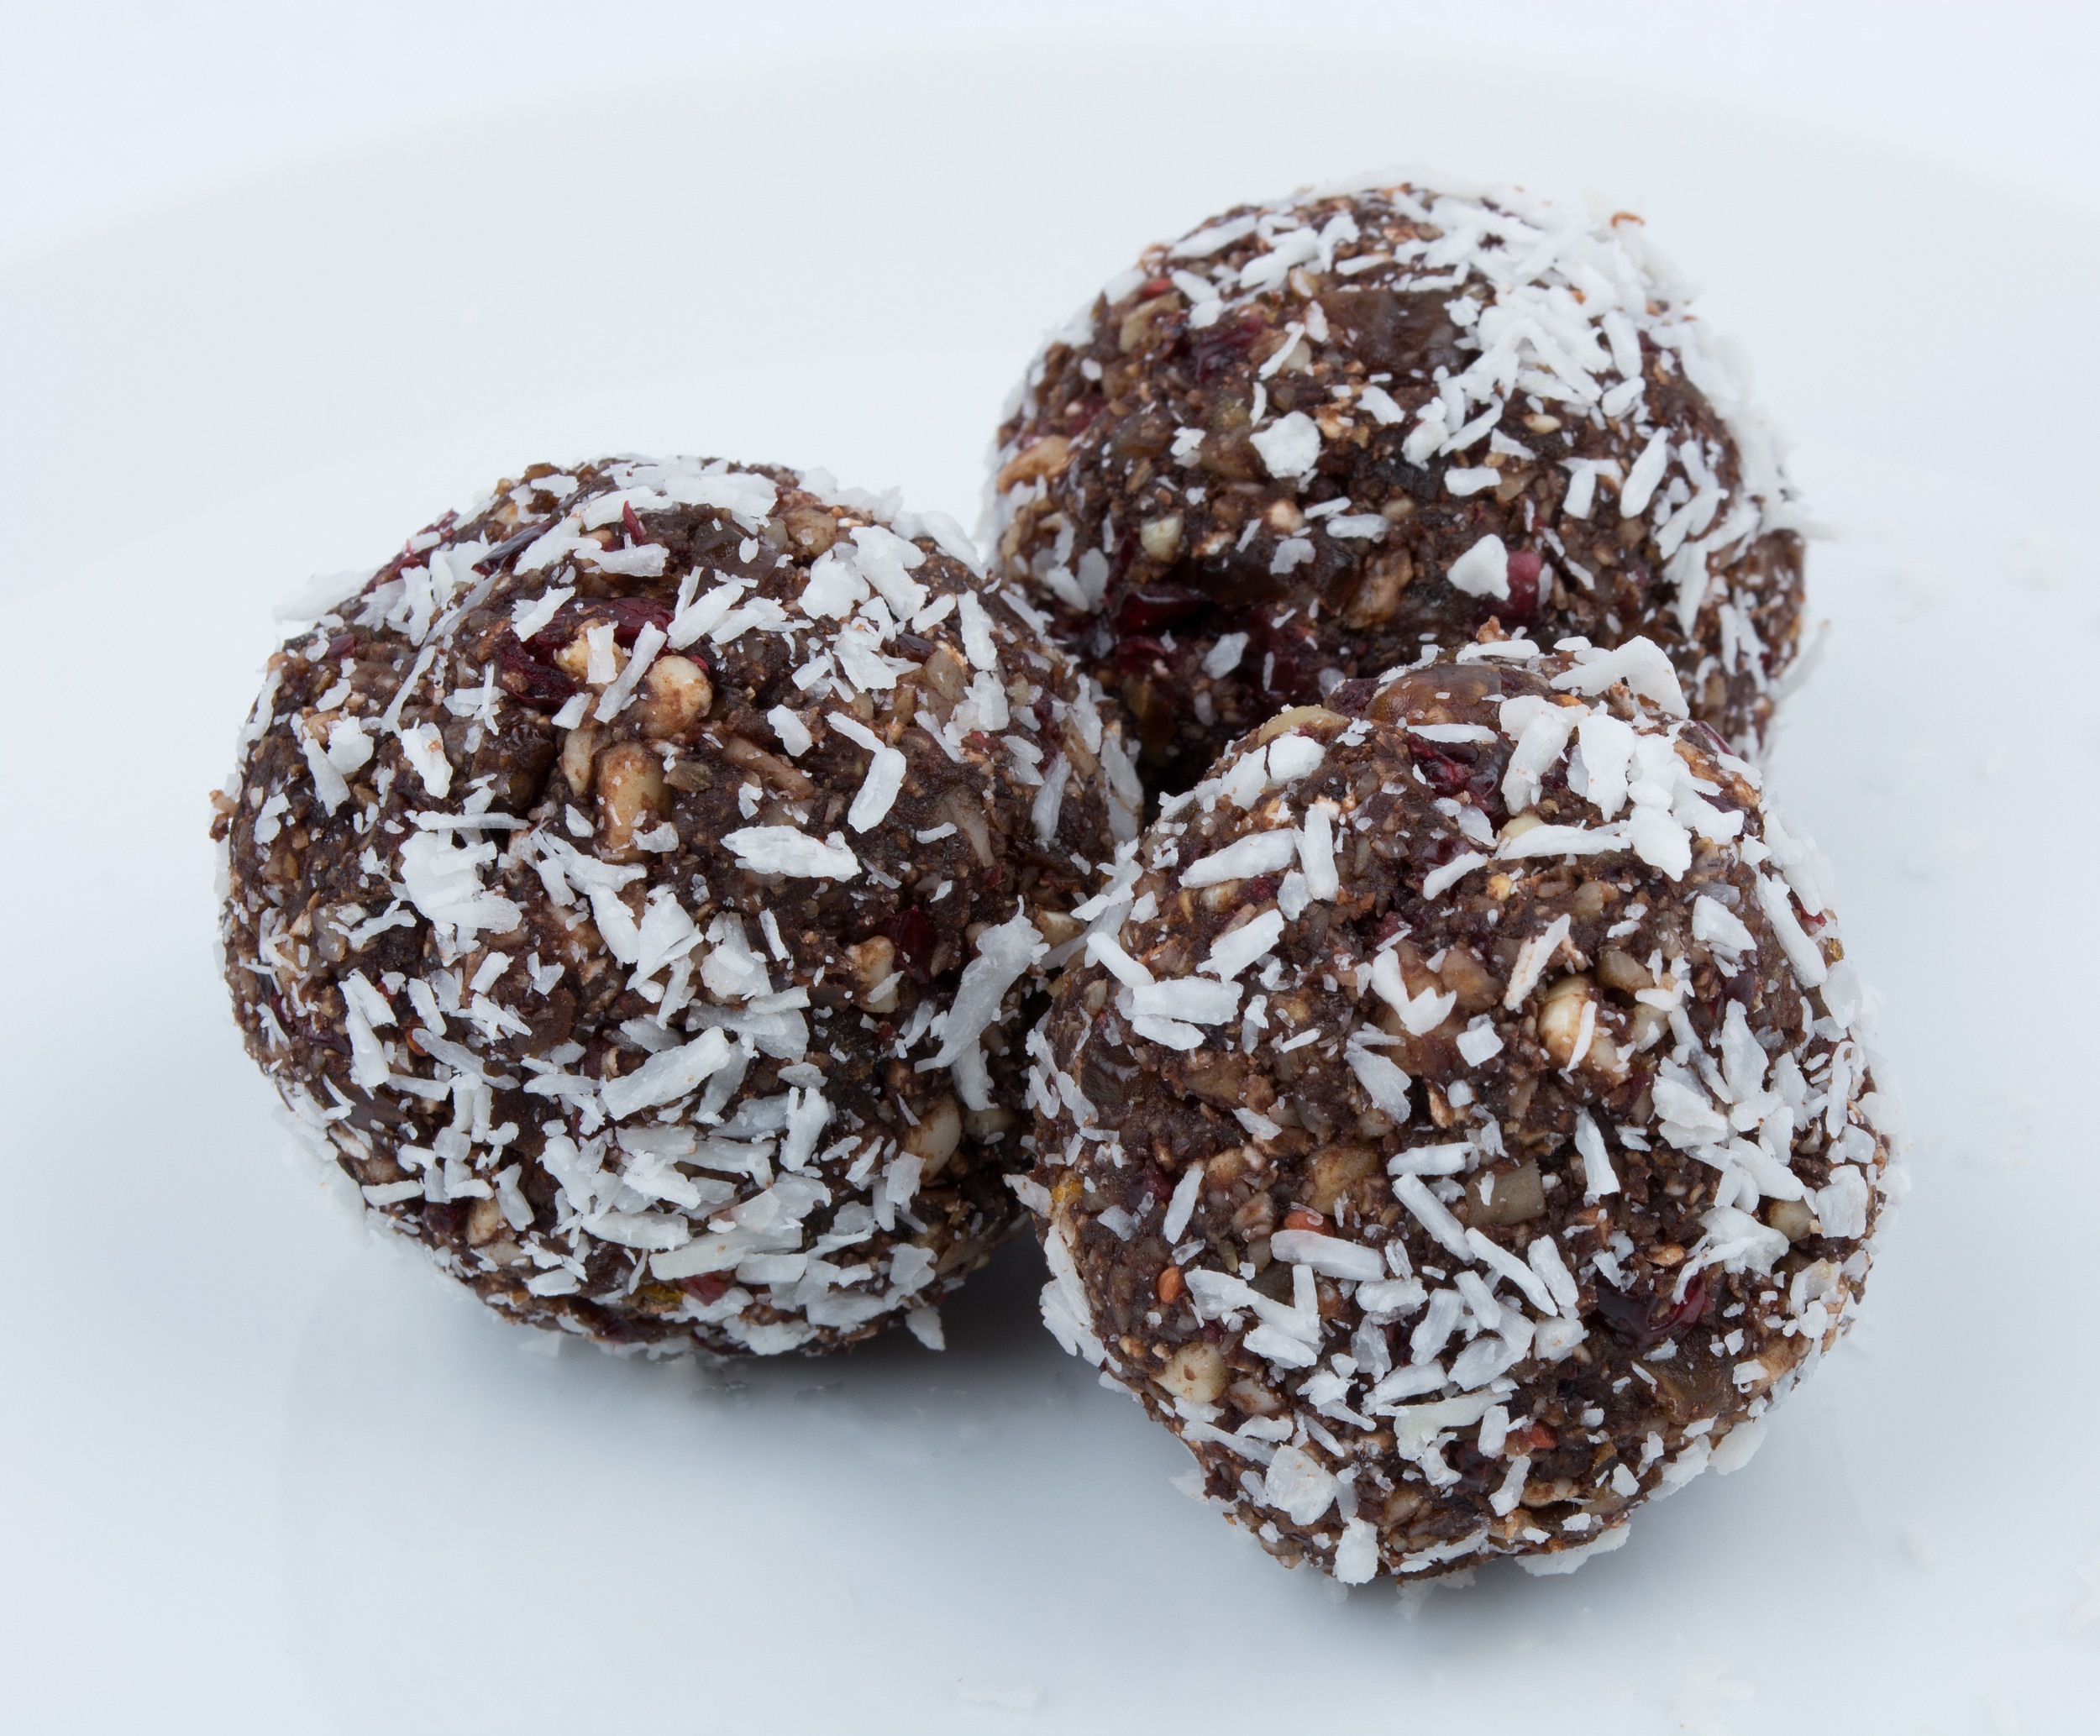
But also lots of up-to-date foods that kids love, like Date Snack Balls, Roasted Carrots, Grilled Chicken, Hummus, and much, much more.
I am happy to shard my recipes with you so you can make them with your family.
Check it out today so you can be ahead of the game in time for back-to-school!
Russ & Daughters at the Jewish Museum
Now hear this! Russ & Daughters at the Jewish Museum is open!!!!
It's a cafe but also a retail takeout shop.
It's new. Clean. Bright. Comfortable. Kosher!
And with all those fabulous items we love -- like herring and lox and whitefish.
PLUS: lots more, like blintzes, mushroom barley soup, knishes, chocolate egg creams, noodle kugel.
Oh my, oh my oh my.
PLUS: some Israeli favorites: Shakshuka and Chopped Salad.
And a few extras like pickles, beet salad and halvah ice cream.
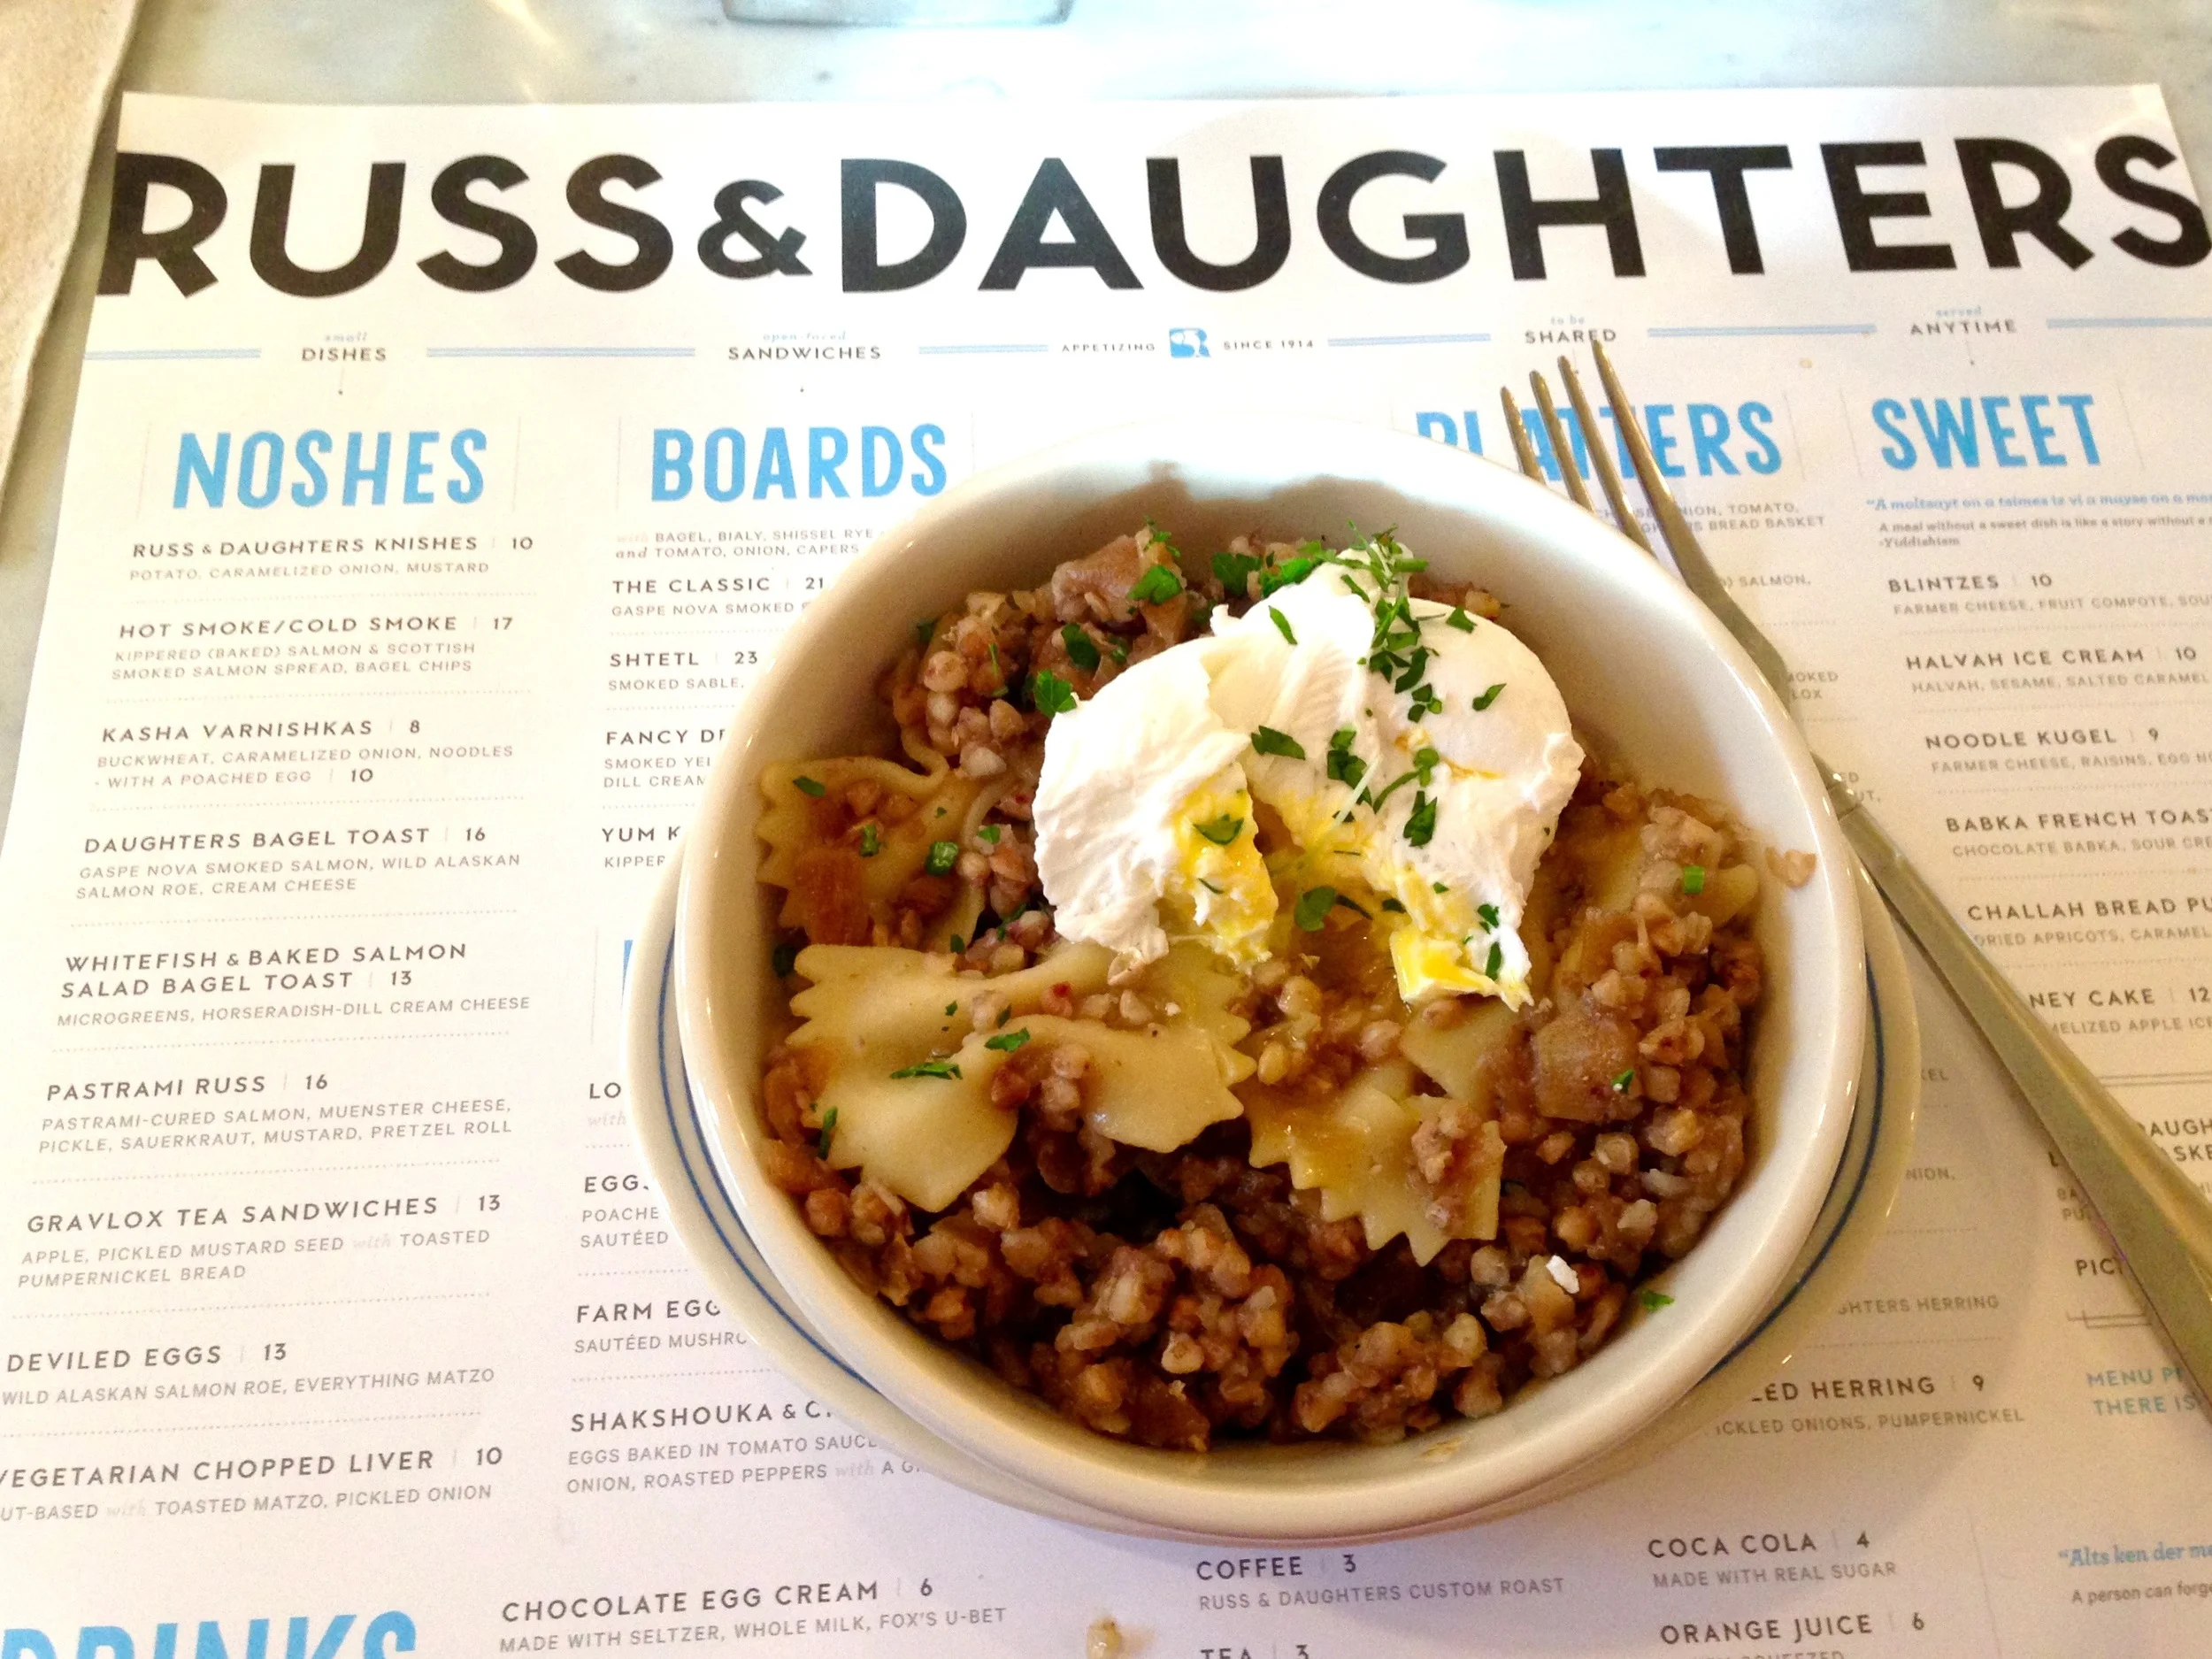
Ed and I were lucky to be invited for a preview lunch last week. I was a glutton and ordered two things. First Kasha Varnishkas, which I am really fussy about because my mother-in-law's recipe was so spectacularly delicious. This dish was fabulous and they add a modern touch that makes this side dish into a whole lunch (at least for me!) -- a poached egg on top so that the runny yolk oozes into the grains and caramelized onions. Ooooooh, is all I can say.
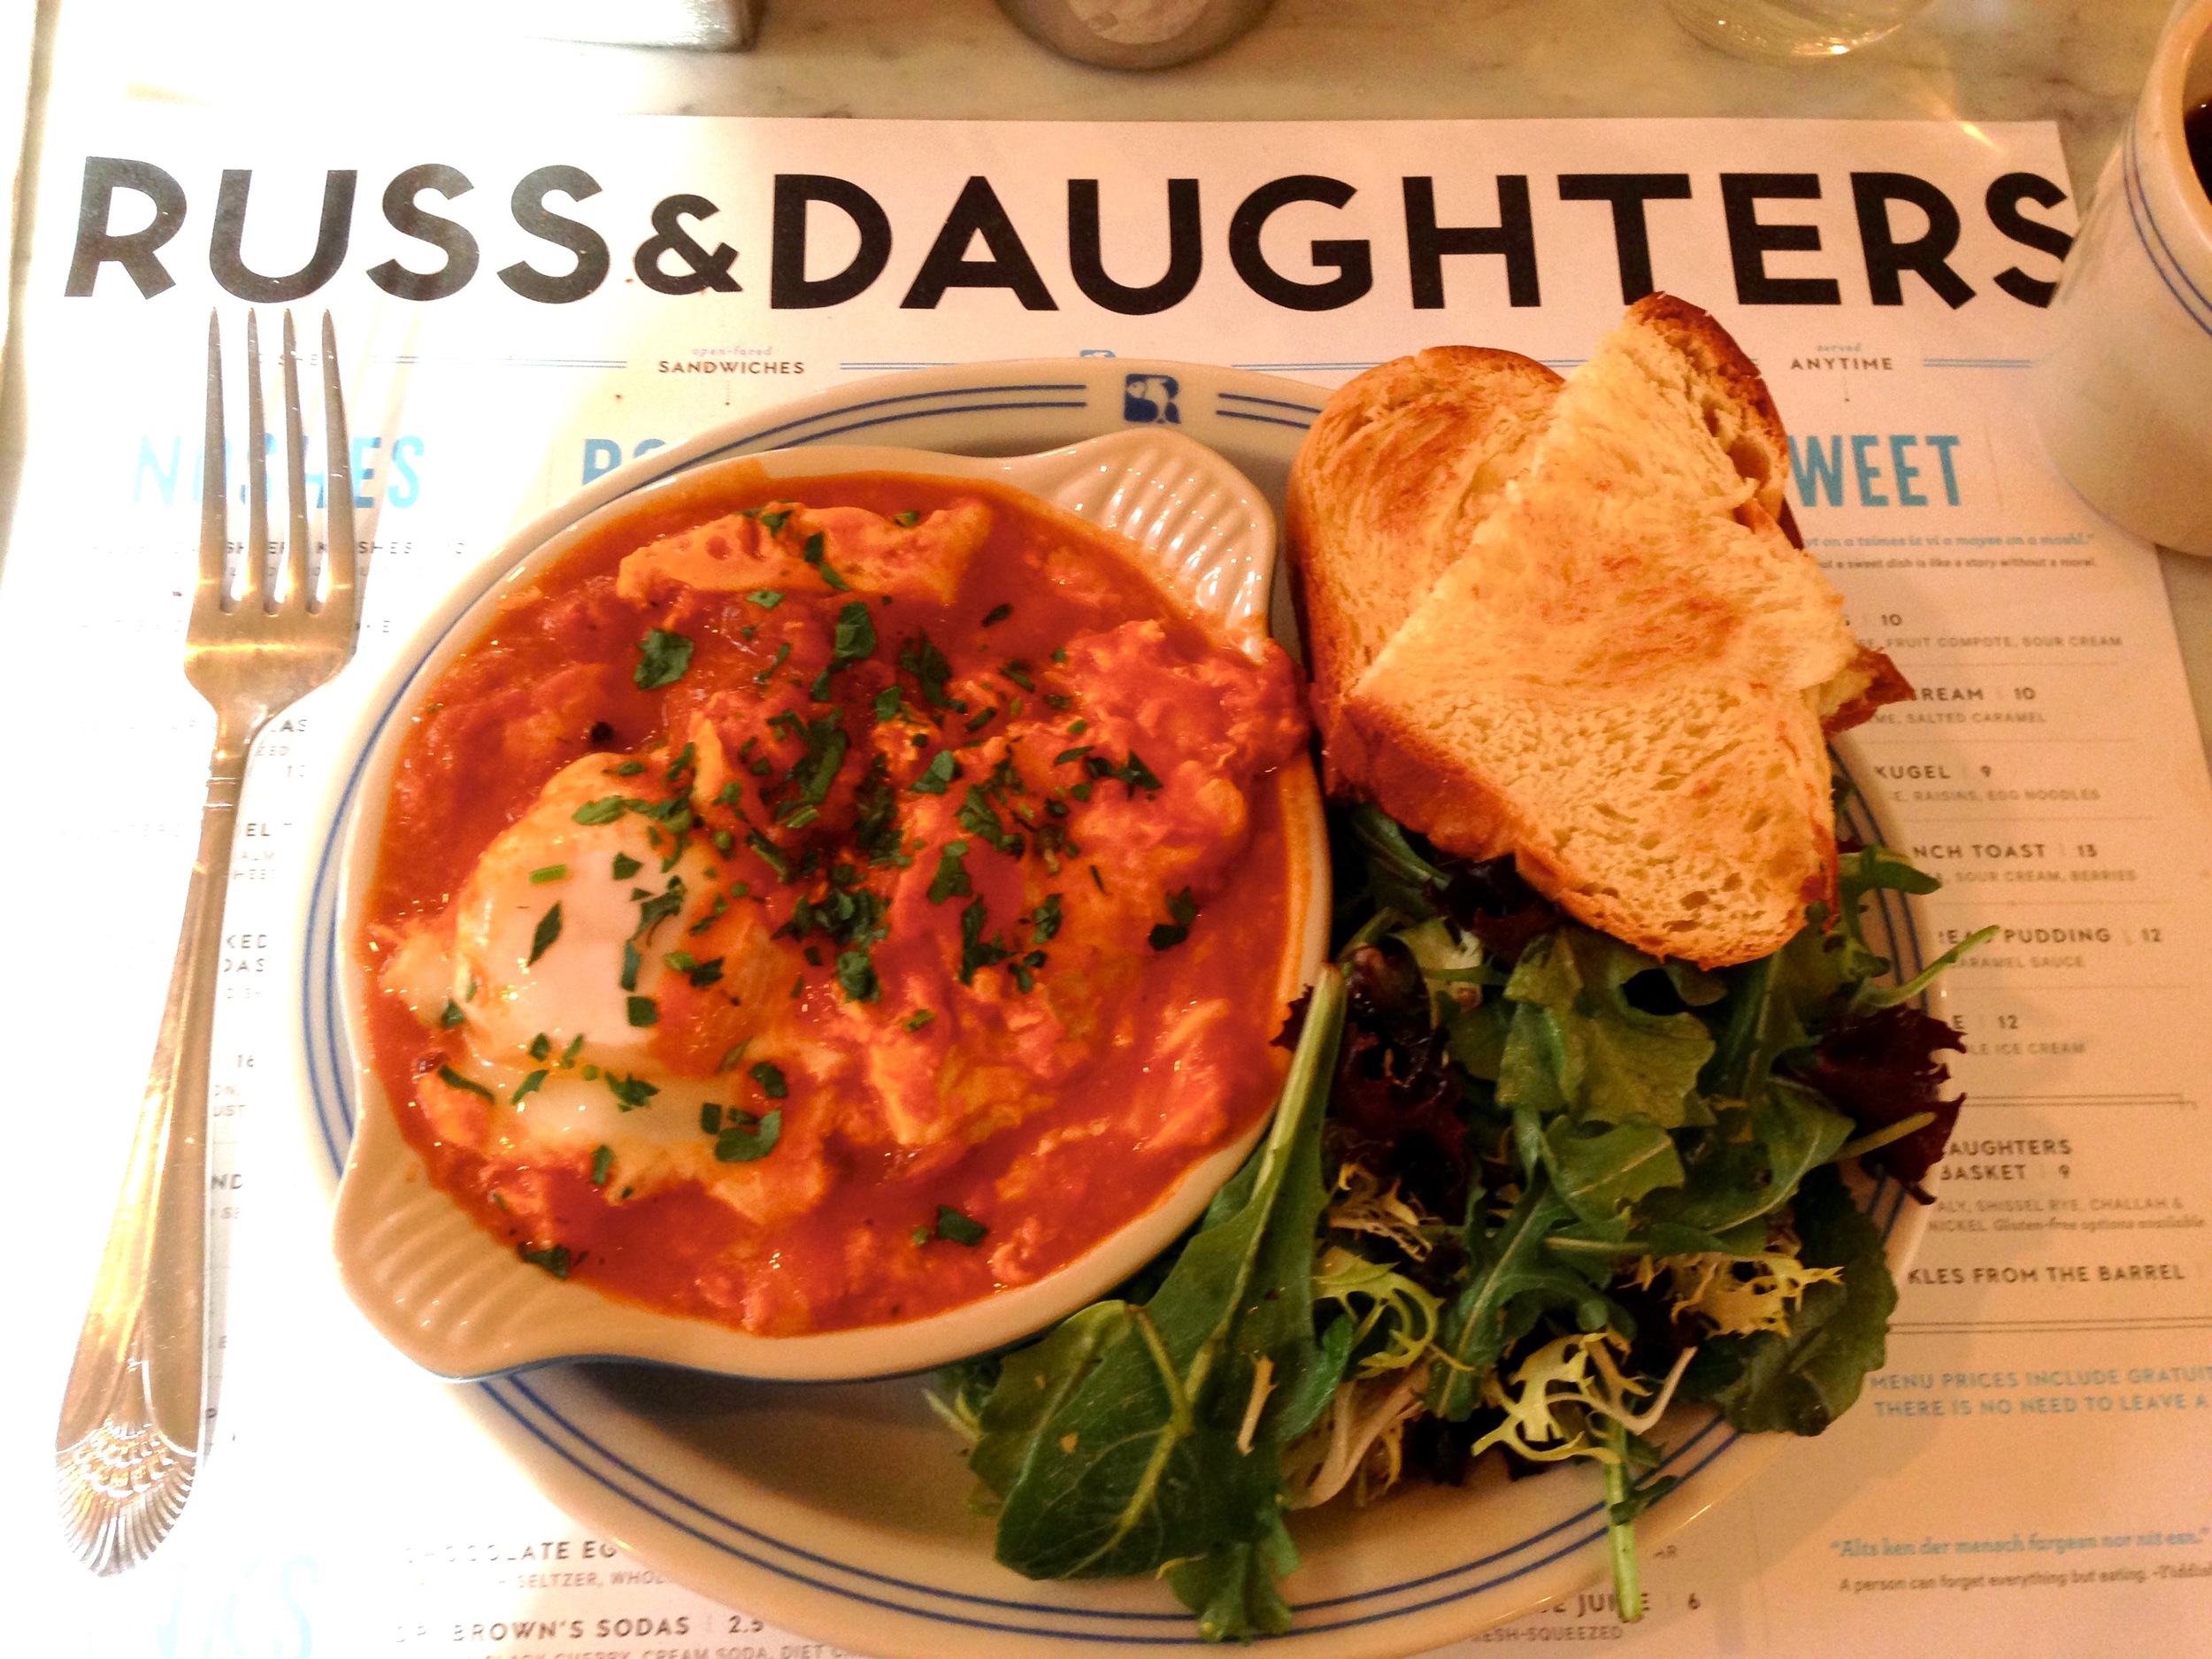
I also had the shakshuka (which they spell with an extra o), which was nice and tomato-y and rich with -- another poached egg.
I was too full for dessert.
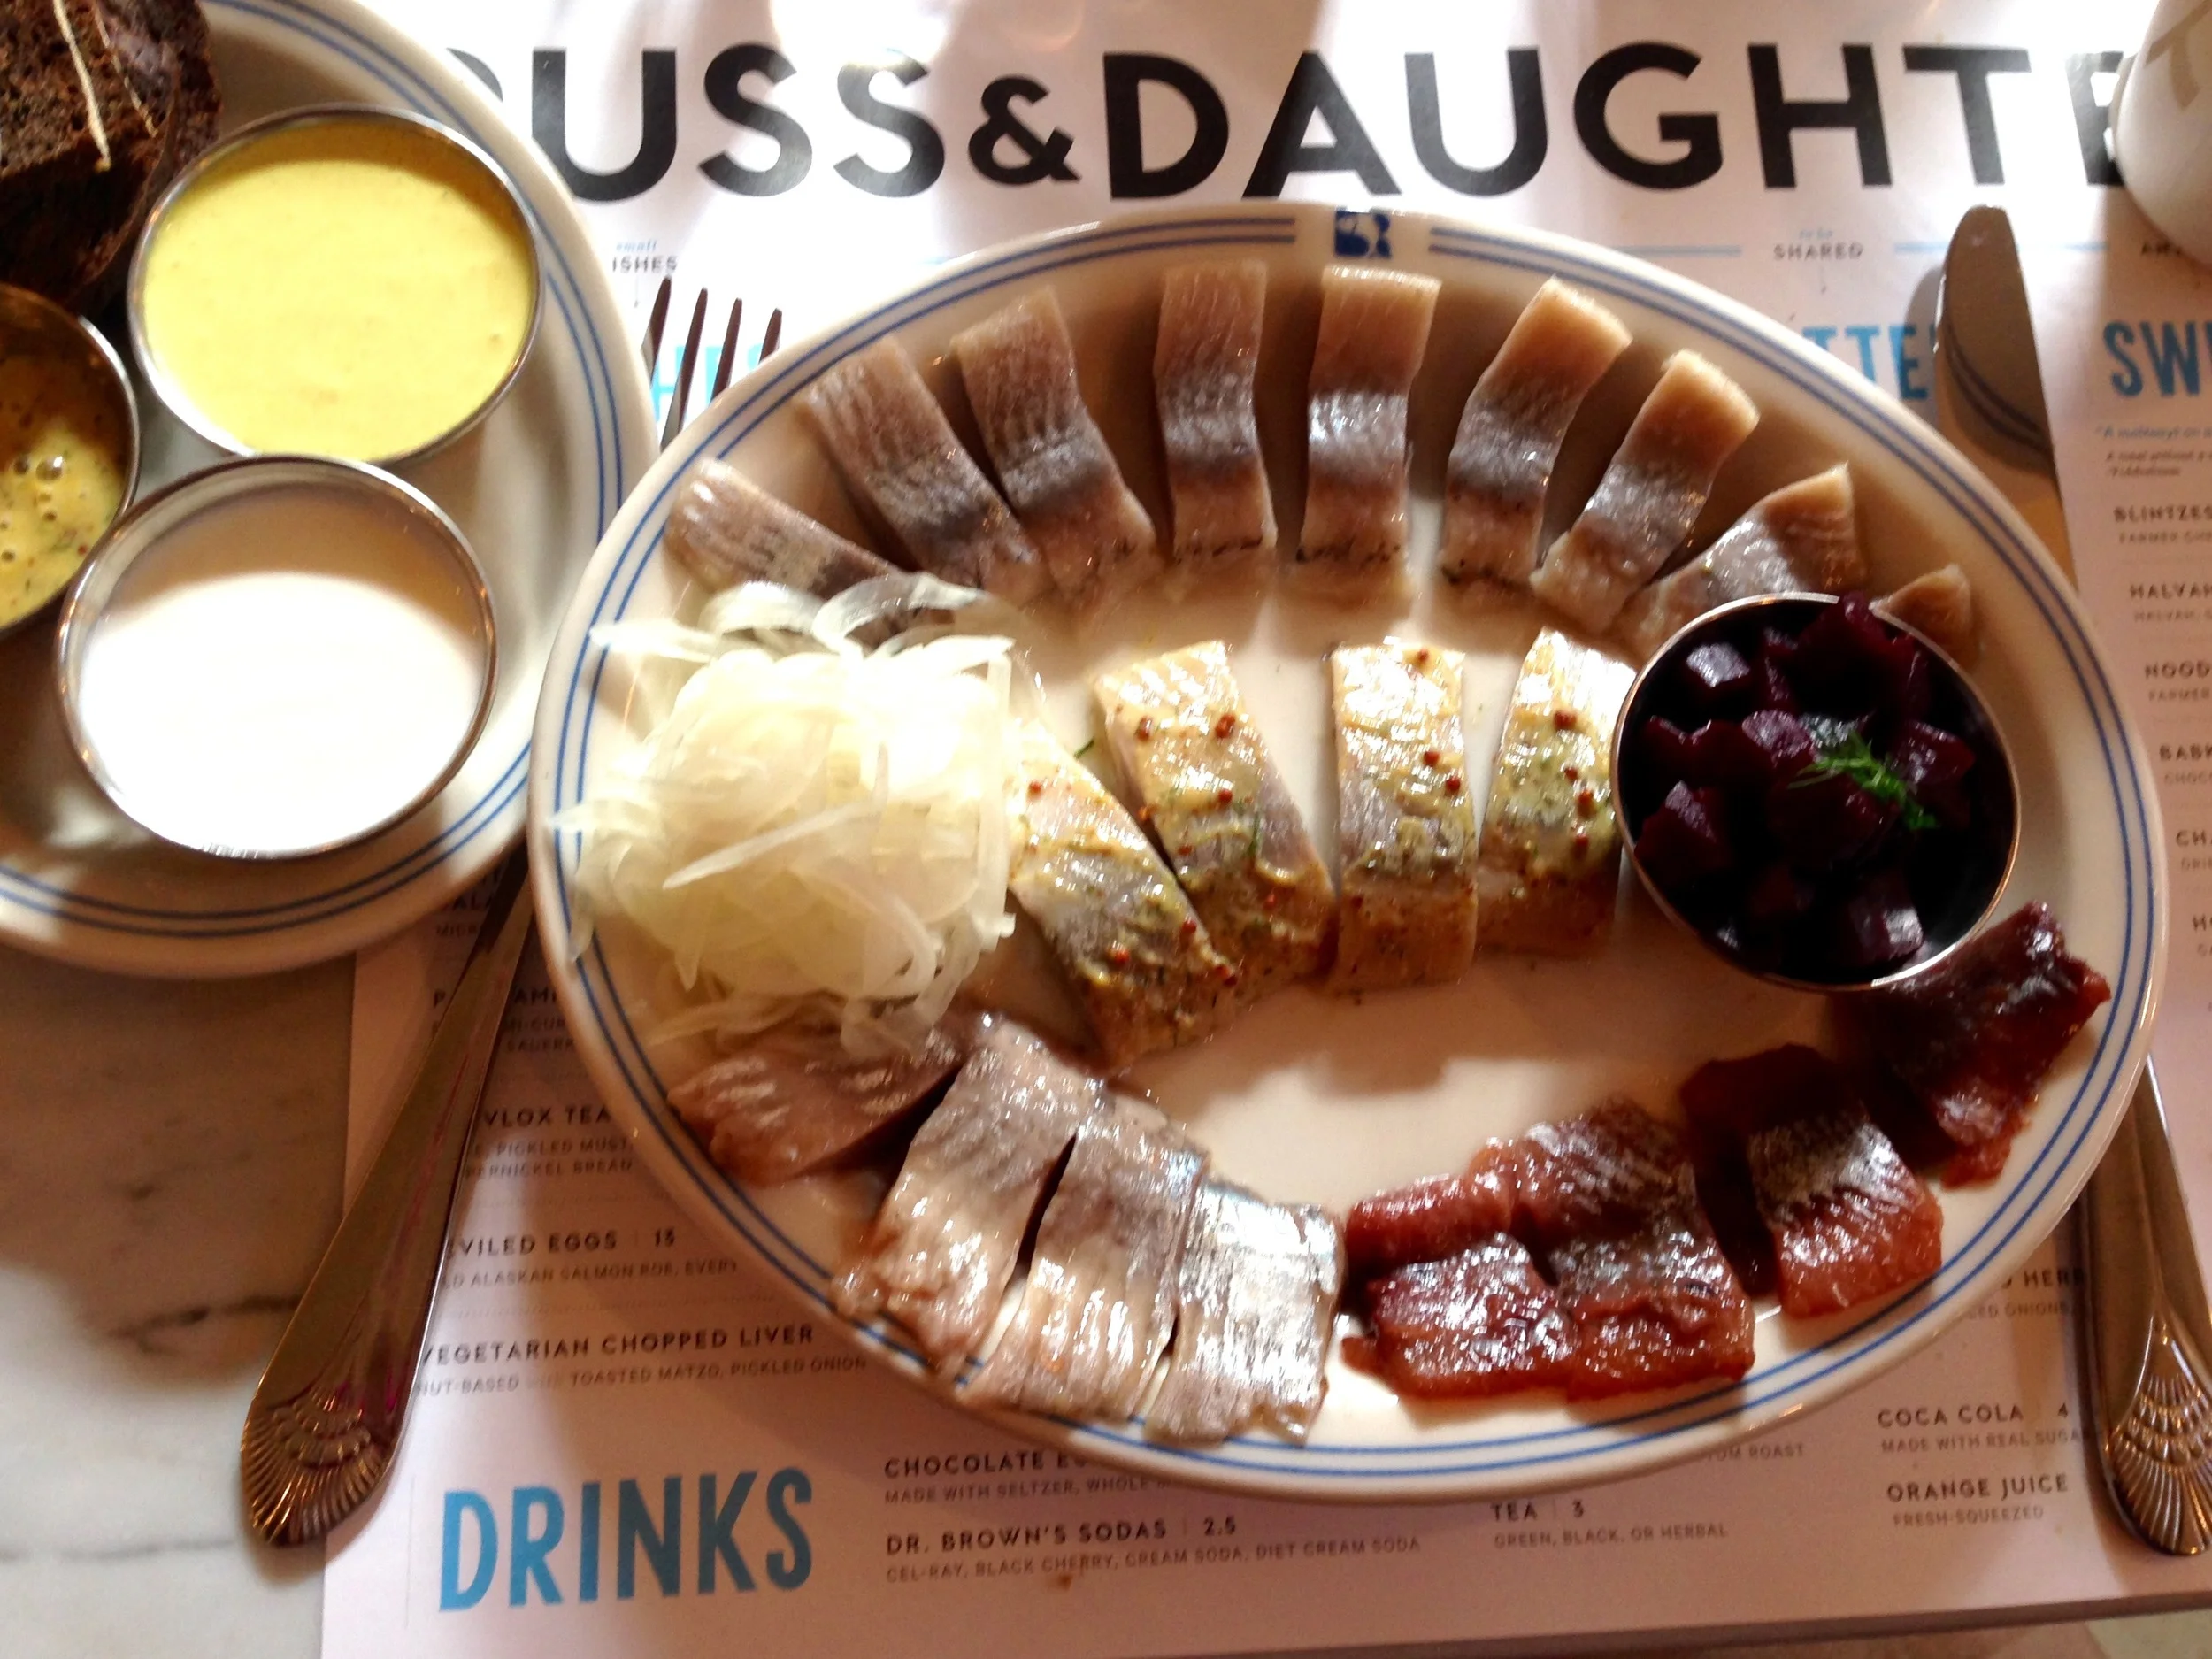
Ed did the easy thing -- testing out the Russ & Daughters herring plate, which was loaded with tidbits of different flavored herrings and accompanied by several sauces and chopped beets. The fish were very fresh, briny, tender. I had tastes of course.
The fish is where Russ & Daughters has always excelled of course. The takeout shelves included whitefish that were so fresh and fat they didn't look real. I wanted desperately to get one but we were on our way elsewhere and I didn't think carrying a big fish around would be such a good idea.
The breads are some of the best I've ever tasted. Rye and pumpernickel and especially the challah. If you ever read this blog you know I am pretty stubborn about my own challah being unsurpassed. But Russ & Daughters challah is amazing.
We will go back.
Thanks for the invite, Niki Russ Federman and Josh Russ Tupper (4th generation owners). Good luck on your new venture!
Do Kids Enjoy Cooking?

I never met a child who didn't enjoy cooking. Of course, I realize my universe is very, very small, but still ... over the years I have seen kids interested in food and be curious about such things as:
How big chunks get chopped into little pieces.
What happens to eggs when they're boiled.
What vanilla extract and whole cloves smell like.
What okra tastes like.
Why some people fry "grilled cheese" and some people cook it in a toaster oven.
How sushi/sashimi feels in your mouth.
Big questions. All of them. And if you encourage their curiosity, children learn much more than about the food. They learn that you will feed the hunger in their brain as well as in their stomach.
That's a good thing.
I think maybe kids begin the want-to-cook process when they are really young and they get to lick the bowl or taste a hunk of whatever it is you are cooking. Usually something sweet like cake batter or cookie dough.
Two of my grand daughters once shared a batter bowl and spatula, as you can see in the first photo. YES I KNOW ALLOWING THEM TO LICK THE SAME SPATULA isn't the most sanitary thing. But that picture, one of my favorites of all time, reminds me of the great time we had that day. And that they continued to enjoy cooking, with me and their parents.
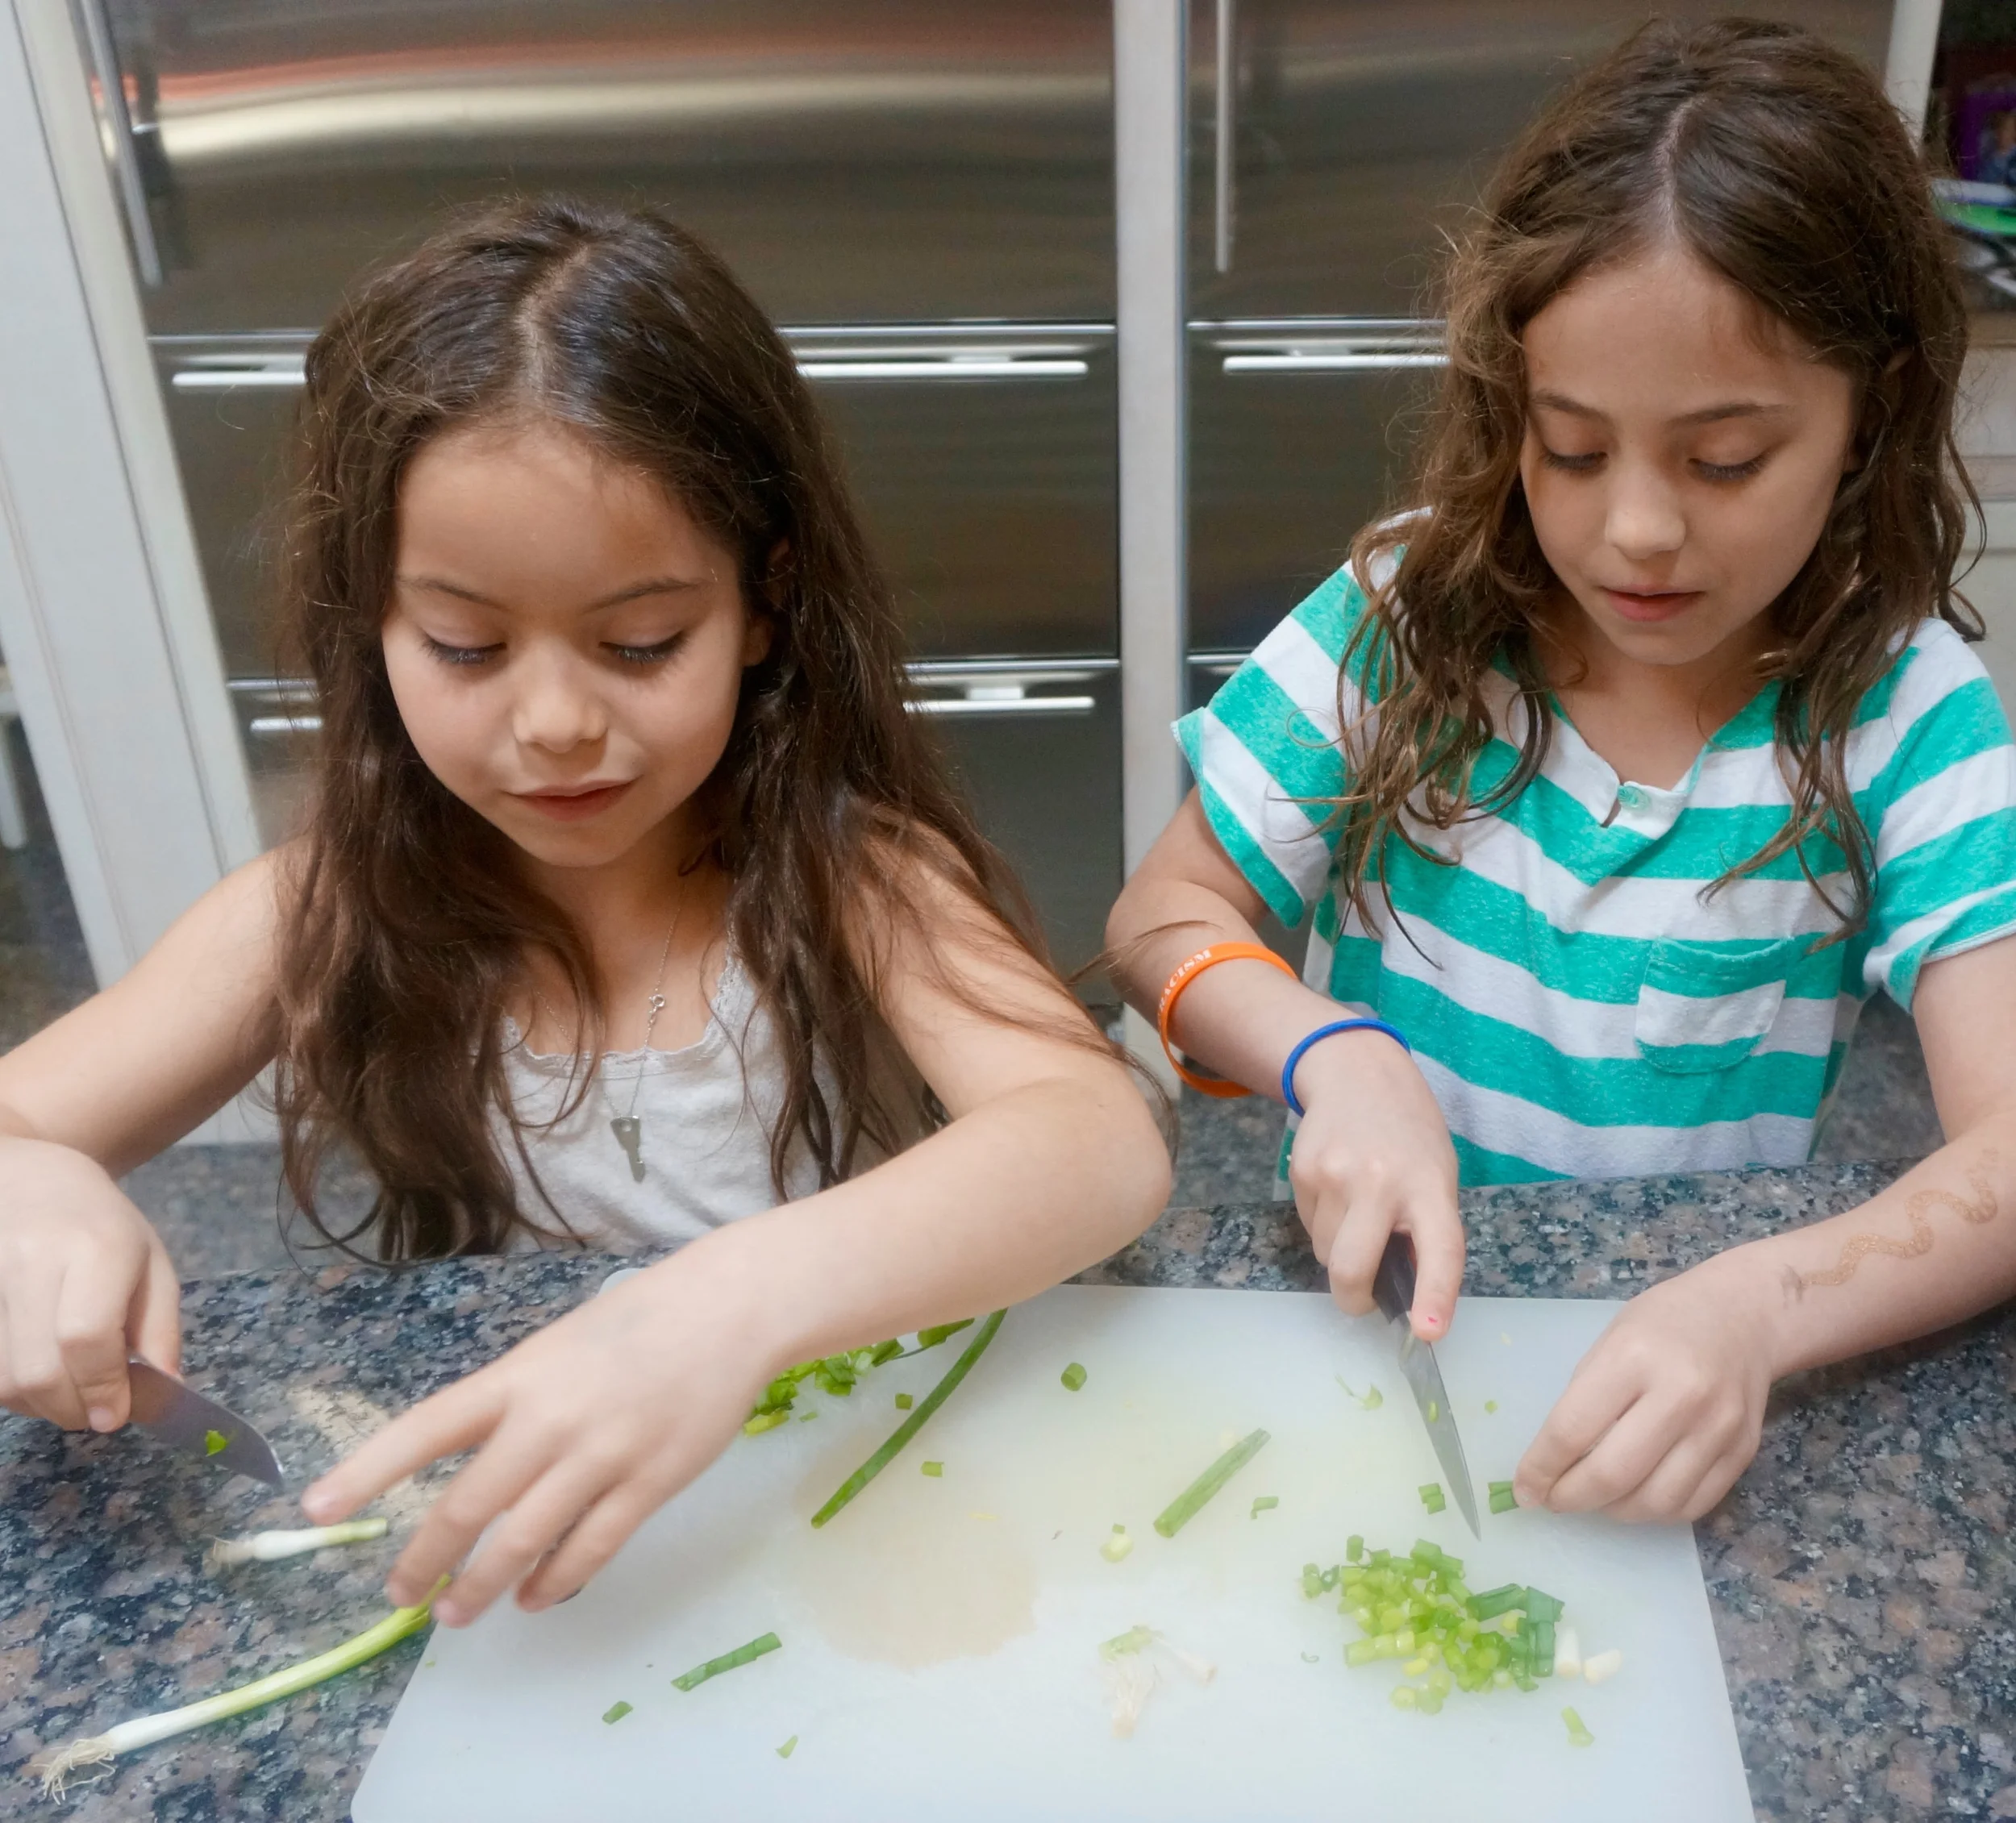
They are older now and recently graduated to knife skills. In the second photo they are chopping scallions. Another wonderful day. They are fully into the whole cooking thing and I know that these early adventures will make them unafraid of cooking for the rest of their lives.
The recipe for the cake they made on the sharing-spatula day is here.
The scallions? Used for the salad recipe that follows.
If you have a child or niece or nephew or neighbor or know some other kid, encourage him/her to cook. And better yet, do it with them and have some fun.
Chopped Salad with Chickpeas and Avocado
- 2 large ripe tomatoes, chopped
- 1 medium cucumber, peeled, deseeded, and chopped
- 1 large red bell pepper, deseeded and chopped
- 1 large ripe avocado, peeled, pitted and cut into dice
- 1 (15-ounce) can chick peas, rinsed and drained (or 1 1/2 cups cooked chickpeas)
- 1/2 cup tangy black olives, pitted and halved
- 2-3 hard cooked eggs, chopped
- 3–4 scallions, chopped
- 1/4 cup minced fresh parsley
- 2 teaspoons chopped fresh dill
- 4-5 tablespoons extra virgin olive oil
- 3-4 tablespoons lemon juice or red wine vinegar
- Salt and freshly ground black pepper to taste
Place the tomatoes, cucumber, bell pepper, avocado, chick peas, olives, eggs, scallions, parsley and dill in a bowl and toss ingredients gently. Just before serving, mix together the olive oil and lemon juice and pour over the salad. Season to taste with salt and pepper.
Makes 4 servings.
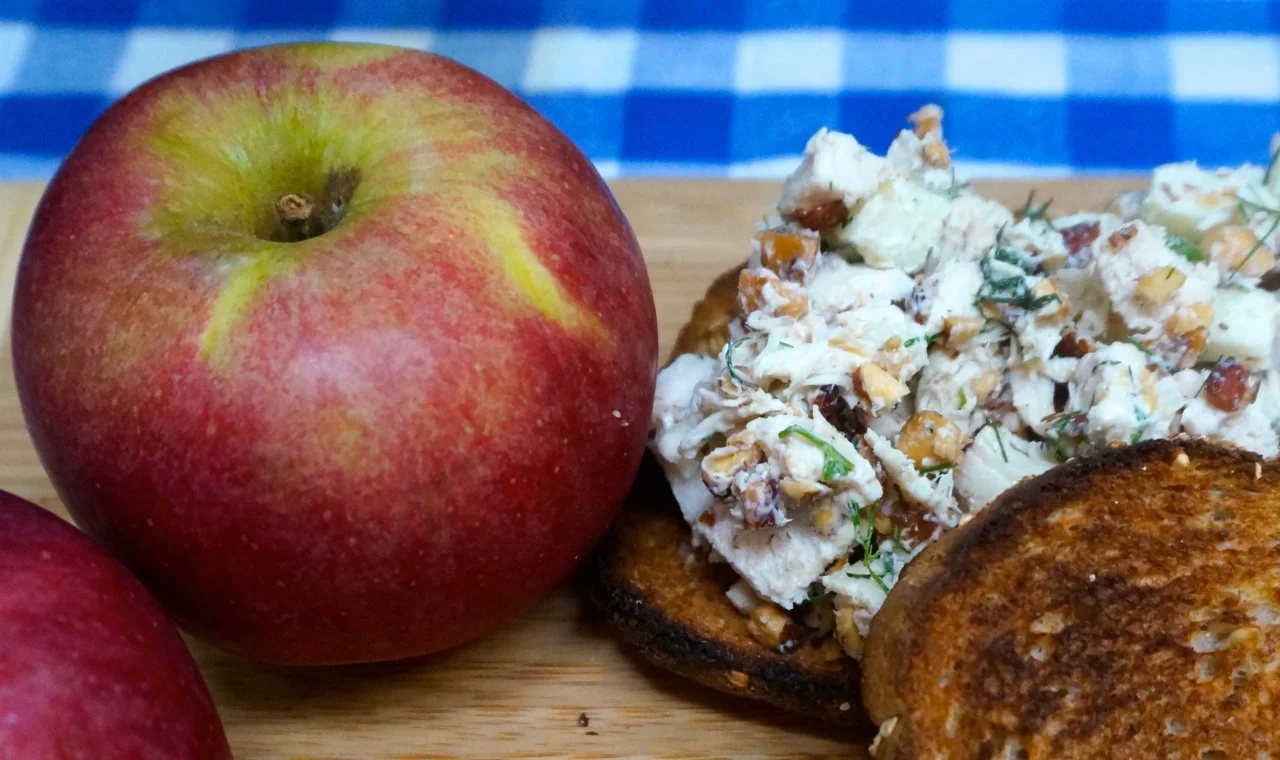
Chicken Salad with Apples and Almonds
Ed and I have been married long enough for us to have discussed a zillion topics from public school vs. private to what color to paint the living room to which is the best mouthwash.
We never run out of conversation. But I sure was surprised last week when we found ourselves talking about whether chicken salad tastes best when you make it with soup-cooked, poached chicken or leftover roasted/rotisserie chicken.
How had we missed this important matter in all this time?
It seems as if he finally felt compelled to let me know that my way — like my mom’s, using the chicken from the pot of chicken soup I had cooked — was not as good as the way he remembered his mom’s way (made with leftover roasted/rotisserie chicken). He added that all these years he had been eating my softer, more tender chicken salad, and enjoying it, but missed that extra “chew” you get from the meat of a roasted bird.
What do you know about that?!
Well, in any event, we both remembered that despite the difference in the way the chicken was cooked, both mothers diced the meat, added some chopped celery, mixed it with mayo and called it a day. Whereas, I never make chicken salad that way and, in fact, rarely make it the same way twice.
So folks, whatever you prefer — poached or roasted, barbecued, rotisseried or whatever, the following salad makes for a tasty sandwich filler. Feel free to change the meat to turkey, the almonds to hazelnuts, the apple to pear, the dill to tarragon, if you get my drift ….
Chicken Salad with Apples and Almonds
- 2 cups diced cooked chicken
- 1 medium apple, peeled, cored and diced
- 1/2 cup chopped roasted almonds
- 2 tablespoons chopped fresh dill
- 4-5 tablespoons mayonnaise
- salt and freshly ground black pepper to taste
Place the chicken, apple, almonds and dill in a bowl and toss to distribute the ingredients evenly. Add the mayonnaise, sprinkle with salt and pepper to taste, mix.
Makes 2 servings
Grilled Cheese, Egg and Avocado Panini

Grilled Cheese with a difference
For me, grilled cheese brings to mind the version my mother made: slices of American cheese over one piece of white bread (sometimes topped with a slice of tomato) and broiled or toaster-oven toasted until the cheese melted and bubbled on top.
But grilled cheese is one of those dishes that defies definition. Although almost everyone’s mother I knew back in my childhood days made the sandwich with American cheese and white bread (except that, unlike my mom, they used two slices of bread and fried the sandwich instead of toasting it), that wasn’t the case for all households.
Some moms used actual, real cheese, not processed American. Like my friend Lynne’s mother, who made it with Swiss cheese, which I hated, but this woman was so strict and glared at us so sternly that I ate every bit of that sandwich when I was at her house. To this day I can see Mrs. Remer standing there, arms folded over a well-endowed chest and willing us to finish.
When I was much older I realized that grilled cheese might be a kid favorite (at least when it had American cheese or, at worst, cheddar), but it continues to endure all through adulthood. It does in our house. Ed and I eat grilled cheese for dinner occasionally, or for a Sunday late breakfast, lunch or early dinner.
I use all sorts of meltable cheeses (even Swiss) and types of bread and add other ingredients for variety. Like fruit or jam. One time we wanted something more substantial, so I made this version:
Grilled Cheese, Egg and Avocado Panini
2 teaspoons butter
2 large eggs
2 tablespoons mayonnaise
4 slices homestyle white or multigrain bread
1 tablespoon chopped fresh basil, optional
3-4 ounces cheddar, sliced
4-6 tomato slices
1 ripe Haas avocado, peeled and sliced
1 tablespoon butter
Melt the 2 teaspoons butter in a sauté pan over medium heat. Crack the eggs and place them in the pan. Cook until the whites are set and barely crispy. Flip the eggs and cook for 30-45 seconds. Dish out and set aside. Spread equal amounts of mayonnaise on each of two slices of bread (mix the mayonnaise with basil if desired). Top with equal amounts of cheese, tomato and avocado slices. Add one egg on top of each sandwich. Cover with second piece of bread. Melt half the remaining tablespoon of butter in the sauté pan over medium heat. Place the sandwiches in the pan. Place another, heavier pan on top. Cook for about 2 minutes. Remove the heavier pan, lift the sandwiches with a spatula and add the remaining butter to the pan. When the butter has melted, turn the sandwiches on the uncooked side, weight down with the heavier pan and cook for another minute or so or until second side is golden brown.
Makes 2 sandwiches
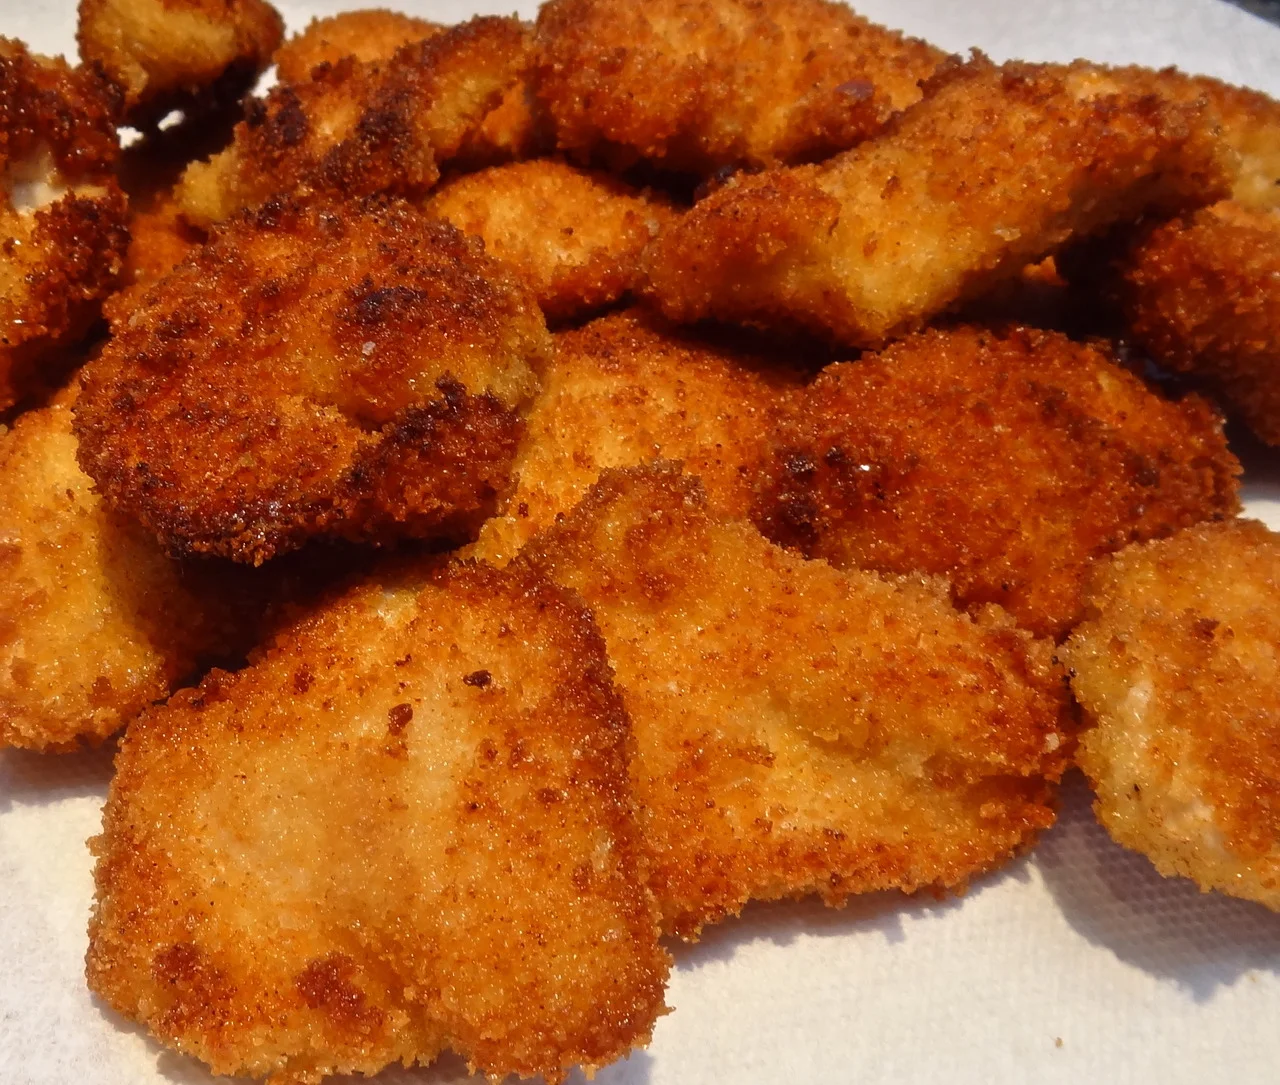
Chicken Nuggets
I see Back to School signs all over the place and as a matter of fact, here in Connecticut, where there can be a lot of snow days in the winter, teachers are already back at work. The kids start on August 28th, before Labor Day. Just in case.
My kids are grown, so I no longer have any of the worries that come with going back to school. About the bus pickup or whether some child they don’t especially like is in their class or whether their new teacher is an ogre who gives too much homework.
Those were stressful days, those days before school when the inertia of summer keeps us wanting to stay in place at the beach or in the pool or just lazing around.
But we can’t of course. Life goes on. And I am now watching from the grandparent side of things. Hearing the very same things I heard in days gone by.
One of the issues that still remains? What to bring for lunch.
When it was my kids I heard “baloney stinks.” Grilled cheese is “disgusting” when it’s cold. Soup spills when I open the plastic container.
These days everyones’ kids have similar likes and dislikes and there are new considerations such as rules about peanut butter and tree nuts.
One food item I knew would always be a winner is chicken nuggets, which are good hot or cold. Plain or dipped in ketchup or hummus. Add a few carrot sticks, a piece of fruit and a small bag of snack and it’s done.
It’s still true today. Most kids like chicken nuggets.
So that was and still is a good back to school lunch choice. Plus they are easy to make and you can make a lot of them and freeze them for future lunches.
Btw, there’s now a handy little device to help folks who go through the lunch planning thing: a new iOS App that was created and designed to help parents and kids plan lunch together for a week at a time (it also creates a shopping list for all the items you need). It was designed —ahem — by my daughter Gillian. But it’s not just me bragging. It’s received rave reviews in The New York Times and in-the-know tastemakers like Tina Roth Eisenberg (Swiss-Miss.com), nutritionists and pediatricians have also heaped it with praise.
Take a look at Gillian’s website www.lalalunchbox.com to read more about it. There’s a huge list of foods available for kids to choose from, but you can also customize items depending on your child’s specific tastes and needs (like allergy issues).
Meantime, here’s a recipe for Chicken Nuggets. Btw, these make great hors d’oeuvre for grownups.
Chicken Nuggets
one pound boneless and skinless chicken breasts
1 large egg
1 cup panko
1 teaspoon salt
1/2 teaspoon paprika
1/2 teaspoon garlic powder
vegetable oil for frying
Cut the chicken into about 18-20 (2-3 bite) pieces and put them in a large bowl. Add the egg and mix until the chicken pieces are uniformly coated. In a bowl, mix the panko, salt, paprika and garlic powder together. Dredge the chicken pieces in the panko, pressing to coat all surfaces. If you have time, set aside on a cake rack for 20-30 minutes to air dry. Heat 1/4-inch vegetable oil in a large saute pan over medium heat. When the oil is hot enough to make a bread crumb sizzle, fry the nuggets a few at a time for about 2 minutes per side or until golden brown. Drain on paper towels. Do not crowd the pan when frying the chicken. Makes 18-20 pieces.