Once again I was loaded down with bananas. We had sleepover guests for New Year’s weekend and I bought a lot of fruit. Too many bananas as it turns out.
Which is fine, because I love baking new versions of banana bread.
If you read my blog you know I hate to waste food. So for me, this particular recipe is really good because it’s a three-fer. Not only did I get to use up the bananas, I also was able to use fresh orange peel from some of the fruit I squeezed for juice. And I used up the date sugar I had in my cabinet (although this recipe is also fine with brown or white sugar as well).
The added citrus peel gives this bread a perky citrus taste. A refreshing thing, much needed in the gloom of January.
Because it isn’t very sweet, this is also especially good as a breakfast or brunch bread. You can use it to make cream cheese sandwiches too.
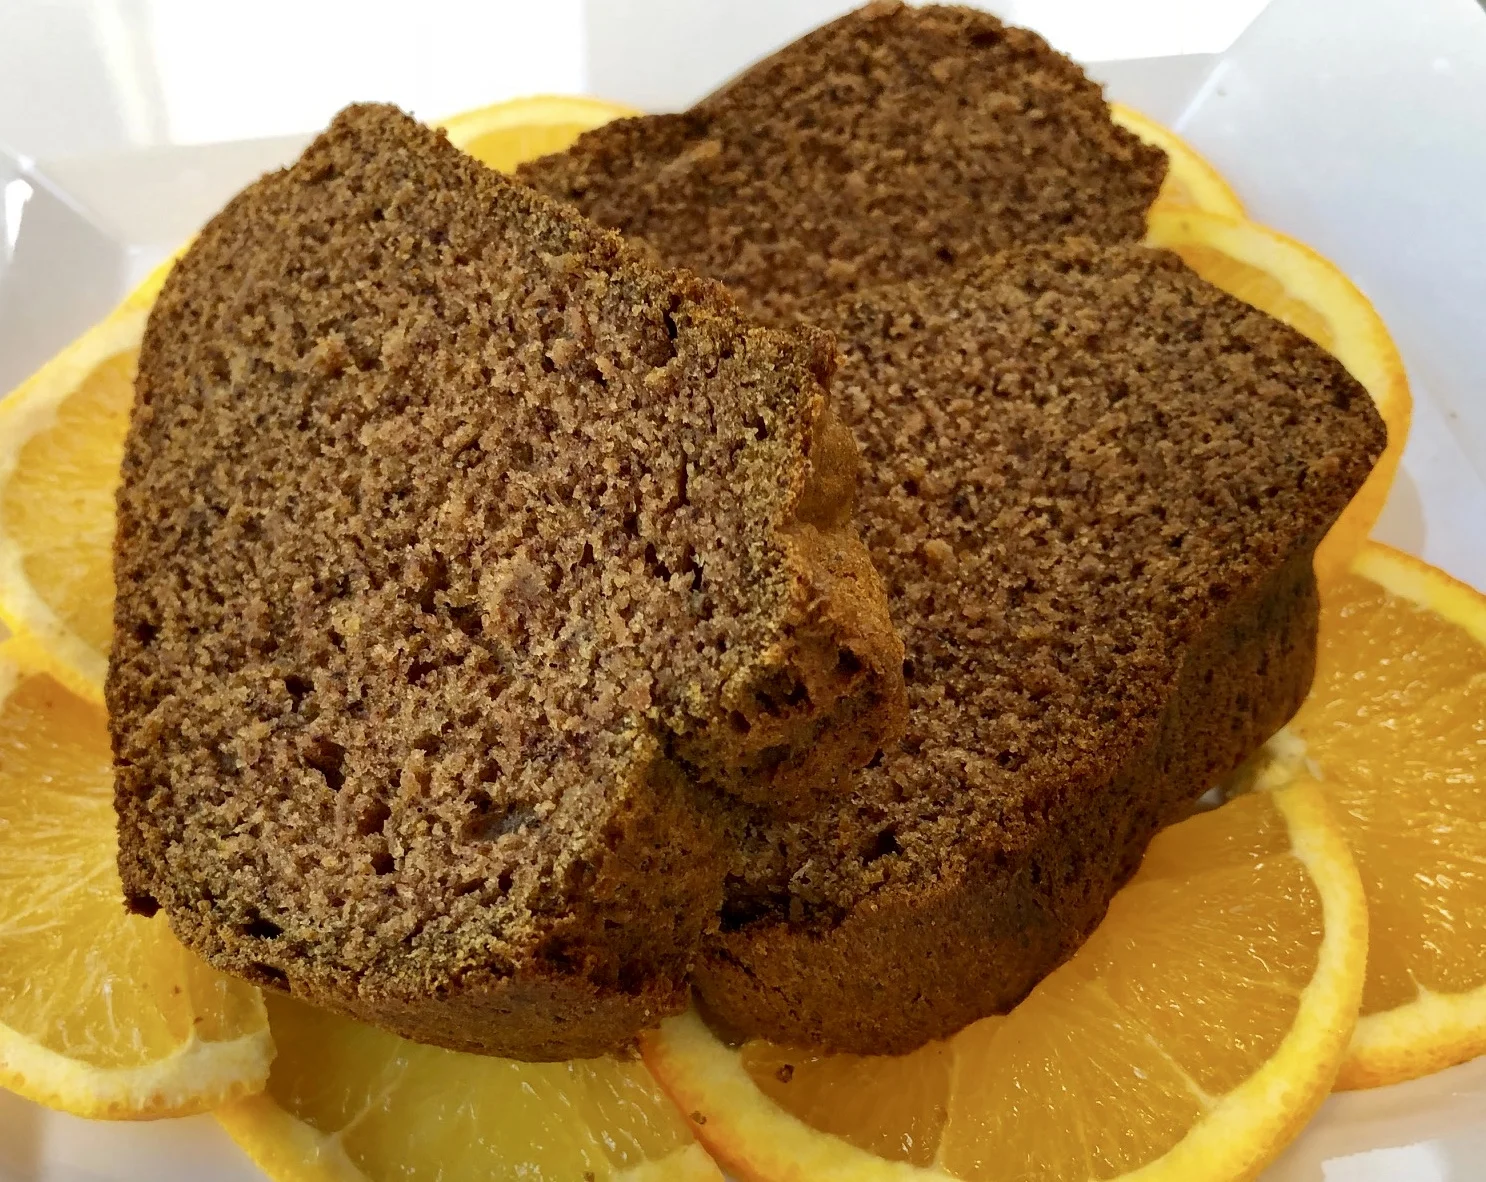
Banana Bread with Orange Flavor
2-1/2 cups all-purpose flour
1 tablespoon grated fresh orange peel
2 teaspoons baking soda
1 teaspoon salt
1 cup vegetable shortening
1 cup date sugar
4 ripe bananas, mashed
4 large eggs
1 teaspoon vanilla extract
Preheat the oven to 350 degrees. Grease and flour a 10-cup bundt pan. Mix the flour, orange peel, baking soda and salt in a bowl. In the bowl of an electric mixer set at medium speed, beat the shortening and date sugar until well blended. Add the bananas and beat them in thoroughly. Add the eggs and vanilla extract and beat them in thoroughly. Add the flour mixture and beat for a minute or so until the batter is well blended. Pour the batter into the prepared pan and bake for about one hour or until a cake tester inserted into the center comes out clean. Remove from the oven and let cool in the pan for 15 minutes. Remove to a cake rack to cool completely.
Makes one bread, serving 16-18