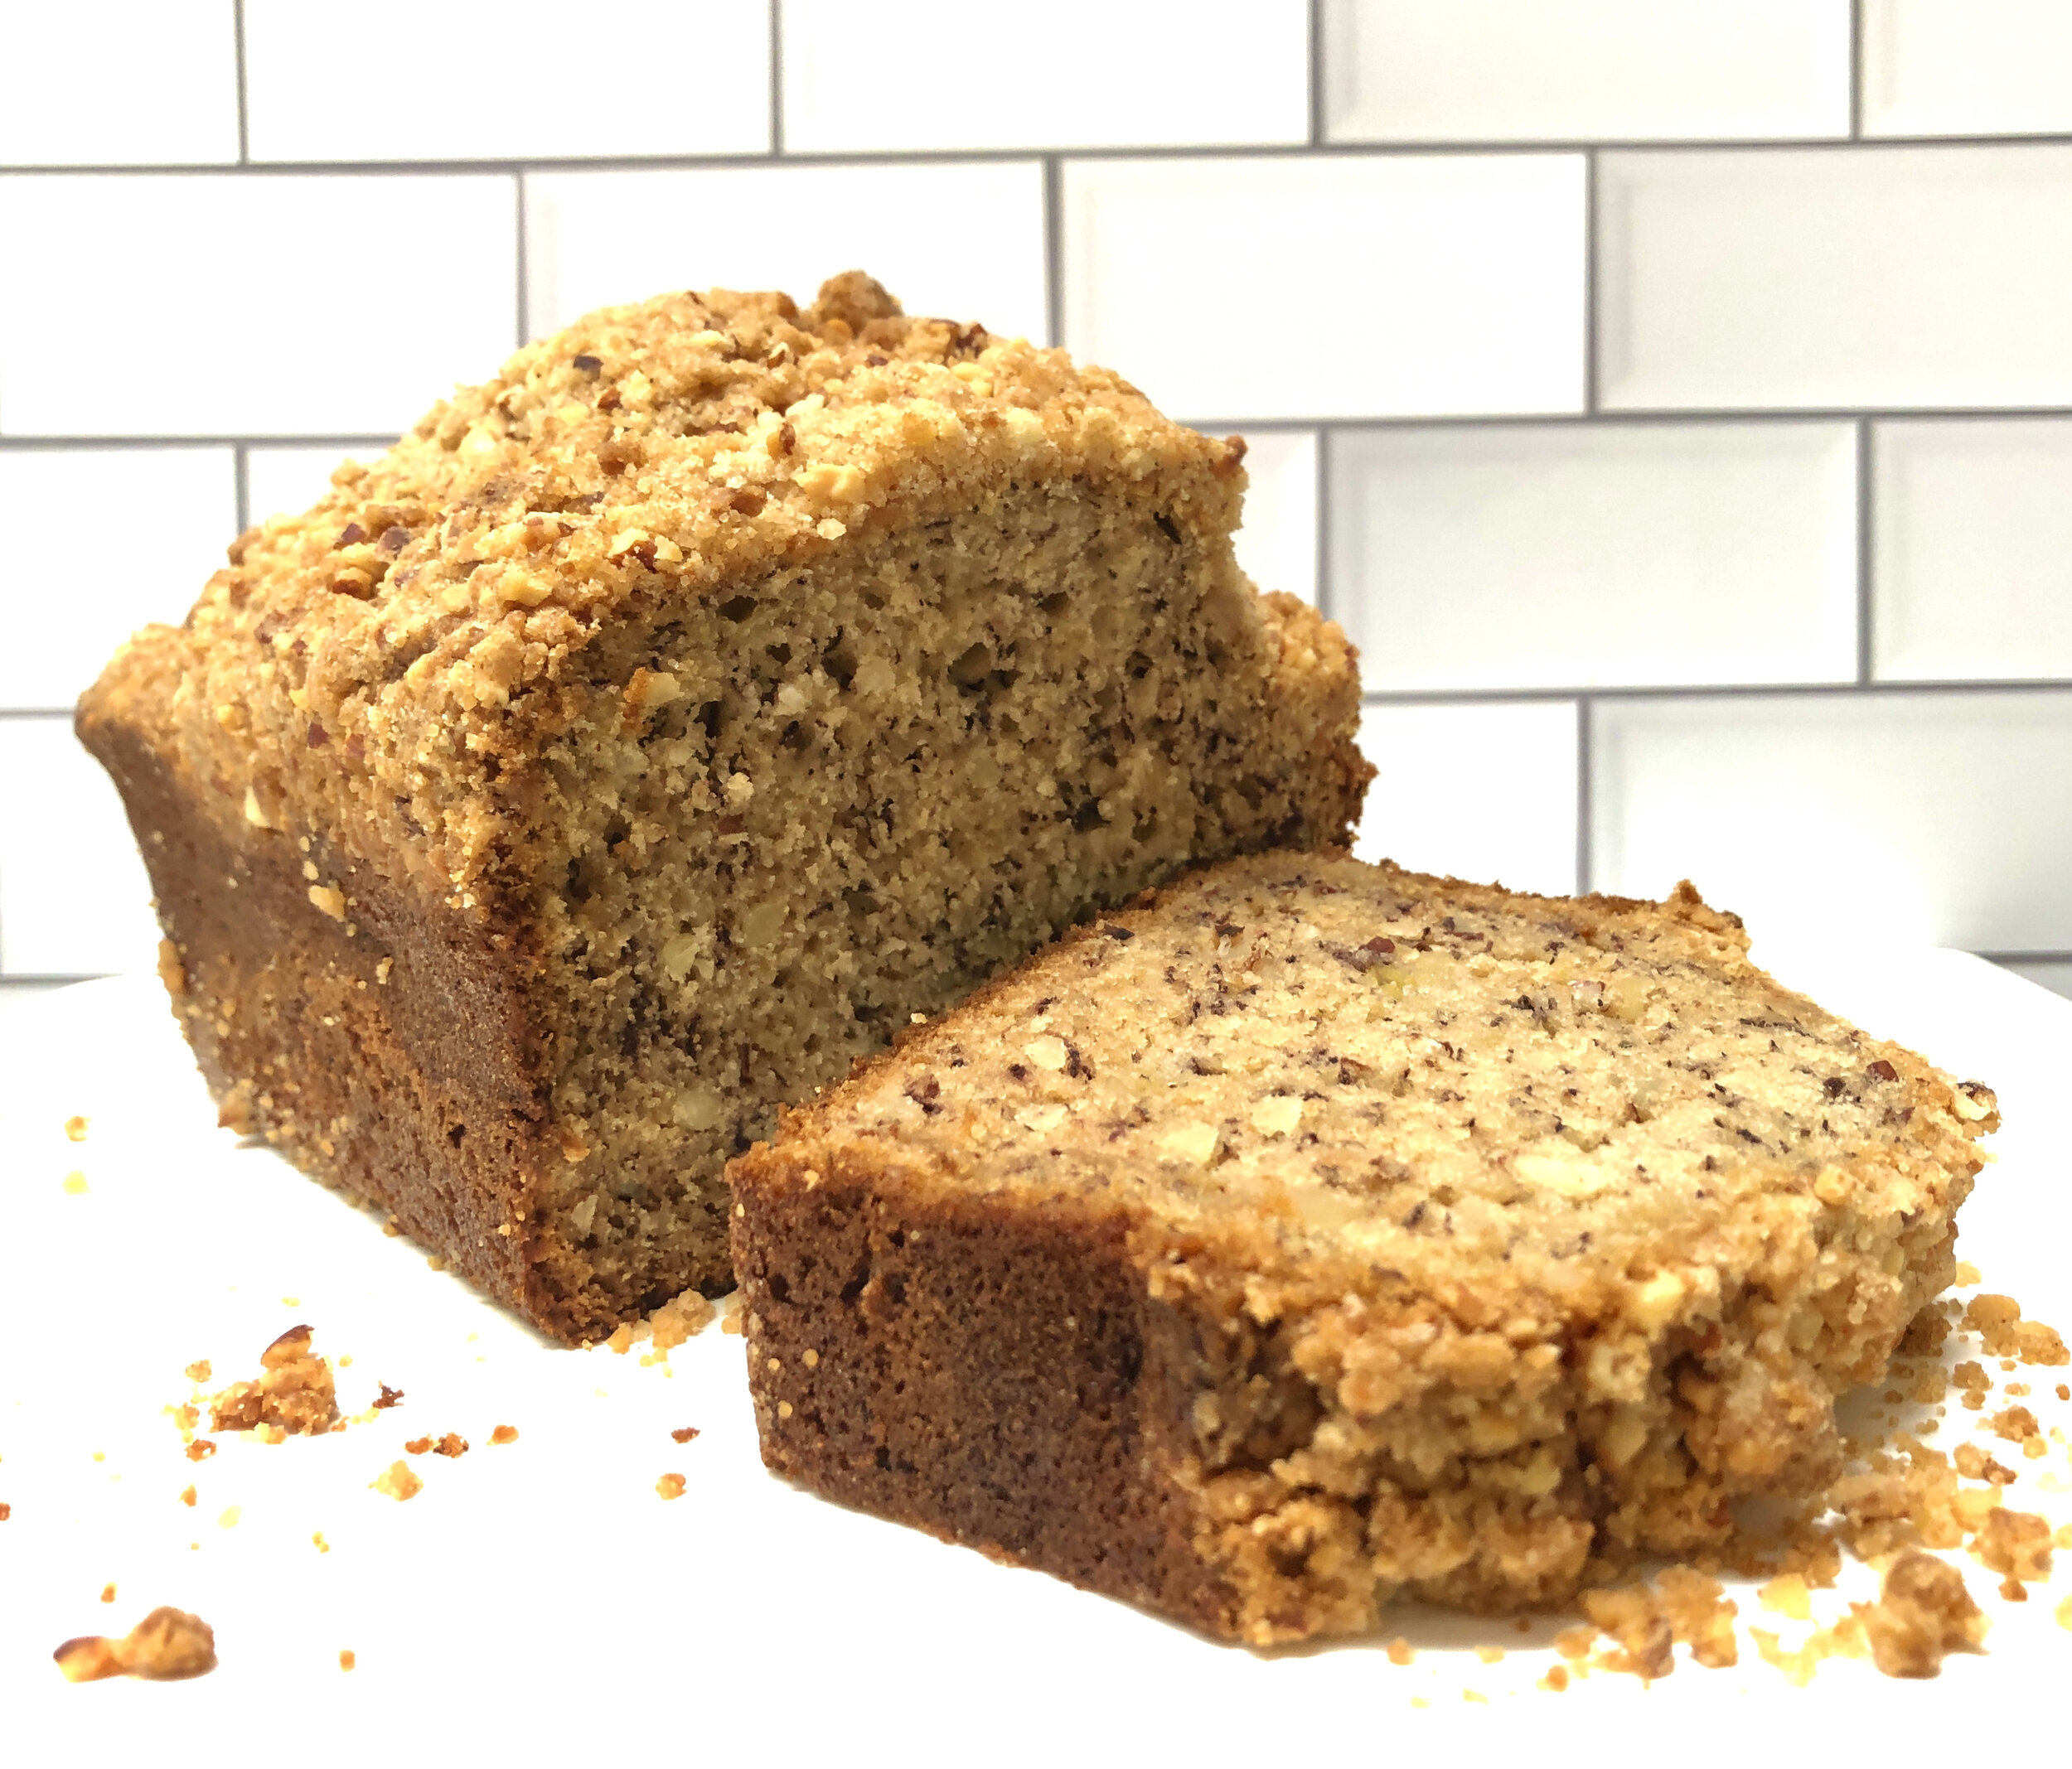
Banana Almond Streusel Bread

You think I’d learn! I always buy too many bananas when my kids and grandkids come, but when my cousins came for a sleepover, I thought for sure I wouldn’t have any leftovers. Senior citizens are supposed to eat bananas!

I bought 3 bananas and all 3 were uneaten.

So I made this, which is awesome.

This would be a good choice to end Rosh Hashanah dinner or for Break-the-fast.

Banana Almond Streusel Bread

Streusel:

  • 1/3 cup all-purpose flour

  • 1/4 cup chopped almonds

  • 1/4 cup brown sugar

  • 1/8 teaspoon cinnamon

  • 2 tablespoons melted coconut oil (or vegetable oil)

 Bread:

  • 2 cups all-purpose flour

  • 1 teaspoon baking soda

  • 1/2 teaspoon baking powder

  • 1/2 teaspoon salt

  • 3/4 cup sugar

  • 1/3 cup vegetable oil (or melted coconut oil)

  • 2 large eggs

  • 3 medium very ripe bananas

  • 1/2 cup almond (or other non-dairy) milk

  • 1 teaspoon vanilla extract

  • 1/2 cup chopped almonds

Preheat the oven to 350 degrees. Grease a 9”´5”´3” loaf pan. Make the streusel by mixing the flour, almonds, brown sugar and cinnamon in a small bowl. Add the coconut oil and work it into the dry ingredients with fingers or a knife until mixture is crumbly. Set aside. 

Mix the flour, baking soda, baking powder and salt into a bowl and set it aside. Beat the sugar and vegetable oil with a handheld or electric mixer set at medium speed for 1-2 minutes or until the mixture is well mixed. Add the eggs one at a time, beating after each addition. Mash the bananas and add them to the mixture. Beat thoroughly until the ingredients are well blended. Add the flour mixture and beat for 1-2 minutes to blend the ingredients thoroughly. Beat in the almond milk and vanilla extract. Fold in the almonds. Spoon the batter into the prepared pan. Scatter the streusel on top. Bake for 1 hour or until a cake tester inserted into the center comes out clean. Cool the bread in the pan 15 minutes. Remove the bread from the pan and let it cool on a cake rack.

Makes 10-12 servings
 

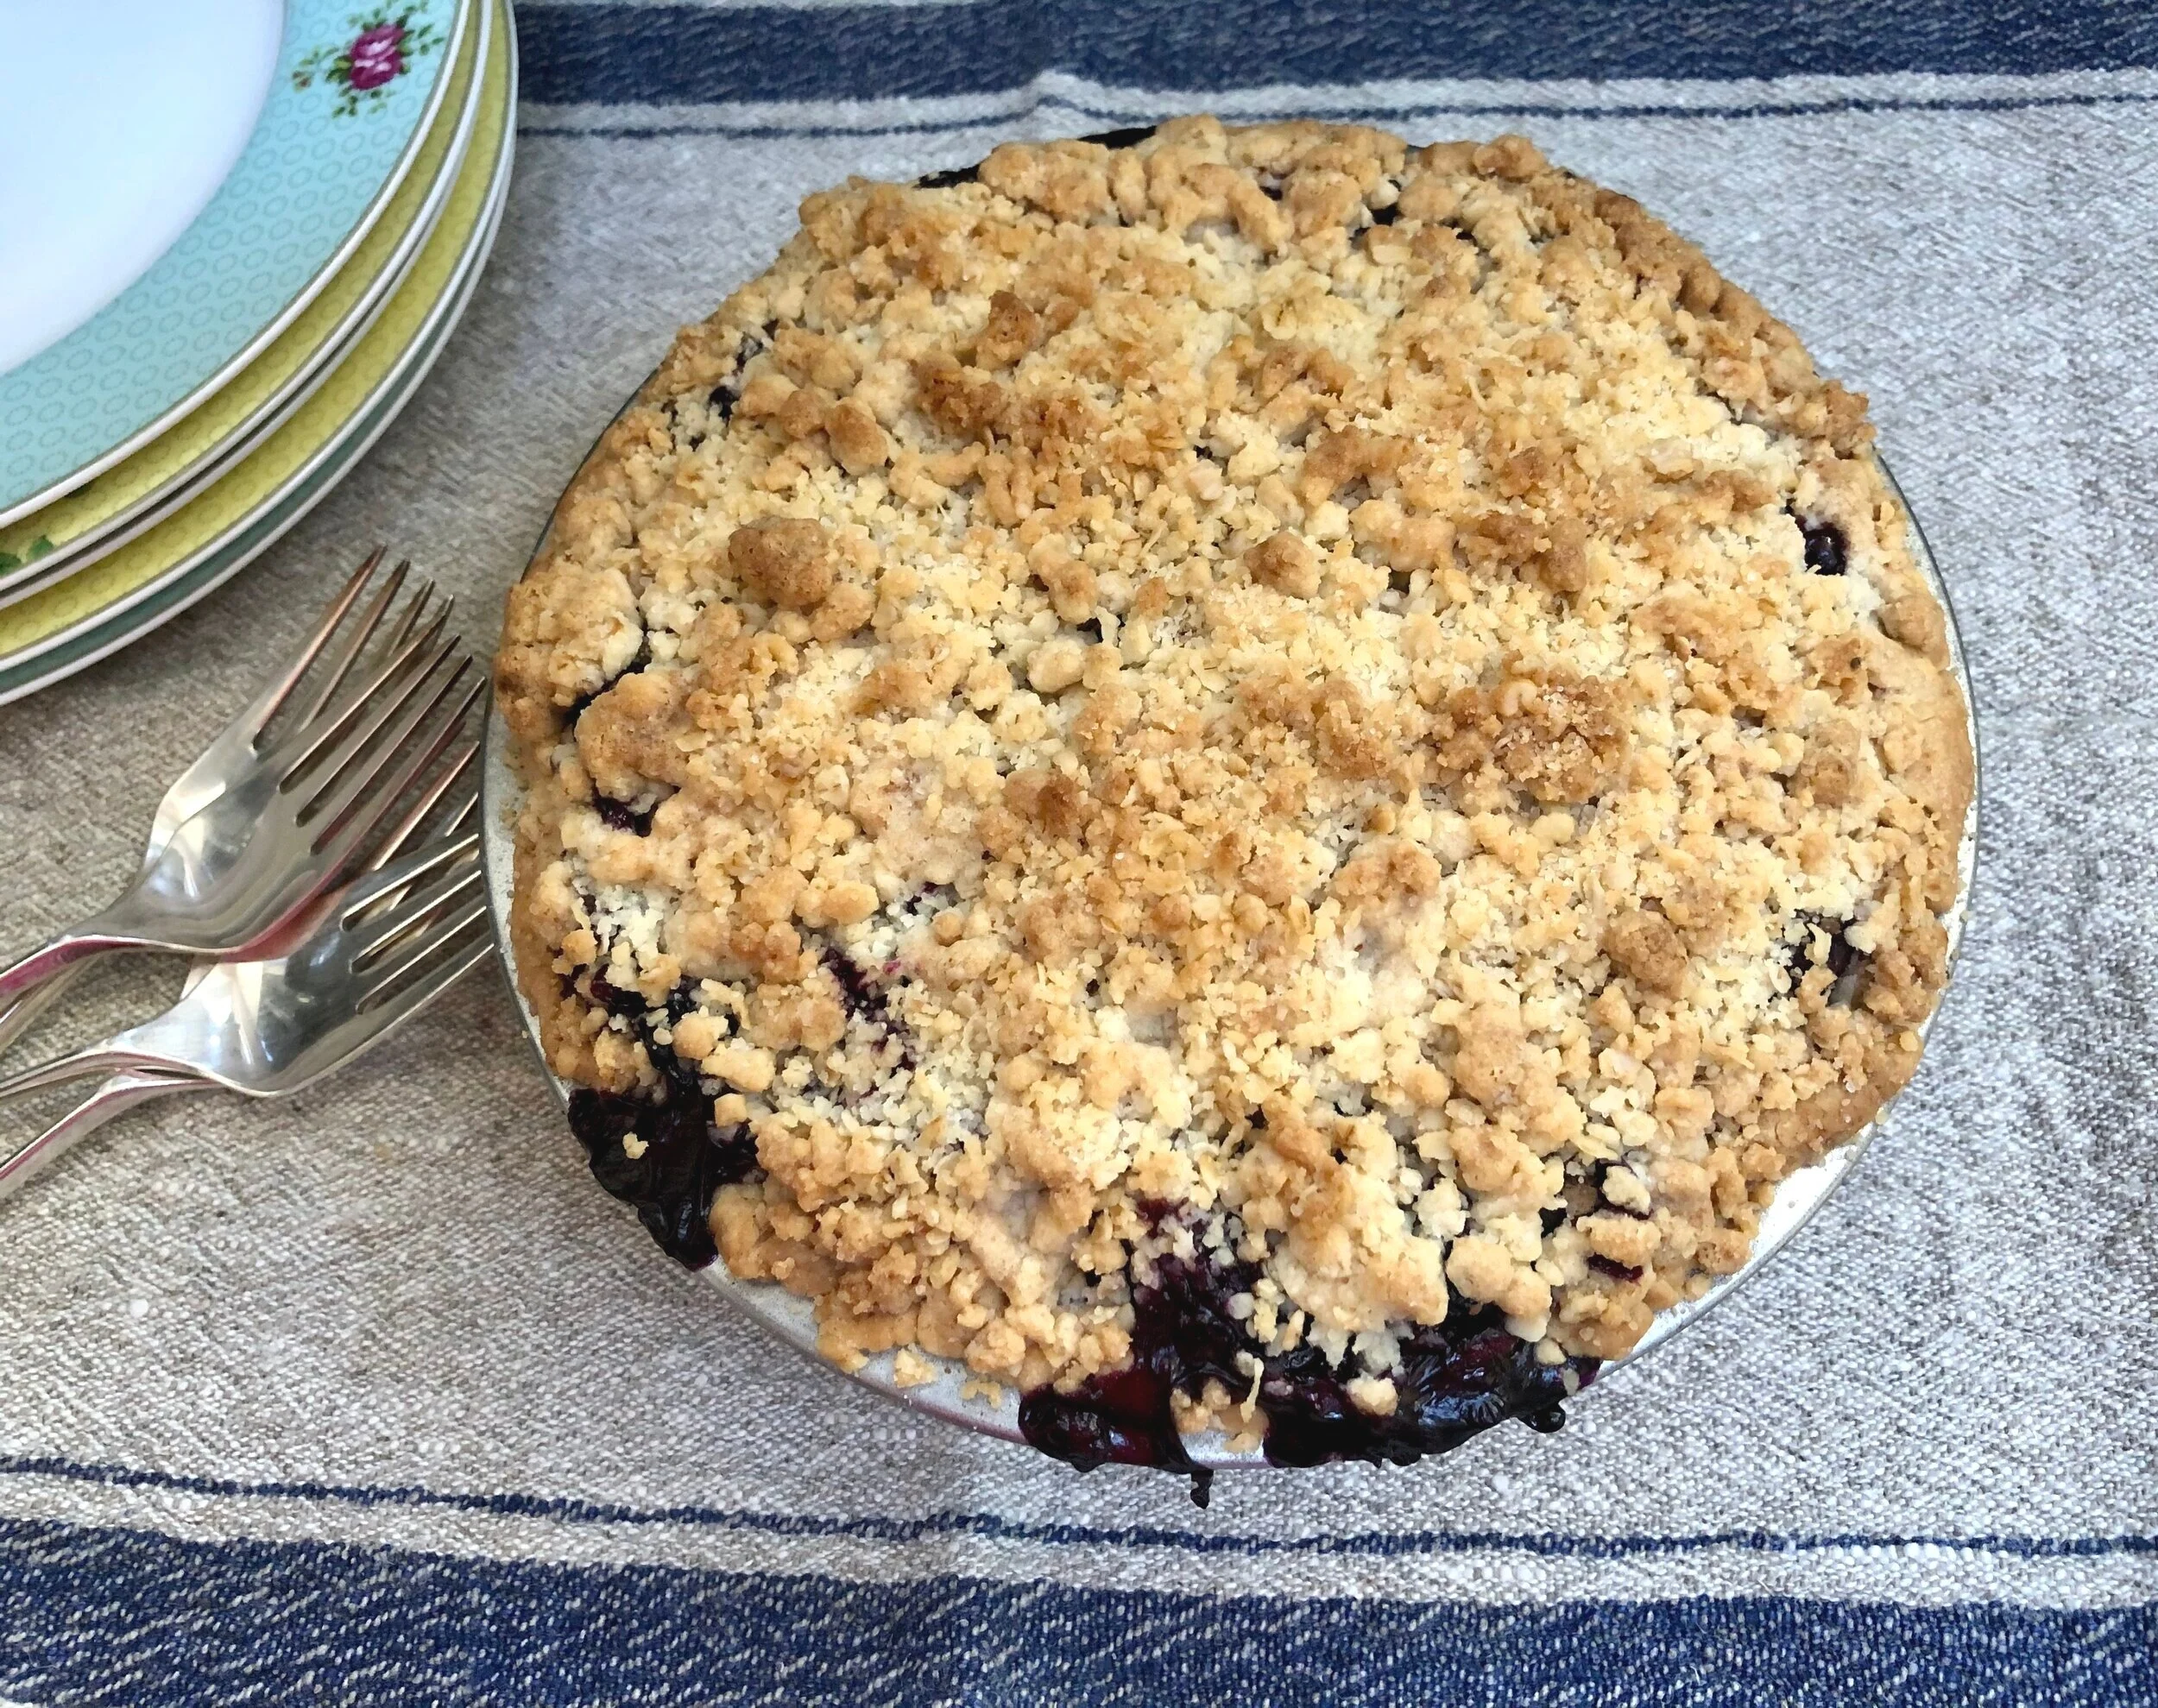
Blueberry Oat Streusel Pie

D134981A-1113-4547-A4B7-24D4D31C3C6B_1_201_a.jpeg

When I was growing up my parents had several blueberry bushes in our backyard. I remember those berries were always fat, with a silvery-gray-blue sheen. Every summer my mother would make something delicious with them. The first pickings were always served plain, freshly washed and topped with a blob of sour cream and, of course, sugar.

The rest?

Pie mostly.

Like this one, with a tender, easy-to-make, crumbly streusel top.

Btw, if you don’t wish to bother with a bottom crust, that’s ok. Make this into a “crisp”- place the seasoned berries in a baking dish, cover with the streusel and bake.

Blueberry Oat Streusel Pie

Streusel: 

  • 1/2 cup all-purpose flour

  • 1/2 cup quick cooking or rolled oats

  • 3 tablespoons brown sugar

  • 1/4 teaspoon ground cinnamon

  • 1/4 teaspoon salt

  • 1/4 cup cold unsalted butter, vegetable shortening or margarine, cut into chunks

Place the flour, oats, brown sugar, cinnamon and salt in a bowl and mix ingredients to distribute them evenly. Add the butter and work it into the dry ingredients with fingertips or a pastry blender until the mixture looks like coarse meal. Set aside.

Filling: 

  • 6 cups blueberries

  • 1/2 cup sugar

  • 5 tablespoons all-purpose flour

  • 1/2 teaspoon ground cinnamon

  • 1/4 teaspoon salt

  • 2 tablespoons lemon juice

  • 1 unbaked pie crust bottom

Preheat the oven to 375 degrees. Mix the blueberries, sugar, flour, cinnamon, salt and lemon juice in a large bowl. Pour the filling into the pie crust. Cover the top with the streusel. Bake for about 50 minutes or until  golden brown.

Makes 8 servings


Pranks in Blankets

I’ve had several requests for this recipe. I posted it on FB but, rather than reposting over and over, I’m sending it out on my blog.

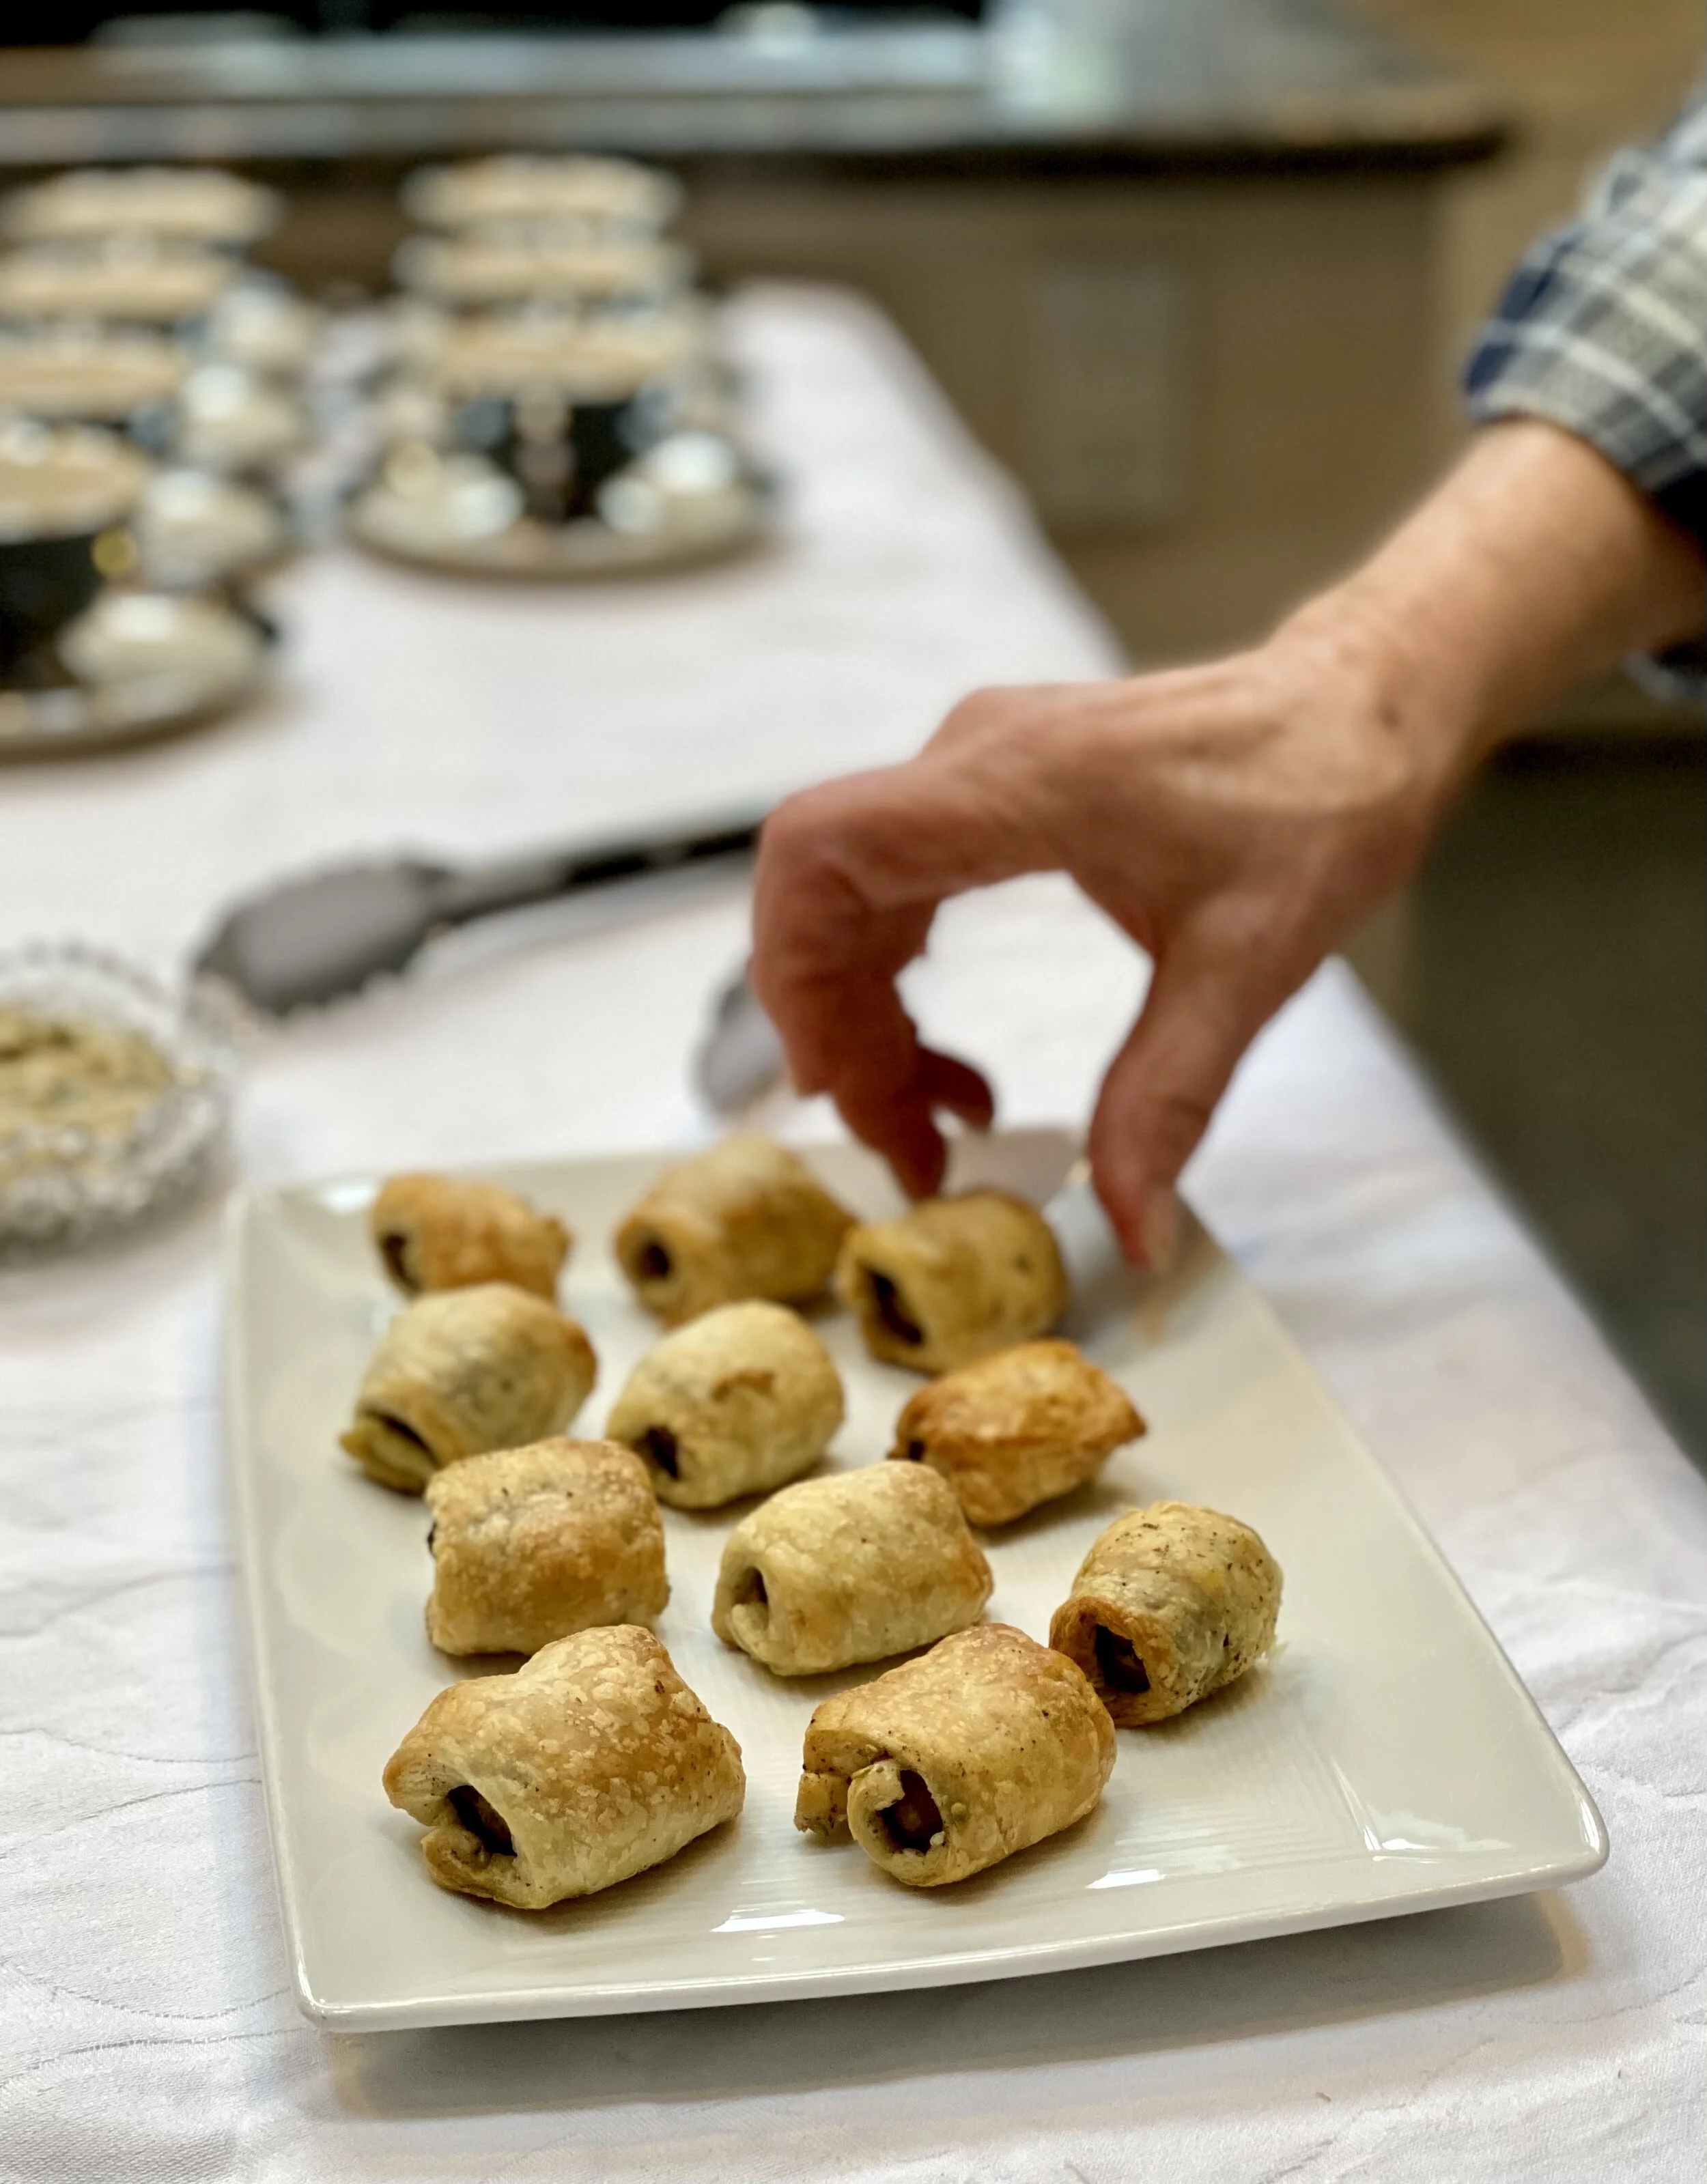
One of the hors d’oeuvre from our 2021 Mother’s Day Cookoff — remember these for break-the-fast or whenever you need a nice little nibble with cocktails.

Pranks in Blankets

  • 6 slim carrots (about 1/2-inch diameter)

  • 2 teaspoons olive oil

  • 1 teaspoon zatar

  • kosher salt

  • one sheet frozen puff pastry, thawed, but cold

  • Lemon-Tahini Sauce, optional

Preheat the oven to 475 degrees. Line 2 cookie sheets with parchment paper. Peel the carrots and cut them into 1-1/2” long pieces. Place them in a bowl, pour the olive oil over them and toss to coat all the surfaces. Sprinkle with zatar and salt to taste. Place the carrot pieces on one of the cookie sheets. Bake for about 12 minutes or until fork tender. Remove from the oven and let cool. Roll the puff pastry slightly thinner, then cut into strips about 1-1/4-inches wide and 2-inches long. roll each coated carrot in the dough pieces, pressing the edges to seal completely. Place them, seam side down, on the remaining cookie sheet. Refrigerate for at least 30 minutes or until the puff pastry feels cold. Lower the oven heat to 400 degrees. Bake for 18-20 minutes or until the pastry is golden brown. Serve plain or with Lemon-Tahini Sauce.

Makes 24-30

Lemon-Tahini Sauce (from Hip Kosher)

  • 1/2 cup sesame tahini

  • 1/3 cup lemon juice

  • 3 tablespoons chopped fresh parsley

  • 2 medium garlic cloves, chopped

  • salt to taste

  • water

Place the tahini, lemon juice, parsley, garlic and salt in a food processor and blend until smooth and creamy. with the motor still running, add enough water to make a smooth, but thick sauce.

Make about 1/2 cup

Stuffed Strawberries

29203251-6A64-4306-8F78-A69D0F966790_1_201_a.jpeg

Doubtless God could have made a better berry, but doubtless God never did.” — Dr. William Butler, 17th century English writer

I agree 100%. For me — strawberries are my favorite fruit (ok, I also like a good nectarine!).

Mostly I like strawberries plain, because if you get a sweet, fragrant, ruby-red strawberry you don’t need anything else, although whipped cream is always welcome.

But if you’re like most of us and aren’t able to get the perfect farmer’s market berries and you have to rely on fruit from the supermarket ok, they’re never the best there is, but you can prepare them in ways that make the most of the fruit.

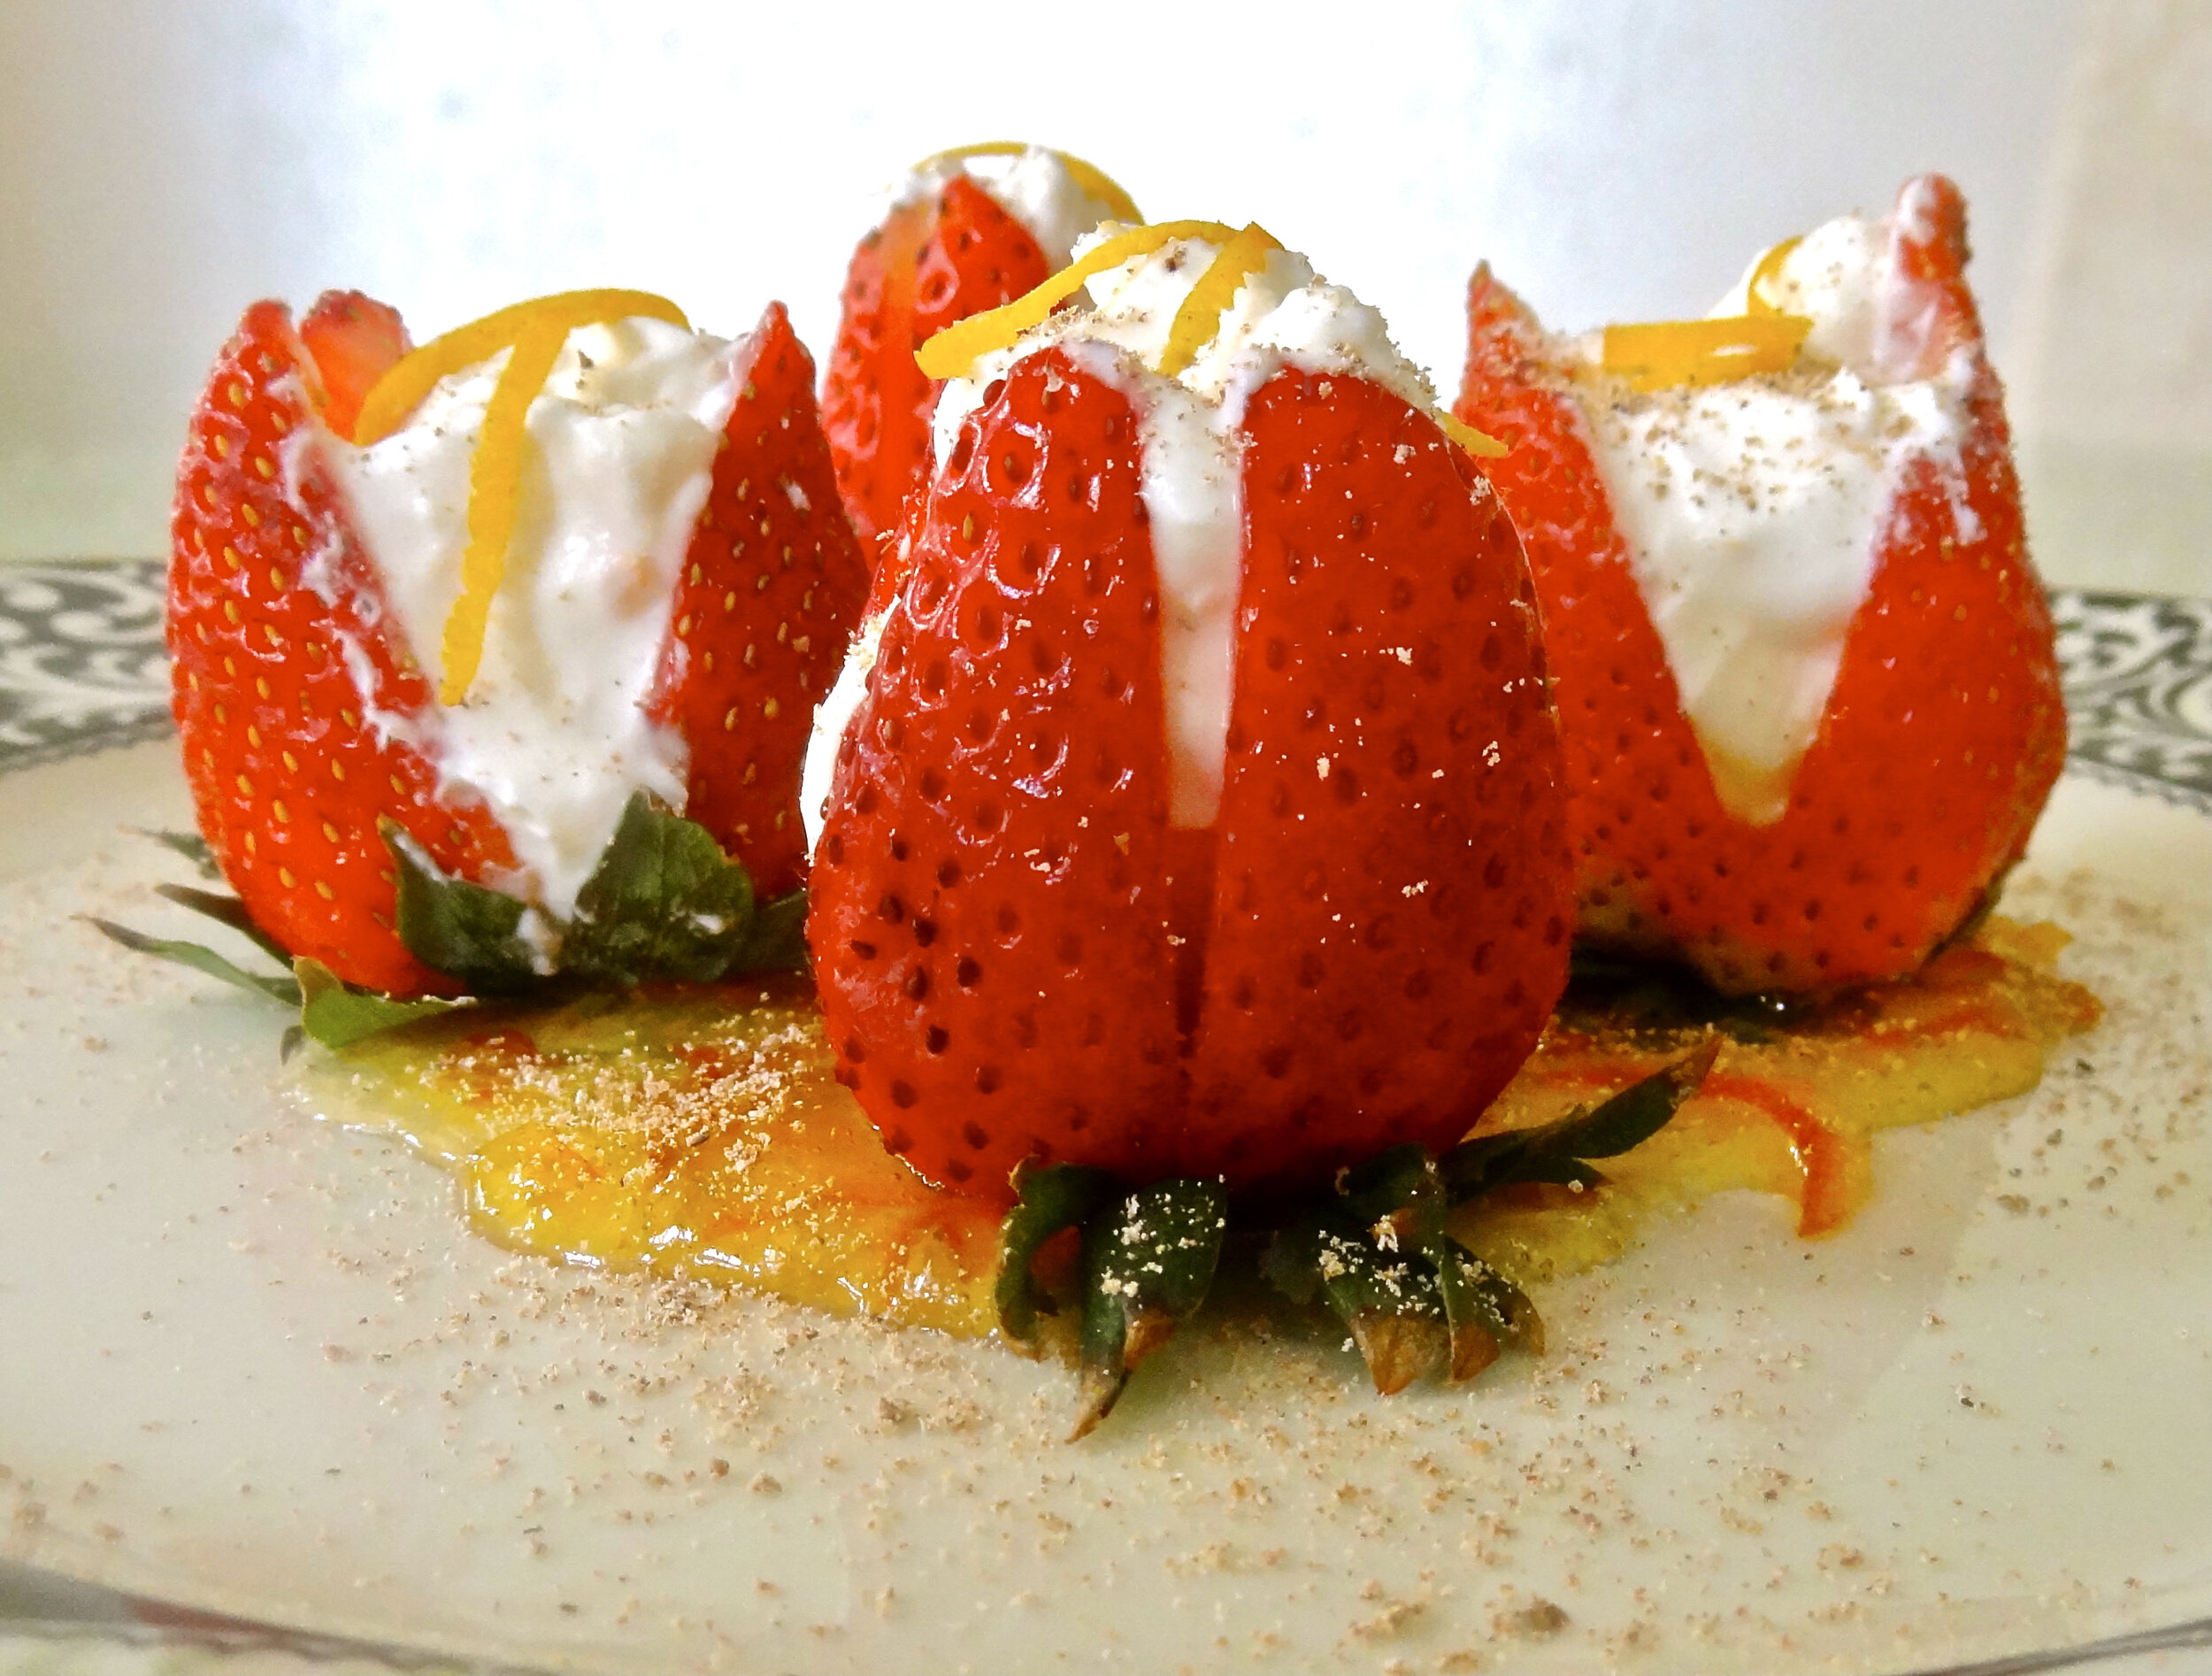
For instance: stuffed strawberries! They’re really just larger berries that are cut and stuffed with sweetened cheese and whipped cream. They look fancy but actually quite easy to make and take very little prep work! Check out the instructions and see for yourself — also, if you don’t have a pastry bag or parchment paper or foil to make one, you can use a small spoon to fill the berry middles.

You can make this dish even more glamorous with a sauce — just melt some preserves. That’s it!

You can make them ahead!

Stuffed Strawberries

  • 16-18 large strawberries

  • 1/2 cup whipping cream

  • 1/3 cup mascarpone cheese (or use cream cheese at room temperature)

  • 1 tablespoon dark rum, orange flavored brandy or orange juice

  • 1 tablespoon confectioners' sugar

  • freshly grated nutmeg or chocolate shavings

  • thin shreds of orange peel, optional

  • orange marmalade or other jam, optional

Wash and dry the berries but leave the hulls on. Place the berries on a cutting board with the hull down. Cut the berries from the narrow end into quarters up to the hull, but without cutting through or breaking the hull. Gently separate the berry into quarters. Beat the cream and mascarpone cheese with the rum and confectioners’ sugar until the mixture is thick. Place the mixture into a pastry bag and fill each berry piping from the stem end up to the narrow end. Sprinkle with nutmeg or chocolate shavings. Garnish with orange peel if desired.

For optional sauce: melt the jam, spoon it onto dessert dishes and place stuffed strawberries on top

Makes 4-6 servings

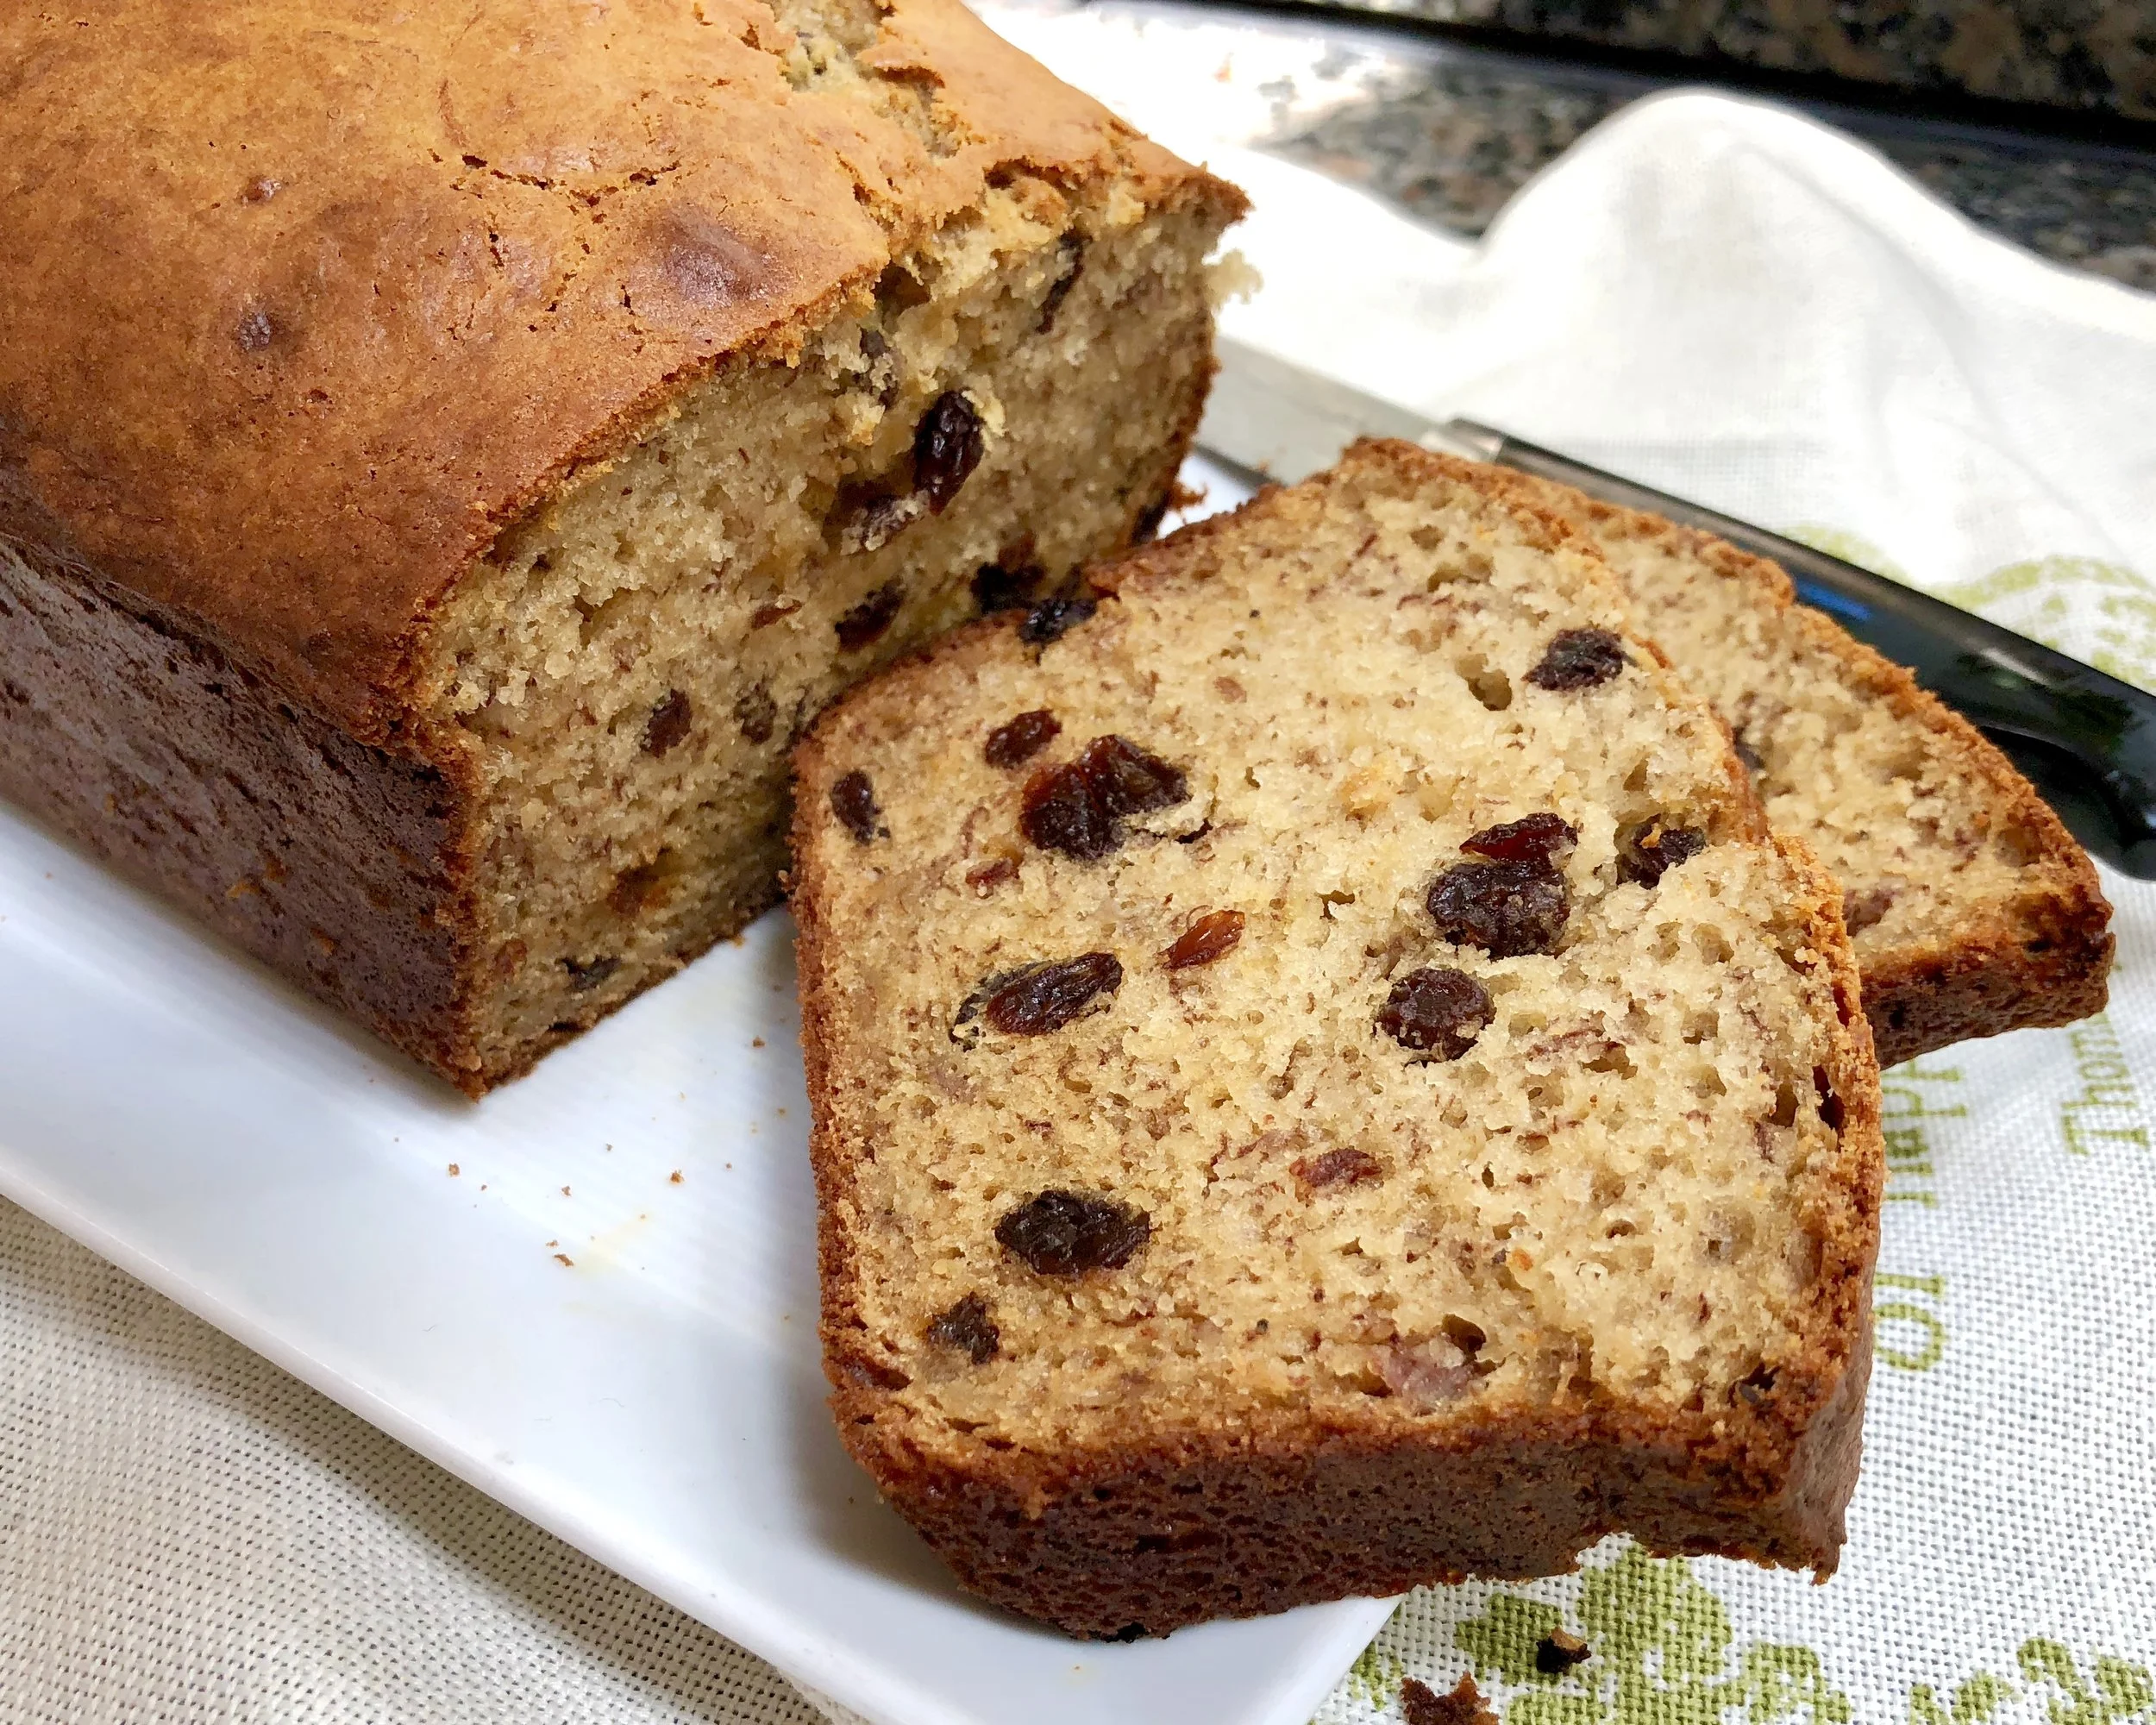
Banana Bread with Yogurt and Raisins

Banana bread with yogurt and raisins

Banana bread with yogurt and raisins

fullsizeoutput_aa47.jpeg

Here it is — the latest in my “bought too many bananas so I’m gonna make banana bread” banana bread.

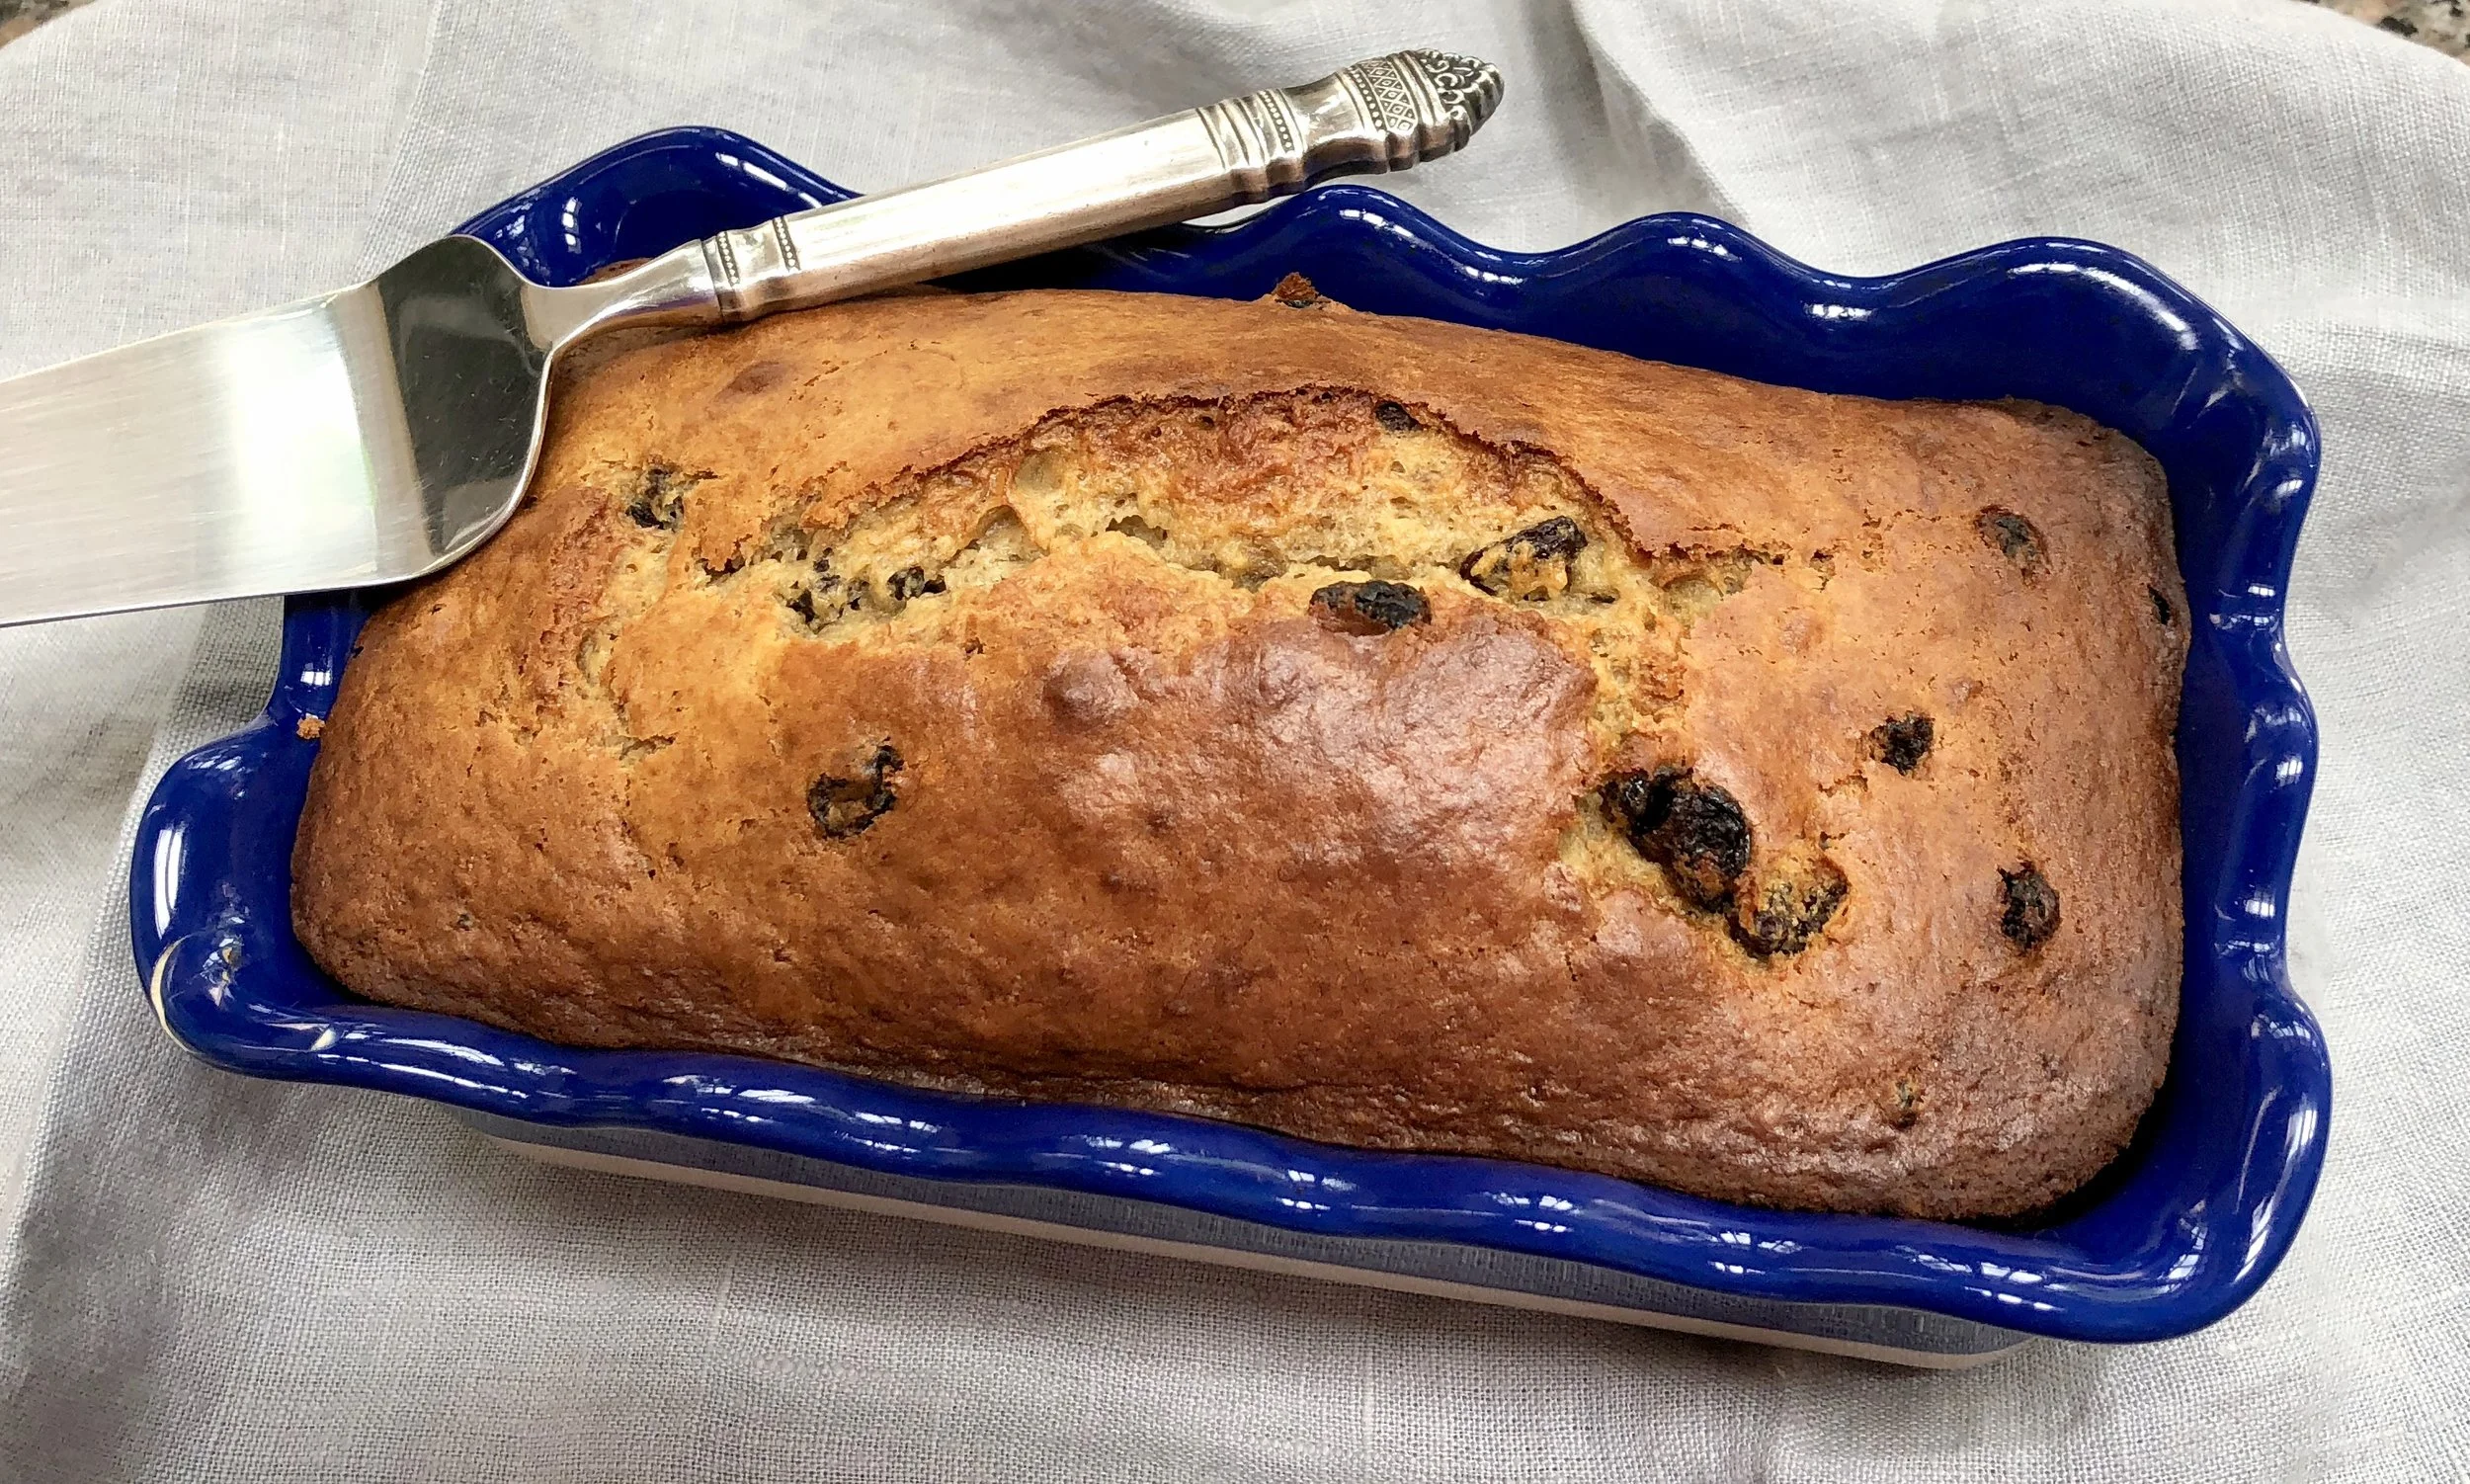
This one is moist, gently warmed with cinnamon and studded with raisins (although you could substitute dried cherries or cranberries and such). It looks lovely, both whole and when sliced. And I can tell you that all my usual tasters have said it was delicious.

Banana Bread with Yogurt and Raisins

  • 2 cups all-purpose flour

  • 1 teaspoon ground cinnamon

  • 1 teaspoon baking soda

  • 1/2 teaspoon baking powder

  • 1/2 teaspoon salt

  • 2/3 cup sugar

  • 1/3 cup vegetable oil

  • 1 teaspoon vanilla extract

  • 2 large eggs

  • 1/2 cup plain yogurt (or dairy sour cream)

  • 3 ripe medium bananas, mashed

  • 1 cup raisins

Preheat the oven to 350 degrees. Lightly grease a 9”x5”x3” loaf pan. Mix the flour, cinnamon, baking soda, baking powder and salt in a bowl and set aside. Mix the sugar and vegetable oil together in the bowl of an electric mixer set at medium speed for 1-2 minutes or until thoroughly combined. Add the vanilla extract and eggs and beat them in until well combined. Add the yogurt and bananas and blend them in thoroughly. Add the flour mixture and blend it in. Fold in the raisins. Spoon the batter into the prepared loaf pan. Bake for about one hour or until a cake tester inserted into the center comes out clean.

Makes one loaf

Eggplant Parmesan

IMG_3986.jpg

When I need a meatless meal, Eggplant Parmesan is one of my traditional go-tos. It’s familiar, relatively easy to prepare and you can cook it in advance and freeze it for about a month. Best of all, it tastes really good.

I especially love this dish in the summer when my garden is in bloom with thick, fresh purple eggplants!

The recipe below lists one cup of marinara sauce. I make my own and freeze that too. But in a pinch, store-bought works too when you want to make things easier on yourself.

Another thing that’s easy -- and less caloric too -- I roast the eggplant slices instead of breading and frying them.

Eggplant Parmesan

  • 1 medium to large eggplant

  • salt

  • 5 tablespoons olive oil, approximately

  • 1 cup marinara sauce

  • 15 ounces ricotta cheese

  • 1/4 cup plus 1/4 cup plus 2 tablespoons grated Parmesan cheese

  • 1 large egg

  • 2 teaspoons chopped fresh oregano (or 3/4 teaspoon dried)

  • 1 cup shredded mozzarella cheese

Preheat the oven to 400 degrees. Slice the eggplant about 1/8-inch thick, sprinkle with salt and let rest for 20-30 minutes. Wipe the eggplant slices dry and place them on a baking sheet. Brush each side of each slice of eggplant with a film of olive oil. Roast the slices for about 15 minutes, turning them once, until they are softened and lightly browned. Remove the slices from the oven. Place 1/2 cup of the marinara sauce in a baking dish. Place 1/3 of the eggplant slices in top (overlap the slices slightly). Mix the ricotta cheese with 1/4 cup of the Parmesan cheese, the egg and oregano. Place half of this cheese mixture on top of the eggplant slices. Sprinkle with 1/4 cup of the shredded mozzarella cheese and 2 tablespoons of the Parmesan cheese. Add another layer of eggplant slices. Cover with the remaining ricotta cheese mixture. Spread with the remaining (1/2 cup) marinara sauce. Cover with the remaining eggplant slices. Sprinkle with the remaining (3/4 cup) mozzarella cheese and the remaining (1/4 cup) Parmesan cheese. Bake for 20-25 minutes or until the cheese has melted and is beginning to turn lightly brown.

Makes 4 servings

Marinated Mushrooms

98CB5730-0288-4DB3-95FB-33605969B449_1_201_a.jpg

Before the pandemic I would sometimes buy nibbles from the salad bar at the supermarket — stuff I could serve with drinks before dinner when we had people over.

I no longer feel comfortable doing that, especially after seeing a video my daughter sent me of a guy in a store using a ladle to taste some soup and then putting the ladle back into the container!

Aaaaaaarrgh!!!

I can make my own marinated mushrooms, et. al. In fact the ones I make using this recipe are better than anything similar I ever bought anywhere.

There’s no going back for me. These take 15 minutes tops to prepare.

Marinated Mushrooms

  • 8 ounces common white mushrooms

  • 1/4 cup chopped red onion

  • 1 medium garlic clove, finely chopped

  • 1 tablespoon chopped fresh parsley

  • 1 tablespoon olive oil

  • 1 tablespoon wine vinegar

  • 1/2 teaspoon dried oregano

  • 1/4 teaspoon kosher salt

  • pinch or two of Aleppo pepper or crushed red pepper, optional

Clean the mushrooms and cut them into bite size pieces. Bring a pot of lightly salted water to a boil. Add the mushrooms, lower the heat and simmer for 5 minutes. Drain the mushrooms and place them in a bowl. Add the red onion, garlic and parsley and toss the ingredients. Pour in the olive oil, wine vinegar and season with oregano, salt and pepper. Toss the ingredients and let them marinate for at least 2 hours before serving. Best served at room temperature.

Makes 6-8 hors d’oeuvre servings

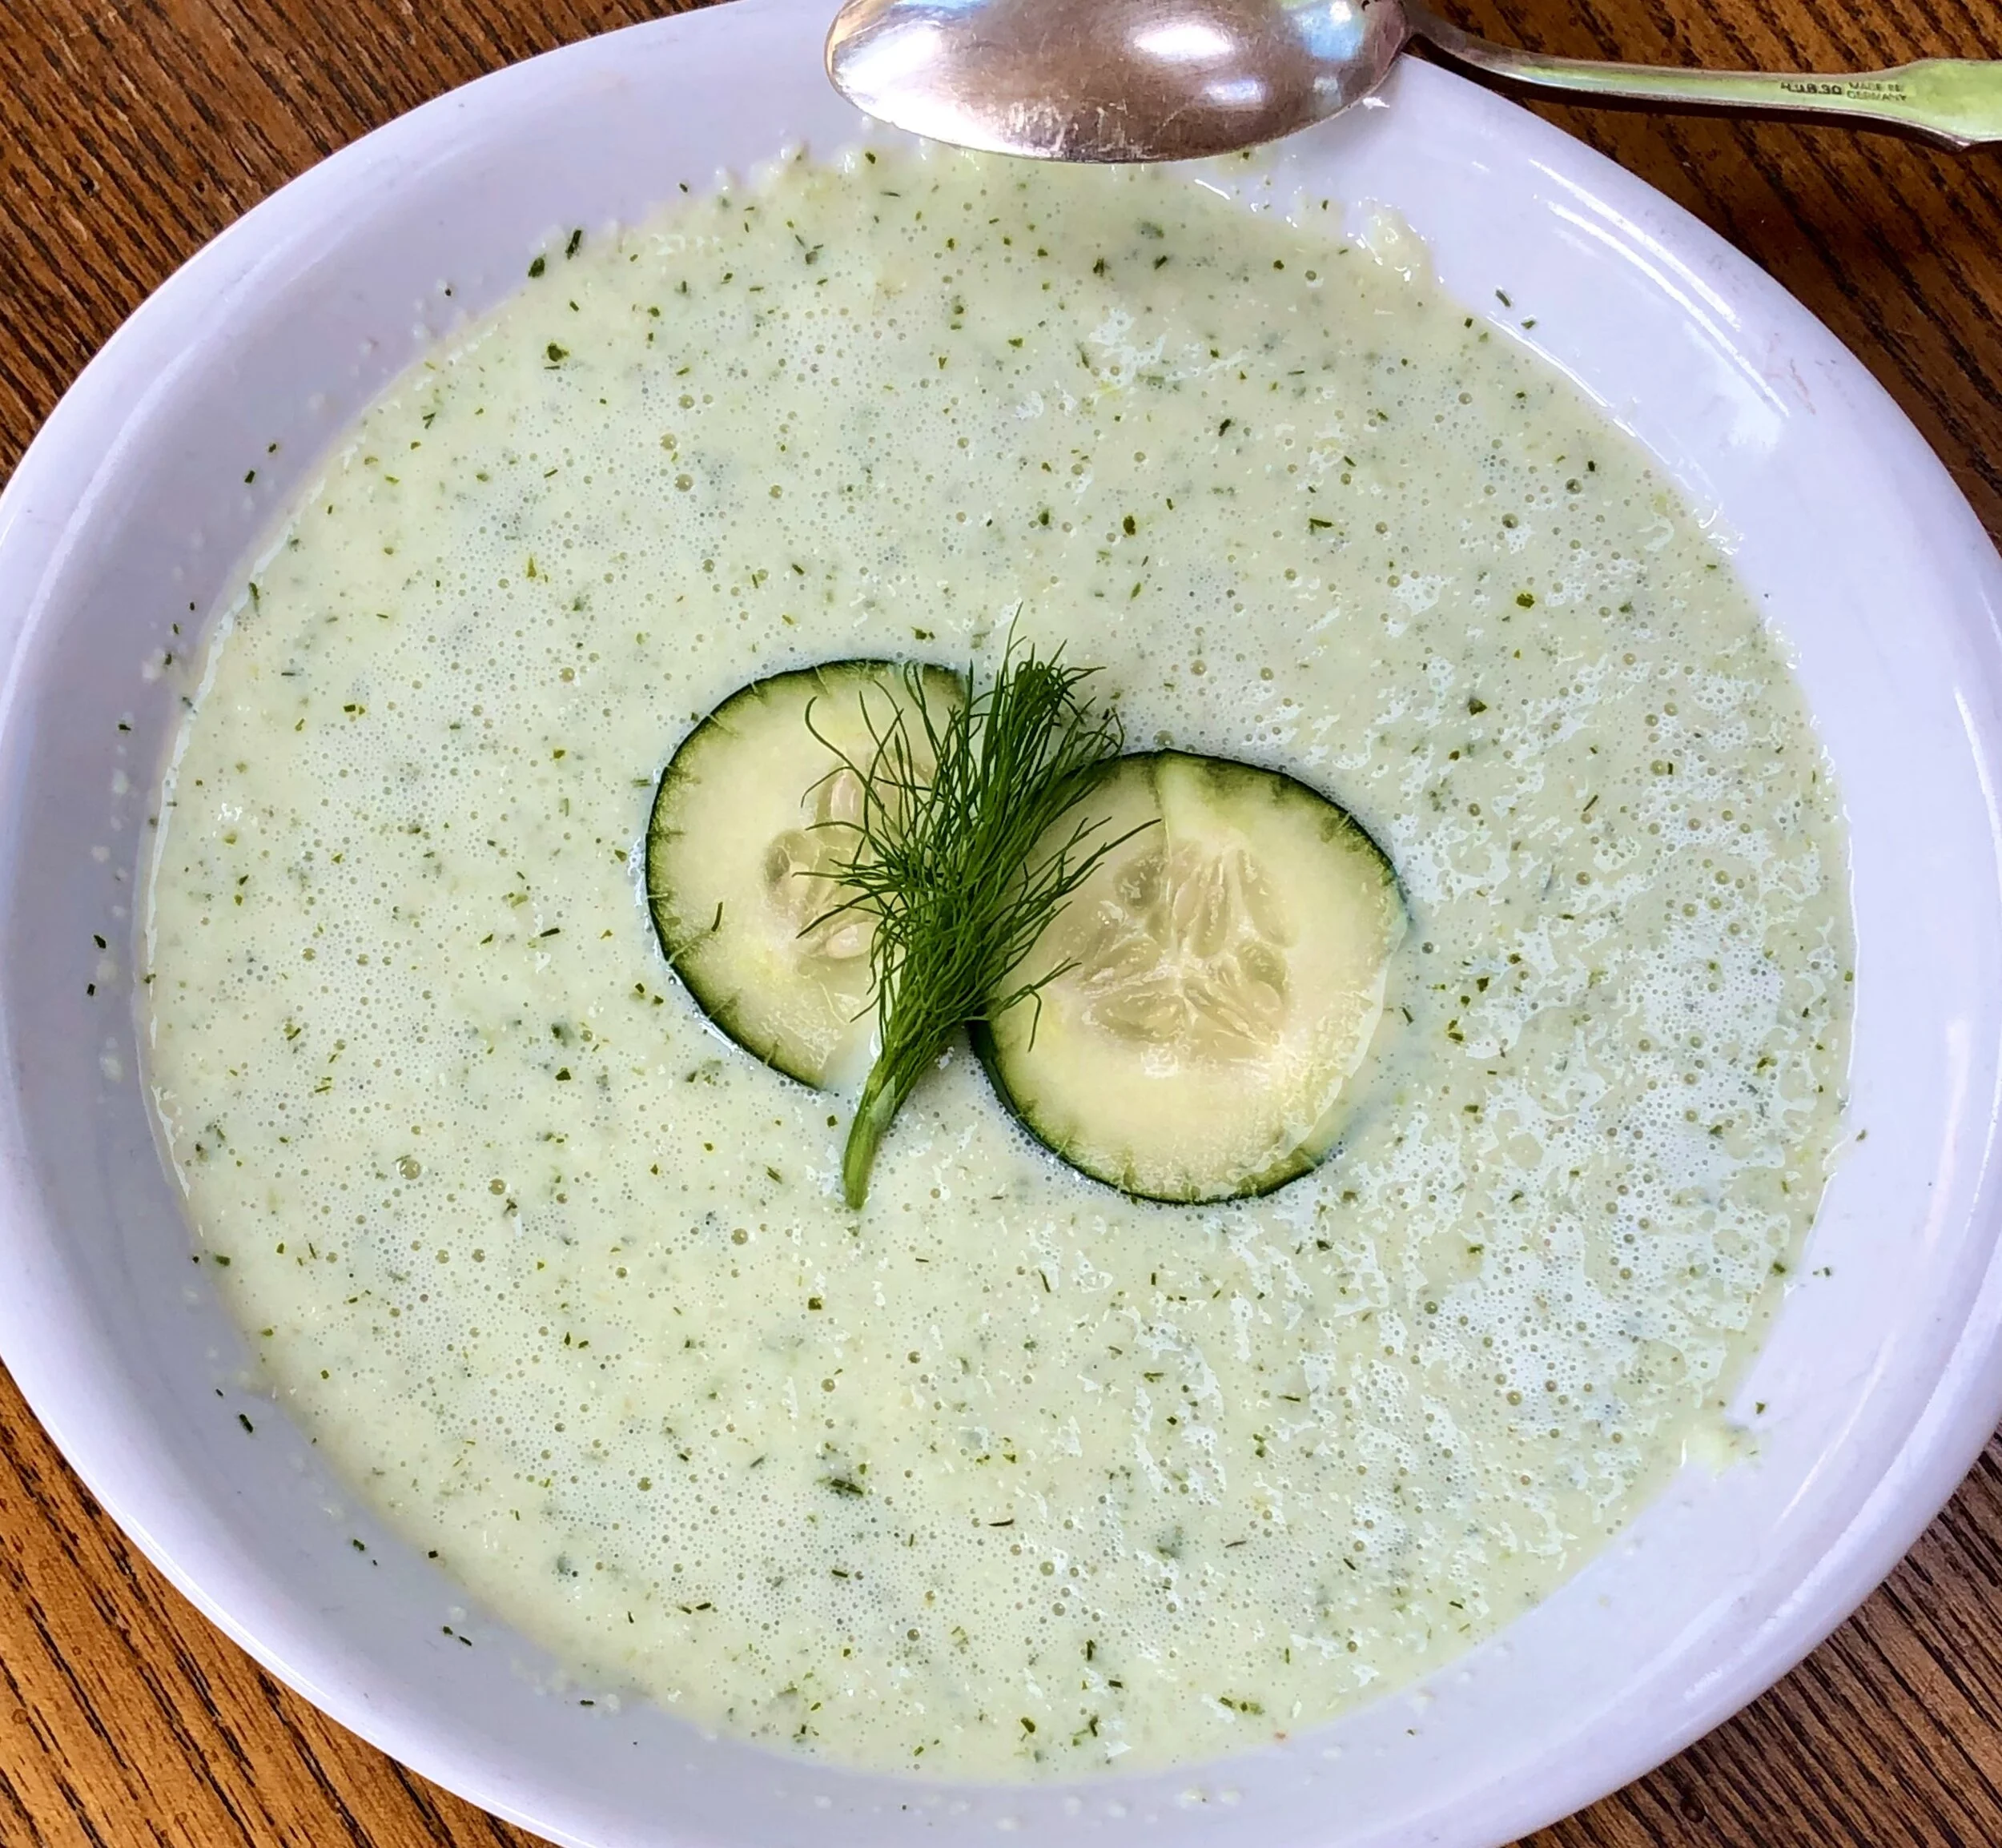
The Benefits of Buttermilk: Summer Buttermilk Soup

8CFD4F27-DC5B-4C0E-84D9-1472A60AB802_1_201_a.jpeg

Buttermilk makes you beautiful.

So they say.

I once read that Mark Antony fell in love with Cleopatra because she had silky, radiant skin -- thanks to baths in buttermilk. And that Scarlett O’Hara apparently used buttermilk on her face to get rid of her freckles.

Me? Silky and radiant? Not lately (if ever).

Also I have too many freckles to even contemplate rubbing them out. Also, I think freckles are cute.

So no, for me buttermilk isn’t about its beauty functions.

It’s about food.

No surprise there, right?

You heard it here: buttermilk makes a lot of food better, more delicious, more perfect in texture.

Buttermilk makes one of the tastiest, most satisfying, most thirst-quenching drinks (lassis).

It adds a whole new dimension to ordinary cole slaw.

Want moist, tender muffins, scones and pancakes? Make them with buttermilk. Ditto Cake! Pie! Even pudding!

And especially, at this time of year: make satisfyingly creamy, low-fat, low-calorie summer soups like this one, based on cucumbers.

Cold Cucumber-Buttermilk Soup

  • 2 medium cucumbers

  • salt

  • 1 stalk celery, peeled and chopped

  • 2 scallions, chopped

  • 1 clove garlic

  • 1 teaspoon chopped fresh chili pepper, optional

  • 1 cup buttermilk

  • 1/2 cup plain yogurt

  • 3 tablespoons lemon juice

  • 2 tablespoons chopped parsley

  • 1 tablespoon chopped fresh dill

  • Aleppo pepper (or use freshly ground black pepper)

Peel the cucumbers, slice them in half lengthwise and scrape out the seeds. Sprinkle the cucumbers with salt and let them stand for 30 minutes. Wipe the cucumbers with paper towels. Chop the cucumbers into coarse chunks and place in a blender or food processor. Add the celery, scallions, garlic and chili pepper, if used, and process to mince them. Add the buttermilk, yogurt, lemon juice, parsley and dill (use a large bowl and whisk if your blender or processor isn’t large enough) and process until well blended. Season to taste with salt and either Aleppo or black pepper. Chill thoroughly before serving.

Makes 4-6 servings


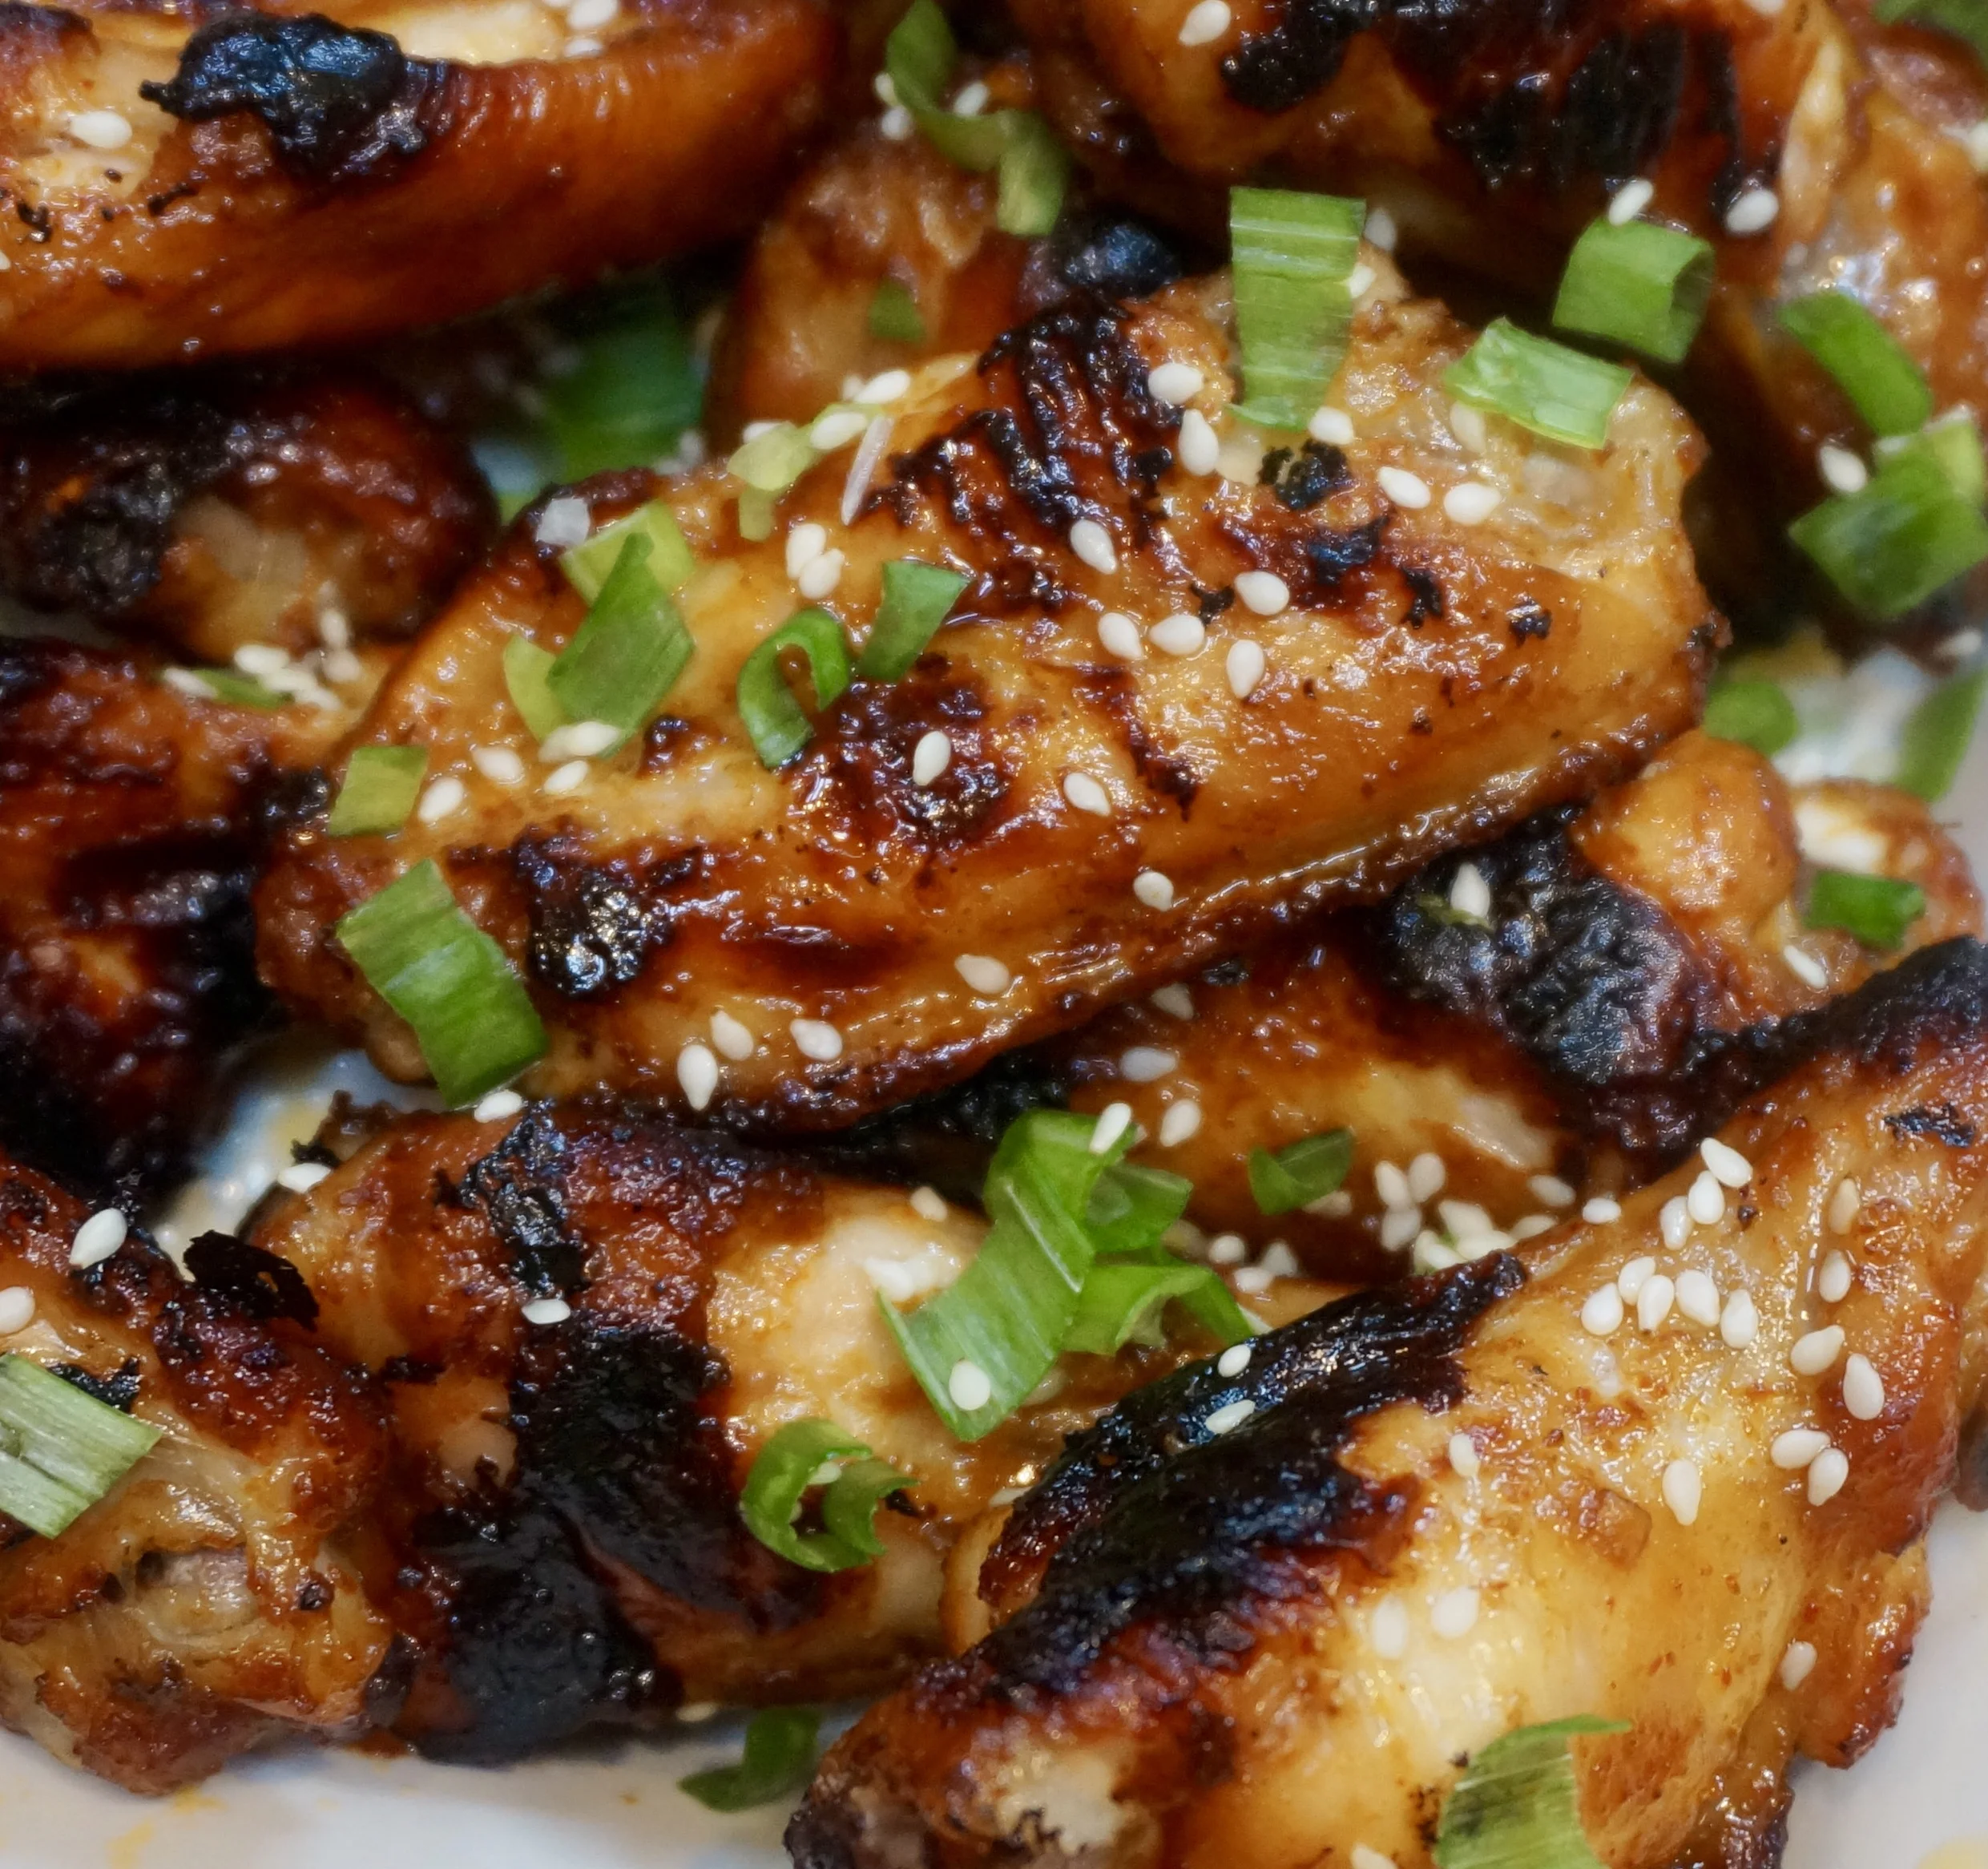
Korean Style Gochujang Chicken Wings

fullsizeoutput_8552.jpeg

My husband doesn’t conform to the Hollywood version of the Father’s Day grill master. I do the cooking, including anything made on the outdoor BBQ grill.

He eats.

Fortunately, he eats whatever I serve and loves whatever I cook.

He does have favorites, of course: any kind of Chinese food is in first place. Followed by specialties of several other Asian cuisines such as Korean and Indian. He also loves Jewish deli and Texas Brisket.

So this weekend he’s getting these wings, Korean in origin, made with Gochujang sauce. If you keep a kosher kitchen, check out @koreankosher (Koko brand), which manufactures several kosher Korean ingredients, including a really delicious Gochujang sauce.

I usually bake these but they come out just fine on the grill also, so take your choice.

Korean Style gochujang chicken wings

  • 3 pounds chicken wings

  • 1/3 cup Gochujang sauce

  • 2 tablespoons soy sauce

  • 2 tablespoons honey

  • 2 tablespoons rice wine vinegar

  • 1 tablespoon sesame seed oil

  • 2 teaspoons chopped fresh ginger

  • 2 large cloves garlic, chopped

  • 1-2 tablespoons vegetable oil

  • 1 large scallion, chopped, for garnish

  • white sesame seeds for garnish

Preheat an outdoor grill or oven broiler. Wash and dry the wings and separate the parts In a large bowl, combine the Gochujang, soy sauce, honey, rice vinegar, sesame seed oil, ginger and garlic and mix the ingredients to blend them thoroughly. Set aside. Pour the vegetable oil over the wing parts and toss to coat all the pieces. Grill the wings, turning once, for about 8 minutes, or until lightly browned. Brush the wings with some of the sauce, and cook for about 12-15 minutes, brushing with more of the sauce, until the wings are crispy and fully cooked. Sprinkle with the scallion and white sesame seeds.


If you don’t have a grill: Preheat the oven to 400 degrees. Eliminate the vegetable oil. Place the wings in a single layer on a foil-lined baking sheet. Pour the sauce over the chicken and toss to coat the pieces evenly. Bake for 12-15 minutes. Turn the wings over and bake for another 15 minutes or until the wings are crispy.


Makes 6-8 servings

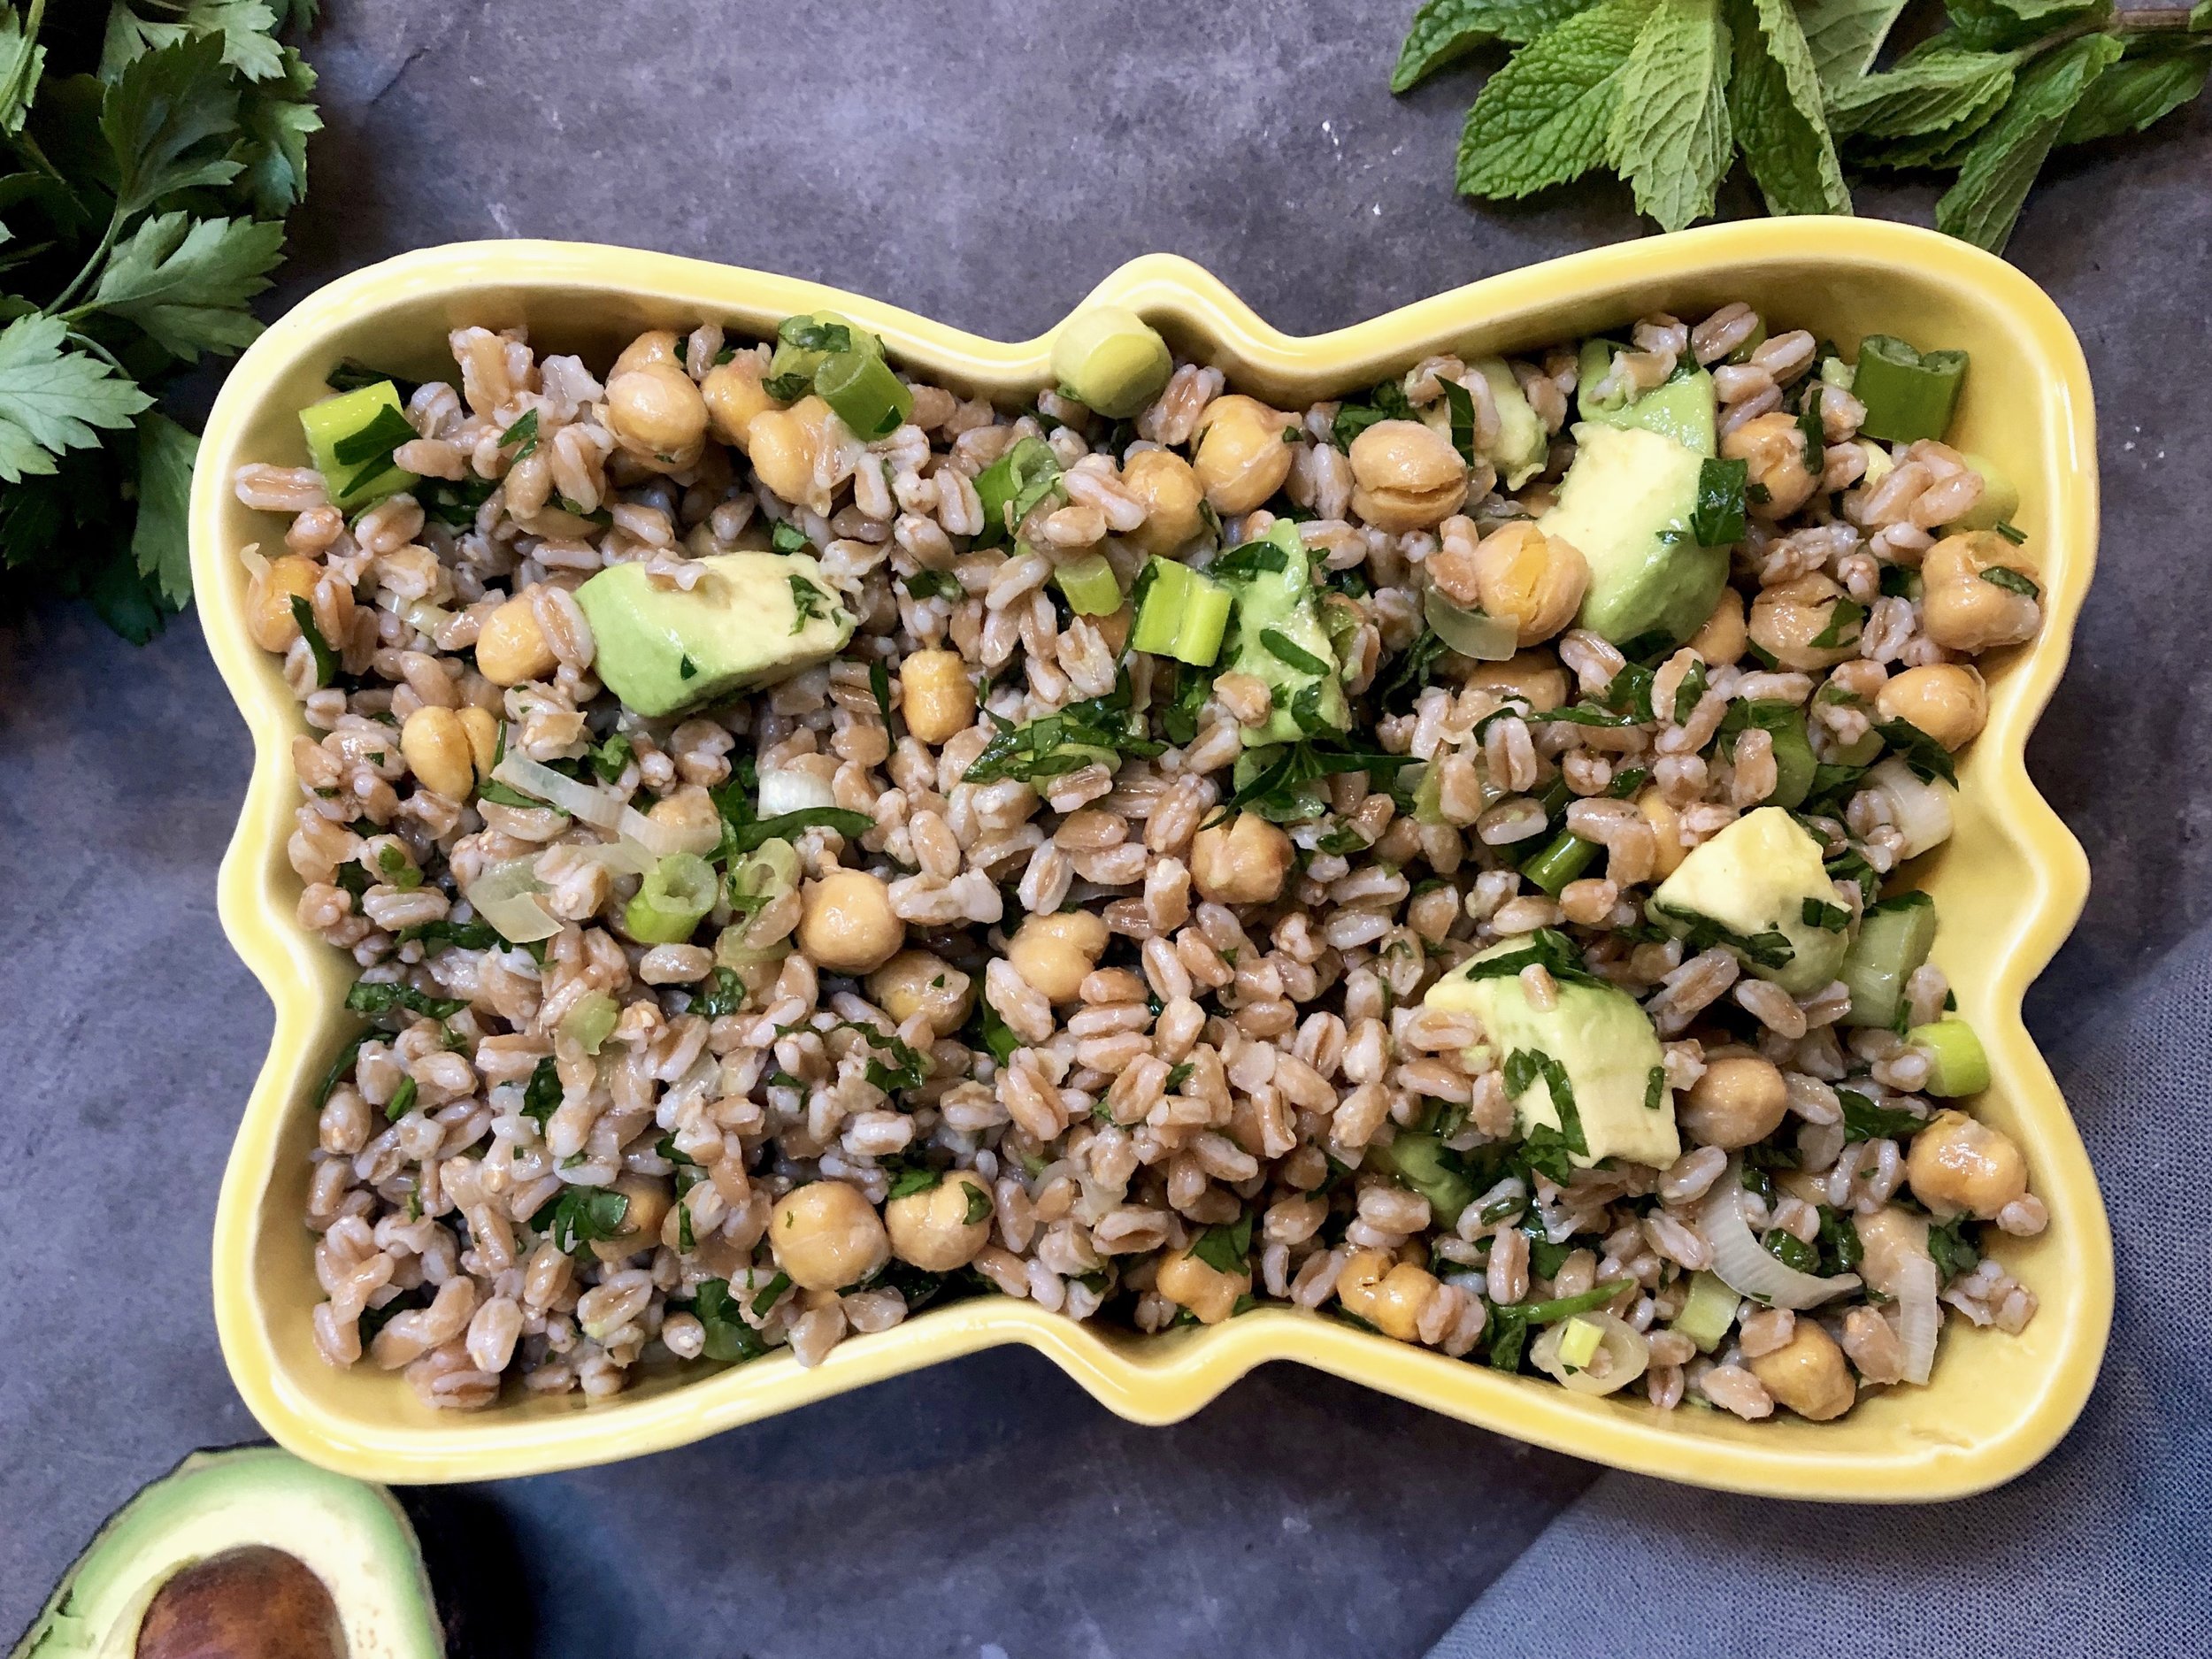
Farro and Roasted Chick Pea Salad

fullsizeoutput_a6f2.jpeg

I’m a salad lover year ‘round, but somehow even for me, warm weather is salad season for real.

So, here we are, it’s almost summer. It’s already hot as blazes where I am and I am in even more of a salad mood.

This one is so easy and you can make it ahead — don’t add the dressing until 15-20 minutes before serving time. Also — I love farro but you could substitute any whole grain or even couscous.

Remember this one for July 4th — you can tote it to a picnic — and even for Labor Day.

Happy summer!

Farro and Roasted Chick Pea Salad

  • 1 can chick peas (15 ounces)

  • 3-4 tablespoons olive oil, approximately

  • Salt to taste

  • 1 cup farro

  • 2 cups water

  • 3-4 scallions, chopped

  • 1 avocado, peeled and diced

  • 2-3 tablespoons wine vinegar

  • 1/4 cup chopped fresh parsley

  • 3 tablespoons chopped fresh mint

  • 1/2 teaspoon ground cumin

  • salt to taste

  • Aleppo pepper, optional

Preheat the oven to 425 degrees. Drain the chick peas and place them on a baking sheet. Pour 2 teaspoons olive oil over them and toss to coat. Sprinkle with salt. Roast for about 20 minutes or until crispy and lightly browned. Remove from the oven and let cool. While the vegetables are roasting, place the farro and water in a saucepan and bring the liquid to a boil over high heat. Lower the heat, cover the pan and simmer for 25-30 or until the grain is tender, but still chewy. Let cool slightly and place in a mixing bowl. Add the chick peas, scallions and avocado and toss the ingredients to distribute them evenly. Pour in 2 tablespoons olive oil and toss the ingredients. Pour in the wine vinegar, add the parsley, mint and cumin and toss the ingredients again. Season to taste with salt and Aleppo pepper. Stir in more olive oil and/or wine vinegar if you wish.

Makes 6-8 servings