pastry

Banana Muffins with Oat Streusel

30D3E892-9DB2-4E75-BF52-BD72D6333B22_1_201_a.jpeg

It may be a new year but some things never change.

I bought too many bananas again and I cannot bring myself to throw away good, usable food.

So I made Banana Muffins with Oat Streusel.

Bringing them to a friend.

Remember these — not just a good breakfast, brunch or nosh — they make perfect mishoach manot for Purim (begins at sundown on February 25th).

BANANA MUFFINS WITH OAT STREUSEL

Muffins: 

  • 1-3/4 cups flour

  • 1 teaspoon baking soda

  • 1/2 teaspoon baking powder

  • 3/4 teaspoon salt

  • 1 teaspoon cinnamon

  • 3 very ripe bananas, mashed

  • 3/4 cup buttermilk or sour milk

  • 1/4 cup honey

  • 3 tablespoons vegetable oil

  • 1 large egg

  • 1-1/2 teaspoons vanilla extract

  • streusel

Preheat the oven to 400 degrees. Lightly grease 10 muffin tins. Mix the flour, baking soda, baking powder, salt and cinnamon in a bowl. In a separate bowl, mix the bananas, buttermilk, honey, vegetable oil, egg and vanilla extract. Add the liquid ingredients to the dry ones and mix only long enough to combine thoroughly. Spoon the batter into the prepared muffin tins. Scatter the streusel evenly on top of each muffin. Bake for 22-25 minutes or until a cake tester inserted into the center comes out clean.

Makes 10

Streusel: 

  • 3 tablespoons flour

  • 2 tablespoons old fashioned oats

  • 2 tablespoons sugar

  • 1 tablespoon butter

In a bowl, mix the flour, oats and sugar. Cut the butter into small pieces and work into the flour mixture with your fingers until the mixture is crumbly. Set aside.

Fresh Ginger Cake

IMG_4405.jpeg

When life gives you lemons, you make lemonade.

And, when life gives you fresh ginger, you make ginger cake (to go with ginger tea of course).

I’ve been using Instacart to get groceries recently because of the stay-at-home and social distancing Ed and I are following strictly. This delivery service has been excellent and I am incredibly grateful to the men and women who have shopped for us and delivered everything to our front door.

So first, bravo and thank you to them.

There have been some mistakes, none really worth talking about, but one that I found amusing.

I ordered a piece of fresh ginger and my shopper bought a pound!

That’s a lot of ginger.

But okay. I’ll use it.

First of all, I love ginger steeped in near-boiling water for tea. I’ve been drinking a lot of that recently. It’s healthy and a perfect way to stay hydrated too.

And of course, to go with the tea: cake. Like gingerbread. Except I didn’t have enough molasses so I used a mixture of date honey and regular honey. And I used fresh ginger instead of dried.

Perfect. This cake is milder than traditional gingerbread (because of the missing molasses), yet with the familiar heat because fresh ginger has a bit of a bite.

Would have loved some whipped cream, but alas, no cream in the house.

Fresh Ginger Cake

  • 3/4 cup butter

  • 3/4 cup date syrup (silan) (or use molasses)

  • 1/4 cup honey (or use molasses)

  • 1/2 cup brown sugar

  • 3 cups all-purpose flour·      

  • 2-1/2 teaspoons baking soda

  • 1/2 tsp. salt

  • 1 teaspoon ground cinnamon

  • 1/2 teaspoon grated fresh nutmeg

  • 1/4 cup grated fresh ginger

  • 2 large eggs

  • 1/3 cup milk

Preheat the oven to 350 degrees. Lightly grease a 9”x9” cake pan. Place the butter, date syrup, honey and brown sugar in a saucepan and cook, stirring occasionally, over medium heat until the butter has melted. Stir to blend ingredients thoroughly. Set aside to cool. Mix the flour, baking soda, salt, cinnamon and nutmeg together. Pour the date liquid mixture over the flour mixture and beat the ingredients to blend them thoroughly. Add the ginger and eggs and beat them in. Pour in the milk and mix until the batter is smooth. Pour the batter into the pan. Bake for about 40 minutes or until a cake tester inserted into the center comes out clean.

Makes 8-10 servings

Lemon Aquafaba Bread

fullsizeoutput_9516.jpeg

At this particular time, when we are going through a world-wide crisis, a terrifying pandemic, it can be therapeutic for many of us to cook and bake.

I am one of those people.

I have plenty of ingredients to cook with because over the years I’ve learned to keep shelf-stable foods on hand in case I can’t shop: ingredients such as canned beans, rice, frozen veggies, dried fruit, canned or packaged milk, and so on.

Equally important for me is — don’t waste food (I’ve talked about that often). I believe that it is important to use all resources — “food forage” as my colleague Susan Barocas calls it. Don’t throw out any ingredient that’s useable, including leftovers.

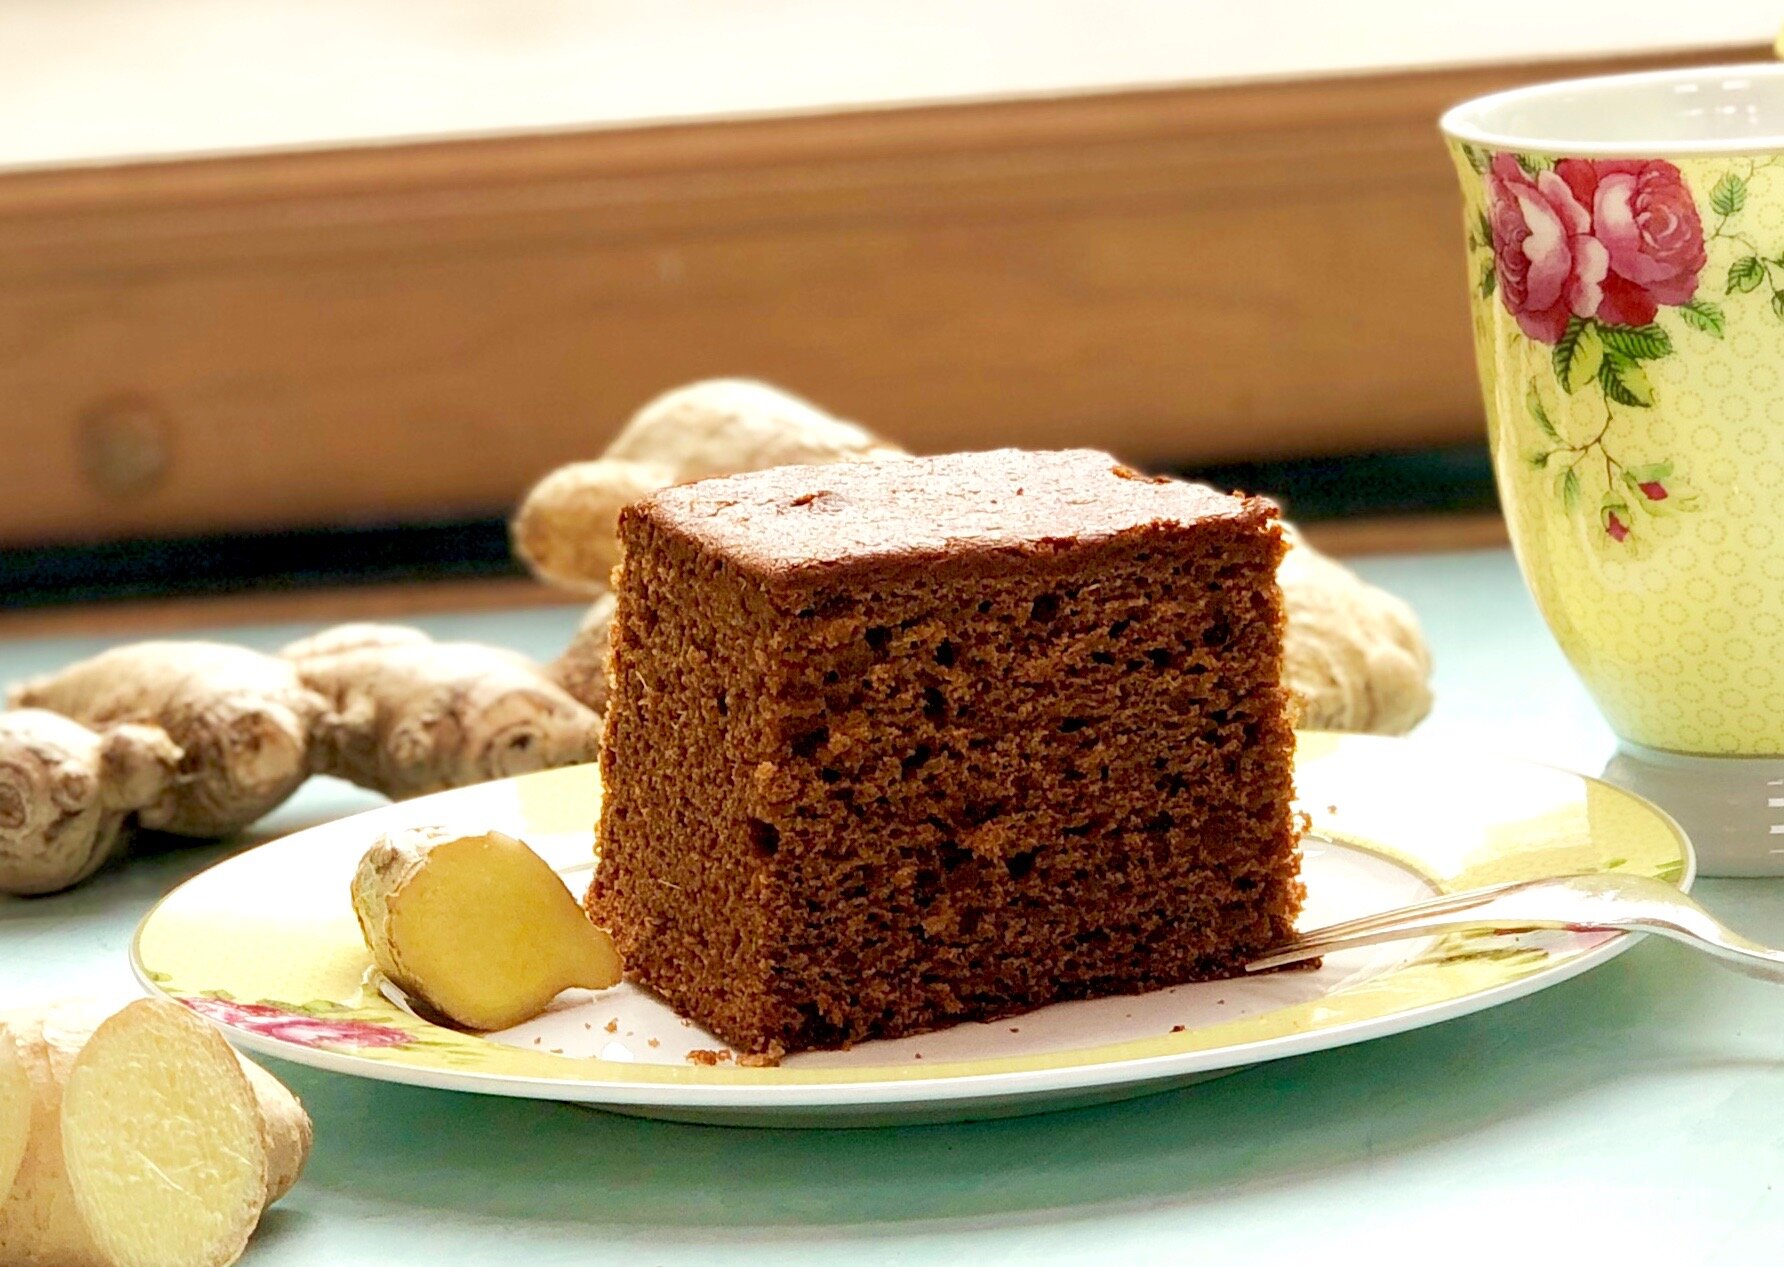
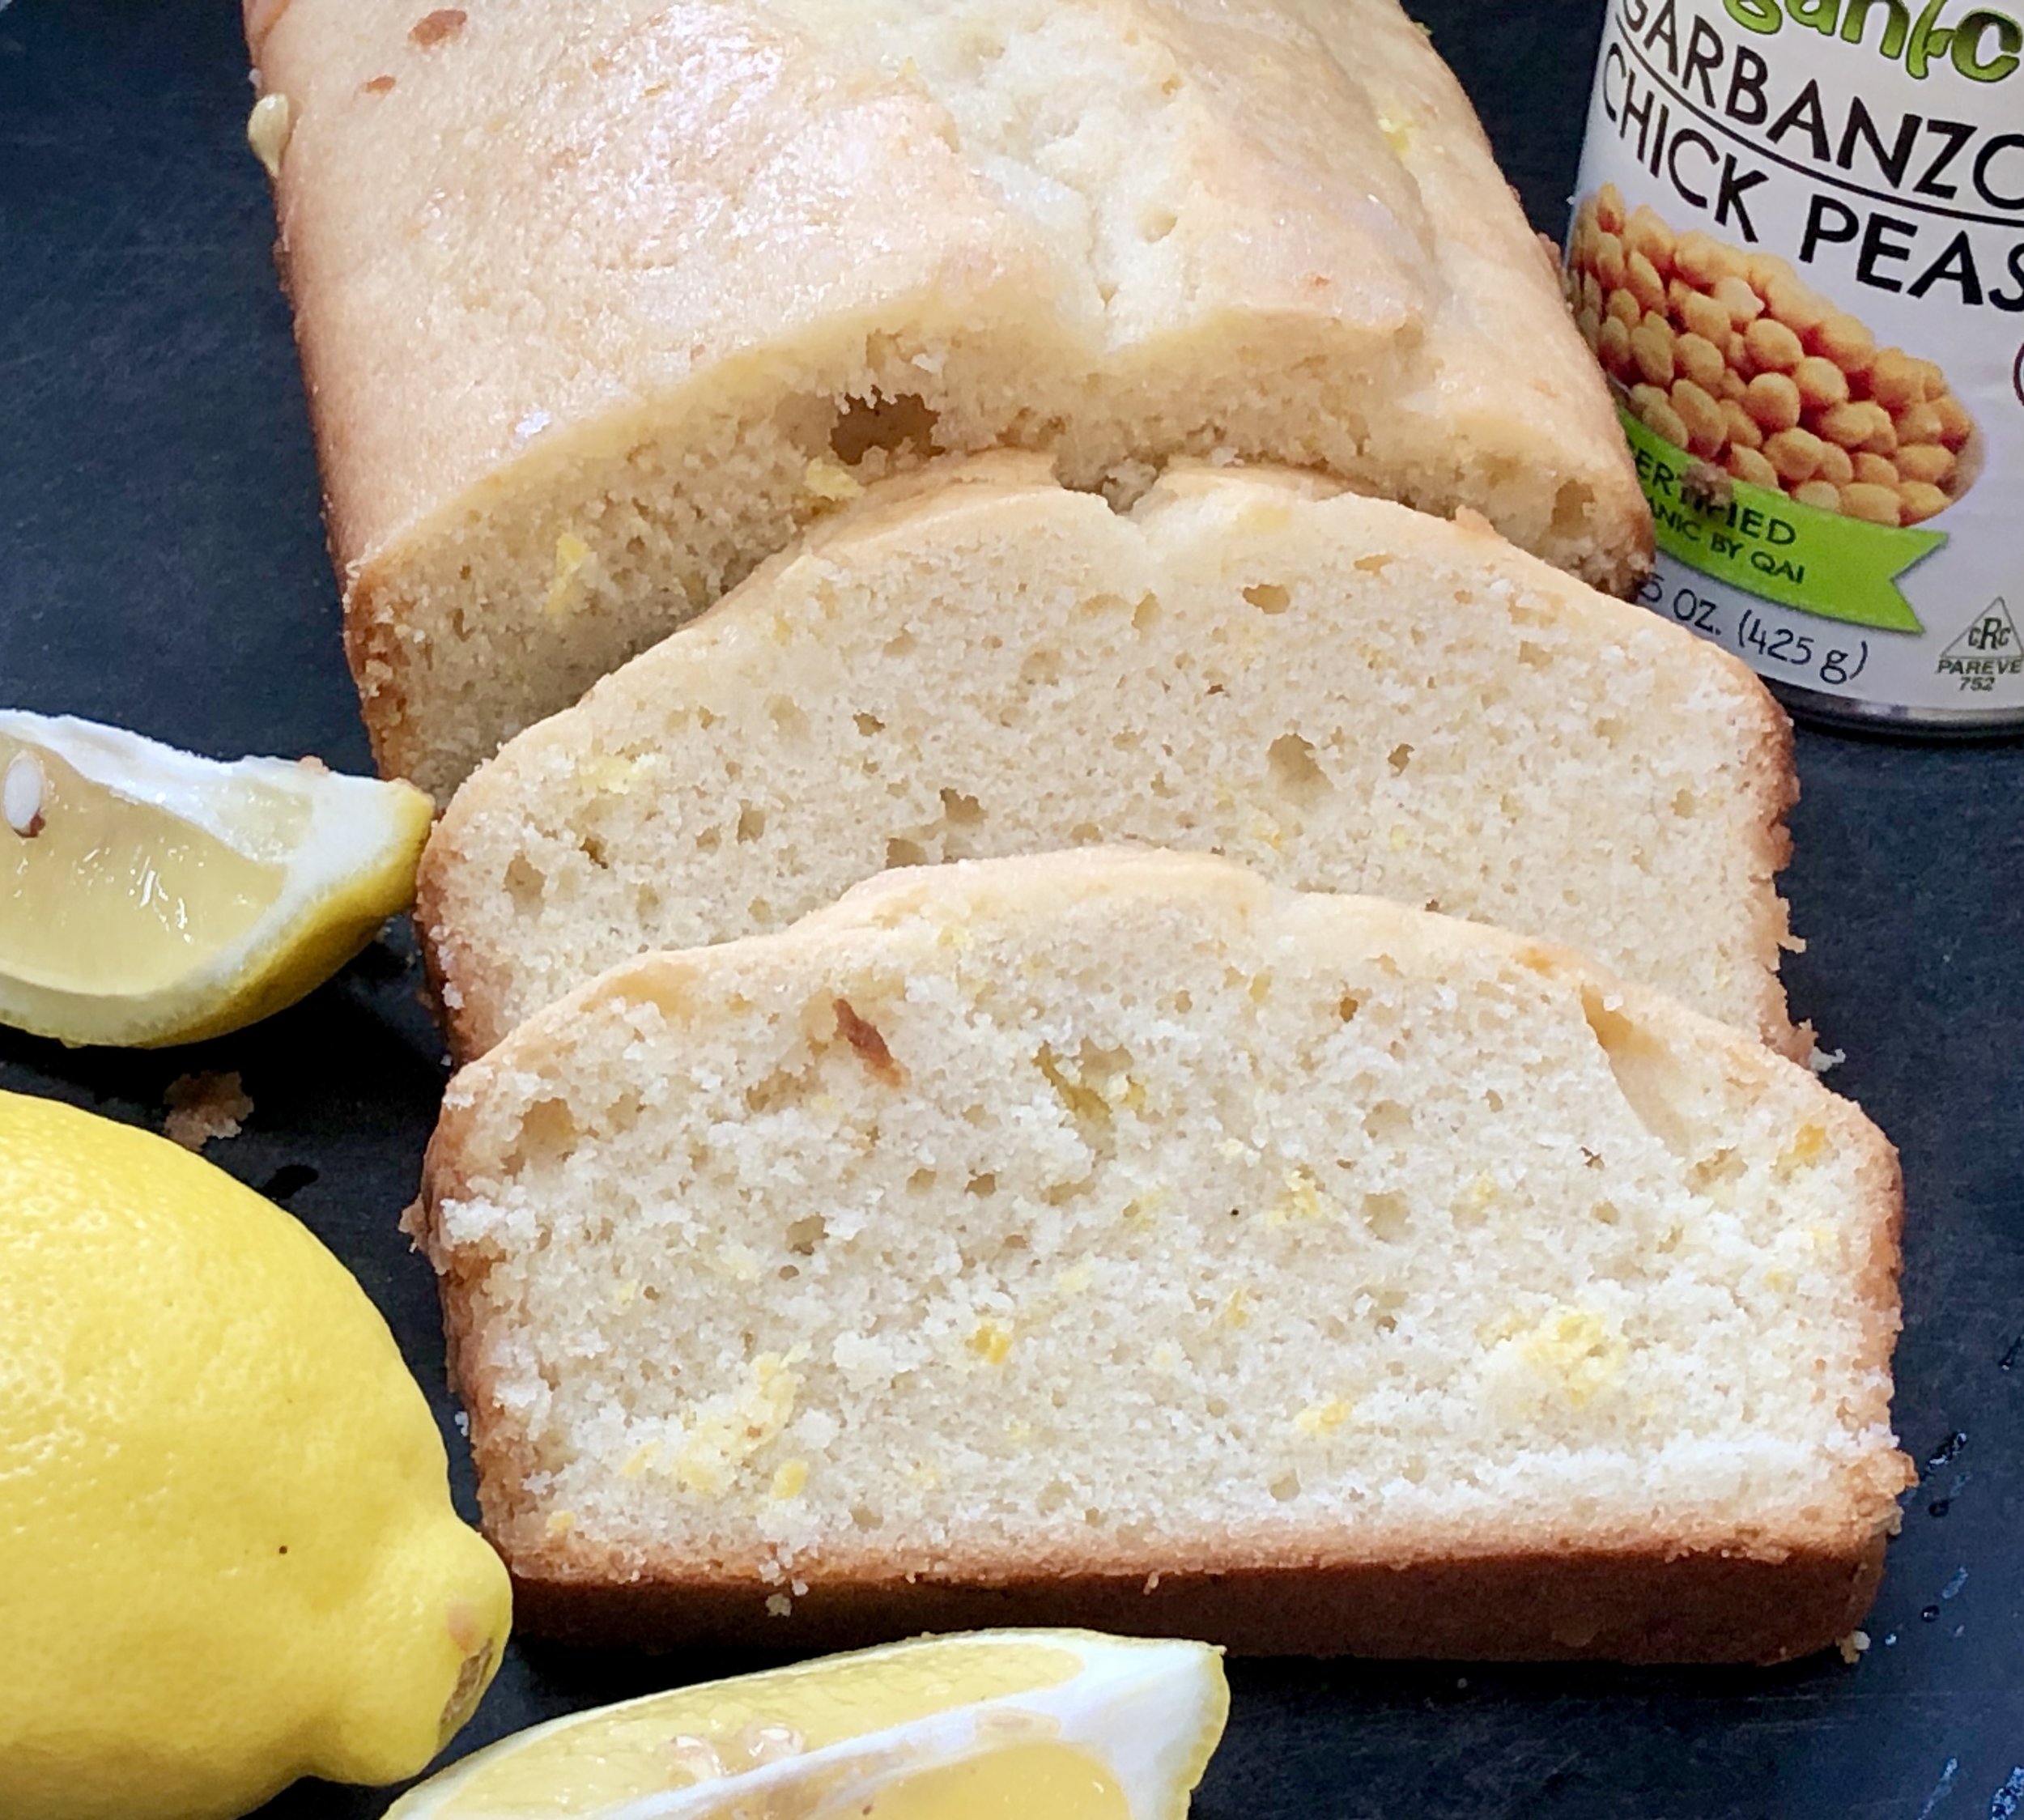
With all this in mind I offer this lemon bread.

I have lots of lemons in my crisper because of an article I am writing. I’ve developed the recipe for that, so I need to make use of the extra lemons.

I also needed to do something with the liquid leftover from a can of chick peas that I opened for a salad. Chick pea liquid is incredibly useful.

In case you aren’t familiar with this leftover liquid (also from canned beans), it is called aquafaba and it can be used in place of eggs. That makes it an ideal ingredient for vegans and anyone who is allergic to or otherwise can’t eat eggs.

When you beat chick pea liquid with a whisk, it traps air like eggs do, so baked goods have both structure and also a light, tender crumb.

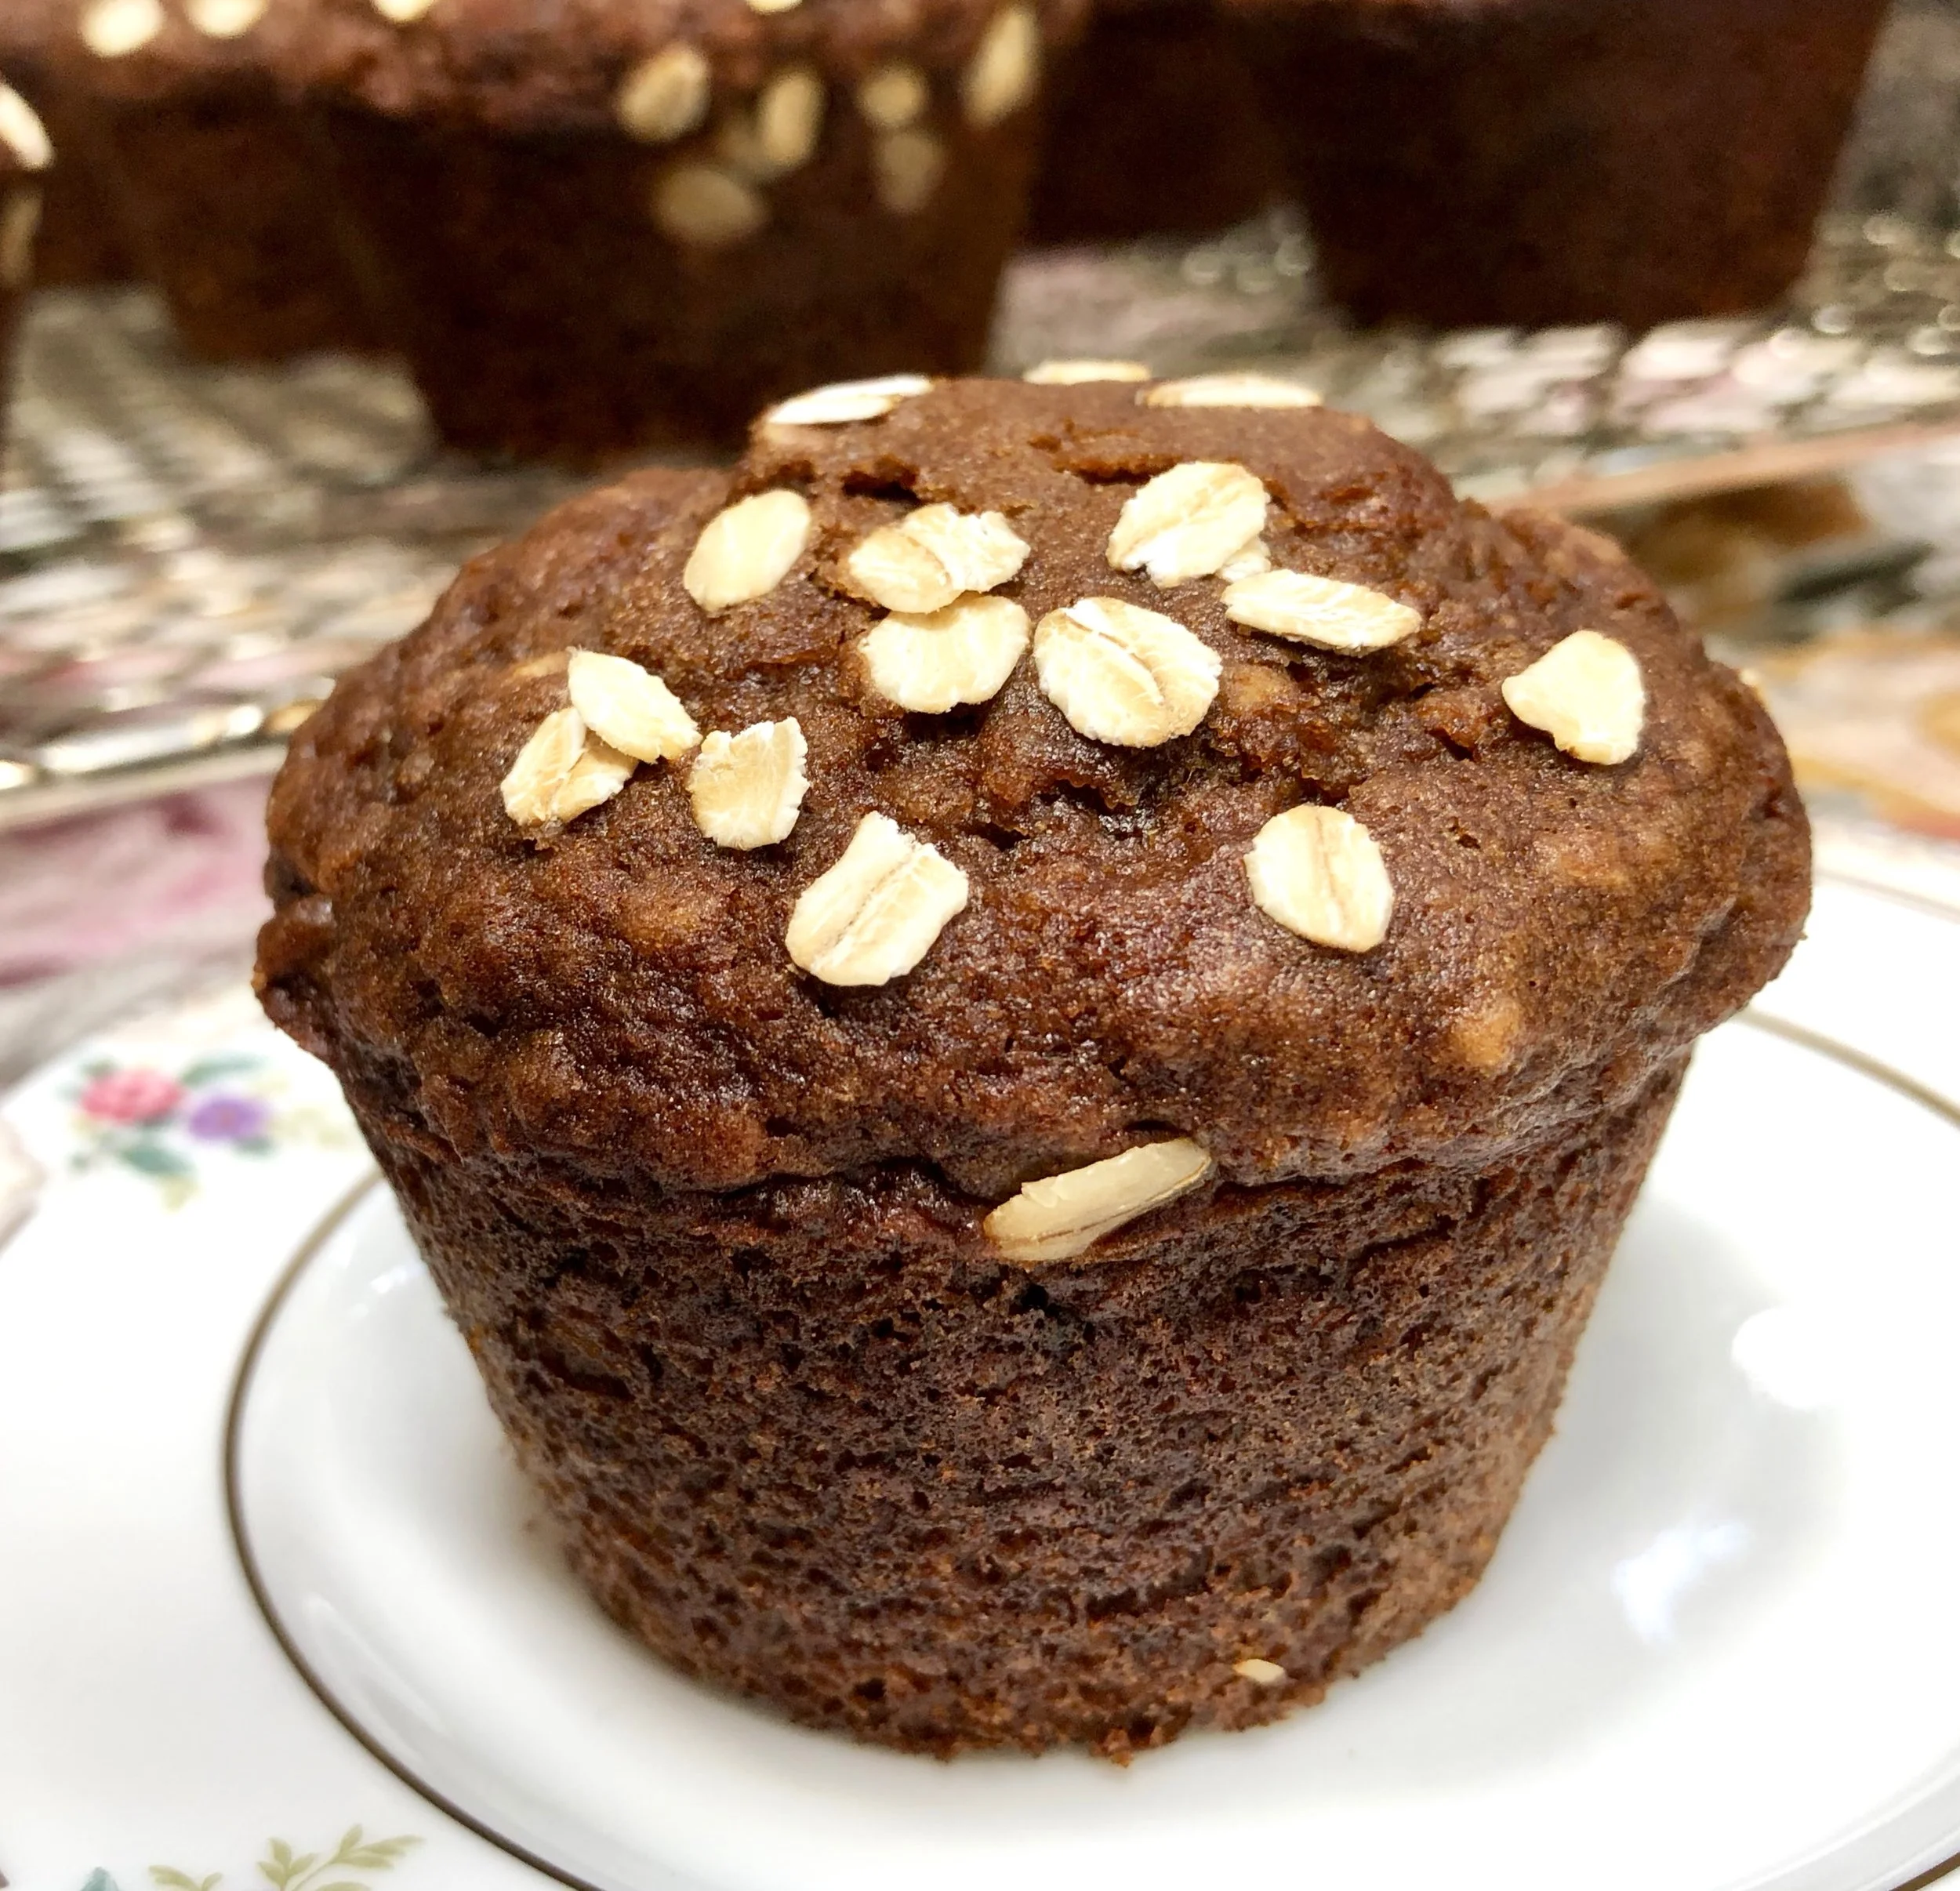
I am trying not to use too many fresh eggs that I might need for meals, so I used the aquafaba instead to make this lemon bread.

Dee-lish!

To get the most out of the liquid in a can of chick peas, be sure to scrape the residue at the bottom of the can. For best results, reduce the liquid slowly over medium-low heat until it becomes the consistency of egg white. Use about 3 tablespoons of the liquid in place of each egg. 

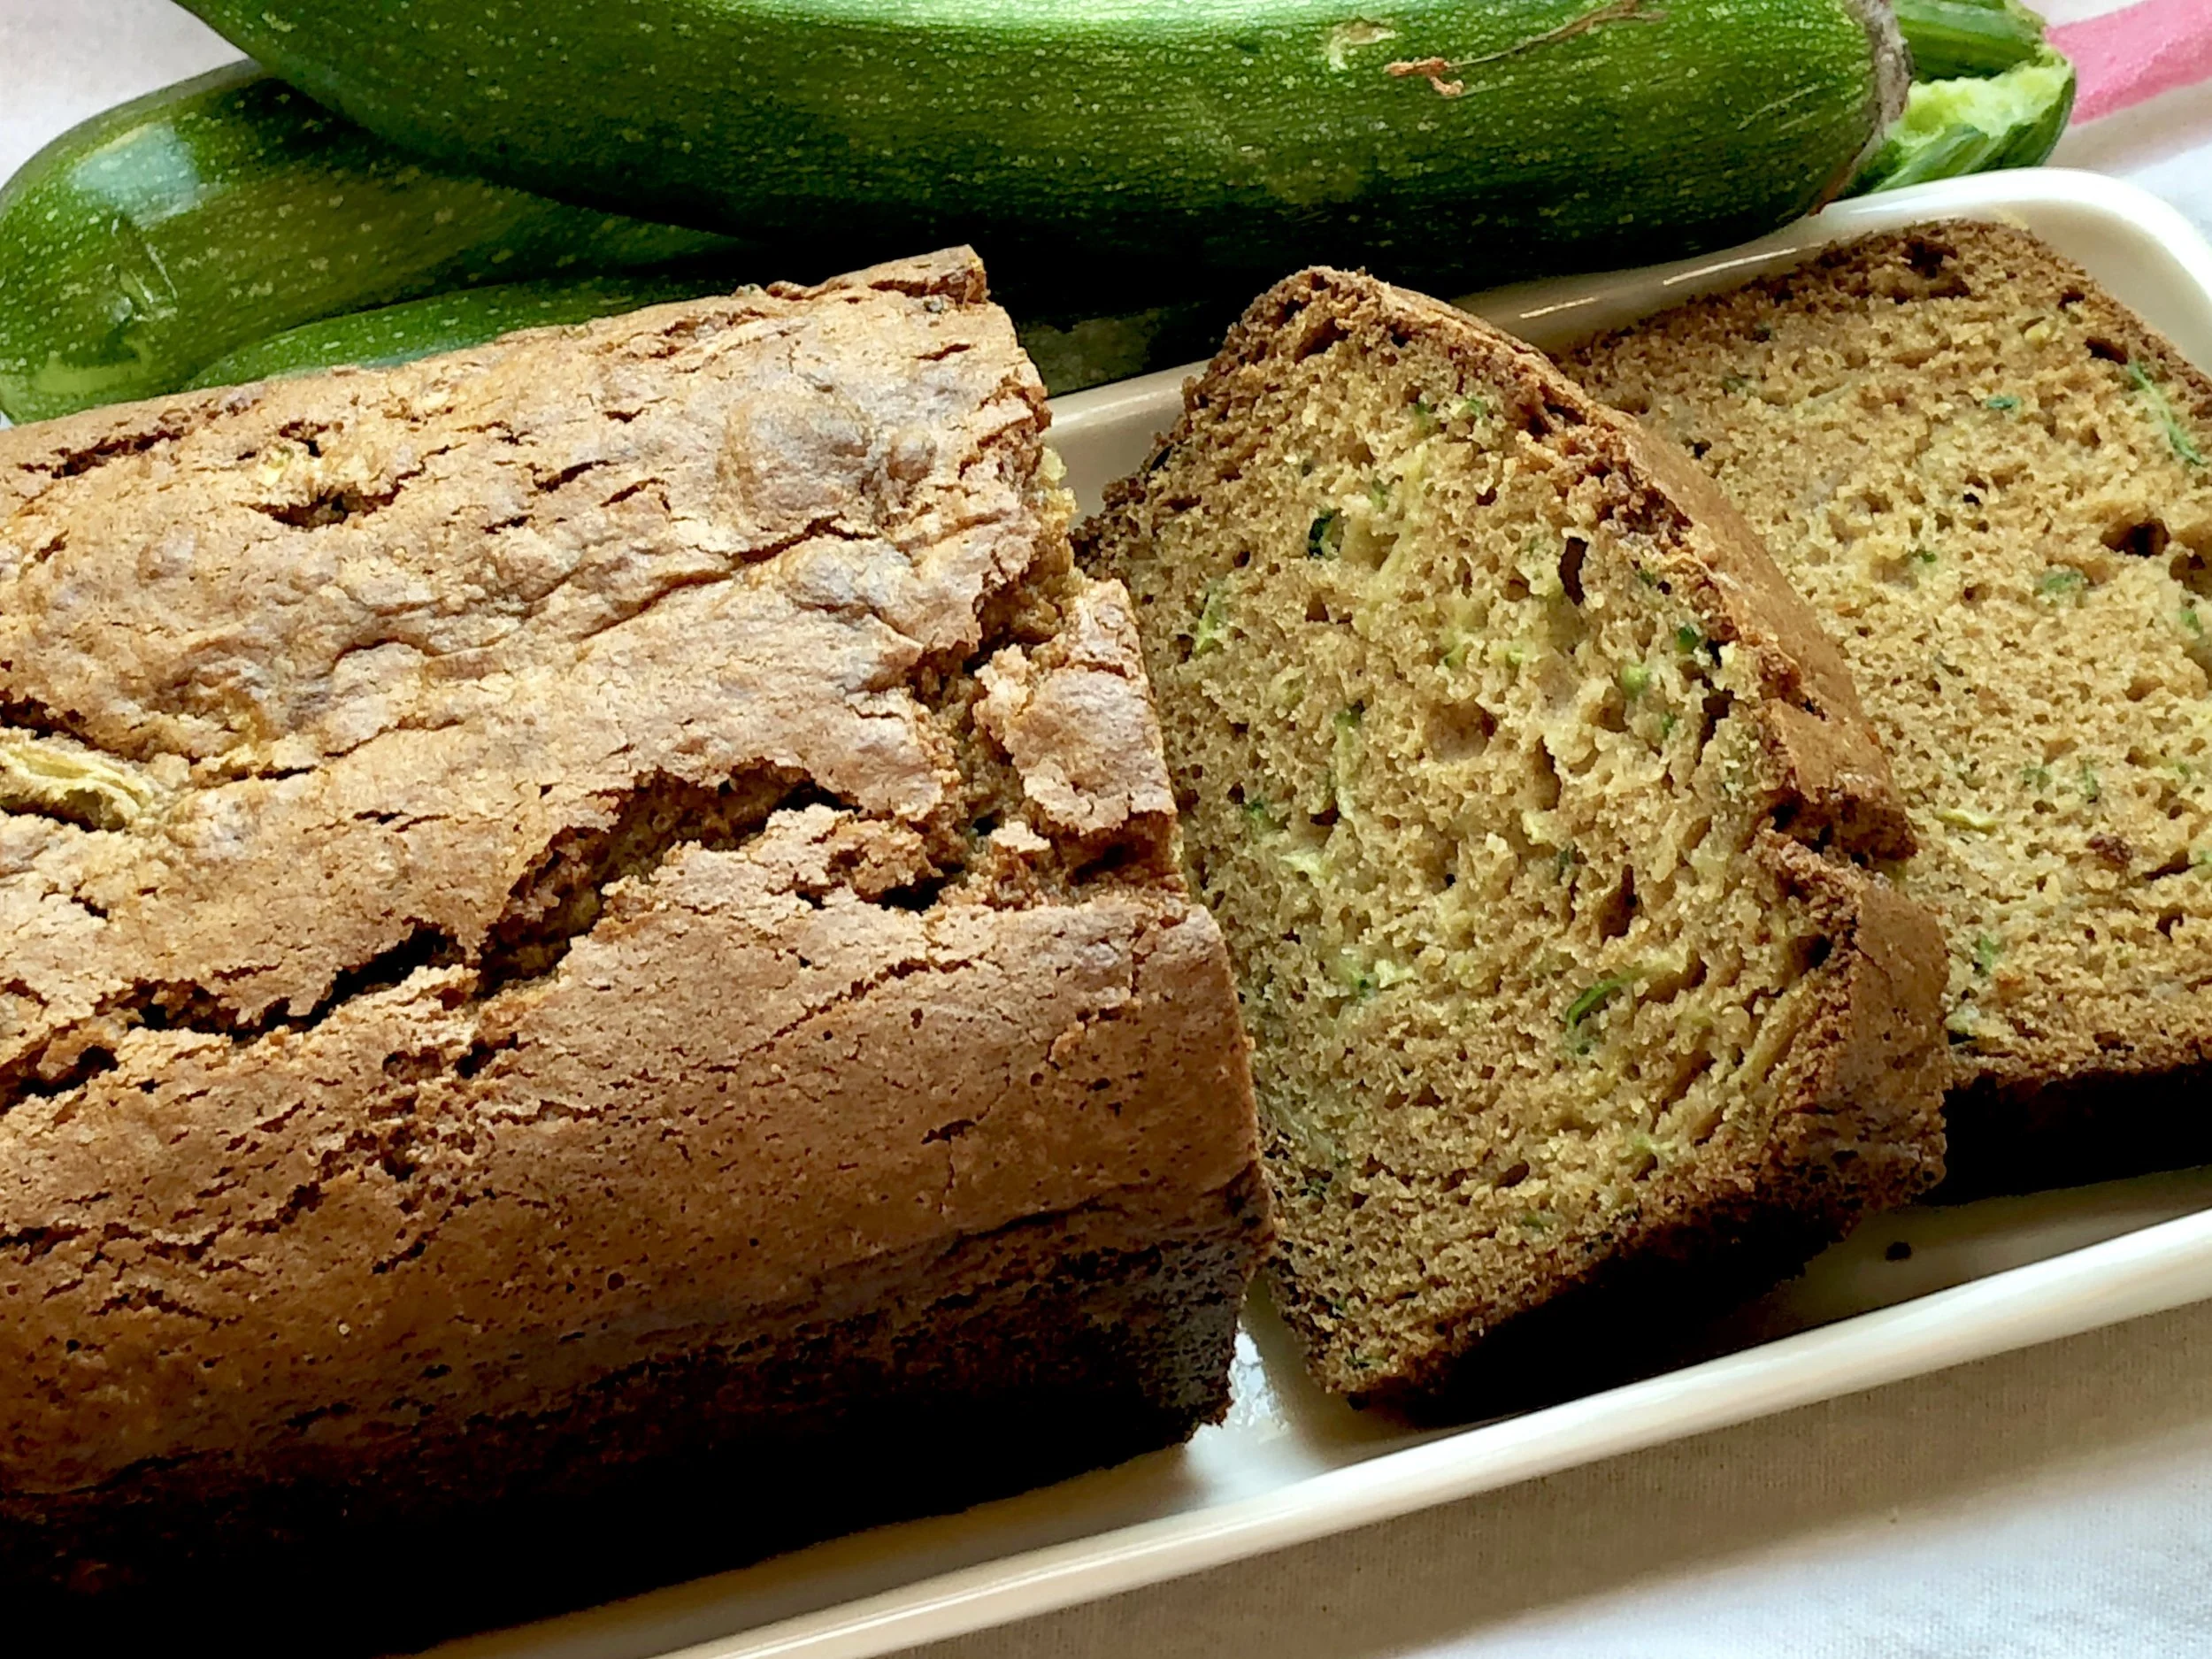
For another delicious recipe (carrot bread) using aquafaba, click here.

Lemon Aquafaba Bread

  • 6 tablespoons aquafaba

  • 4 tablespoons coconut oil

  • 3/4 cup sugar

  • 1 tablespoon finely grated fresh lemon peel

  • 2 cups all-purpose flour

  • 2-1/2 teaspoons baking powder

  • 3/4 teaspoon salt

  • 1 cup coconut milk

  • 1/4 cup fresh lemon juice

  • 1-1/2 tablespoons sugar

Preheat the oven to 350 degrees. Grease a 9”x5”x3” loaf pan. If the aquafaba seems thin, boil it for a few minutes to thicken slightly to the consistency of egg white. Set aside to cool. In the bowl of an electric mixer, beat the coconut oil and 3/4 cup sugar at medium speed for 1-2 minutes or until well combined. Add the lemon peel and aquafaba and blend them in. Mix the flour, baking powder and salt in a small bowl. Add the dry ingredients to the creamed mixture in thirds, alternating with the coconut milk. Beat to blend the ingredients to a smooth, even batter. Spoon the batter into the prepared pan. Bake for 50-55 minutes or until a cake tester inserted into the center comes out clean. While the bread is baking, combine the lemon juice and 1-1/2 tablespoons sugar in a small saucepan and cook over medium heat for 1-2 minutes or until the sugar has dissolved. When the bread comes out of the oven, pour the lemon juice mixture on top. Cool the bread in the pan for 10 minutes. Invert onto a cake rack to cool completely.

Makes one bread

Kourabiedes

fullsizeoutput_a049.jpeg

Years ago, before even floppy disks, I would bake zillions of cookies for the Hanukkah-Christmas season and give baskets of different kinds to the editors of the various local newspapers and magazines that I wrote for.

There were always: butter cookies, peanut butter cookies, chocolate chippers, oatmeal raisin, gingersnaps and Chinese cookies.

Occasionally: Dutch Butter cookies, St. Cupcake Brownie cookies, Orange Marmalade cookies and Fruit Roll cookies.

My house smelled as fabulous as any bakery. Various and sundry repair people, delivery people and dog walkers would occasionally stop by and ask if there were any “seconds” — you know, not pretty enough for the gift baskets — that they could sample.

I always gave away (still do!) a lot of food.

One year I added kourabiedes (Greek almond-butter cookies) to the assortment. They got rave reviews and I always included them after that.

Of course time passed and, thanks to technology, I no longer deliver hard or floppy disks to editors. Everything is sent over the internet. To places far and wide.

So, no more editor-and-media staff cookie baskets.

Less work (baking cookies, that is), but also less personal contact with the people I write for.

I still give away a few cookie baskets but I don’t bake the variety of cookies I once did. Hadn’t made kourabiedes for a year or three until a few days ago.

So glad I did! They are as delicious as I remember. A few simple ingredients. Not fancy or fussy. I like to think of them as “the coffeecake of cookies” — the kind you reach for with afternoon tea or coffee. Lightly sweet and buttery but not overly rich. Freezable. Perfect for giving away. Or not.

Kourabiedes

  • 1 cup butter

  • 2 cups all-purpose flour

  • 1/3 cup ground almonds

  • 1 egg yolk

  • 3 tablespoons confectioners’ sugar

  • 1/4 teaspoon salt

  • confectioner’s sugar for coating

  • ground cloves, optional

Beat the butter with an electric mixer set on medium speed for 2-3 minutes, or until it is light and fluffy. Add the flour and almonds and mix for a minute or two until the ingredients are well blended. Add the egg yolk, confectioner’s sugar and salt and beat until ingredients are well blended and a uniform dough has formed. Wrap the dough in plastic wrap and refrigerate for at least one hour.  Preheat the oven to 325 degrees. Take off pieces of dough and shape them into balls about 1-inch in diameter. Place the balls on ungreased cookie sheets. Bake for about 25 minutes or until they are lightly tanned. Let cool. Roll the cookies in confectioner’s sugar to coat the entire surface. Place on a serving tray and sprinkle with ground cloves if desired. 

 Makes 4 dozen

Pumpkin Chocolate Chip Muffins

fullsizeoutput_a171.jpeg

Years ago I bought small, sweet “sugar” pumpkins, cut them, baked the pieces and mashed the roasted flesh to make pumpkin soup, quickbreads, pie, cake and muffins, and so on.

When I’m not busy I still do that, but these days, more often than not, I buy canned mashed/pureed pumpkin. NOT pumpkin pie filling (which has mixed-in spices).

Yes, I know that most canned “pumpkin” is a mixture of different varieties of winter squash. That’s fine with me — pumpkin is just a variety of winter squash after all. The point is, it tastes good and it works.

Canned pumpkin worked perfectly for the muffins in the photo, they’re dotted with mini-chocolate chips. These are a really good nosh for kids and parents coming in from the cold night out Trick-or-Treating.

Pumpkin Chocolate Chip Muffins

  • 3 ounces semisweet chocolate

  • 1 cup pumpkin puree

  • 3/4 cup sugar

  • 1/2 cup vegetable oil

  • 1/3 cup coconut milk

  • 2 large eggs

  • 1-3/4 cups all-purpose flour

  • 1 teaspoon baking soda

  • 3/4 teaspoon salt

  • 1/2 teaspoon ground cinnamon

  • 1/2 teaspoon grated fresh nutmeg

  • 1/2 cup mini-chocolate chips

Preheat the oven to 350 degrees. Lightly grease 10 muffin pan cups. Melt the chocolate and set it aside to cool. Combine the pumpkin puree, sugar, vegetable oil and coconut milk in a large bowl and whisk the ingredients for 1-2 minutes or until thoroughly blended. Whisk in the eggs. Combine the flour, baking soda, salt, cinnamon and nutmeg and add them to the pumpkin mixture. Whisk the ingredients for 1-2 minutes or until thoroughly blended. Fold in the melted chocolate, creating swirls — do not blend it in completely. Fold in the chocolate chips, reserving some for the tops. Spoon equal amounts of the batter into the prepared cups. Scatter some chocolate chips on top of each muffin. Bake for 25-30 minutes or until a cake tester inserted into the center of the muffins comes out clean.

Makes 10 muffins


Honey Cake Muffins

fullsizeoutput_9422.jpeg

I make honey cake every year for Rosh Hashanah, using my Aunt Belle’s family-famous recipe.

Every once in a while I change the recipe — a different honey, an additional spice (or less seasoning), and so on, just to see if we like it better or I should just stick to the original. I’ve even adapted the recipe to make it with date honey.

They’re all delicious. I love honey cake and I look forward to it every year as a special holiday treat.

Last year I decided to make honey cake into muffins. So — breakfast or afternoon snack instead of for dessert. They are sweet — it is honey “cake” after all — but not as sweet as the recipe I use for dessert. The muffins are also mellowed a bit with oats.

During the year I made these muffins again, several times, using several different spice blends. The recipe below is the more traditional Rosh Hashanah flavor, but you could delete the cinnamon and nutmeg and use one teaspoon Hawaij spice instead. They’re a convenient riff on honey cake; freezable too.

Honey Cake Muffins

  • 1-1/3 cups all-purpose flour

  • 2/3 cup quick oats

  • 2 teaspoons baking powder

  • 1-1/2 teaspoons baking soda

  • 1/2 teaspoon salt

  • 2 teaspoon grated fresh orange peel

  • 1/2 teaspoon cinnamon

  • 1/2 teaspoon grated nutmeg

  • 3/4 cup honey

  • 1/2 cup cold coffee

  • 6 tablespoons vegetable oil

  • 2 large eggs

  • old fashioned oats, optional (or use chopped nuts)

Preheat the oven to 375 degrees. Grease 10 muffin tins. In a bowl, mix the flour, oats, baking powder, baking soda, salt, orange peel, cinnamon and nutmeg together until uniform in color. Heat the honey and coffee together over low heat briefly, so that they are easy to blend with a whisk. Add the vegetable oil and eggs and whisk the ingredients until they are uniform in color. Stir in the flour mixture and mix until thoroughly combined. Spoon the batter into the greased muffin tins. Top, if desired, with old fashioned oats or chopped nuts. Bake for about 18 minutes or until a cake tester inserted into the center comes out clean.

Makes 10


Zucchini Bread

fullsizeoutput_acf2.jpeg

When we were first married, Ed promised me 50 years. That was in 1969. We were young and 50 years seemed like a REALLY REALLY long time.

Grandparent stuff.

But here we are. A few months short of 50.

Wasn’t it yesterday that I fit into that long white dress?

We wanted to celebrate with two other couples, all close friends, who are also at 50.

But we didn’t want to have a big party. Not even an intimate dinner party for six. Although those are lovely, it seemed like the same-old, same-old. 50 years deserved something special.

So we decided to have a 150th Anniversary Afternoon Tea.

It was festive, fun and celebratory.

We started with champagne and tea sandwiches.

Then: scones, clotted cream and jams.

Finally, dessert: several kinds of cookies, Lemon Buttermilk Cake, Pumpkin Spice Cake and this: Zucchini Bread, (made with zucchinis from my garden!).

Just us 6. It was a good day.

We all talked about how amazing it is at how quickly 50 years go by.

Zucchini Bread

  • 2 cups all-purpose flour

  • 1/2 teaspoon cinnamon

  • 1/2 teaspoon nutmeg

  • 1-1/2 teaspoons baking soda

  • 3/4 teaspoon baking powder

  • 3/4 teaspoon salt

  • 3/4 cup brown sugar

  • 1/2 cup sugar

  • 2 large eggs

  • 1/2 cup applesauce

  • 1/4 cup vegetable oil

  • 1 teaspoon vanilla extract

  • 2 cups grated fresh zucchini

Preheat the oven to 350 degrees. Lightly grease a 9”x5”x3” loaf pan. Place the flour, cinnamon, nutmeg, baking soda, baking powder and salt in a bowl and whisk the ingredients until they are evenly distributed. Place the brown sugar, sugar, eggs, applesauce and vanilla extract in the bowl of an electric mixer (or use a hand mixer) and beat at medium speed for 2-3 minutes, until thoroughly blended. Add the flour mixture and stir just until blended. Fold in the zucchini. Spoon the batter into the prepared pan. Bake for 50-60 minutes or until golden brown and a cake tester inserted into the center comes out clean. Cool in the pan on a wire rack for 15 minutes. Invert the muffins onto the rack to cool completely.

Makes one loaf

Gluten-Free Peach Crisp

fullsizeoutput_945d.jpeg

Some summers the peaches are glorious.

And then there’s this year. I haven’t had an excellent peach or nectarine yet.

I bought a bunch a few times and they tasted ok, but not really flavorful. Some were cottony and mealy.

I used the cottony/mealy ones to make sauce — like applesauce only made with peaches (with a bit of cinnamon and a squirt of lemon juice). It was very good. We ate some and I used the rest for quickbread.

I used the sort-of-tasty ones for this peach crisp. This was perfect. Baking — plus some other stuff — brought out the best of the fruit.

And look how easy this dessert is!

Plus, it’s gluten-free, in case you need…

Gluten-Free Peach Crisp

Filling:

  • 6 ripe medium peaches

  • 2 tablespoons sugar

  • 2 tablespoons minute tapioca

  • 1 tablespoon lemon juice

Crust:

  • 1-1/2 cups quick cooking oats

  • 2/3 cup brown sugar

  • 1 teaspoon ground cinnamon

  • 1/4 teaspoon salt

  • 6 tablespoons butter (margarine or solid coconut oil), cut into chunks

To make the filling: Lightly butter a baking dish. Preheat the oven to 400 degrees. Slice the peaches and place the pieces in the baking dish. Add the sugar, tapioca and lemon juice, toss the ingredients and let rest for 15-20 minutes. 

To make the crust: Mix the oats, brown sugar, cinnamon and salt in a bowl. Add the butter and work it into the dry ingredients until the mixture is crumbly. Place on top of the fruit. Bake for 30-35 minutes or until the crust is golden brown.

Makes 6 servings


Blueberry Yogurt Torte

fullsizeoutput_9584.jpeg

You know that famous Plum Torte so many of us bake for Rosh Hashanah? I decided to use it for a light, summery coffee cake.

Sort of. I replaced the plums (not yet available anyway) with fresh seasonal blueberries.

I gave it a bit of enrichment by adding some yogurt (dairy sour cream would be fine too) and a splash of orange (by way of peel) because the citrus pairs so well with blueberries.

Voila! A terrific, easy, more-appropriate-for-summer dessert. July 4th? Sure. Picnic? Sure. Any time at all.

Blueberry Yogurt Torte

  • 1/2 cup unsalted butter

  • 1/2 cup plus one teaspoon sugar

  • 1-1/2 cups all-purpose flour

  • 2 teaspoons grated orange peel

  • 1/2 teaspoon salt

  • 1 teaspoon baking powder

  • 1/4 teaspoon baking soda

  • 2 large eggs

  • 1/2 cup unflavored yogurt

  • 1 pint blueberries

  • lemon juice (about one tablespoon)

Preheat the oven to 350 degrees. Lightly grease a 9-inch springform pan. In the bowl of an electric mixer, beat the butter and 1/2 cup sugar on medium speed for 3-4 minutes or until creamy and well blended. Mix the flour, orange peel, salt, baking powder and baking soda and mix briefly to blend ingredients. Add the flour mixture to the butter mixture and beat for a minute or two at medium speed until a thick batter has formed. Add the eggs and yogurt and beat at medium speed for 2-3 minutes or until smooth and creamy. Spoon the batter into the prepared springform pan. Arrange the berries on top of the cake, pressing them slightly into the batter. Sprinkle the lemon juice over the top of the cake. Sprinkle with the remaining teaspoon of sugar. Bake for 50-55 minutes or until browned, set and crispy. Let cool.

Makes 8 servings

Apple Streusel

fullsizeoutput_9c46.jpeg

My grandma made her own strudel dough. I remember how deftly she stretched and smoothed the paper-thin pastry over the kitchen table before filling it with all sorts of stuff: usually apples, tender and tart, but gently sweetened and seasoned with cinnamon. Sometimes she filled the dough with mashed potatoes bound with shmaltz-fried golden-brown onions. Like some giant knish!

Whatever was inside, those rolls baked to perfectly perfect crispy-crustedness and all was well with the world.

OY! Those were delicious days.

When she got older she bought packaged strudel dough at a Hungarian grocery near her house. She just couldn’t manage preparing this most delicate of doughs anymore.

I’ve looked for real Hungarian strudel dough but it’s difficult to find. So I made my own dough once. It was good, but not worth the work! So, when I make strudel now I use phyllo dough, which is not quite the same thing and is a terrific product, but not exactly right for strudel.

Anyway, I thought of all this because National Apple Strudel Day is Monday, June 17th. And I thought about making some, but decided to make Apple Streusel instead.

They sound almost the same, right?

And it tastes just perfectly perfect.

Apple Streusel

  • 5-6 baking type apples, peeled, cored and sliced

  • 2 tablespoons lemon juice

  • 1 tablespoon all-purpose flour

  • 3/4 teaspoon cinnamon

  • 1/3 cup sugar

  • streusel

 Streusel:

  • 3/4 cup all-purpose flour

  • 1/4 cup oats (any kind)

  • 3 tablespoons sugar

  • 1/8 teaspoon salt

  • 6 tablespoons butter, cut into chunks

Preheat the oven to 375 degrees. Place the apple slices in a bowl. Add the flour, lemon juice, flour, cinnamon and sugar, toss the ingredients and set aside. Spoon the streusel mixture on top of the apples. Bake for 45 minutes or until crusty and golden brown.

Combine the flour, oats, sugar and salt in a mixing bowl. Add the butter and work it into the flour mixture with fingers or a pastry blender, until the mixture resembles crumbs. (You can use a food processor: 24-30 short, quick pulses. If so, if you use quick oats, stir them in to the flour crumbs after pulsing.)

 Makes 8 servings