comfort food

Braised Short Ribs with Harissa

39F7D607-738C-4FF2-85EF-2C1792A40947_1_201_a.jpeg

Yes, it’s March already! But it feels as if it’s been March for a year.

Doesn’t it?

Hasn’t it been?

Somehow this past year of endless March I’ve been less motivated and felt less creative. Or maybe it’s just that I feel safer, more comforted with the known, even when it comes to food.

So I’ve been less adventurous than usual with recipes.

And yet, the other day I went to prepare my tried-and-true recipe for short ribs and thought I’d do a little something different. Also, I had no tomato paste. I substituted ketchup and decided to jazz the dish up with some harissa.

What a difference! This dish is a wow! It might become the tried-and-true.

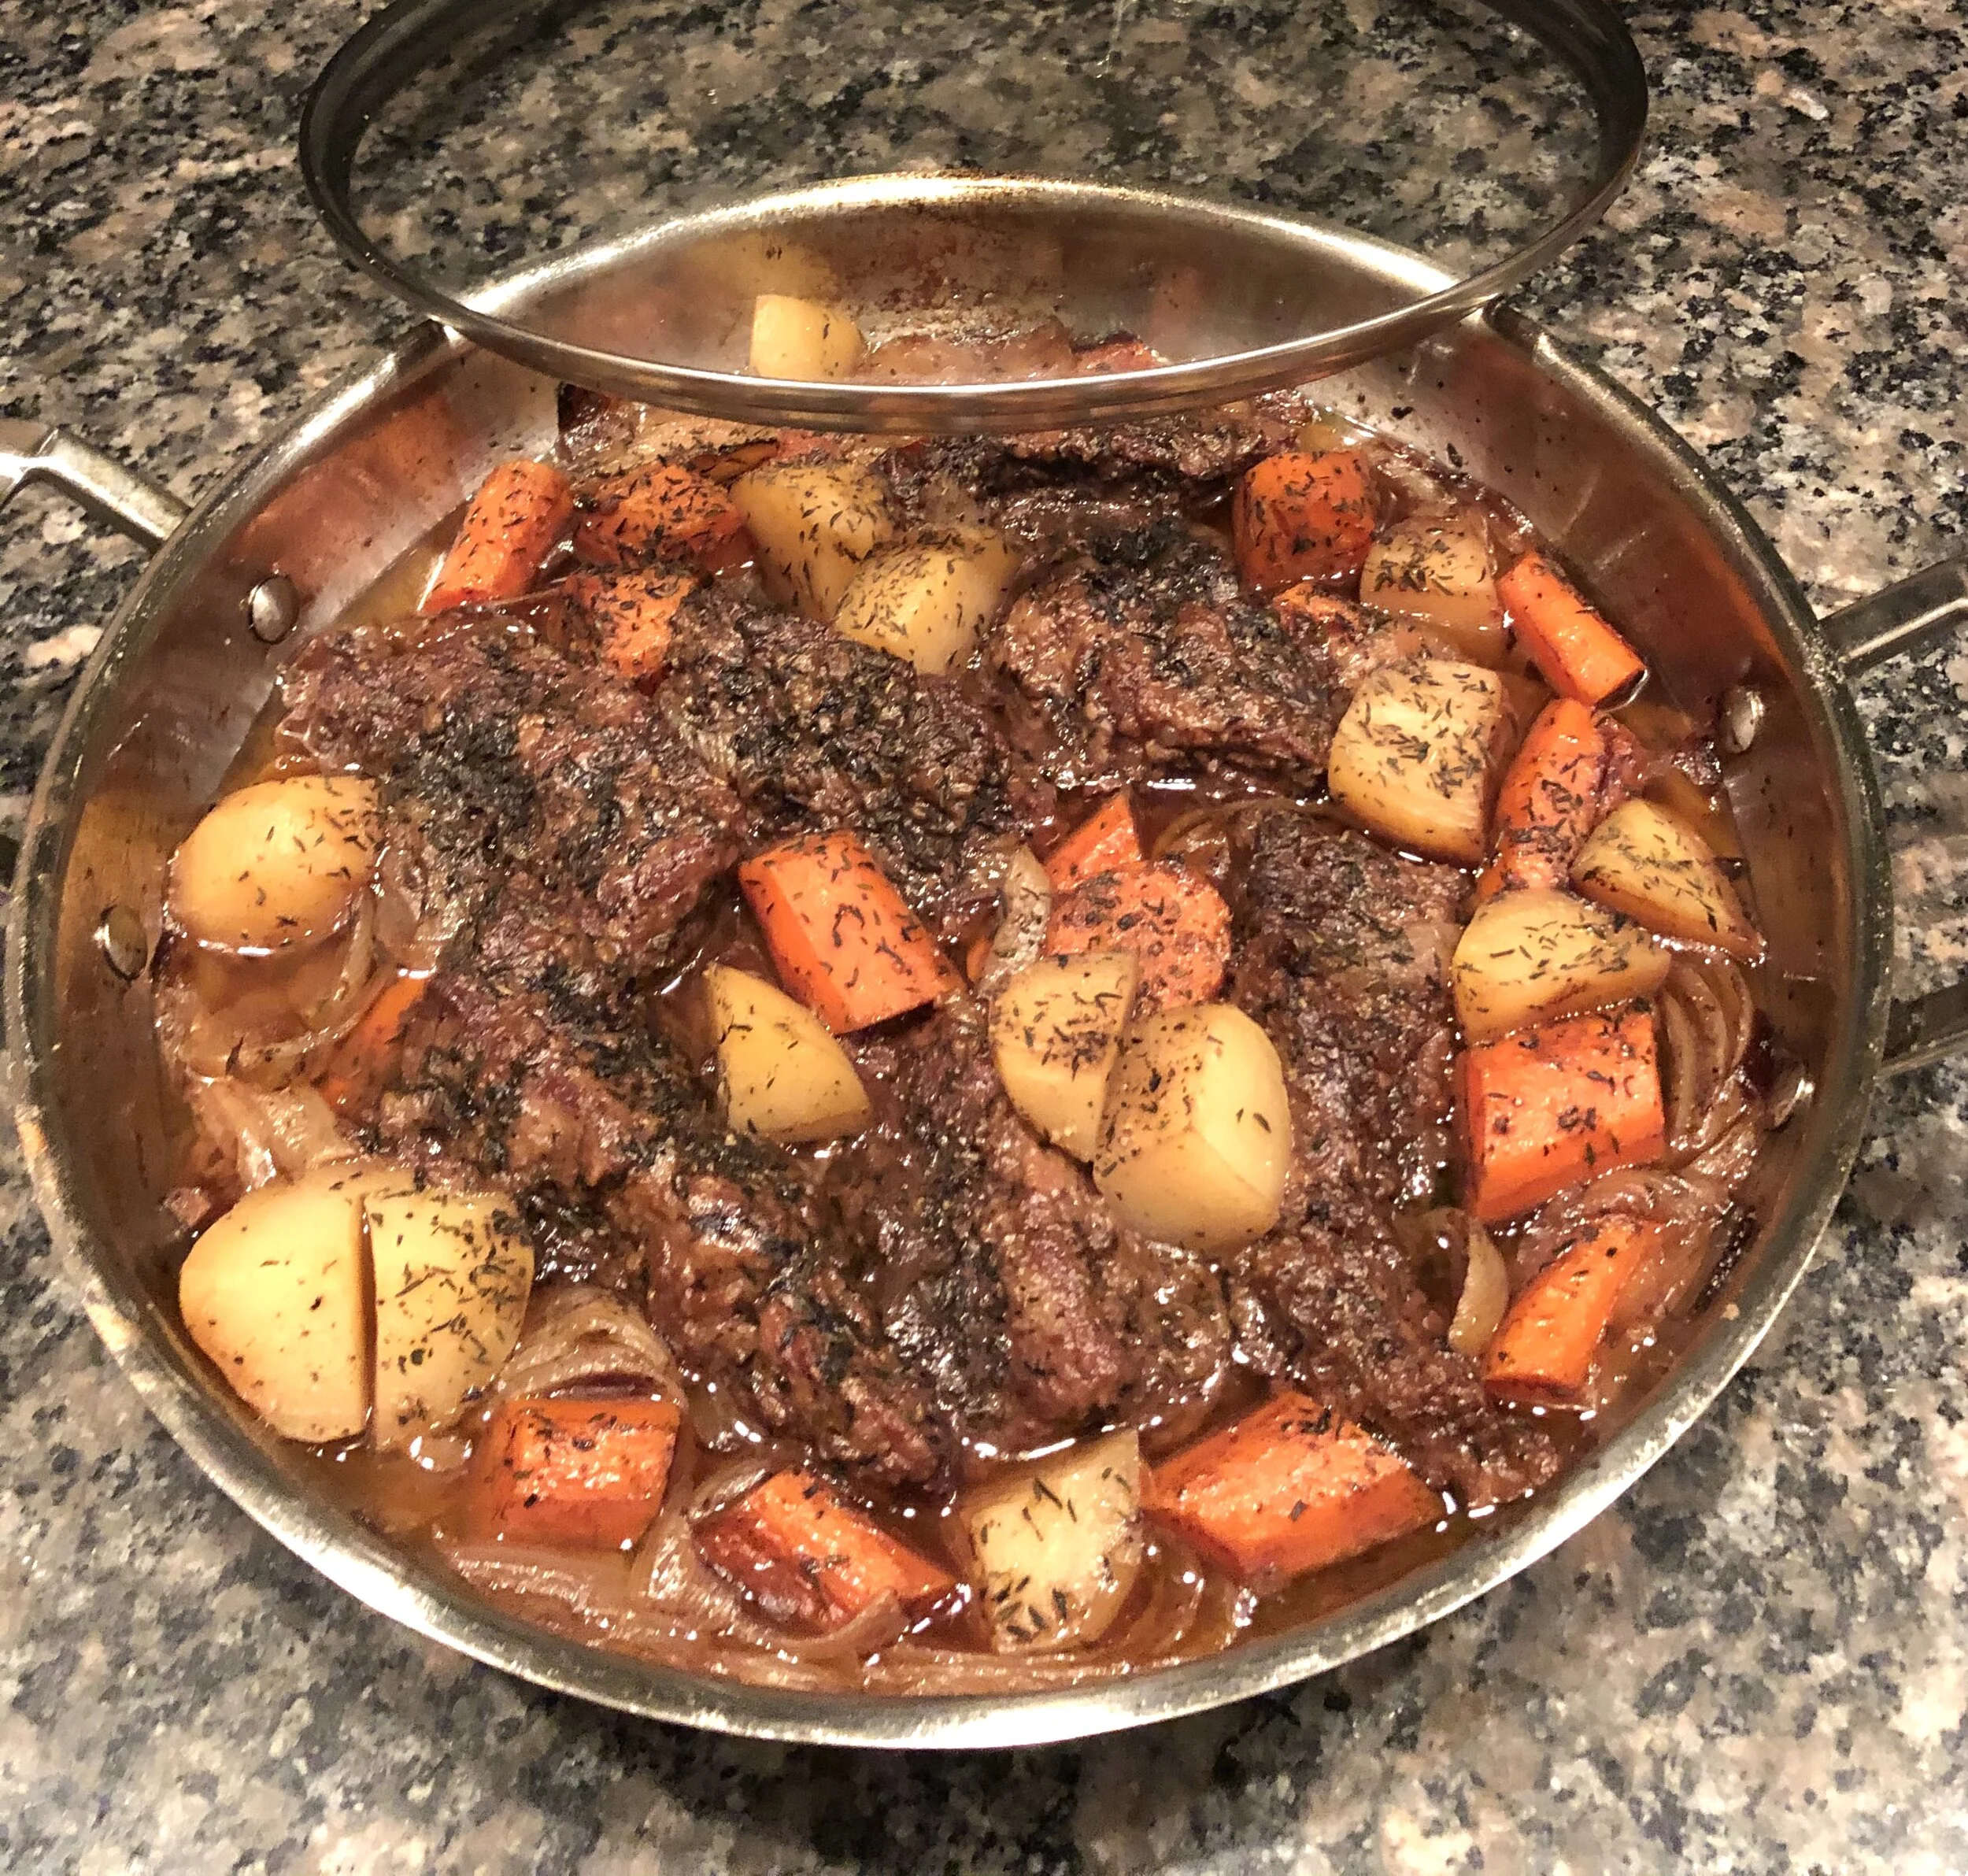
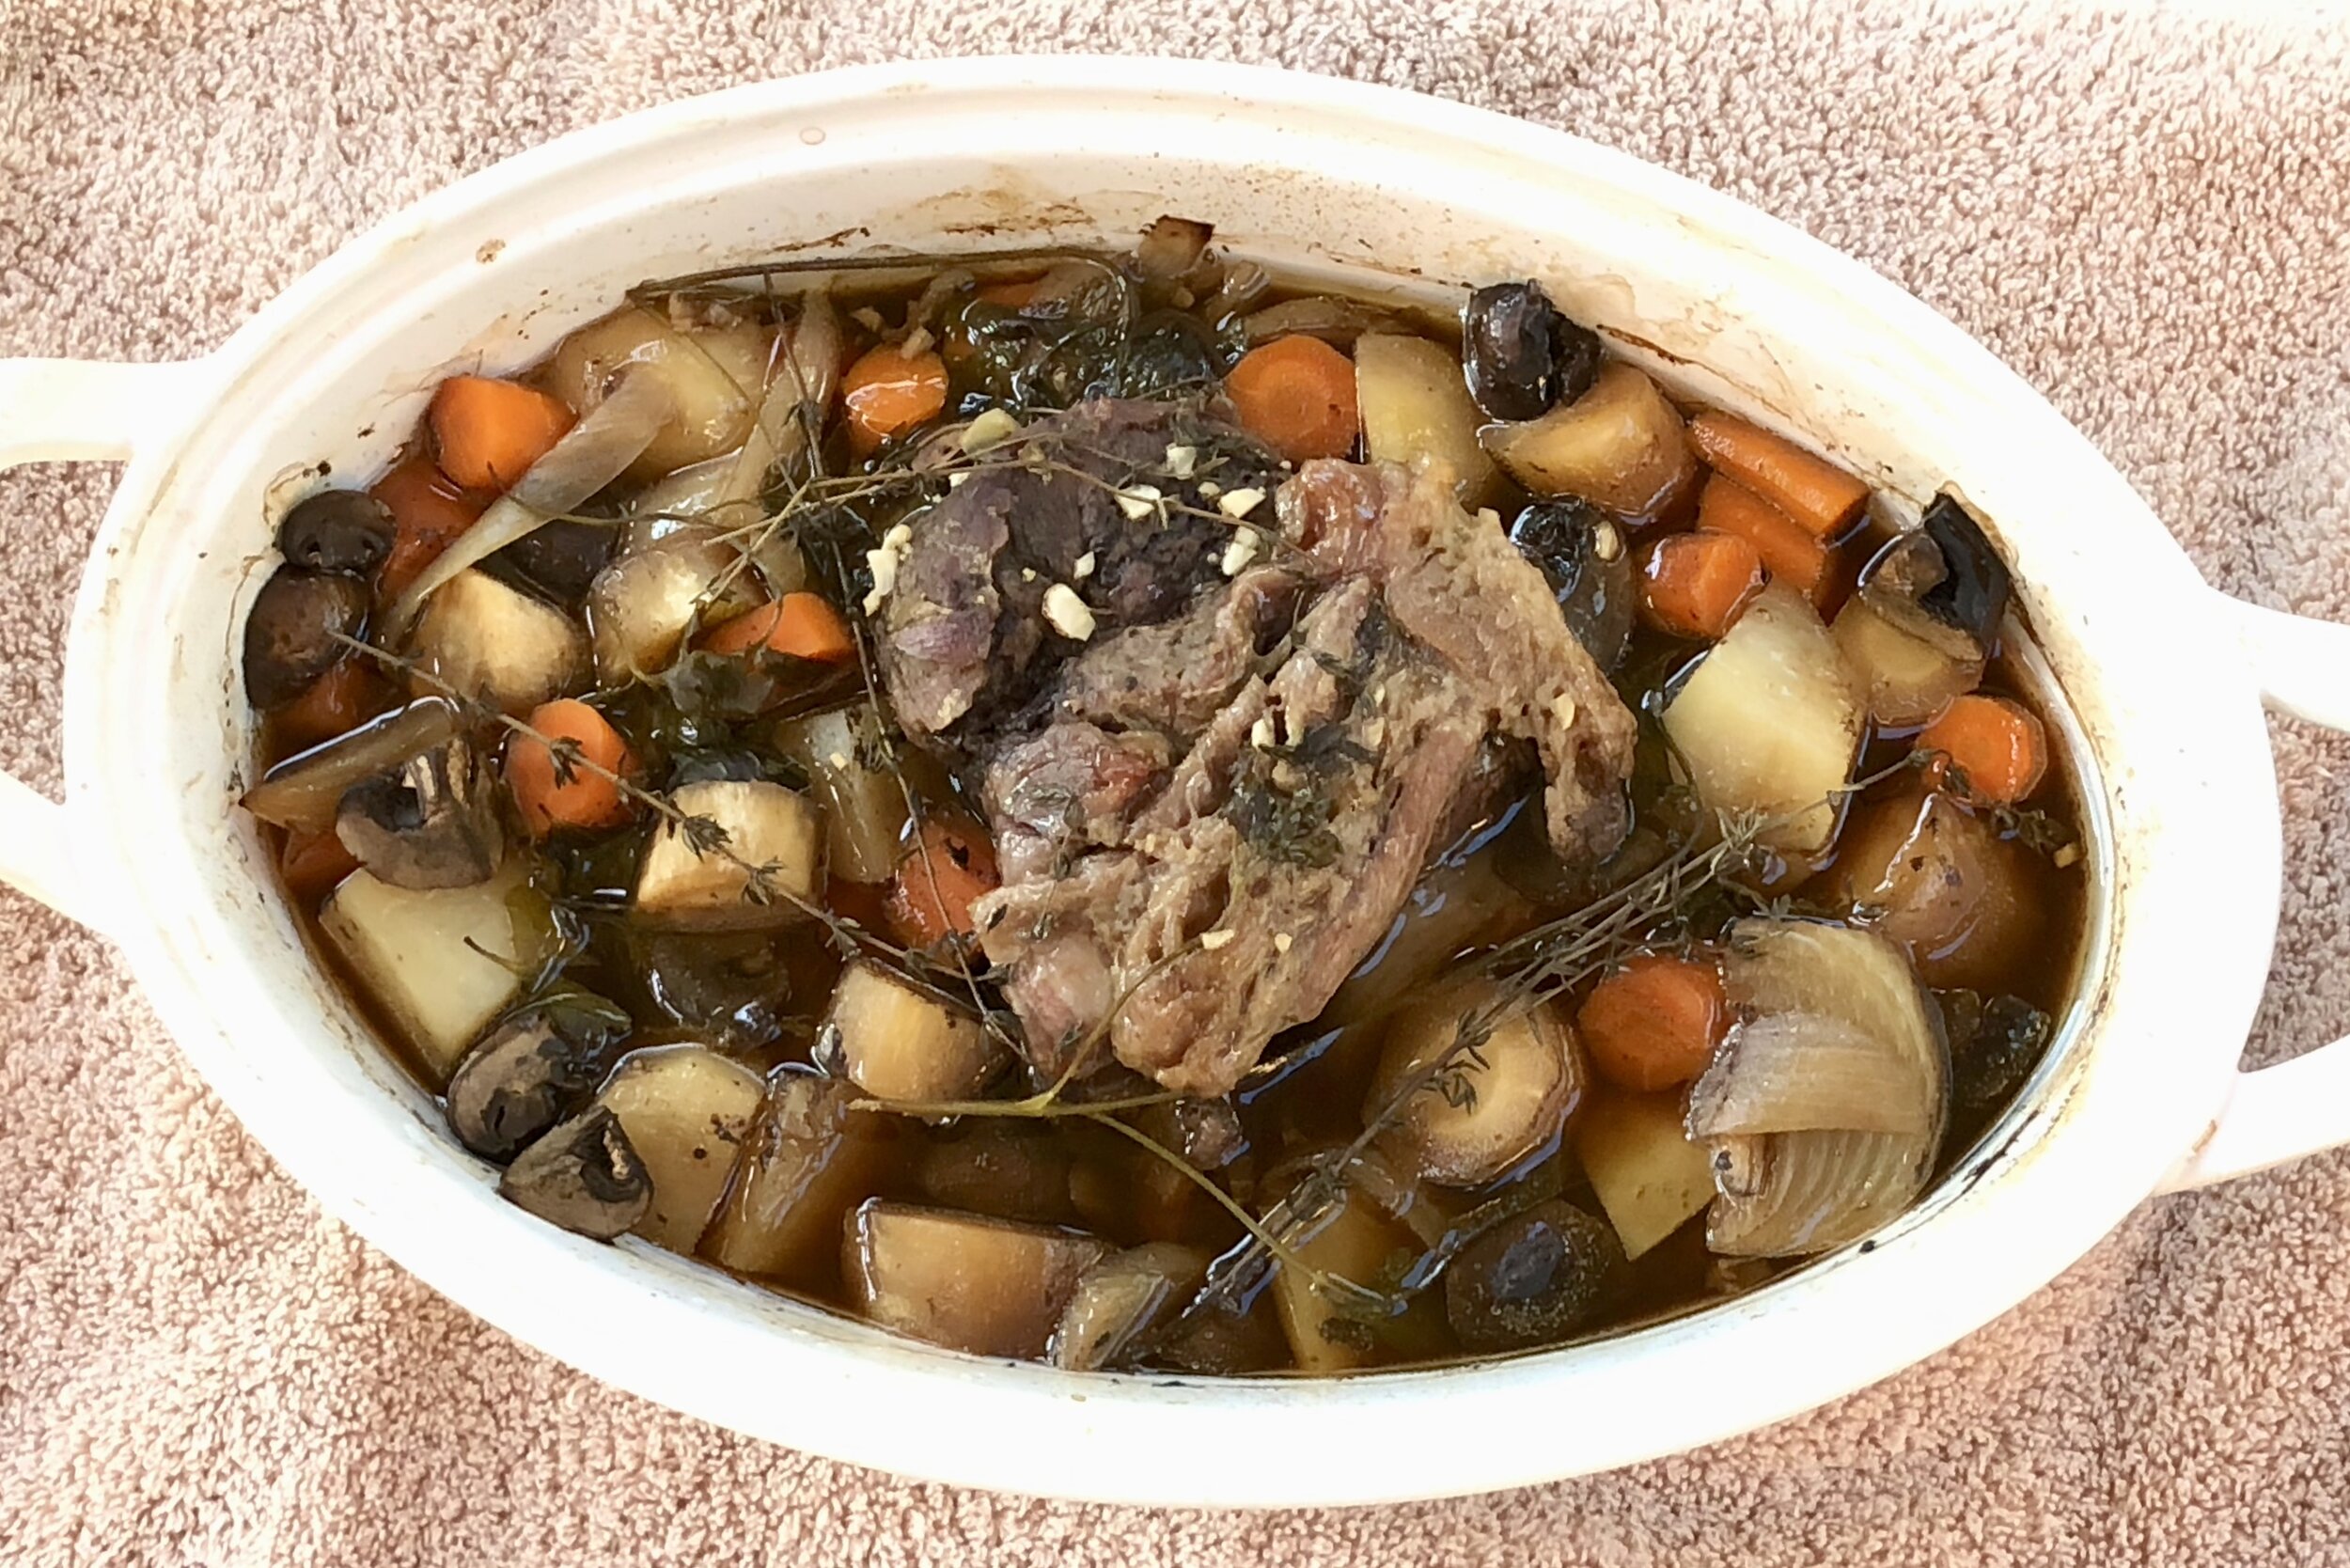
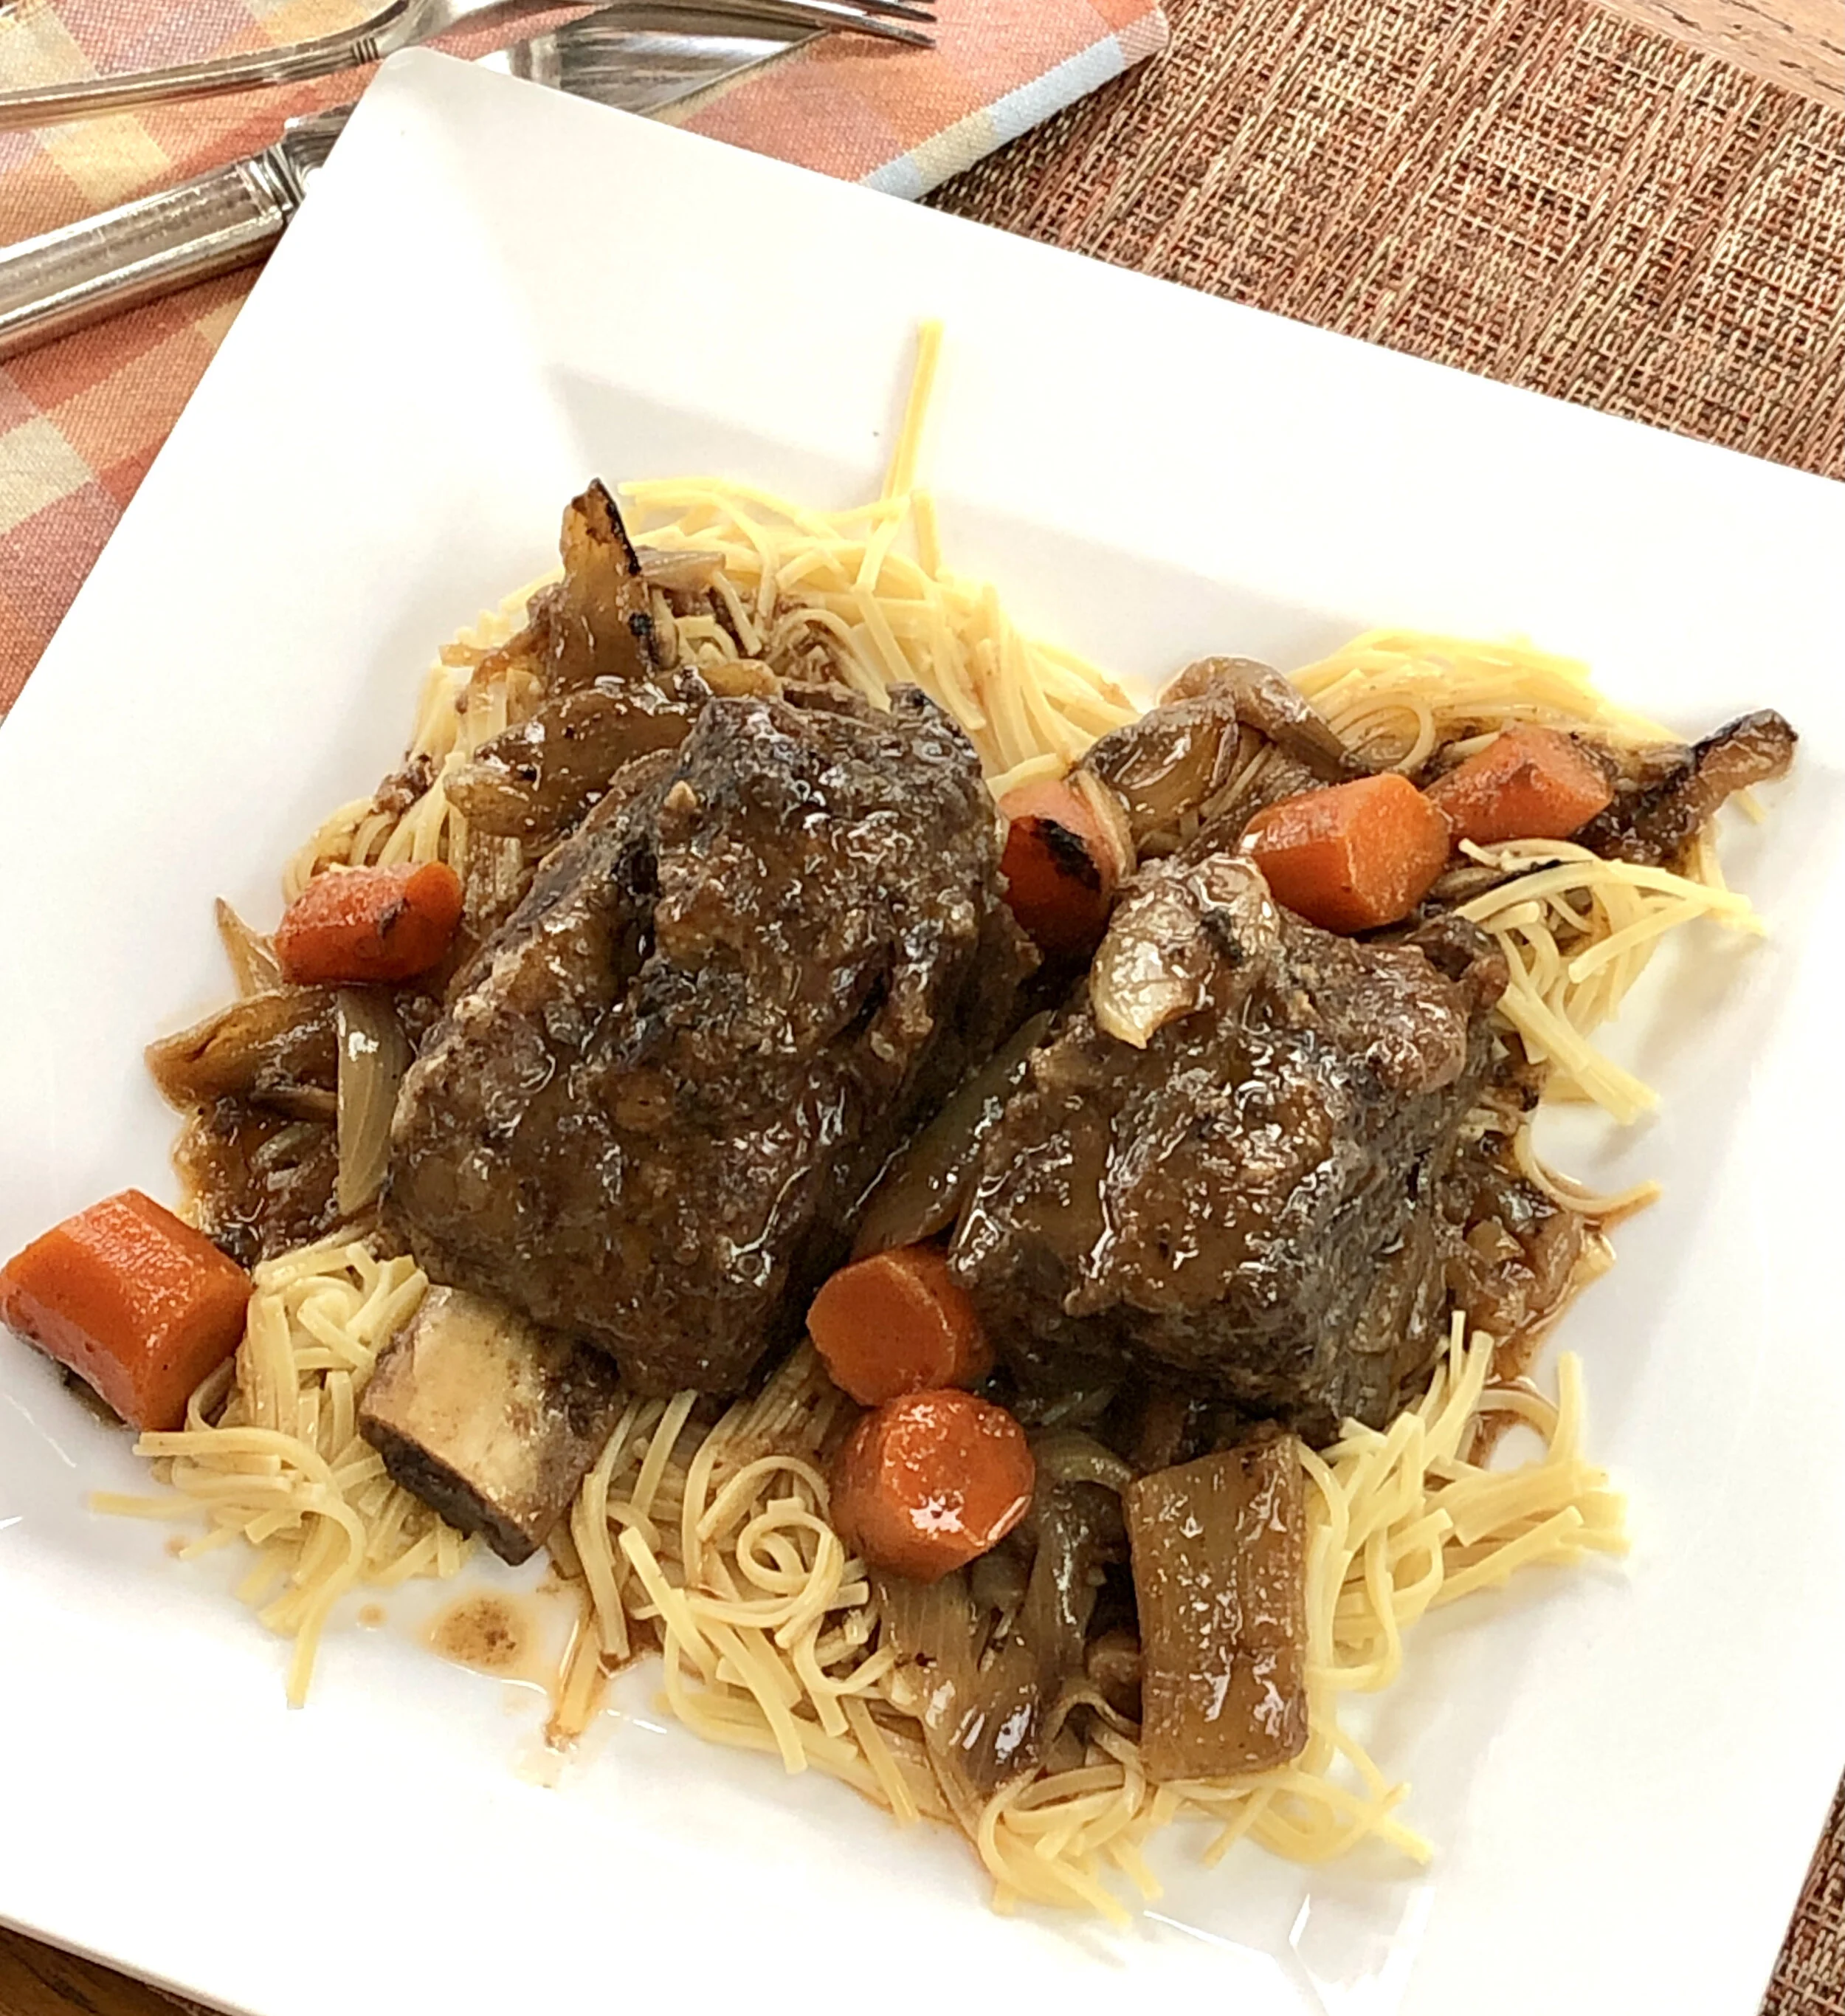
Braised Short Ribs with harissa

  • 1/3 cup flour

  • salt and freshly ground black pepper

  • 1 teaspoon dried thyme (or a few sprigs of fresh thyme)

  • 4 pounds bone-in short ribs

  • 5-6 tablespoons olive oil

  • 3 medium onions, cut into thick slices

  • 4 carrots, cut into chunks

  • 3 stalks celery, cut into chunks

  • 2 cloves garlic, chopped

  • 1/4 cup ketchup

  • 2 teaspoons harissa paste

  • 1-1/2 cups beef stock

  • 1 cup red wine

  • cooked noodles, rice or mashed potatoes, optional

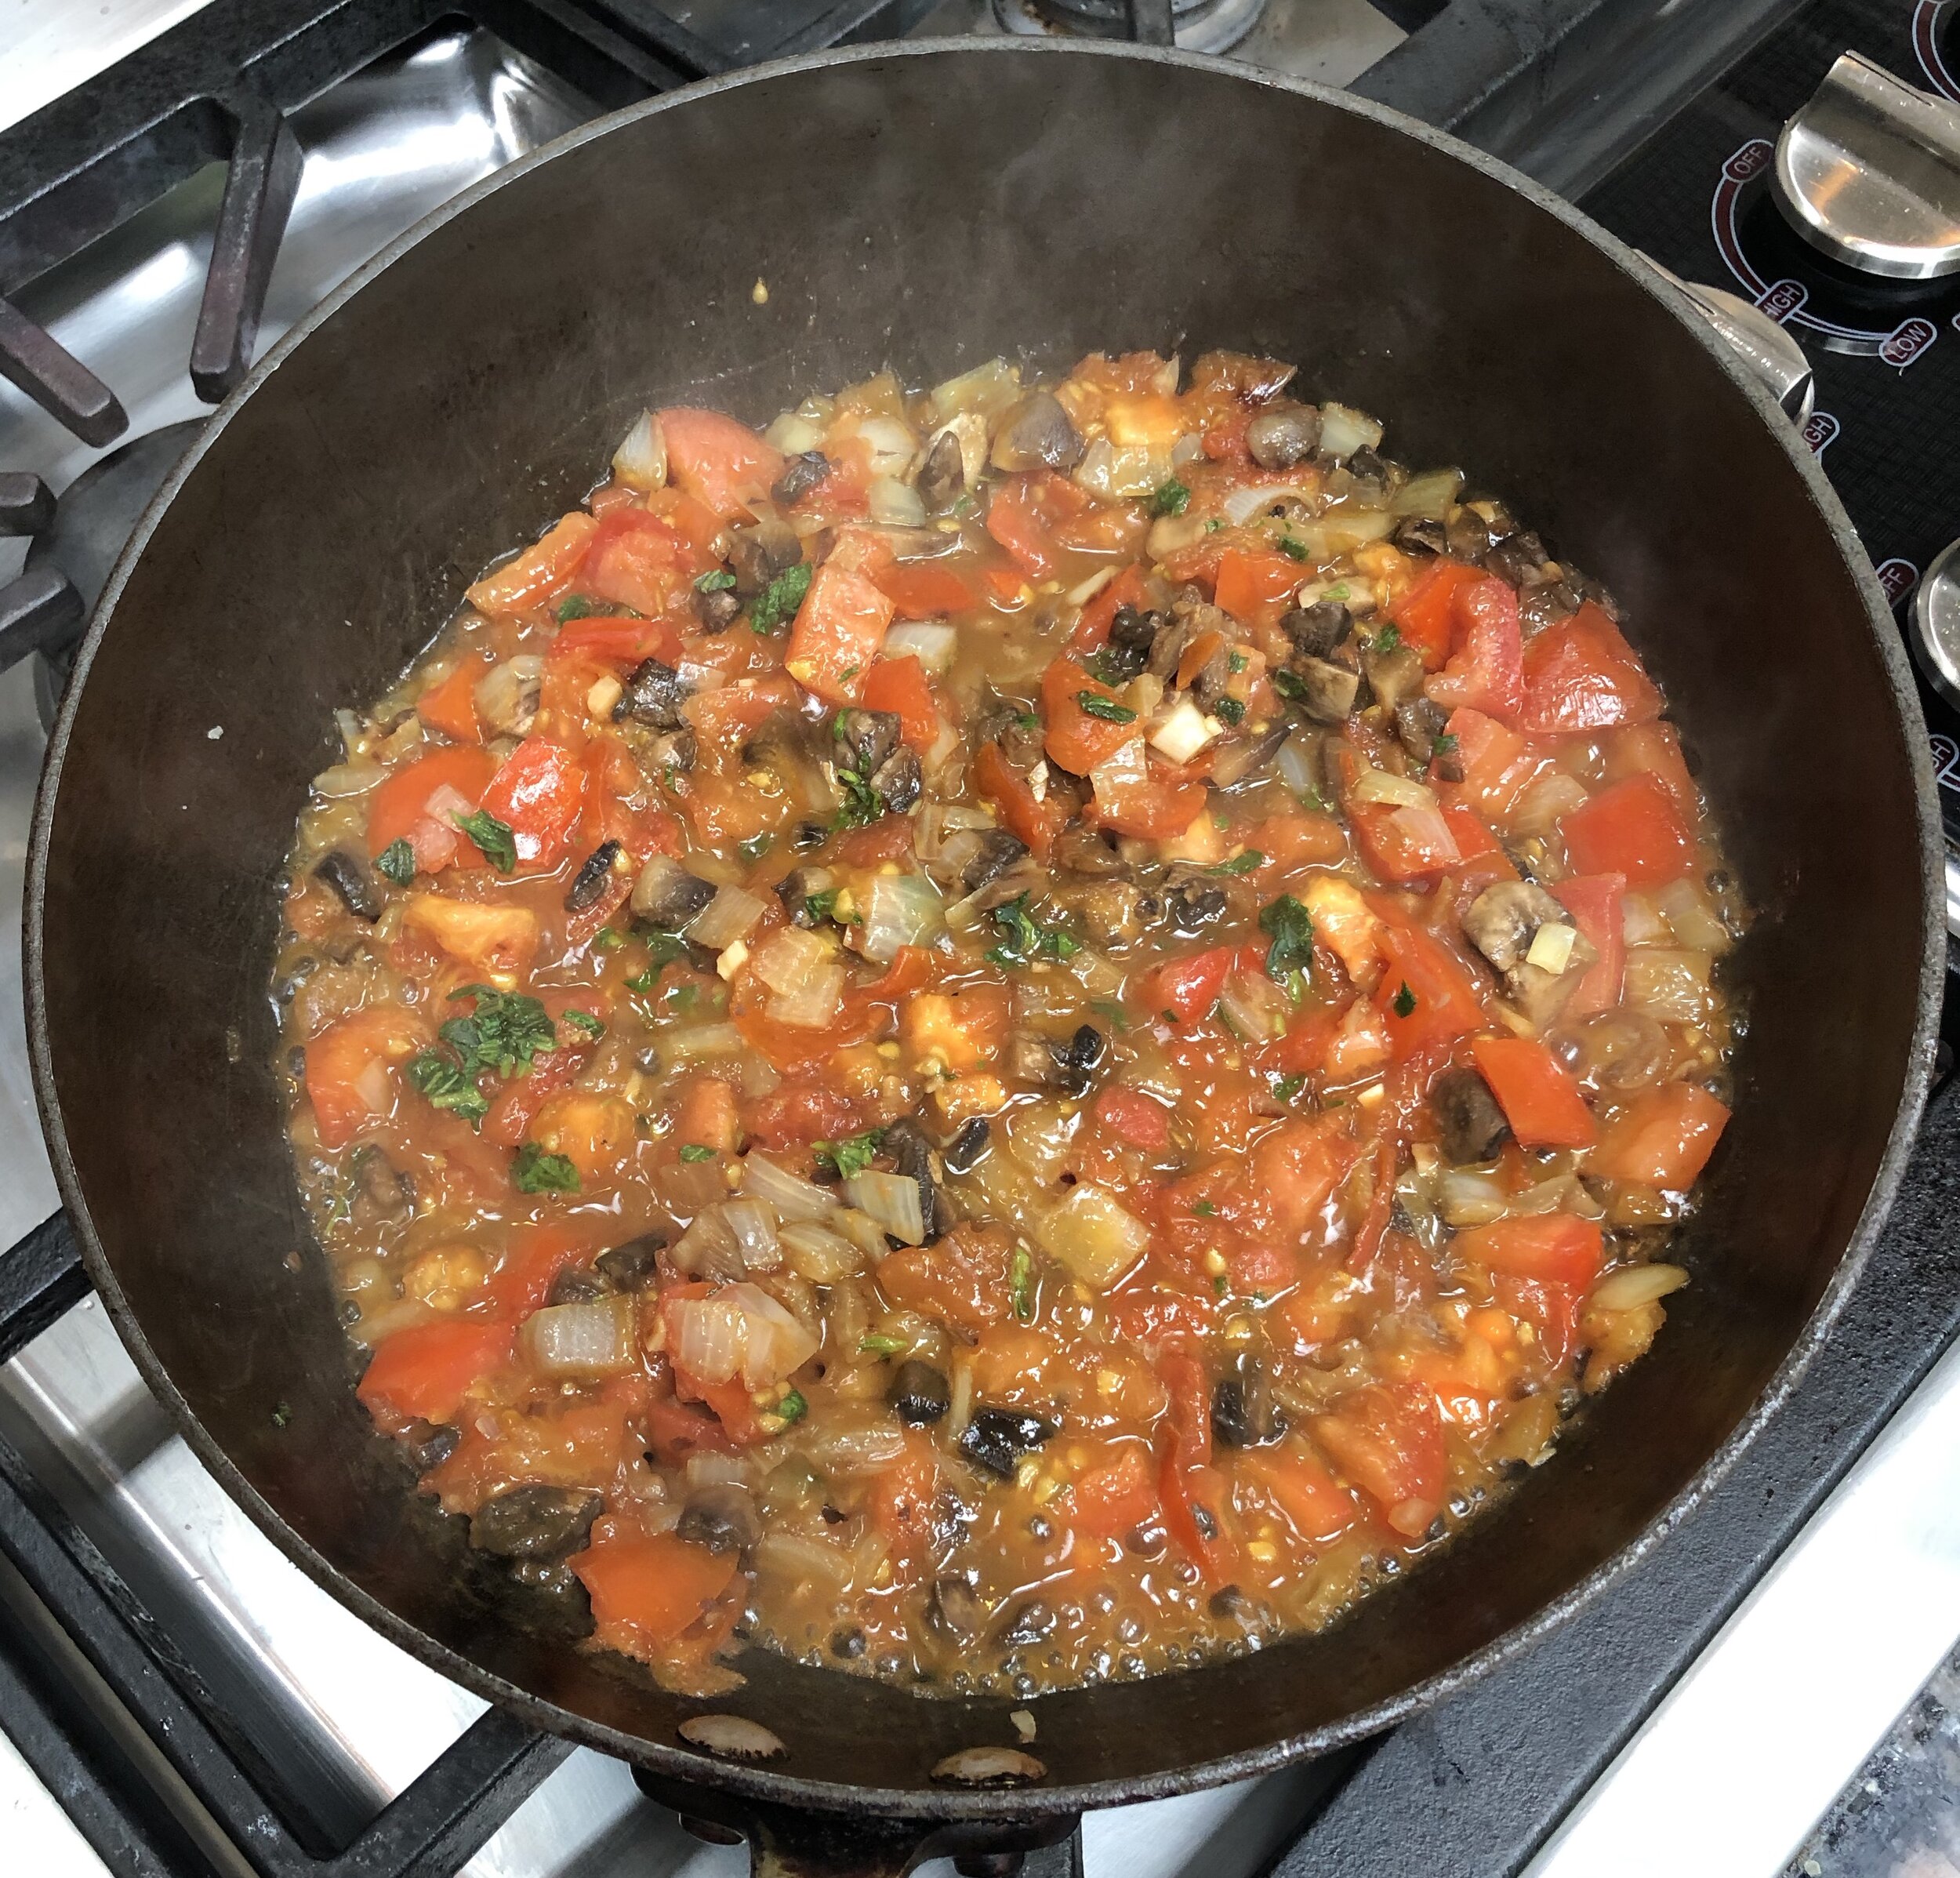
Combine the flour, salt, pepper and thyme in a dish. Coat all surfaces of the short ribs with the flour mixture. Heat 3 tablespoons of the olive oil in a saute pan over medium heat. Add the meat and cook, turning the pieces occasionally, for 8-10 minutes or until lightly crispy on all sides. Remove the meat and place the pieces in an oven casserole. Add the remaining olive oil to the pan. Add the onions, carrots, celery and garlic and cook, stirring frequently, for 5-6 minutes or until lightly crispy. Add the ketchup and harissa paste and stir them into the vegetables. Pour in the stock and wine, Stir and bring the liquid to a boil. Turn off the heat and pour the vegetables and liquid over the meat. Cover the casserole. Place in the oven. Turn the heat to 275 degrees. Cook for 3-4 hours or until the meat is very tender. Serve the meat with the vegetables and sauce by itself or over noodles, etc.

Makes 4 servings

Braised Flanken, Just Like Grandma Used to Make

fullsizeoutput_bc0d.jpeg

We got over a foot of snow this week. That’s flanken weather. And I’m in the mood for plain old. No frills, no riffs.

This recipe is tried (many times) and true. No fuss, no bother. Good old fashioned eats. For cold weather. For comfort.

If you don’t have flanken, you can make the same recipe using “English cut” short ribs, large chunks of chuck or really any “stew” type beef.

Braised Flanken

  • all-purpose flour

  • salt, freshly ground black pepper, garlic salt and paprika

  • 6 pieces flanken

  • 4 tablespoons vegetable oil

  • 2 medium onions, sliced

  • 3 cloves garlic, finely chopped

  • 2 tablespoons tomato paste

  • 4 large carrots, cut into chunks

  • 2 large all-purpose potatoes, peeled and cut into chunks

  • 2 cups red wine

  • 2-3 fresh thyme sprigs

Mix the flour with some salt, black pepper, garlic powder and paprika. Coat the meat with the flour mixture. Heat 2 tablespoons of the vegetable oil in a saute pan over medium heat and cook on both sides for 5-6 minutes or until lightly browned. Remove the meat and set it aside on a plate. Pour the remaining 2 tablespoons vegetable oil into the pan. Add the onions and cook, stirring occasionally, for 3-4 minutes, or until softened. Add the garlic and cook for another minute. Mix the tomato paste into the ingredients. Return the meat to the pan. Add the carrots and potatoes. Pour in the wine. Place the thyme sprigs on top. Turn the heat to low. Cook for about 3 hours or until the meat is soft and tender.

Makes 4-6 servings

Tomato Eggplant Mushroom Sauce

IMG_4781.jpeg

This recipe was born of my desire to use whatever is left in my pantry and fridge, my need to not waste food, my love of inventing new recipes.

During this awful pandemic, I have not shopped. I use a shopping service, so I am more mindful when I order because I can’t just hop in the car and go to the store for a tomato.

A few months ago I was at the tail end of what was left of an order, the list I keep almost ready for the next shop. I had some tomatoes and mushrooms, a few scallions and some pasta. I always have Parmesan cheese in the fridge. I chopped the vegetables (including a clove of garlic), added some fresh oregano (it was still summer so I had some fresh from the garden) and stewed the sauce until everything was soft and fragrant. We had it for dinner over spaghetti and Ed declared it a miracle.

I have made a variation of this dish several times since then. Once, I had an eggplant, so I added that. Another time I threw in some chopped zucchini. I sometimes replaced the scallion with onion. And of course, with no fresh herbs from the garden (and none left in the fridge) I have seasoned the sauce with dried oregano.

That’s how versatile this recipe is. It’s so easy. We load it with freshly grated Parmesan, but it’s also delicious without the cheese, served as a kind of saucy side dish for beef — steak, meatballs, and so on.

Here’s one version but feel free to change this and that.

Chunky Tomato-eggplant-Mushroom Sauce

  • 3 tablespoons olive oil

  • 1 medium onion, chopped

  • 2 cloves garlic, chopped

  • 4-5 tomatoes, chopped or two cups cut up cherry or grape tomatoes

  • 1 cup diced eggplant

  • 6 ounces mushrooms, cut into chunks

  • 1 tablespoon chopped fresh oregano or basil

  • salt and pepper

  • cooked pasta

Heat the olive oil in a large saute pan or wok/pan over medium heat. Add the onion and cook, stirring occasionally, for 3 minutes. Add the garlic and cook for another minute. Add the tomatoes, eggplant, mushrooms, herb and salt and pepper to taste and cook, stirring occasionally for about 8-10 minutes or until the mixture is thick and sauce-like. Serve over pasta (or use as a side dish for grilled steak or chicken).

Makes enough for one pound of pasta

Chuck Pot Roast

fullsizeoutput_bf3d.jpeg

When it comes to cuts of beef, I think chuck is one of the tastiest. It’s got lots of beefy, meaty flavor. It’s also comparatively cheap and, when cooked right, is as tender as a ripe peach.

Cooked right?

I have to confess that I like chewy meat so I grill chuck steaks and love it!

But most folks prefer meat more tender, and chuck, which has lots of gristle, does better when slow-cooked in low heat.

It’s best when braised: stew, pot roast, soups, pot pie and casseroles.

Now that it’s getting cold and dark early where I live, this dish will be on my menu for the next few months of culinary comfort.

Chuck Pot Roast

  • 3 pound chuck roast

  • 4-6 carrots, peeled and cut into chunks

  • 2-3 medium all-purpose potatoes, peeled and cut into chunks

  • 2 parsnips, peeled and cut into chunks

  • 2 medium onions, sliced

  • 4 ounces mushrooms, cut into chunks

  • 2 cloves garlic, finely chopped

  • 1 bottle (about 11 ounces) beer, ale or stout

  • salt and freshly ground black pepper

  • 3-4 sprigs fresh thyme

Place the meat inside a large casserole. Scatter the carrots, potatoes, parsnips, onions, mushrooms and garlic over and around the meat. Pour in the beer. Sprinkle the ingredients with salt and pepper. Place the thyme sprigs on top. Cover the casserole. Place the covered casserole in the oven and turn the heat to 250 degrees. Cook for 4-5 hours or until the meat is tender.

Makes 4-6 servings

Turkey Pot Pie

Our Thanksgiving celebration this year won’t be like any other. No kids or grandkids. No extended family. Just my brother and sister-in-law, who have committed to stay more or less quarantined so the four of us can have as safe a Thanksgiving dinner as possible, distanced even in my house.

Nevertheless, I am still thankful. So far everyone is okay. And although we are sad we won’t all get together, we are all in accord that we remain dug in until it’s safe to do otherwise. We look forward to — maybe Passover?

Still — I will make a more or less classic Thanksgiving dinner. Including roasted turkey, sweet potatoes, baked cranberries, stuffing, Brussels sprouts and pumpkin pie.

And of course there will be more leftovers than usual this year.

So: turkey pot pie is likely to be in the menu soon after the holiday.

Turkey Pot Pie

  • 3 tablespoons vegetable oil

  • 1 medium onion, chopped

  • 2 carrots, sliced 1/4-inch thick

  • 2 stalks celery, sliced 1/4-inch thick

  • 1 cup cut up broccoli (bite-size)

  • 1 cup zucchini chunks (bite-size)

  • 4 cups chopped cooked turkey

  • 5 tablespoons all-purpose flour

  • 3 cups chicken stock

  • 2 tablespoons chopped fresh dill

  • salt and freshly ground black pepper to taste

  • pie dough or thawed frozen puff pastry sheets

Preheat the oven to 350 degrees. Heat the vegetable oil in a large saucepan over medium heat. Add the onion and cook, stirring frequently, for 2-3 minutes or until softened. Add the carrots, celery and broccoli and cook for 2 minutes. Add the zucchini and turkey and stir to distribute the ingredients evenly. Sprinkle the flour over the ingredients and stir to mix it in completely. Cook for 1-2 minutes, stirring frequently. Pour in the stock gradually, stirring constantly. Raise the heat and bring the liquid to a boil. Reduce the heat and simmer the ingredients, stirring frequently, for about 10 minutes or until the sauce has thickened. Stir in the dill. Season to taste with salt and pepper. Spoon the filling into a baking dish. Cover with the pie dough or puff pastry. Seal the edges to the dish. Cut 2-3 slits in the crust to allow steam to escape. Bake for about 35 minutes or until crispy and golden brown.

Makes 4 servings


Hallowe'en Baked Apple

D285FDC6-F9EC-457A-A44A-F4305AE06C11_1_201_a.jpeg

I’m not expecting too many — maybe no — trick-or-treaters this year. In an ordinary year the whole notion of going out in what usually turns out to be the first of yucky weather of the season to get an overload of junky candy always seemed preposterous to me, but maybe I’m just the Ebenezer Scrooge of Hallowe’en.

This year, during a pandemic, trick-or-treating sounds absolutely nuts.

I am hoping that parents throughout the country will at least take a year off and do something different this Hallowe’en.

Here’s one suggestion — what my parents did, back in the day when trick-or-treating wasn’t a thing.

First, we carved a pumpkin. My mother untangled the inside mess, separated the seeds and roasted them. It’s easy: rinse off the seeds, let them dry (use paper towels to dry them), place them in a small amount of olive or vegetable oil and toss them around, then put them single layer on a cookie sheet (parchment or foil lined helps with cleanup). Sprinkle with salt (herbs or blends such as curry powder or za’atar if you like) and roast in a preheated 375 degree oven for 15-20 minutes or until they are dry and crispy.

Second, my Dad placed coins in three apples (for three kids): one with a quarter, one with a dime and one with a nickel. He put them in a basin of water and we had to dunk our faces in the water and grab an apple with our teeth. One year he didn’t do the apple bobbing thing, he tied apples on strings on a line that he set up in our living room and we had to jump up and grab the apple with our teeth. Obviously the one who got the quarter was overjoyed and I realize that for today’s youngsters a nickel, dime or even a quarter may seem not worth it, but the bobbing or jumping is worth it. Good stuff for the memory bank.

Then we ate. I don’t remember any particular dish but I know it was likely to be baked macaroni. My mother always topped her mac-and-cheese with rice krispies. I tried that on my kids, who gave it a thumbs down, but I’m putting it out there for you anyway (click on the link).

My dad always made his famous hot chocolate.

Boy would I love some of that today.

Dessert? It was likely to be some apple thing my mother cooked up. So. How about some baked apples?

Baked Apples with Orange and Spices

  • 4 large baking apples

  • half a lemon

  • 1/3-1/2 cup raisins

  • 2 teaspoons grated fresh orange peel

  • 3/4 cup orange juice, apple juice or cider

  • 6 tablespoons maple syrup

  • 1/4 teaspoon ground cinnamon

  • 1/4 teaspoon grated nutmeg

  • 1/4 cup water

  • 1 tablespoon butter, margarine or coconut oil, cut into 4 pieces

Preheat the oven to 375 degrees. Wash the apples, then remove the core and seeds, leaving about 1/2-inch on the bottom. Peel the apples 1/2 of the way down from the stem end on top, then rub the cut surfaces with the cut side of the lemon. Put the apples in a baking dish. In a small bowl, mix the raisins, orange peel, 3 tablespoons of the juice and 2 tablespoons of the maple syrup. Stuff this mixture into the apple hollows. Sprinkle the apples with cinnamon and nutmeg. Mix the remaining juice, maple syrup and water and pour over the apples. Bake the apples for about 45 minutes, basting occasionally with the pan juices, or until the apples are tender. Serve warm or at room temperature.

Makes 4 

Back to School? Maybe. But there’s always Milk and Cookies, right?

592CAF6A-ADE6-4D4F-96AB-9D0739F7EB94_1_201_a.jpeg

Back in the day, when I was a young girl, I walked home from school and before I did any homework or piano practice I had a snack. My Mother was a cookie baker so invariably, the snack was milk and cookies. We didn’t have little bags of chips or puffs or granola bars back then.

I remember one time my mother veered away from her usual Fannies, peanut butter cookies and kichels. That was the day I brought my friend Joseph Lieberman (no, not that Joseph Lieberman) home to do homework together. I was happy my Mom had baked something new because Joseph had been to the house several times and maybe he was bored with the same old stuff. I had asked her if, sometime, she could bake something else. And so she did.

She made sugar cookies.

They were a great success. She made them occasionally after that but usually went back to the old favorites.

I’ve made my Mom’s recipe a few times over the years. Depending on the time of year I cut them into different shapes with cookie cutters (Hearts for Valentine’s Day usually).

This isn’t my Mom’s recipe though. I fiddled with it because hers included butter and I wanted to make it non-dairy. Also, I just bought some new jars of date honey (silan) and wanted to use that instead of the regular honey. She also added citrus peel and I didn’t.

But it is more or less her recipe.

Whether or not our children actually go back to school this season, milk and cookies is always a good treat.

In addition, these cookies, with the traditional holiday dates and honey, are a delicious choice for Rosh Hashanah (whether you use old fashioned honey or silan).

Shanah Tovah.

Date Honey Sugar Cookies

  • 1/2 cup vegetable shortening

  • 1/2 cup solid coconut oil

  • 3/4 cup sugar

  • 1/4 cup date honey

  • 2 teaspoons vanilla extract

  • 1 large egg

  • 1 large egg yolk

  • 3 cups all-purpose flour

  • 2 teaspoons baking powder

  • 1-1/2 teaspoons cornstarch

  • 1/2 teaspoon salt

  • 1/2 teaspoon ground cinnamon

  • Confectioners’ sugar

Preheat the oven to 350 degrees. Line a cookie sheet with parchment paper. Combine the shortening, coconut oil, sugar, honey and vanilla extract and beat at medium speed for 3-4 minutes or until light and fluffy. Add the egg and egg yolk and beat at medium speed for 1-2 minutes or until well blended. In a separate bowl combine the flour, baking powder, cornstarch, salt and cinnamon. Add the dry ingredients to the honey mixture and beat at medium speed until a soft dough forms. Roll the dough on a floured surface to 1/8-inch thickness. Cut out shapes with 2-inch round or heart-shaped cookie cutters. Place the cookies prepared cookie sheet. Bake for about 12 minutes or until the edges are lightly brown. Let cool. Sprinkle with confectioners’ sugar.

Makes about 36

Roasted Potatoes with Preserved Lemon

fullsizeoutput_bc91.jpg

Recently I wrote an article for the Jewish Week Food & Wine about preserved lemons. You can find the article and the recipe here.

So. What to do with all the preserved lemons I now have!

I’ve used them on chicken — classic Moroccan dish. Delicious.

I’ve placed some under fish that I baked. Merveilleux!

But I have to say — with potatoes! Beyond awesome.

These:

Roasted Potatoes with Preserved Lemons and Rosemary 

  • 4 medium all-purpose potatoes, peeled and cut into small cubes

  • 2 tablespoons olive oil

  • Kosher salt and freshly ground black pepper to taste

  • Paprika

  • 2 teaspoons chopped fresh rosemary

  • 2 tablespoons finely chopped preserved lemon

Preheat the oven to 425 degrees F. Line a baking sheet with parchment paper. Place the potato cubes on the parchment paper. Pour the olive oil over the potatoes and toss to coat each cube. Sprinkle with salt, pepper, paprika and rosemary. Roast for 15 minutes. Toss the potatoes and continue to roast for another 12-15 minutes. Sprinkle with the lemon. Return to the oven for a minute to heat the lemon. Serve immediately.

Makes 4 servings


Lemon Oregano Roasted Chicken

fullsizeoutput_a4cf.jpeg

I bought a ton of lemons recently for an article I wrote on Preserved Lemons for the Jewish Week Food&Wine.

So I’ve been cooking lots of recipes that use lemons.

This is one of the best, easiest and least complicated: Roasted Lemon-Oregano Chicken. I used chicken breast (though you could make it with any chicken parts). The fragrance is mesmerizing. It’s tasty without needing too many ingredients. You don’t need to use salt because the lemon juice adds the right amount of tang. It’s filling but not heavy.

I serve this with plain cooked rice or mashed or baked potatoes because the roasting juices are a perfect “gravy,” no other moisturizing fat needed.

Roasted Lemon-Oregano Chicken


  • 1 large onion, sliced

  • 1 lemon, sliced

  • 2 whole bone-in chicken breasts, each about 1-1/2 pounds (or 4 whole chicken legs)

  • 2 tablespoons olive oil

  • 1 teaspoon dried oregano

  • freshly ground black pepper to taste

  • 6 tablespoons lemon juice

  • 1/4 cup white wine

  • 2 cloves garlic, finely chopped


Preheat the oven to 450 degrees. Place the onion and lemon slices in a roasting pan. Wash and dry the chicken breasts and place them on top of the onion/lemon slices. Brush the chicken with 1 tablespoon olive oil and sprinkle with the oregano and pepper to taste. Roast for 10 minutes. Combine the remaining tablespoon of olive oil, the lemon juice, white wine and garlic and pour over the chicken. Lower the oven heat to 350 degrees. Roast for another 25-30 minutes, basting occasionally, or until cooked through (a meat thermometer inserted into the thickest part of the breast will register 160 degrees). Let rest for 15 minutes before carving.

 Makes 4-6 servings


Banana Marble Bread

fullsizeoutput_b6da.jpeg

Got some leftover bananas? Maybe a little chocolate (bar/chips/anything)?

Here’s a comforting treat. The swirl of chocolate makes plain old banana bread a bit more festive.

If you’re socially distancing at home like so many of us, this Banana Marble Bread is a tasty way to pass the time, use what you have and add a comforting fragrance to your home.

Banana Marble Bread

  • 3 ounces semisweet chocolate

  • 2 cups all-purpose flour

  • 1 teaspoon baking soda

  • 1/2 teaspoon baking powder

  • 1/2 teaspoon salt

  • 1 cup sugar

  • 1/2 cup vegetable oil

  • 2 large eggs

  • 3 medium ripe bananas

  • 1/4 cup fruit juice, oat milk or other non-dairy milk (or use dairy milk)

  • 1 teaspoon vanilla extract

Preheat the oven to 350 degrees. Grease a 9”x5”x3” loaf pan. Melt the chocolate and set it aside to cool. Mix the flour, baking soda, baking powder and salt in a bowl and set it aside. Beat the sugar and vegetable oil with a handheld or electric mixer set at medium speed for 2-3 minutes or until the mixture is well blended. Add the eggs one at a time, beating after each addition. Mash the bananas and add them to the sugar mixture. Beat thoroughly until the ingredients are well blended. Add the flour mixture and beat for 1-2 minutes to blend the ingredients thoroughly. Stir in the juice and vanilla extract. Pour the batter into the prepared pan. Pour the melted chocolate on top and use a knife or spatula to swirl it through the banana batter. Bake for 1 hour or until a cake tester inserted into the center comes out clean. Cool the bread in the pan 15 minutes. Remove the bread from the pan and let it cool on a cake rack.

 Makes one bread serving 10-12