brunch

Pumpkin Raisin Muffins

I love September. I love seeing bins of fresh pumpkins at the market. The pumpkins remind me that we’re in the midst of the Jewish holidays, which signal a new year and new beginnings, so that even while the trees will soon be bare and it will get cold and snowy and nighttime will come more quickly and the long sunshiny days of summer are ending, there’s a new harvest, a new season. Life continues and thrives and I know that in Connecticut, where I live, we will soon see nature’s spectacular colors along the roads, fields and highways.

In case I wasn’t clear —I love this time of year.

I also love using fresh pumpkin for recipes. Ravioli filling. Soup. Sauce. Pie. Cake. Quickbread. Even ice cream.

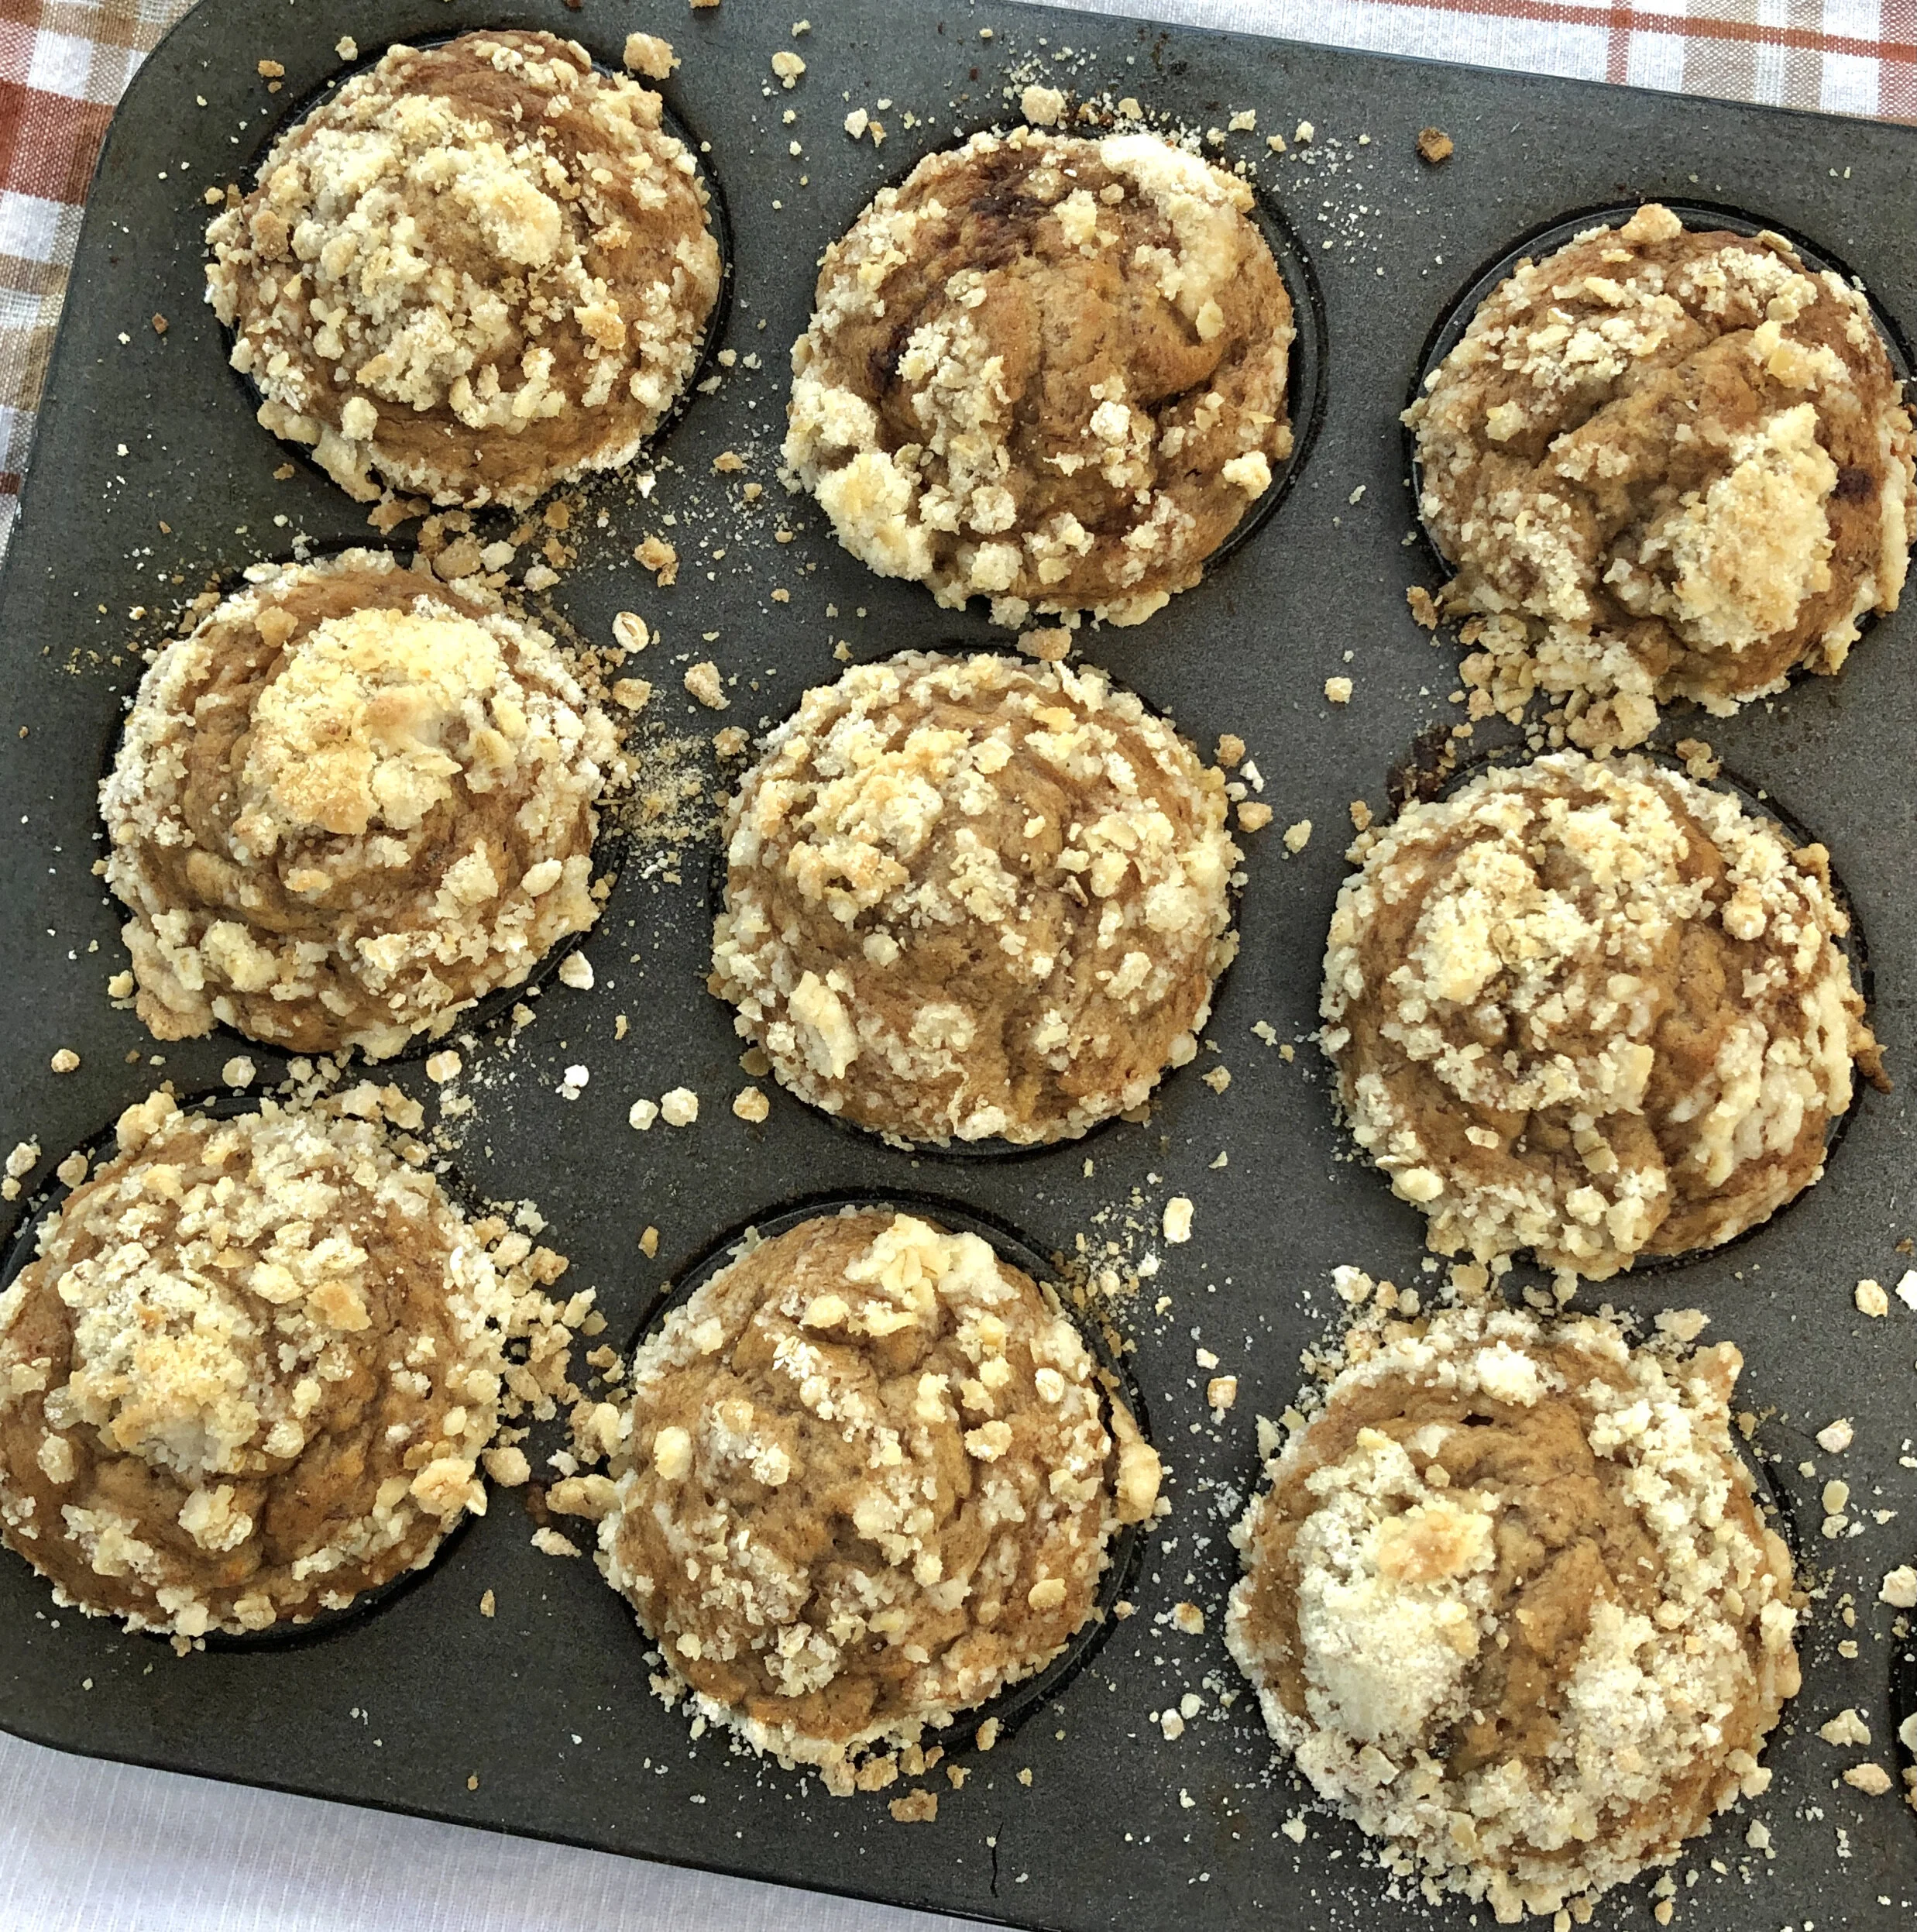
This is my latest pumpkin special: muffins that are perfect for Sukkot as breakfast (or snack) or to tote to a Sukkah to eat with dinner. I add raisins but you can leave them out or substitute any dried fruit or chopped nuts.

P.S. These muffins would also be a nice treat for Thanksgiving dinner.

Pumpkin Raisin Muffins

  • 3/4 cup pumpkin puree (canned is fine; NOT pumpkin pie mix)

  • 2/3 cup sugar

  • 1/4 cup vegetable oil

  • 1/4 cup milk (non-dairy or dairy)

  • 2 large eggs

  • 1-3/4 cups all-purpose flour

  • 3/4 teaspoon baking powder

  • 1/2 teaspoon baking soda

  • 1/2 teaspoon salt

  • 1/2 teaspoon ground cinnamon

  • 1/4 teaspoon grated fresh nutmeg

  • 1/4 teaspoon ground cloves

  • 1/2 cup raisins (or use dried cranberries or chopped nuts)

Preheat the oven to 400 degrees. Lightly grease 10 muffin tin cups. Combine the pumpkin puree, sugar, vegetable oil and milk in a large bowl and whisk the ingredients for 1-2 minutes or until thoroughly blended. Whisk in the eggs. Combine the flour, baking powder, baking soda, salt, cinnamon, nutmeg and cloves and add them to the pumpkin mixture. Whisk the ingredients for 1-2 minutes or until thoroughly blended. Fold in the raisins. Spoon equal amounts of the batter into the prepared cups. Bake for about 15 minutes or until a cake tester inserted into the center of the muffins comes out clean.

Makes 10 muffins
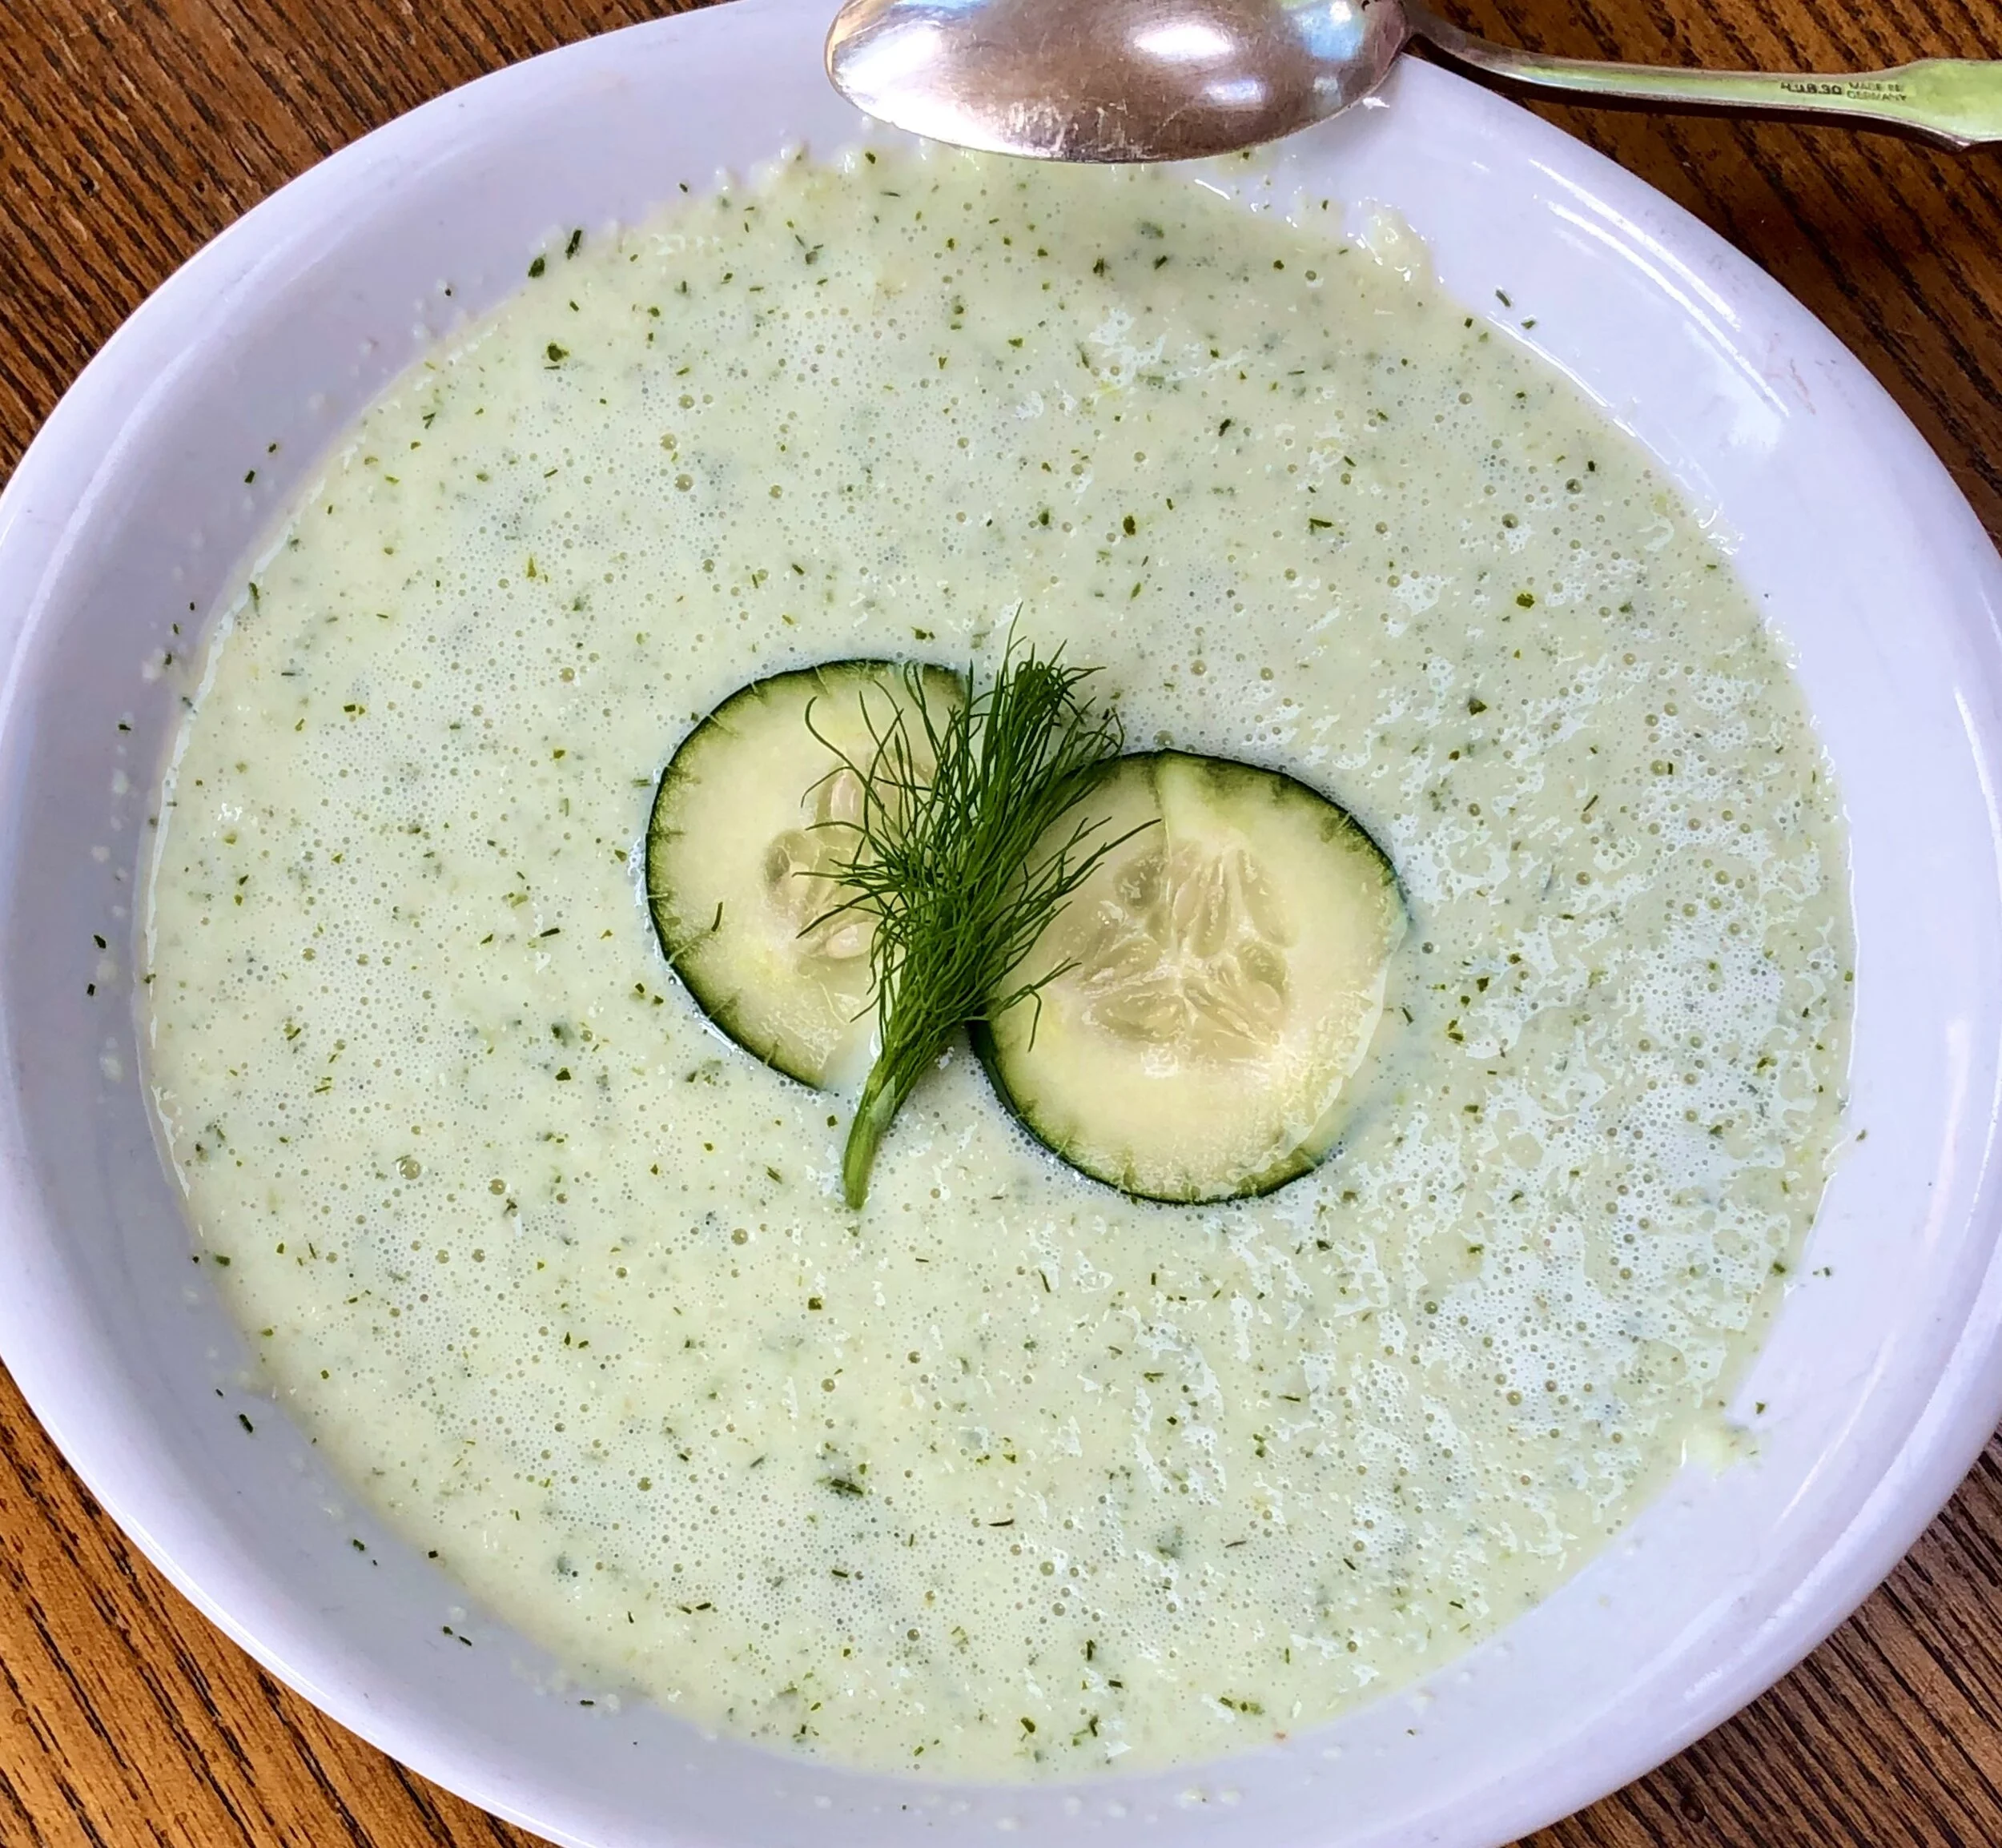
The Benefits of Buttermilk: Summer Buttermilk Soup

8CFD4F27-DC5B-4C0E-84D9-1472A60AB802_1_201_a.jpeg

Buttermilk makes you beautiful.

So they say.

I once read that Mark Antony fell in love with Cleopatra because she had silky, radiant skin -- thanks to baths in buttermilk. And that Scarlett O’Hara apparently used buttermilk on her face to get rid of her freckles.

Me? Silky and radiant? Not lately (if ever).

Also I have too many freckles to even contemplate rubbing them out. Also, I think freckles are cute.

So no, for me buttermilk isn’t about its beauty functions.

It’s about food.

No surprise there, right?

You heard it here: buttermilk makes a lot of food better, more delicious, more perfect in texture.

Buttermilk makes one of the tastiest, most satisfying, most thirst-quenching drinks (lassis).

It adds a whole new dimension to ordinary cole slaw.

Want moist, tender muffins, scones and pancakes? Make them with buttermilk. Ditto Cake! Pie! Even pudding!

And especially, at this time of year: make satisfyingly creamy, low-fat, low-calorie summer soups like this one, based on cucumbers.

Cold Cucumber-Buttermilk Soup

  • 2 medium cucumbers

  • salt

  • 1 stalk celery, peeled and chopped

  • 2 scallions, chopped

  • 1 clove garlic

  • 1 teaspoon chopped fresh chili pepper, optional

  • 1 cup buttermilk

  • 1/2 cup plain yogurt

  • 3 tablespoons lemon juice

  • 2 tablespoons chopped parsley

  • 1 tablespoon chopped fresh dill

  • Aleppo pepper (or use freshly ground black pepper)

Peel the cucumbers, slice them in half lengthwise and scrape out the seeds. Sprinkle the cucumbers with salt and let them stand for 30 minutes. Wipe the cucumbers with paper towels. Chop the cucumbers into coarse chunks and place in a blender or food processor. Add the celery, scallions, garlic and chili pepper, if used, and process to mince them. Add the buttermilk, yogurt, lemon juice, parsley and dill (use a large bowl and whisk if your blender or processor isn’t large enough) and process until well blended. Season to taste with salt and either Aleppo or black pepper. Chill thoroughly before serving.

Makes 4-6 servings


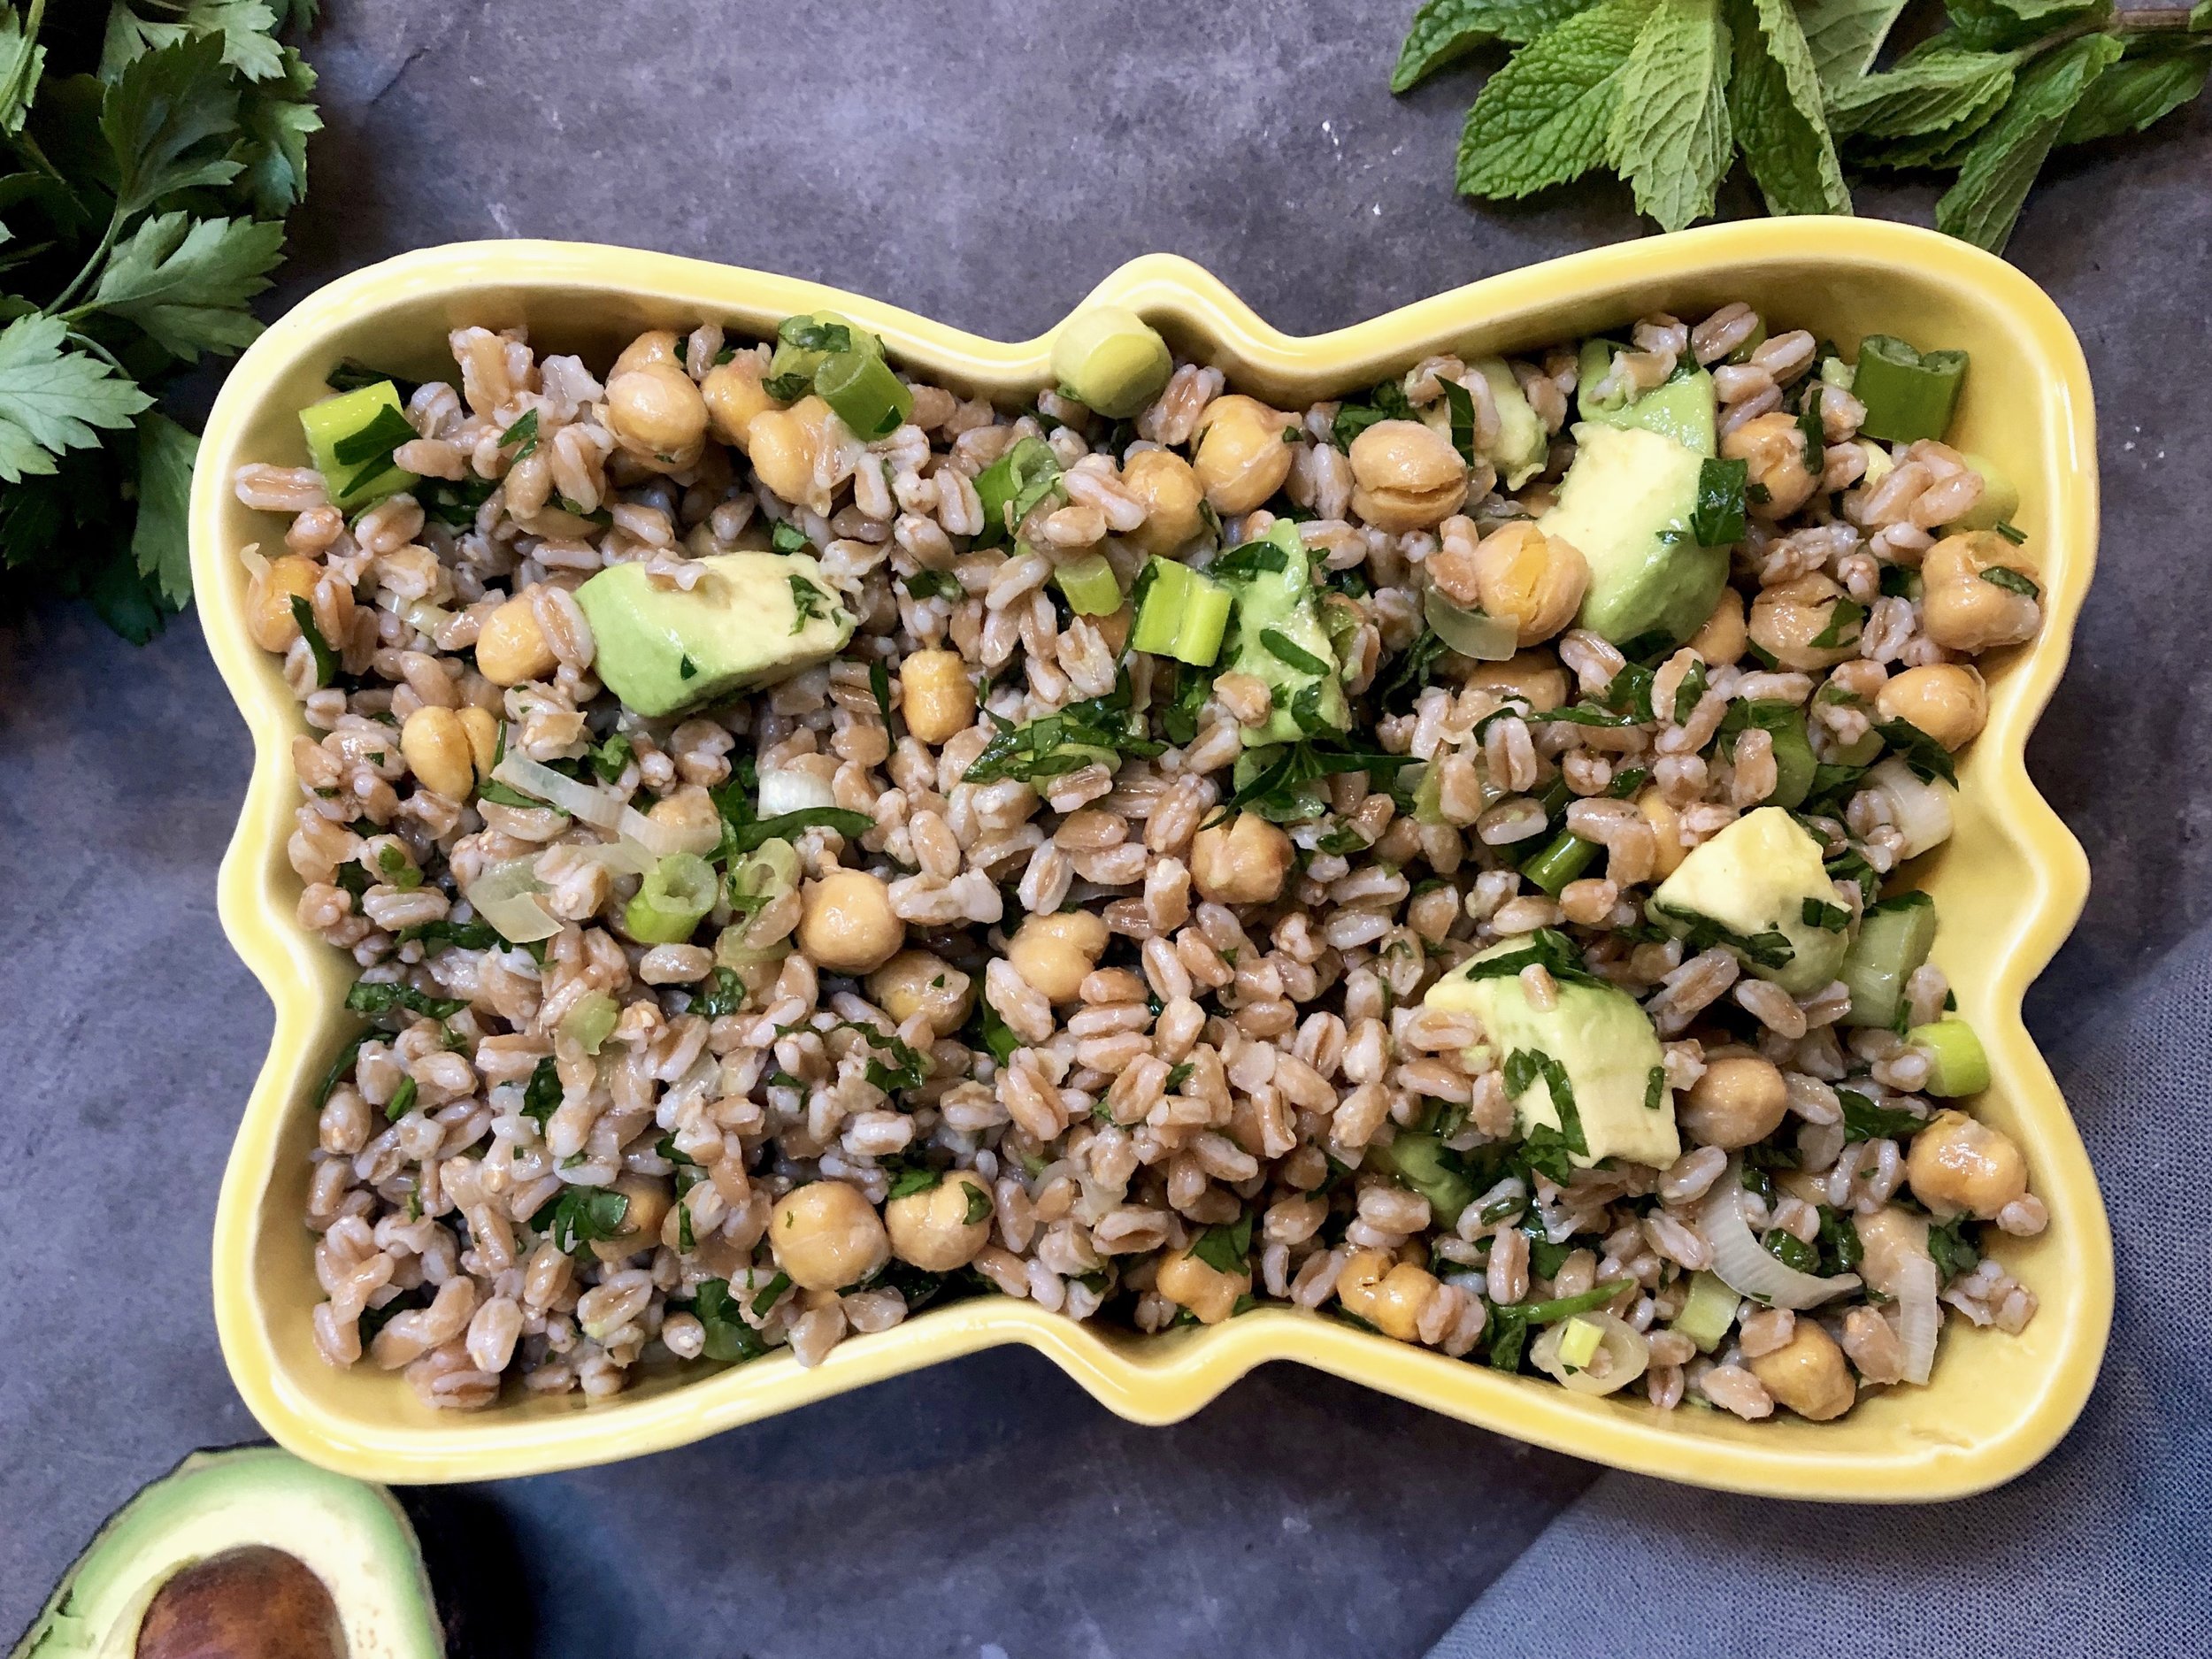
Farro and Roasted Chick Pea Salad

fullsizeoutput_a6f2.jpeg

I’m a salad lover year ‘round, but somehow even for me, warm weather is salad season for real.

So, here we are, it’s almost summer. It’s already hot as blazes where I am and I am in even more of a salad mood.

This one is so easy and you can make it ahead — don’t add the dressing until 15-20 minutes before serving time. Also — I love farro but you could substitute any whole grain or even couscous.

Remember this one for July 4th — you can tote it to a picnic — and even for Labor Day.

Happy summer!

Farro and Roasted Chick Pea Salad

  • 1 can chick peas (15 ounces)

  • 3-4 tablespoons olive oil, approximately

  • Salt to taste

  • 1 cup farro

  • 2 cups water

  • 3-4 scallions, chopped

  • 1 avocado, peeled and diced

  • 2-3 tablespoons wine vinegar

  • 1/4 cup chopped fresh parsley

  • 3 tablespoons chopped fresh mint

  • 1/2 teaspoon ground cumin

  • salt to taste

  • Aleppo pepper, optional

Preheat the oven to 425 degrees. Drain the chick peas and place them on a baking sheet. Pour 2 teaspoons olive oil over them and toss to coat. Sprinkle with salt. Roast for about 20 minutes or until crispy and lightly browned. Remove from the oven and let cool. While the vegetables are roasting, place the farro and water in a saucepan and bring the liquid to a boil over high heat. Lower the heat, cover the pan and simmer for 25-30 or until the grain is tender, but still chewy. Let cool slightly and place in a mixing bowl. Add the chick peas, scallions and avocado and toss the ingredients to distribute them evenly. Pour in 2 tablespoons olive oil and toss the ingredients. Pour in the wine vinegar, add the parsley, mint and cumin and toss the ingredients again. Season to taste with salt and Aleppo pepper. Stir in more olive oil and/or wine vinegar if you wish.

Makes 6-8 servings 


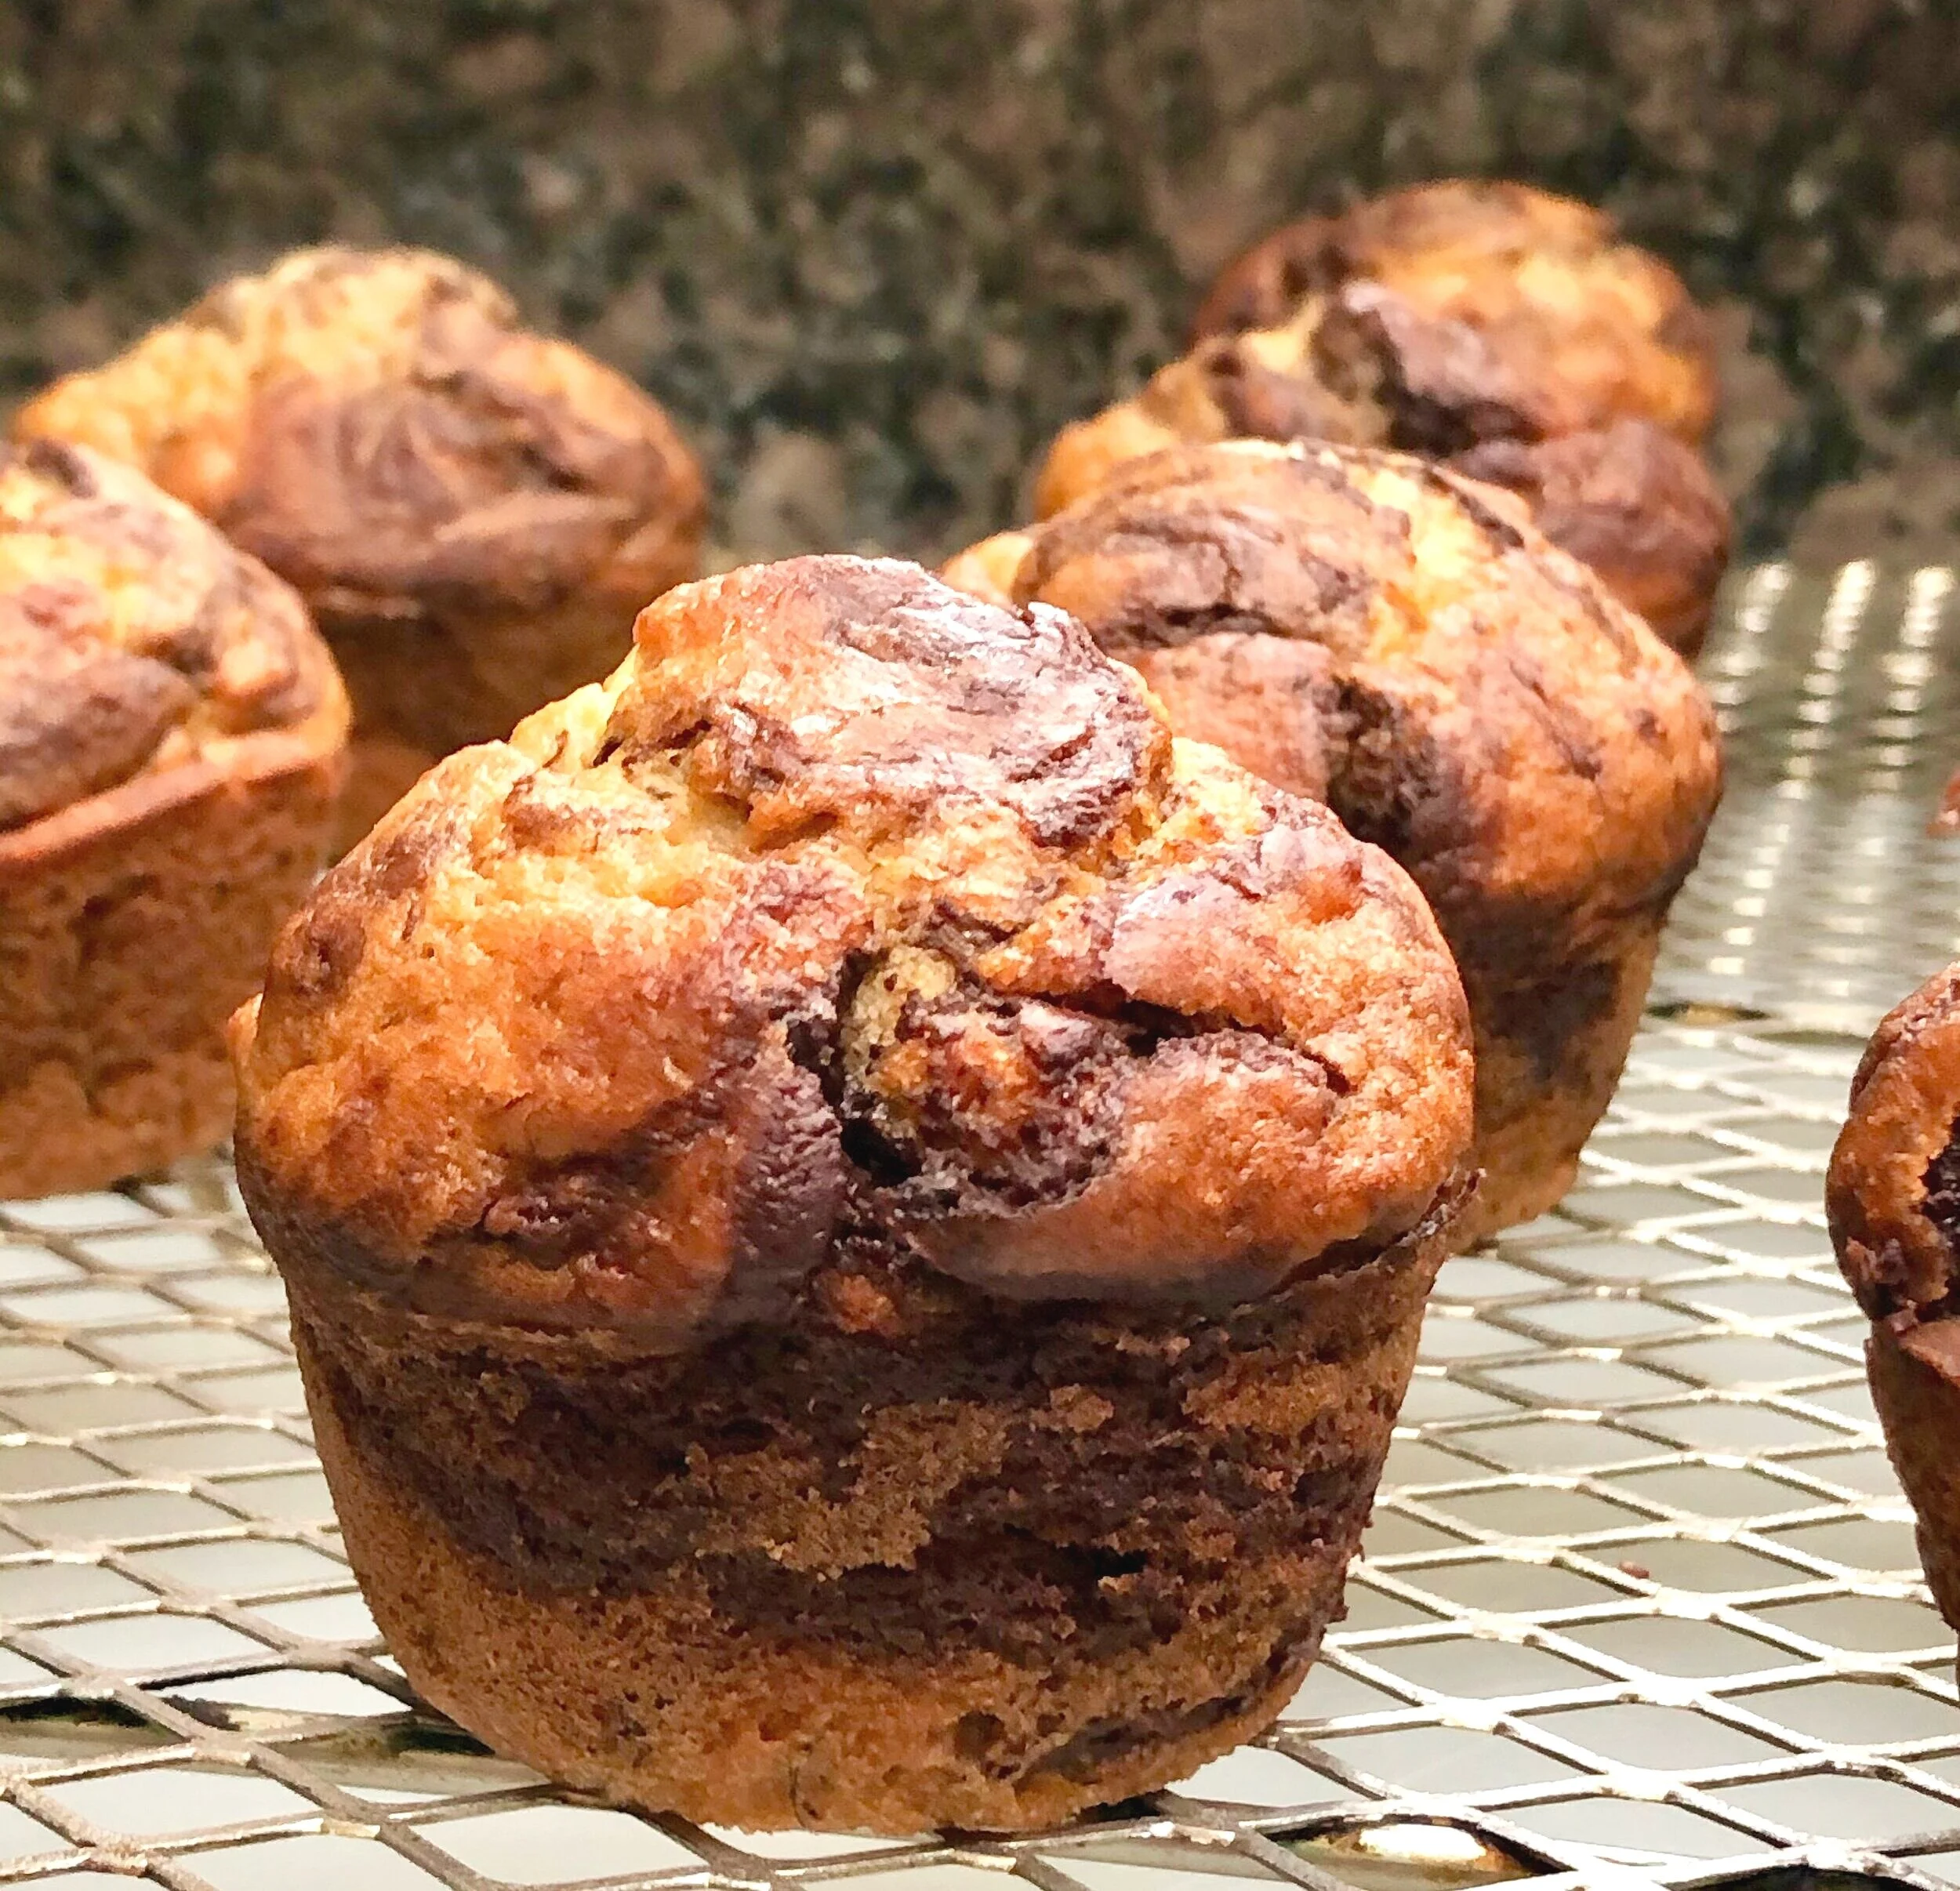
Banana Chocolate Muffins

fullsizeoutput_bb87.jpeg

Before my cousins came for a long visit over the Memorial Day weekend I stocked up on all the foods they loved. We ate most of it, but Leslie told me that Neil also needed foods with potassium so I bought several bananas.

He ate a few.

Still. I bought too many. As usual. There were 3 left over.

So, banana muffins. These, with chocolate because, why not?

banana chocolate Muffins

  • 3 ounces semisweet chocolate

  • 1-3/4 cups all-purpose flour

  • 1 teaspoon baking soda

  • 1/2 teaspoon baking powder

  • 1/2 teaspoon salt

  • 1/3 cup sugar

  • 1/4 cup vegetable oil

  • 1 large egg

  • 1 teaspoon vanilla extract

  • 3 ripe bananas, mashed

  • 3/4 cup water

  • 2 teaspoons cider vinegar

Preheat the oven to 400 degrees. Lightly grease a 10 muffin tins. Melt the chocolate and set it aside to cool. Combine the flour, baking soda, baking powder and salt in a bowl and set it aside. Beat the sugar and vegetable oil together in an electric mixer at medium speed for a minute or so or until well combined. Add the egg and vanilla extract and beat to blend ingredients thoroughly. Add the bananas and mix them in. Add the dry ingredients and beat for 1-2 minutes to blend them in thoroughly. Combine the water and cider vinegar, pour into the batter and beat the ingredients for 1-2 minutes or until thoroughly blended. Fill muffin tins with equal amounts of the batter. Spoon equal amounts of chocolate on top of each and use a knife to swirl some chocolate into each muffin. Bake for 20-25 minutes or until a cake tester inserted into the center comes out clean. Let the muffins cool for 15 minutes before removing them.

Makes 10

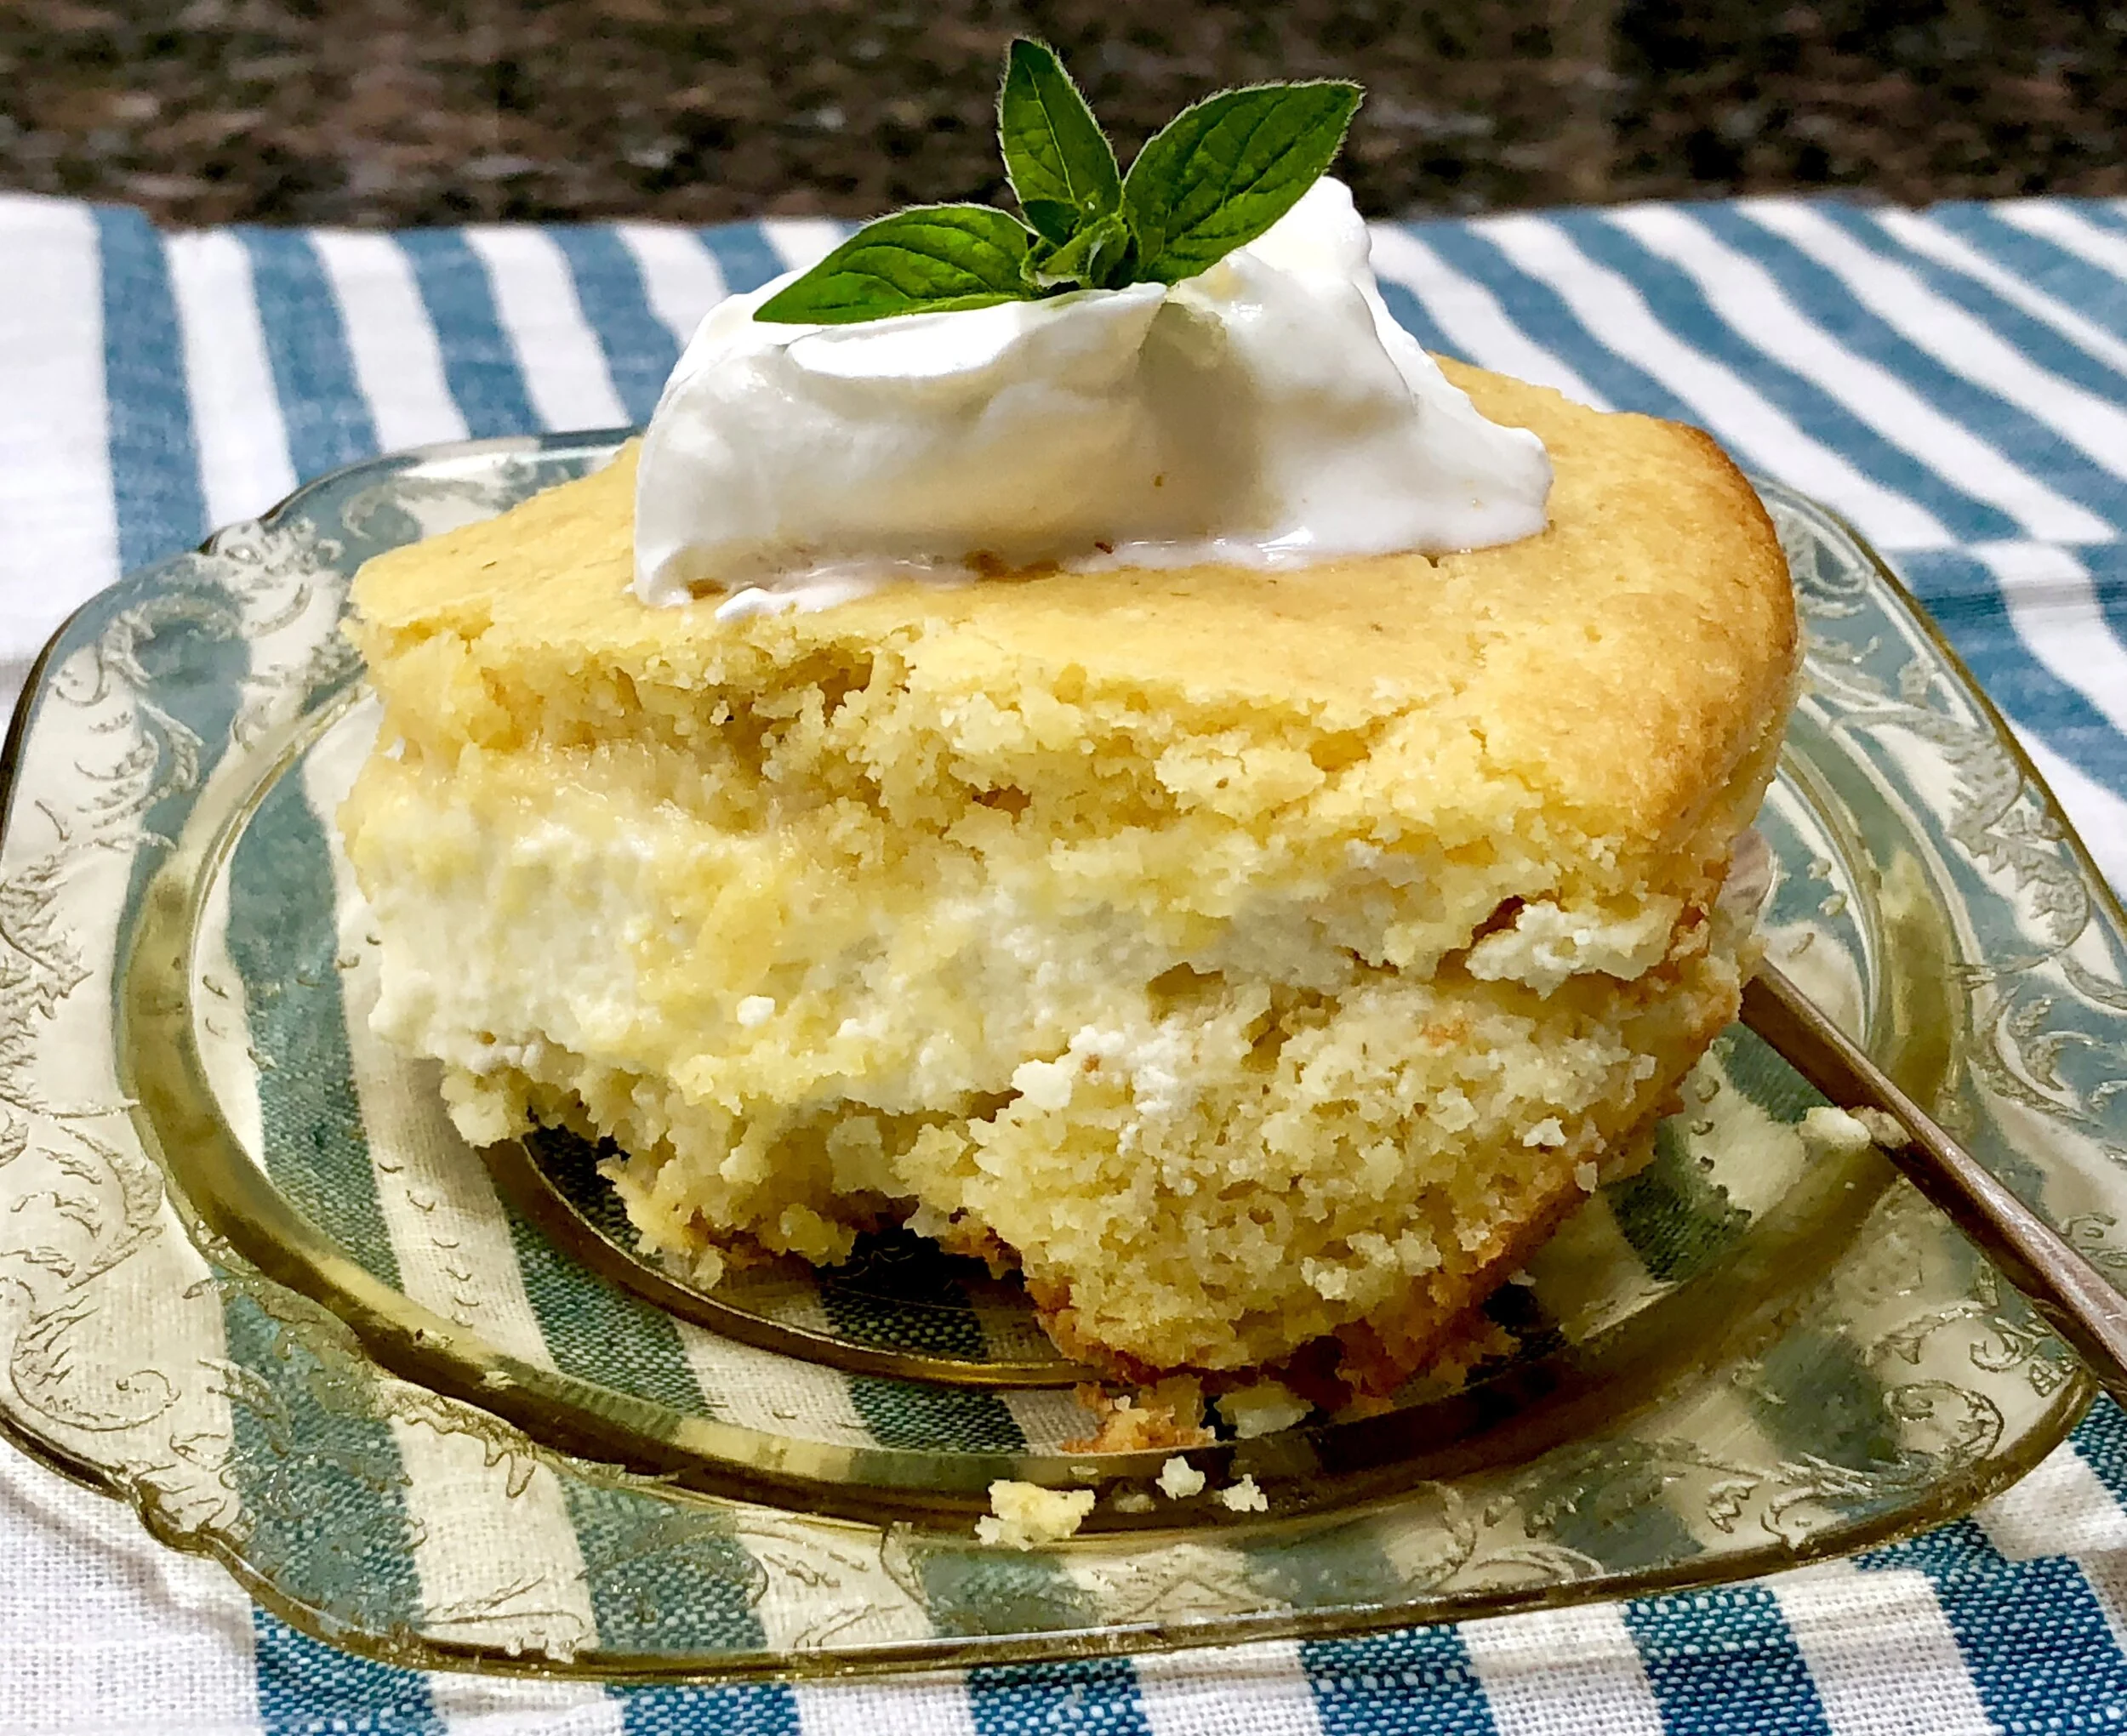
Romanian Cornmeal Cheese Cake

fullsizeoutput_bfc6.jpeg

My grandmother occasionally made a fabulous cornmeal dish — she called it mamaliga, the national dish of Romania — and served it with sweetened, mashed farmer cheese and sour cream. Sometimes with a drizzle of maple syrup over everything.

I never knew it as Malai, a classic Romanian Shavuot treat, but that’s what it was. But it wasn’t her usual, plain “cornmeal mush” because it also had eggs and sugar mixed into the batter.

All I knew was how delicious it tasted.

So, over the years I experimented over and over until I made a version that tastes something like what I remember.

Here it is, in time for Shavuot.

Romanian MALAI

The Batter:

  • 6 tablespoons butter

  • 3/4 cup all-purpose flour

  • 3/4 cup finely ground cornmeal

  • 1/3 cup sugar

  • 2 teaspoons baking powder

  • 1/2 teaspoon salt

  • 2/3 cup milk, half-and-half or buttermilk

  • 2 large eggs

  • filling

  • sour cream, whipped cream, ice cream, etc. optional

  • extra sugar or maple syrup

Preheat the oven to 350 degrees. Lightly grease an 8-inch cake pan. Melt the butter and set it aside to cool. In the bowl of an electric mixer, combine the flour, cornmeal, sugar, baking powder and salt and mix to distribute the ingredients evenly. Add the milk, eggs and cooled, melted butter and mix on medium speed for 1-2 minutes or until thoroughly blended. Spoon one half of the cornmeal mixture into the prepared pan and spread the batter to make it even. Top with the filling. Top with the remaining batter (spread the batter to make a smooth, even top crust). Bake for 35-40 minutes or until the top is golden brown and the cake is set.

Serve the cake warm, room temperature or slightly chilled. Serve plain or topped with sour cream (traditional), whipped cream or ice cream. (I add about 2 teaspoons of sugar for each cup of sour cream used as a garnish).

Makes 8-10 servings

THE Filling:

  • 1 pound farmer’s cheese

  • 1 large egg

  • 1/4 cup sugar

  • 1/2 teaspoon finely grated fresh lemon peel

Mix the farmer’s cheese, egg, sugar and lemon peel until the ingredients are well blended.

Salmon and Farro Salad

A05F3E0B-A217-434B-AD6D-81EC49EDDFCA_1_201_a.jpeg

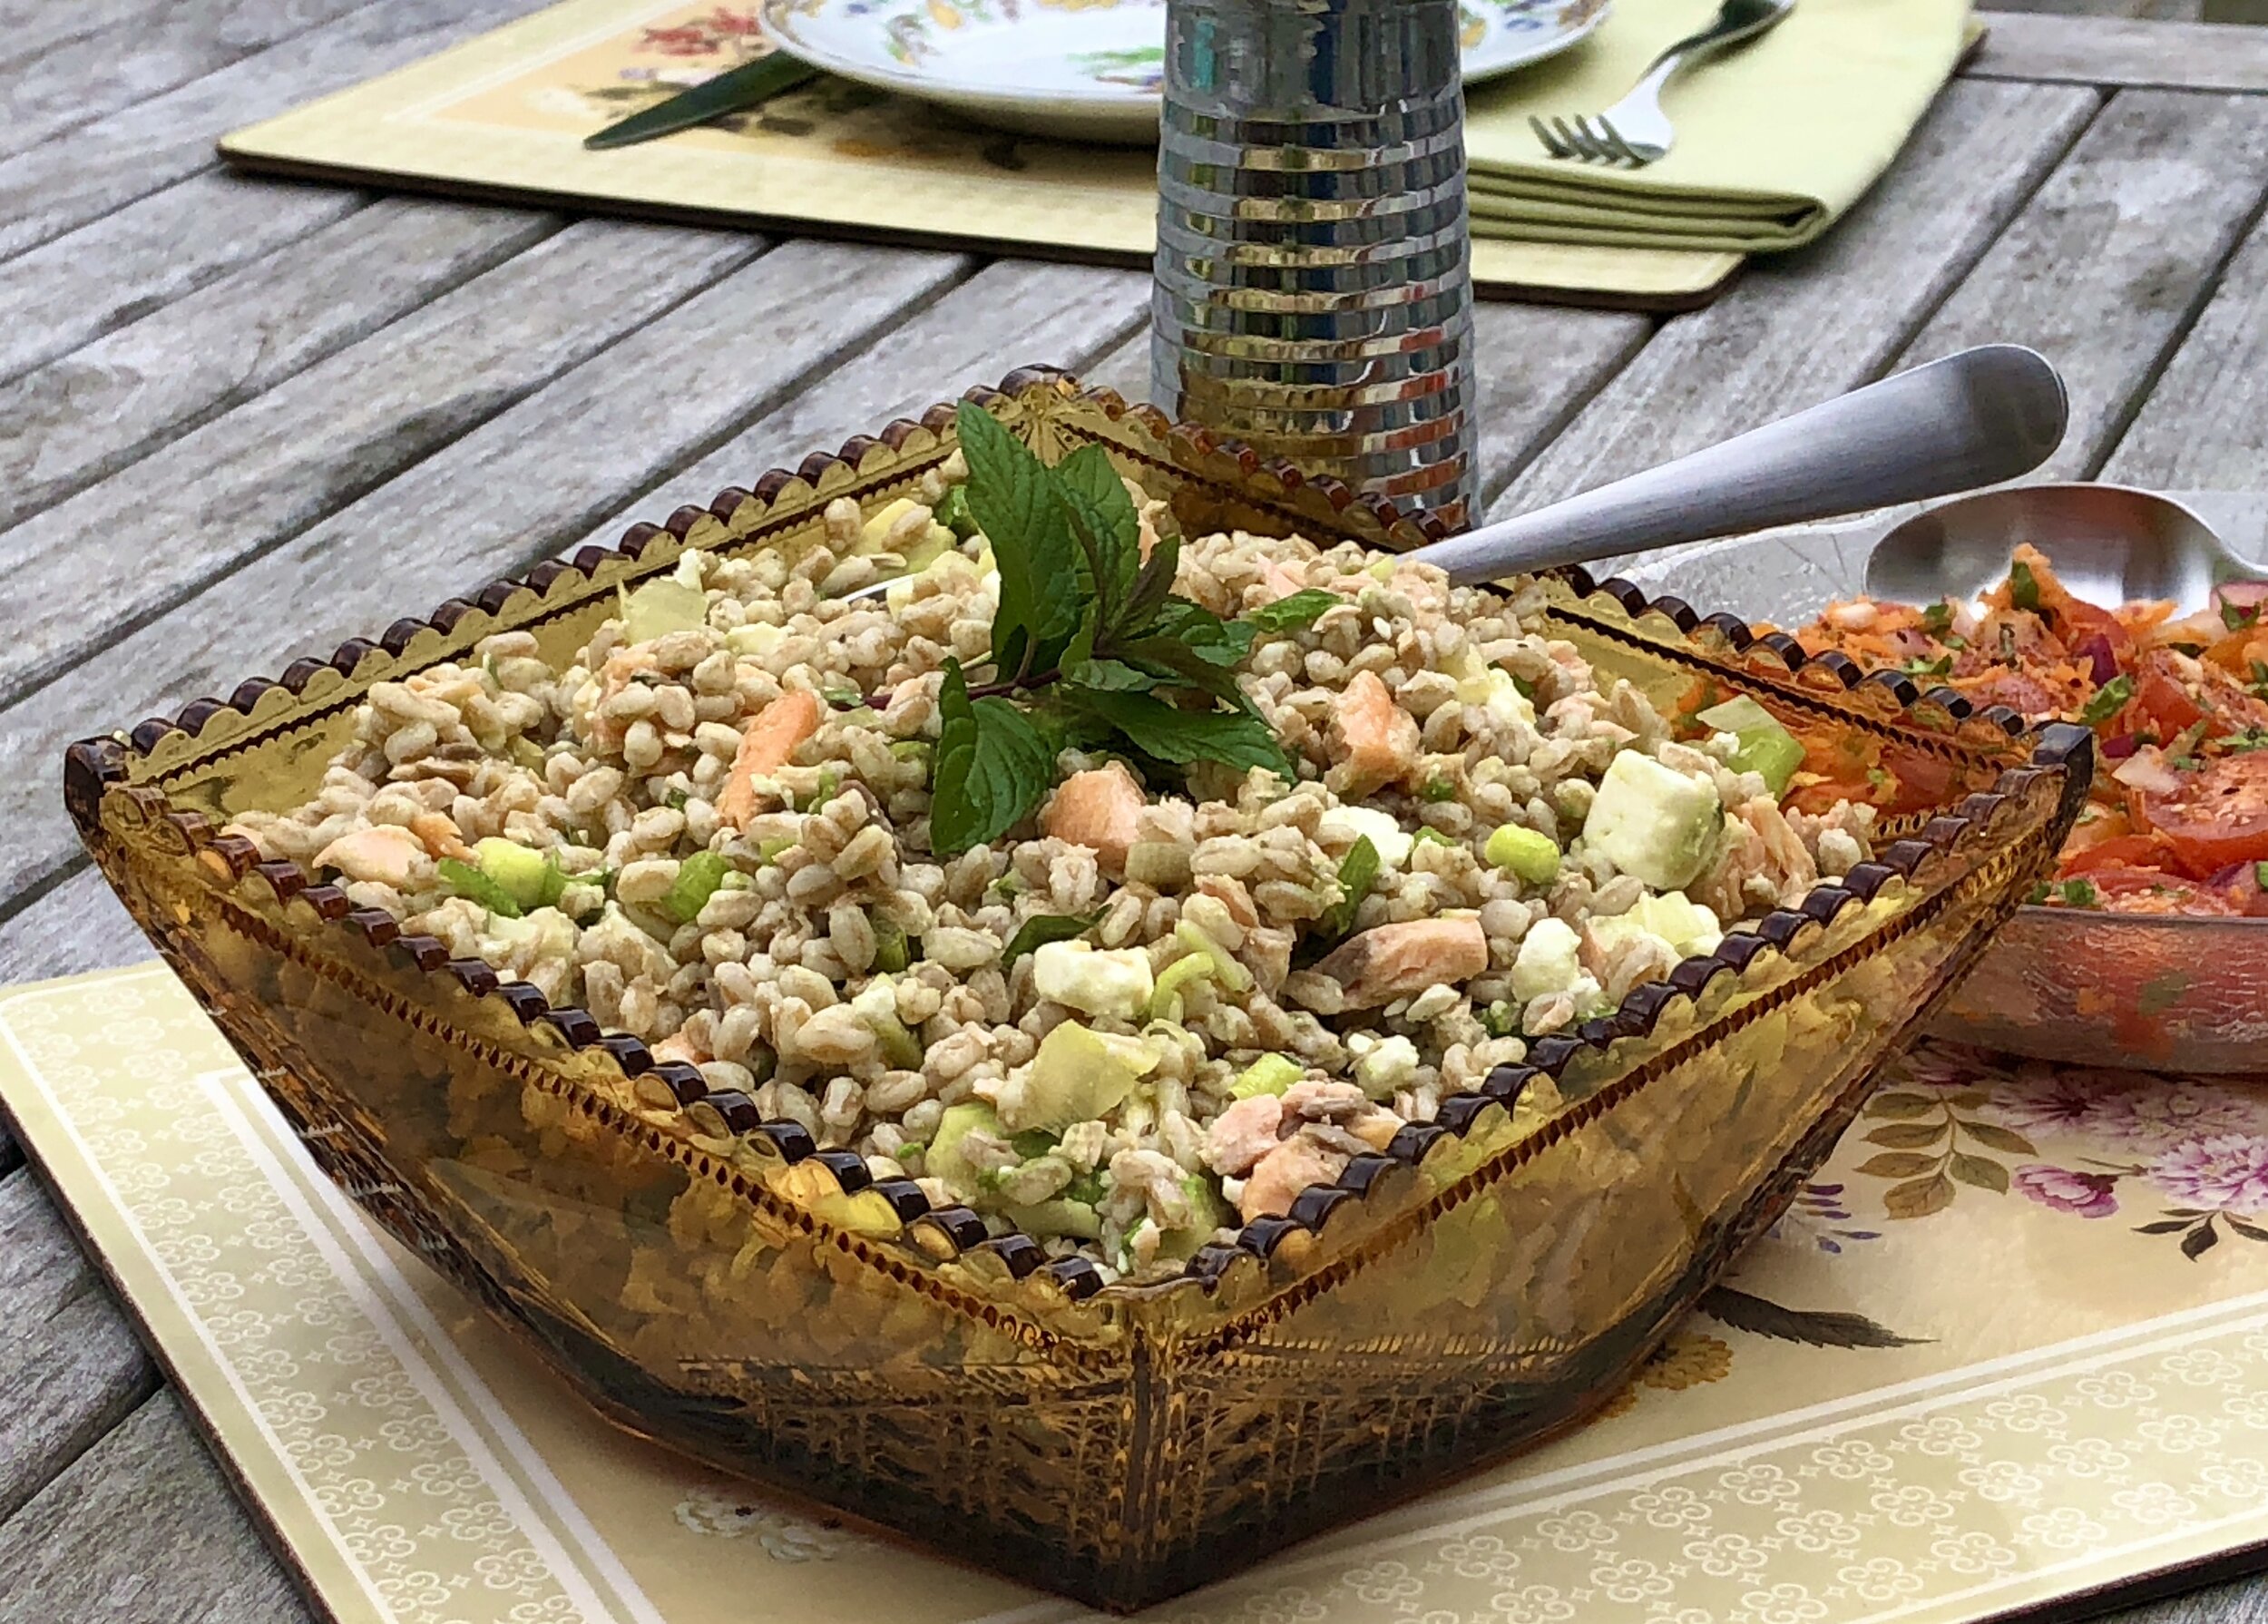
We’re big on main course salads in our family. They’re usually easy, unfussy and filling. I also like that I can make them in advance.

I’ve made  numerous versions of this particular salad: I love farro but have also used barley, couscous and wheatberries. I change up the cheese, depending on what I have, and use red onions or shallots if I need my scallions for something else.

Of course I have also made this all-veggie or no-meat, replacing the salmon (or any other cooked fish) with cooked eggs, carrots, peas and zucchini.

This is such a versatile dish! Best served at room temperature.

Salmon and Farro Salad

  • 12 ounces fresh salmon*

  • olive oil or vegetable oil

  • 1 cup farro

  • 2-1/2 cups water

  • 1 ripe avocado, cut into bite size pieces

  • 3/4 cup crumbled feta, goat or blue cheese

  • 2-3 scallions, chopped

  • 1 teaspoon chopped fresh oregano

  • 1 teaspoon chopped fresh mint

  • 1/4 cup vegetable oil

  • 2 tablespoons lemon juice

  • 2 tablespoons white wine vinegar

  • salt and freshly ground black pepper to taste

Preheat a grill, broiler or grill pan. Brush the salmon with a film of vegetable oil and grill, broil or pan-broil for about 4 minutes per side or until cooked to desired consistency. Remove the fish from to a cutting board, cut into chunks and set aside to cool slightly. While the salmon is cooking, place the farro in a saucepan and cover with the water. Bring to a boil over high heat. Lower the heat, cover the pan and simmer for about 25 minutes or until the grain is cooked but still slightly chewy. Drain any remaining liquid. Place the cooked farro into a mixing bowl. Add the fish, avocado, cheese, scallions, oregano and mint. Toss gently to distribute the ingredients evenly. In a small bowl mix the vegetable oil, lemon juice and white wine vinegar. Pour over the ingredients and toss. Sprinkle with salt and pepper to taste. Let rest for 10-15 minutes before serving.

*you can use drained, canned salmon

 Makes 4 servings


Blueberry Granola Crisp

fullsizeoutput_ab6c.jpeg

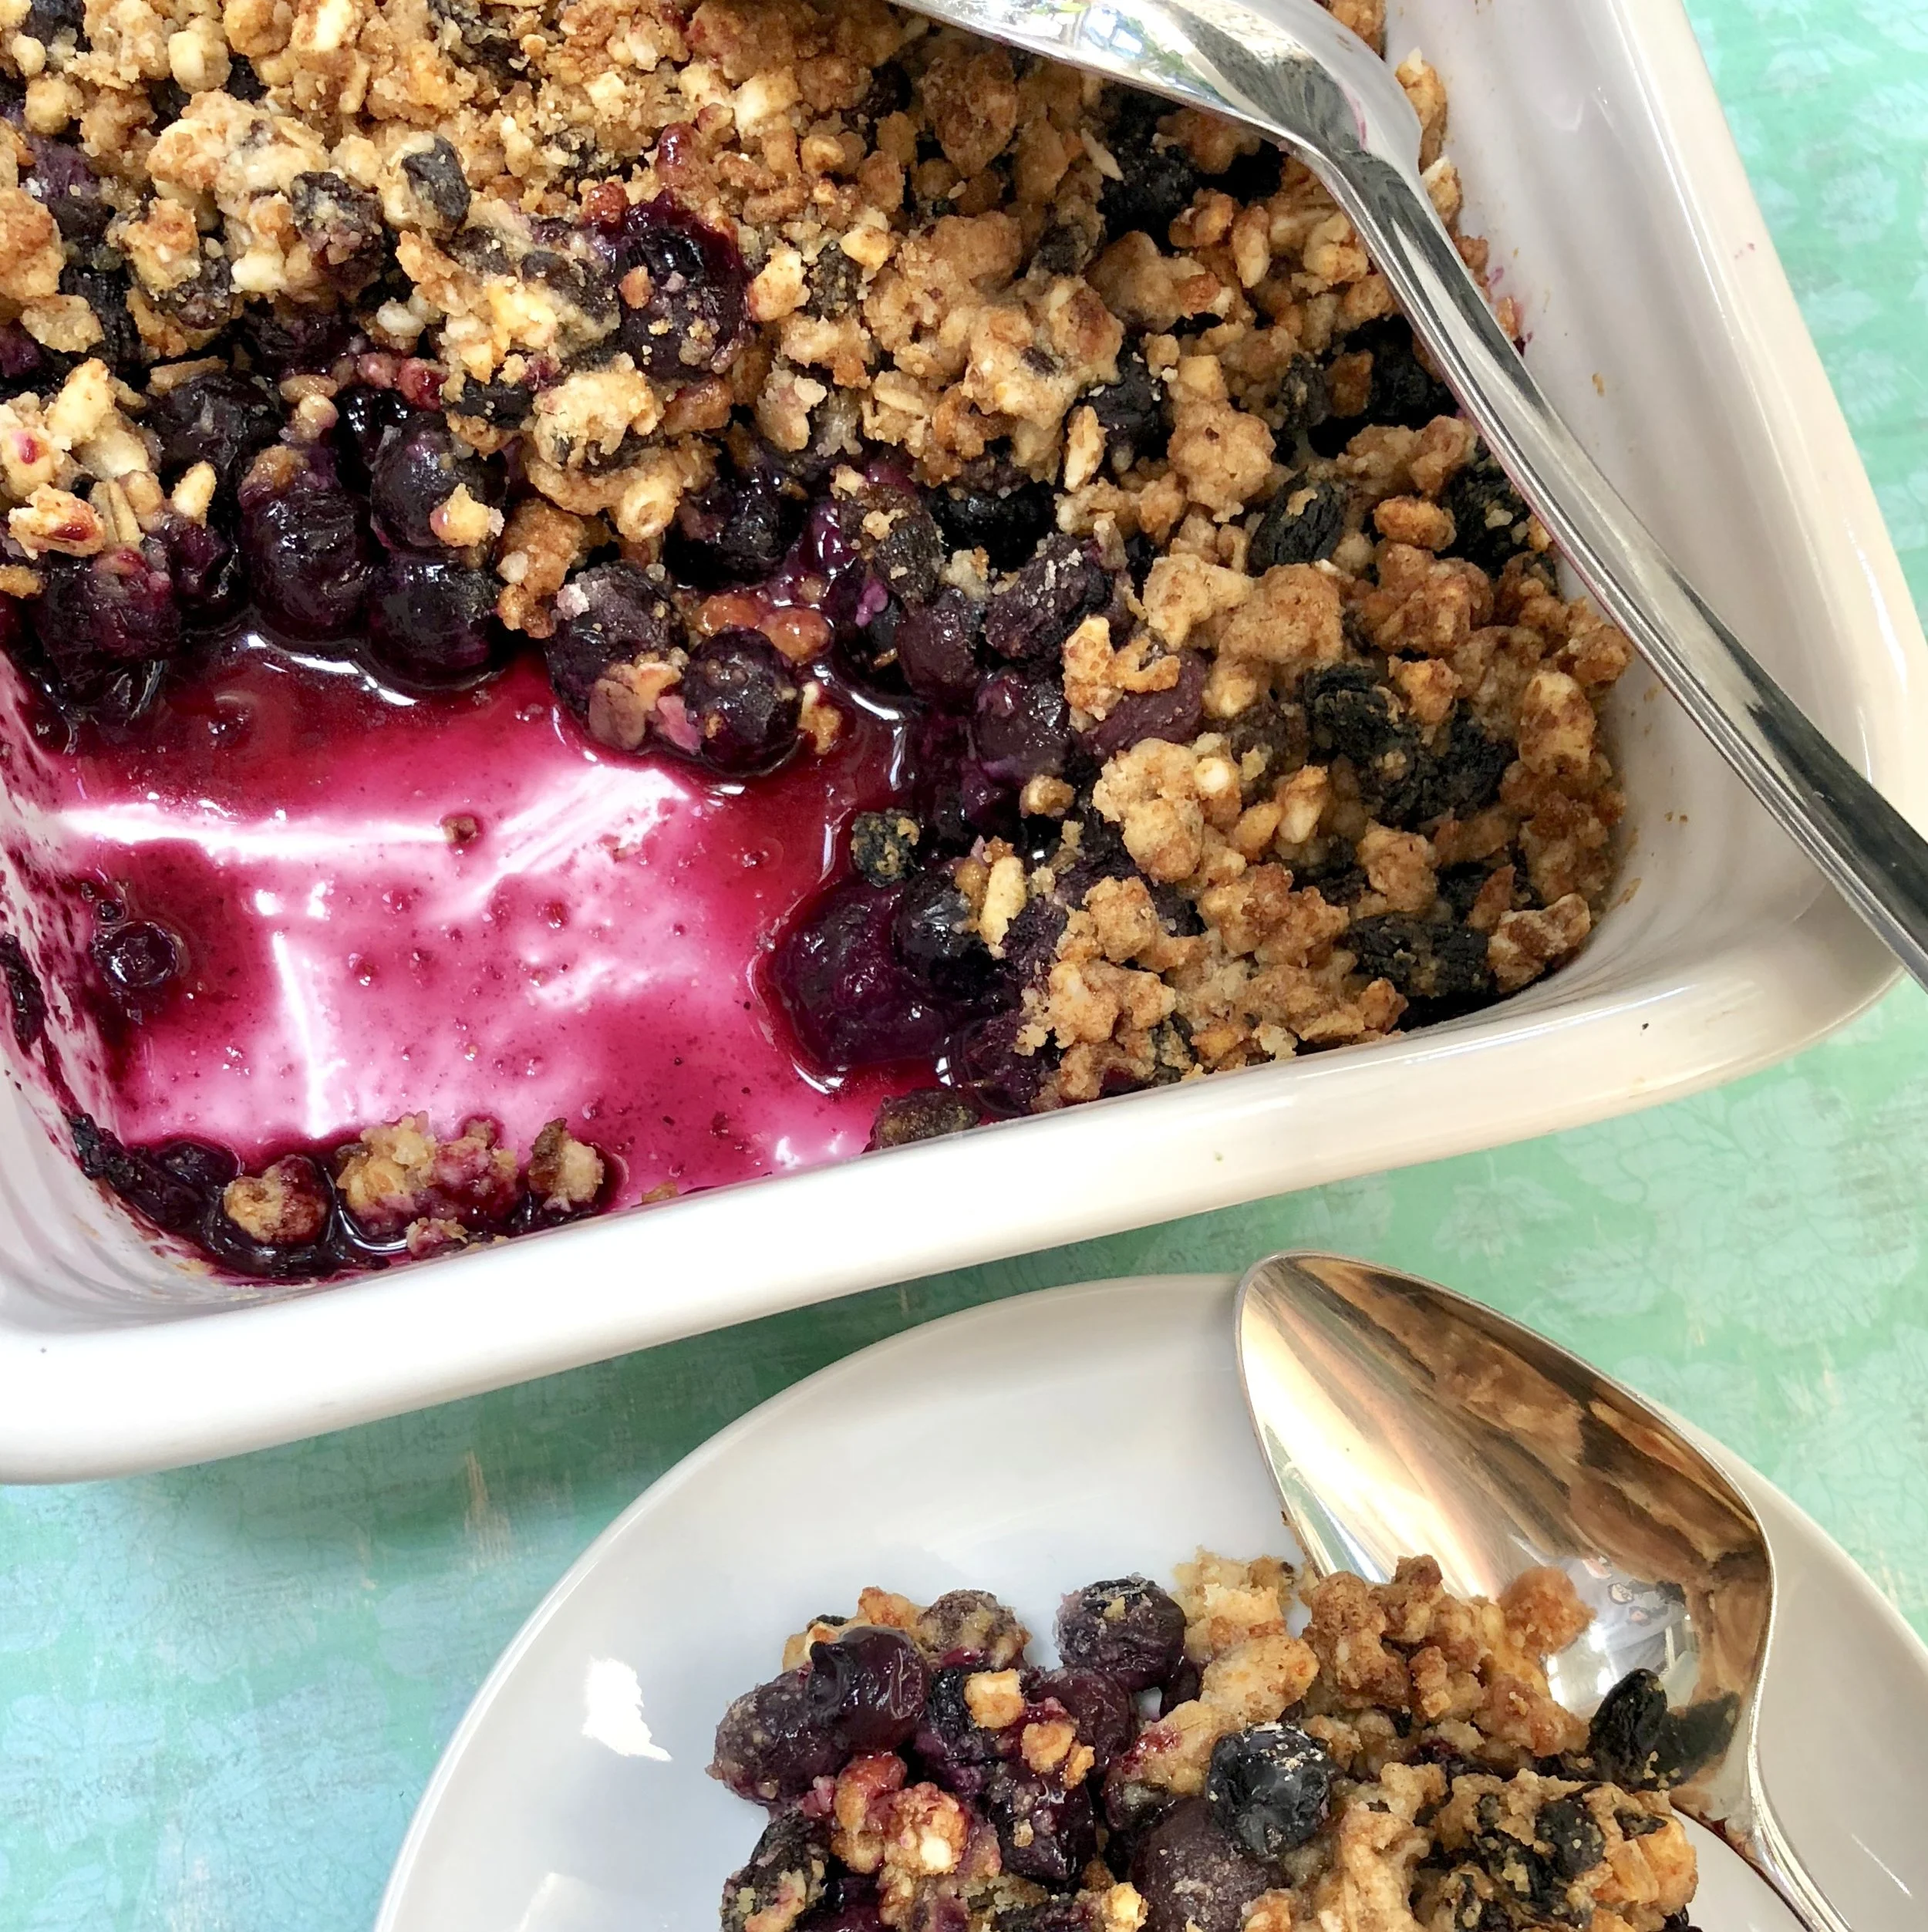
In my neck of the woods the blueberries are fabulous.

Just in time for a dessert trying out a new riff on my usual granola crust.

It went well…..

Blueberry Granola Crisp

Crust:

  • 1 cup granola

  • 1/3 cup all-purpose flour

  • 1/3 cup raisins, optional

  • 3 tablespoons brown sugar

  • 1/2 teaspoon ground cinnamon

  • 1/4 teaspoon salt

  • 5 tablespoons butter or margarine, cut into chunks

Place the granola, flour, raisins, brown sugar, cinnamon and salt in a food processor and pulse the ingredients 2-3 times to distribute them evenly. Add the butter and pulse several times until the butter pieces become tiny and distributed evenly within the dry ingredients. Set aside.

Filling:

  • 4 cups blueberries

  • 3 tablespoons sugar

  • 1 tablespoon lemon juice

  • 2 tablespoons all-purpose flour

  • 1/4 teaspoon ground cinnamon

Preheat the oven to 350 degrees. Place the ingredients in a baking dish, toss to distribute the ingredients evenly. Cover the fruit with the granola mixture. Bake for about 30-35 minutes or until the crust is brown and crunchy.

Makes 4-6 servings

Banana Applesauce Muffins

Banana Applesauce Muffins

Banana Applesauce Muffins

We were thrilled, LUCKY, this year to be able to have a real Seder with most (9) of our immediate family (and Elijah for a moment or two of course).

The adults were all vaccinated and the kids had quarantined, so we felt safe. It was glorious. Our youngest grandchild was reluctant to ask the four questions so we all asked because, why not!

I tried out a new charoset which my family declared was “the one!”

I actually ran out of fresh horseradish for the first time ever!

As usual I had bought a ton of fruit because my grandkids are huge fans. But as usual, there were leftover bananas — but only two! And this year there was also some leftover homemade applesauce.

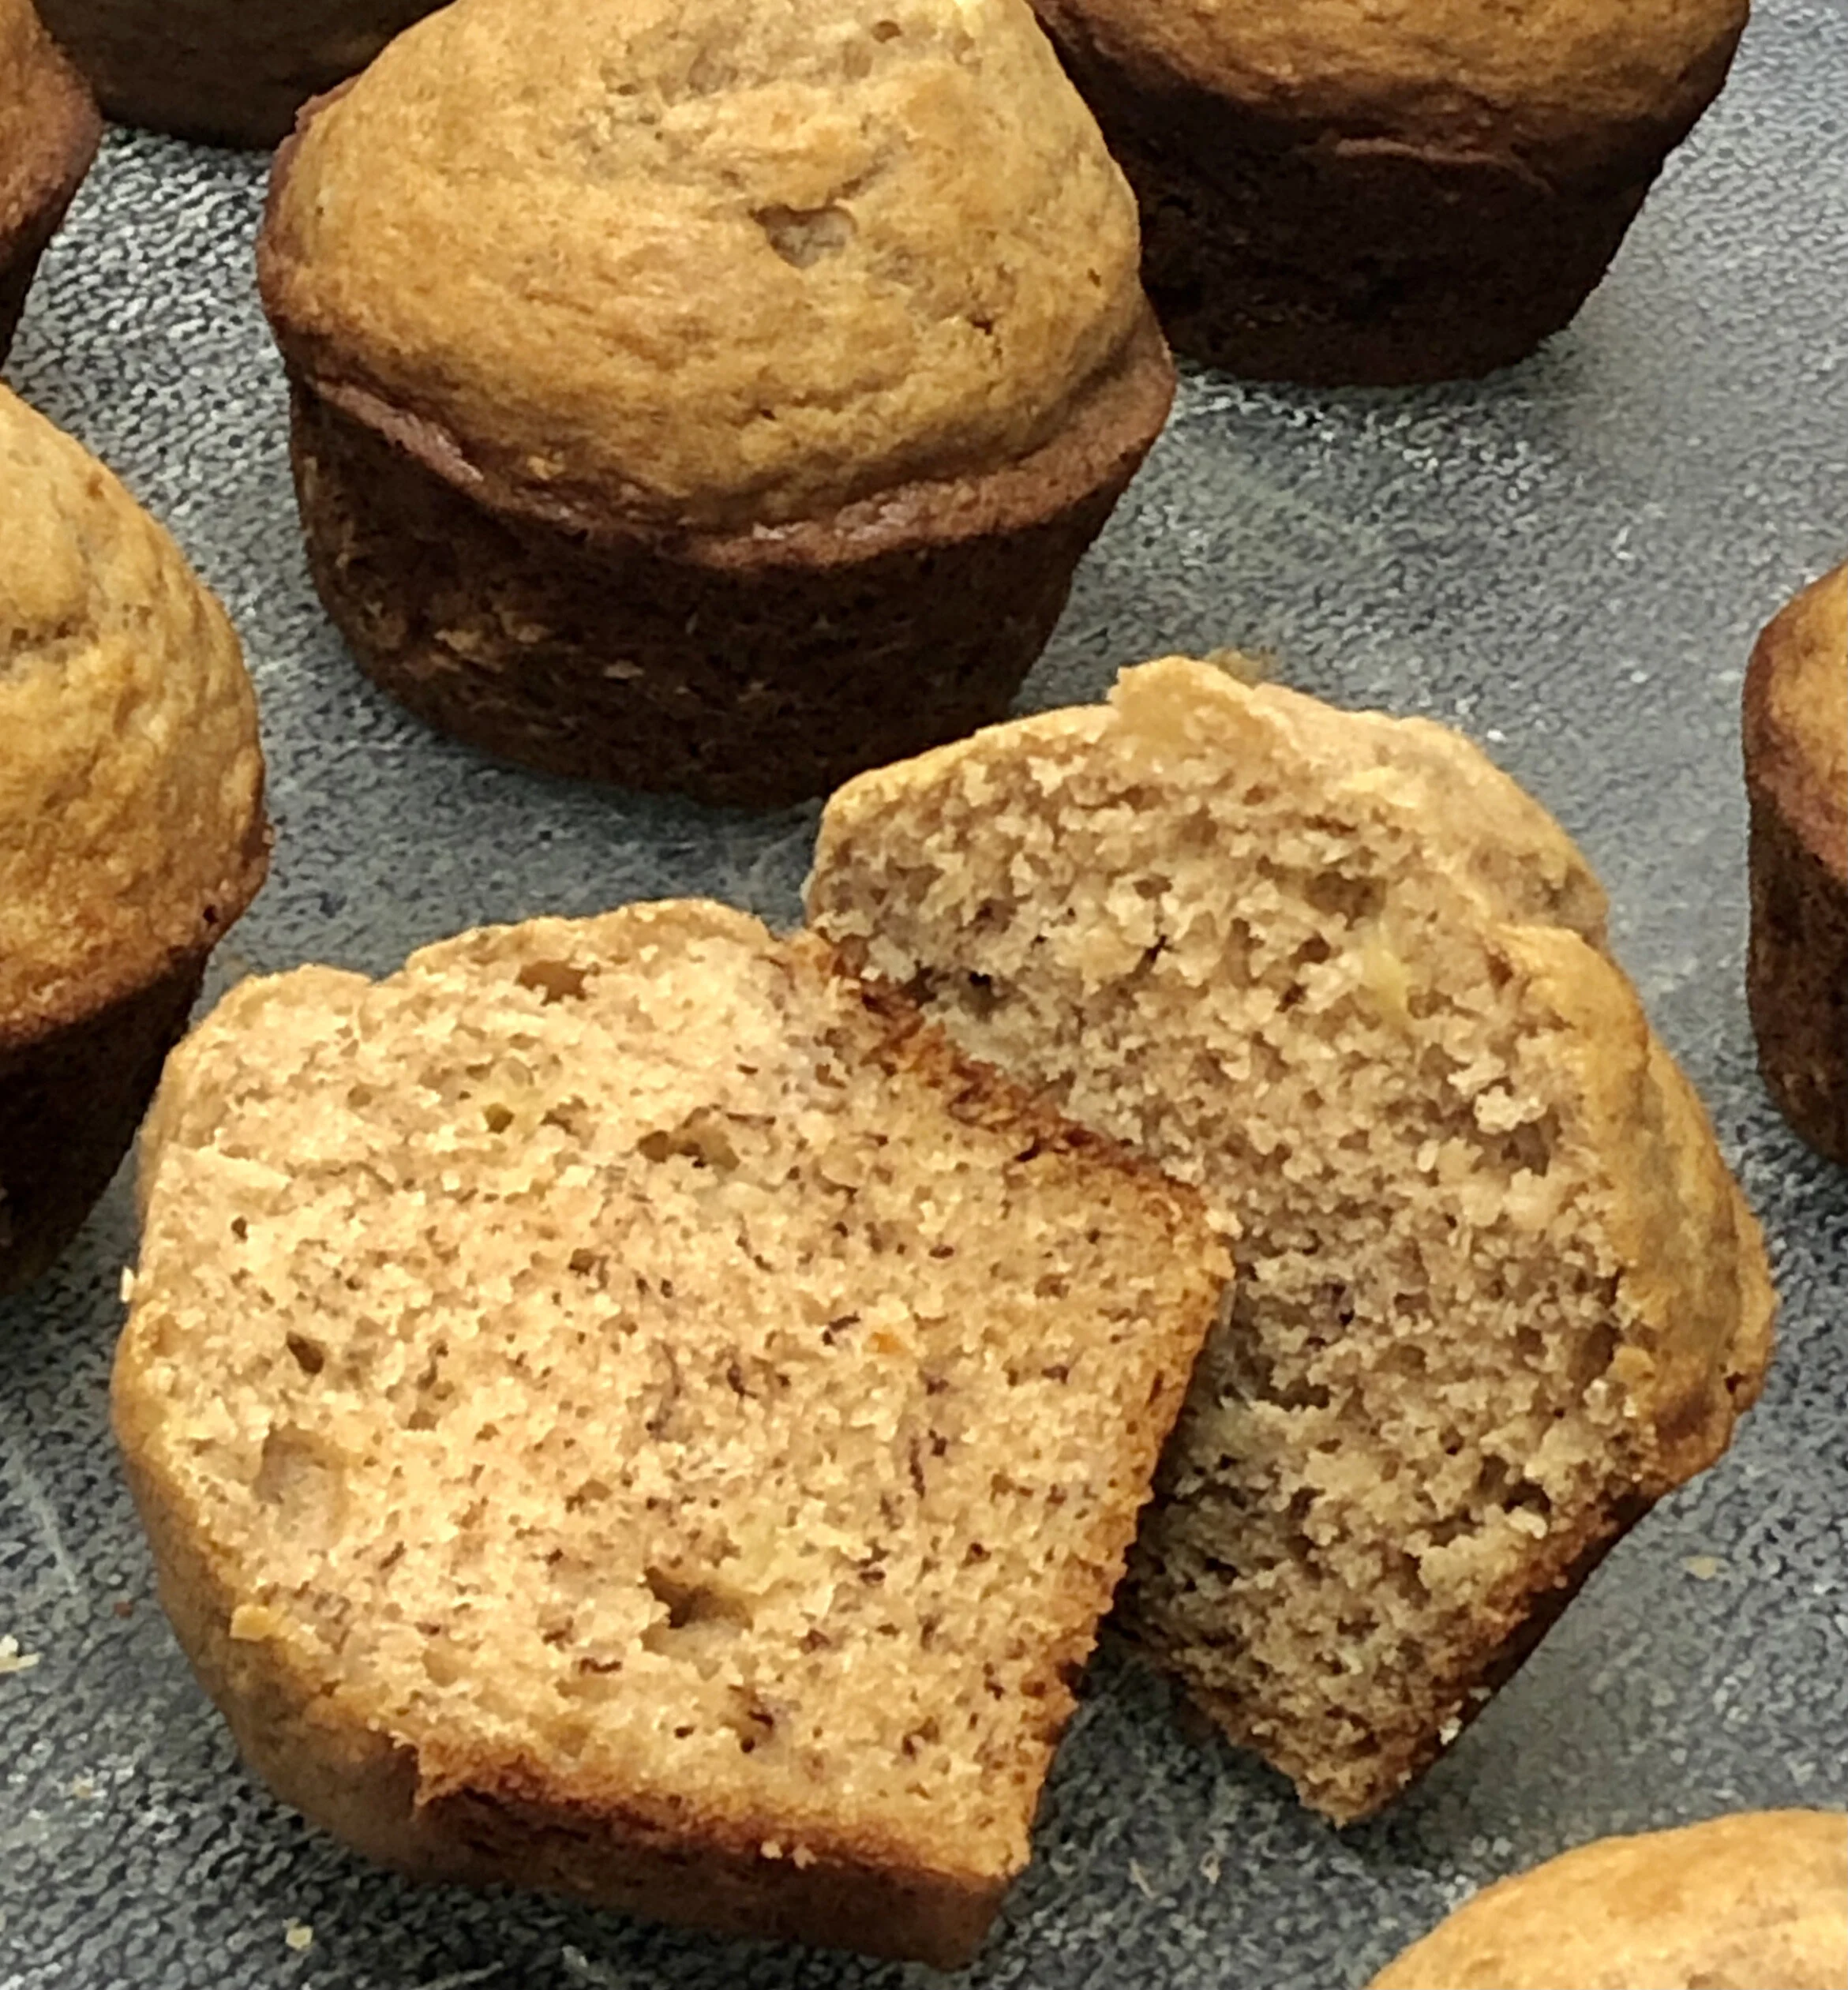
So, after the holiday I revised one of my banana muffin recipes to accommodate what I had. The result: moist, tender, not too sweet Banana-Applesauce Muffins. These are plain but you could add blueberries, chocolate chips, a swirl of melted chocolate, chopped nuts and so on.

Banana Applesauce Muffins

  • 1-1/2 cups all-purpose flour

  • 1 teaspoon baking soda

  • 1 teaspoon baking powder

  • 1/2 teaspoon salt

  • 1/2 teaspoon cinnamon

  • 6 tablespoons vegetable oil

  • 1/3 cup sugar

  • 1 large egg

  • 2 bananas, mashed

  • 1/2 cup applesauce

  • 1 teaspoon vanilla extract

Preheat the oven to 400 degrees. Lightly grease 10 muffin cups. Mix the flour, baking soda, baking powder, salt and cinnamon together in a bowl. In the bowl of an electric mixer (or use a hand mixer) beat the vegetable oil and sugar together on medium speed for about 2 minutes or until well combined. Add the egg and beat it in until thoroughly combined. Add the mashed bananas, applesauce and vanilla extract and beat for another minute or until the ingredients are well blended. Spoon equal amounts of the batter into the prepared muffin cups. Bake for 18-20 minutes, or until a cake tester inserted into center of muffin comes out clean.

Makes 10

Banana Coconut Streusel Muffins

6E634D16-A32A-4592-B3B4-F5A5381A280D_1_201_a.jpeg

Another day, another leftover banana. Or two. Or three.

So I made these muffins.

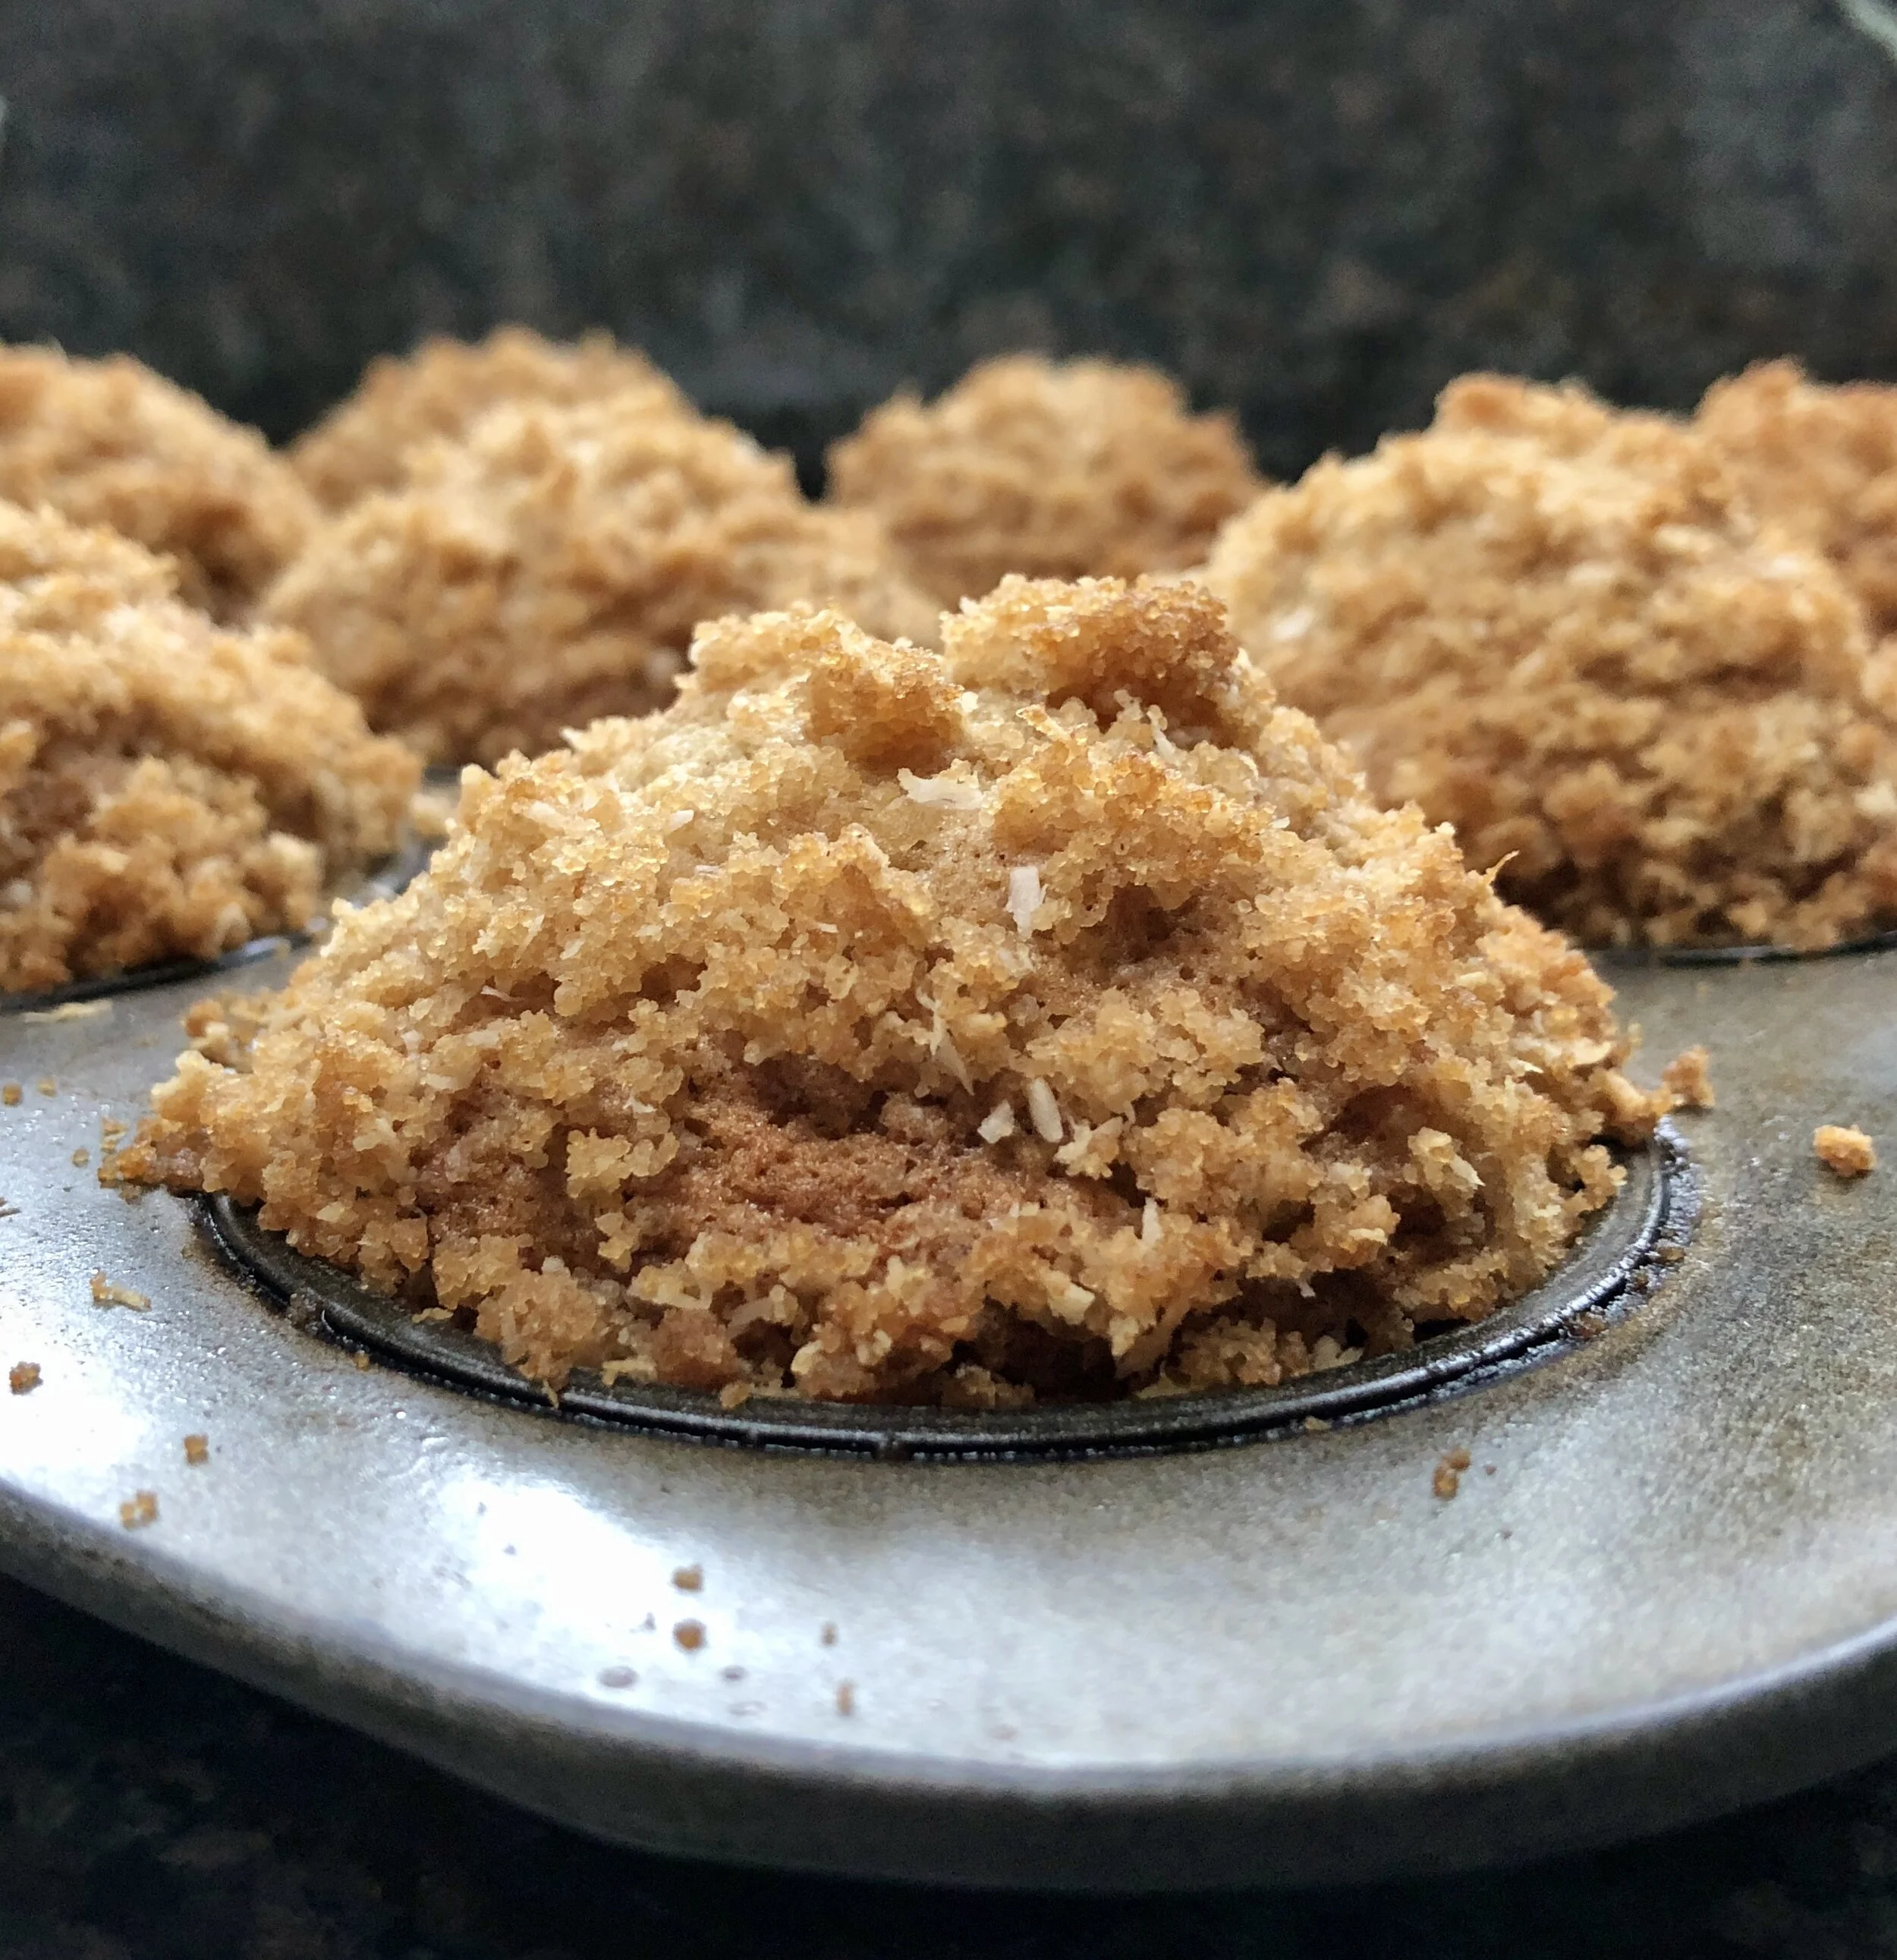
The coconut shreds gave the streusel an even crispier texture than usual and was a really satisfying contrast to the soft cake part.

Remember these for Purim mishloach manot.

Banana Coconut Streusel Muffins

 Streusel:

  • 1/3 cup brown sugar

  • 3 tablespoons all-purpose flour

  • 2 tablespoons shredded coconut

  • 1/8 teaspoon cinnamon

  • 1-1/2 tablespoons solid coconut oil (or butter, shortening or margarine)

Make the streusel: mix the brown sugar, flour, coconut and cinnamon in a small bowl. Add the coconut oil and work it in with fingers or a knife until mixture is crumbly. Set aside.

 Muffins:

  • 1-1/2 cups all-purpose flour

  • 1 teaspoon baking soda

  • 1 teaspoon baking powder

  • 1/2 teaspoon salt

  • 1/2 teaspoon cinnamon

  • 3 bananas, mashed

  • 6 tablespoons vegetable oil

  • 1/2 cup sugar

  • 1 large egg

  • 1 teaspoon vanilla extract

Preheat the oven to 400 degrees. Lightly grease 10 muffin cups. Mix the flour, baking soda, baking powder, salt and cinnamon together in a bowl. In another bowl mix the bananas, vegetable oil, sugar, egg and vanilla extract until well blended. Spoon the banana mixture into the flour mixture and stir until just until combined. Spoon the batter into the prepared muffin cups. Top with the streusel mixture evenly over each muffin. Bake for 18-20 minutes, or until a cake tester inserted into center of muffin comes out clean.

Makes 10


Banana Muffins with Oat Streusel

30D3E892-9DB2-4E75-BF52-BD72D6333B22_1_201_a.jpeg

It may be a new year but some things never change.

I bought too many bananas again and I cannot bring myself to throw away good, usable food.

So I made Banana Muffins with Oat Streusel.

Bringing them to a friend.

Remember these — not just a good breakfast, brunch or nosh — they make perfect mishoach manot for Purim (begins at sundown on February 25th).

BANANA MUFFINS WITH OAT STREUSEL

Muffins: 

  • 1-3/4 cups flour

  • 1 teaspoon baking soda

  • 1/2 teaspoon baking powder

  • 3/4 teaspoon salt

  • 1 teaspoon cinnamon

  • 3 very ripe bananas, mashed

  • 3/4 cup buttermilk or sour milk

  • 1/4 cup honey

  • 3 tablespoons vegetable oil

  • 1 large egg

  • 1-1/2 teaspoons vanilla extract

  • streusel

Preheat the oven to 400 degrees. Lightly grease 10 muffin tins. Mix the flour, baking soda, baking powder, salt and cinnamon in a bowl. In a separate bowl, mix the bananas, buttermilk, honey, vegetable oil, egg and vanilla extract. Add the liquid ingredients to the dry ones and mix only long enough to combine thoroughly. Spoon the batter into the prepared muffin tins. Scatter the streusel evenly on top of each muffin. Bake for 22-25 minutes or until a cake tester inserted into the center comes out clean.

Makes 10

Streusel: 

  • 3 tablespoons flour

  • 2 tablespoons old fashioned oats

  • 2 tablespoons sugar

  • 1 tablespoon butter

In a bowl, mix the flour, oats and sugar. Cut the butter into small pieces and work into the flour mixture with your fingers until the mixture is crumbly. Set aside.