candy

Candied Lemon Peel

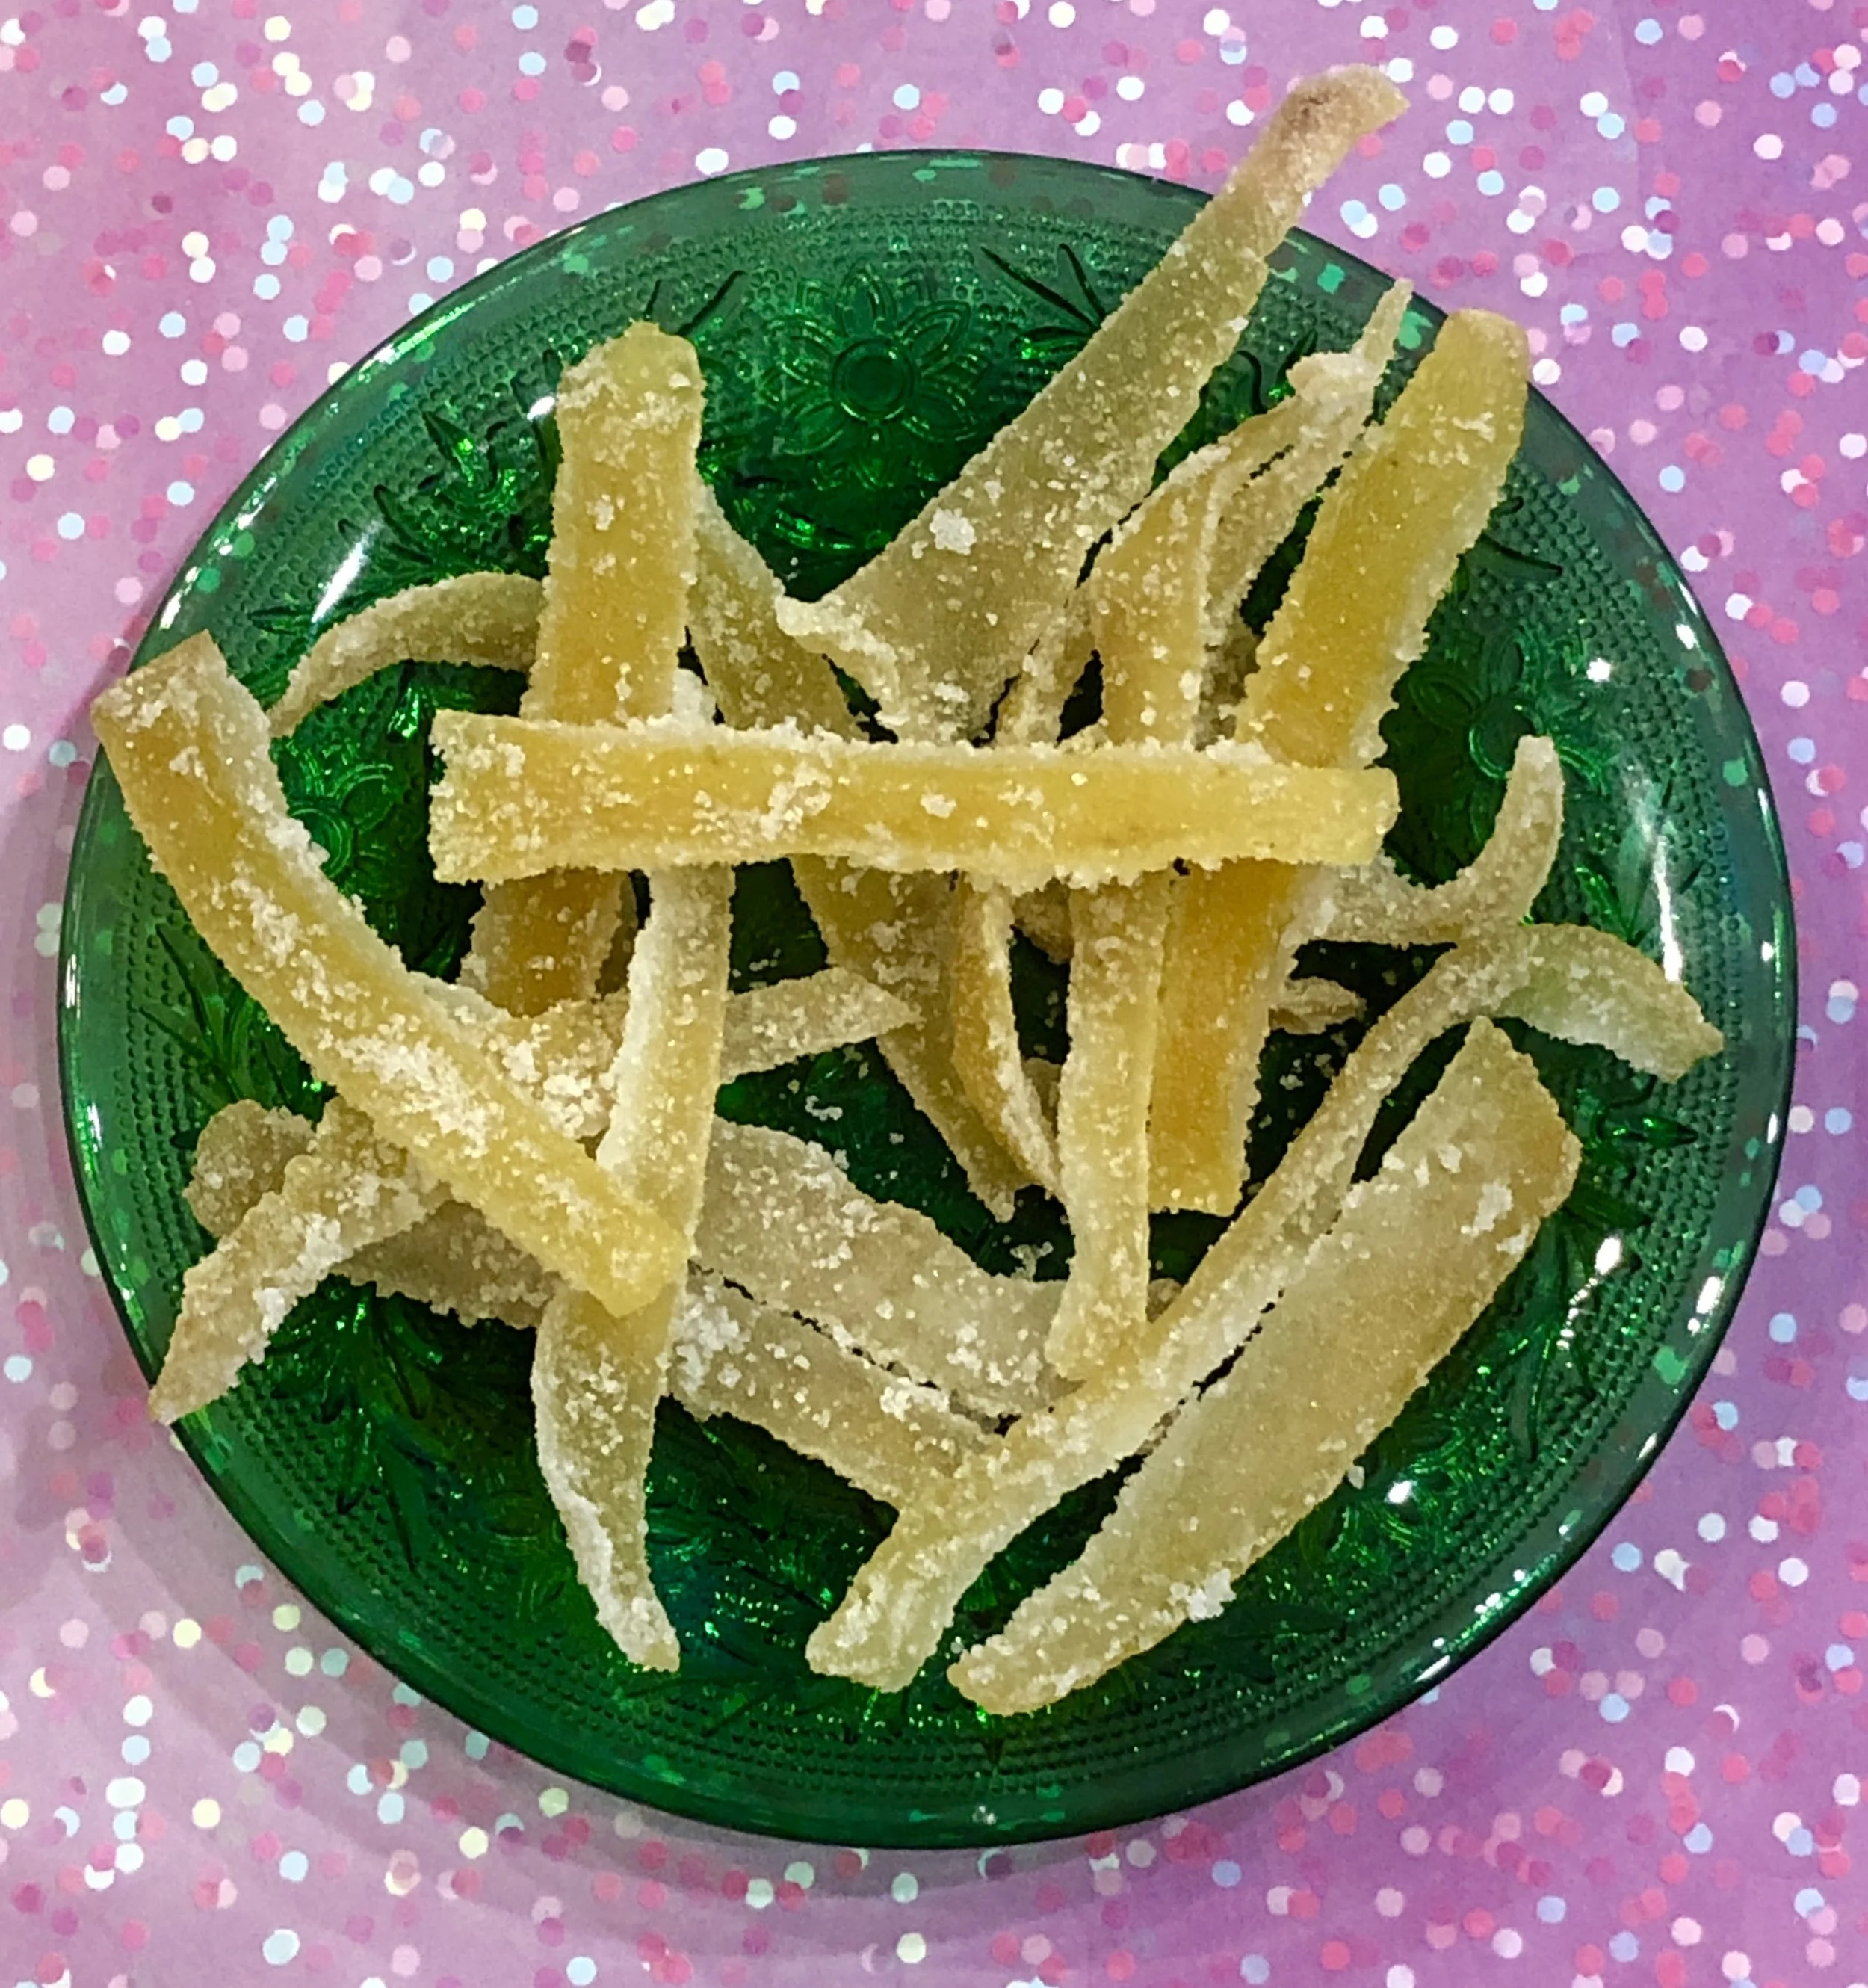
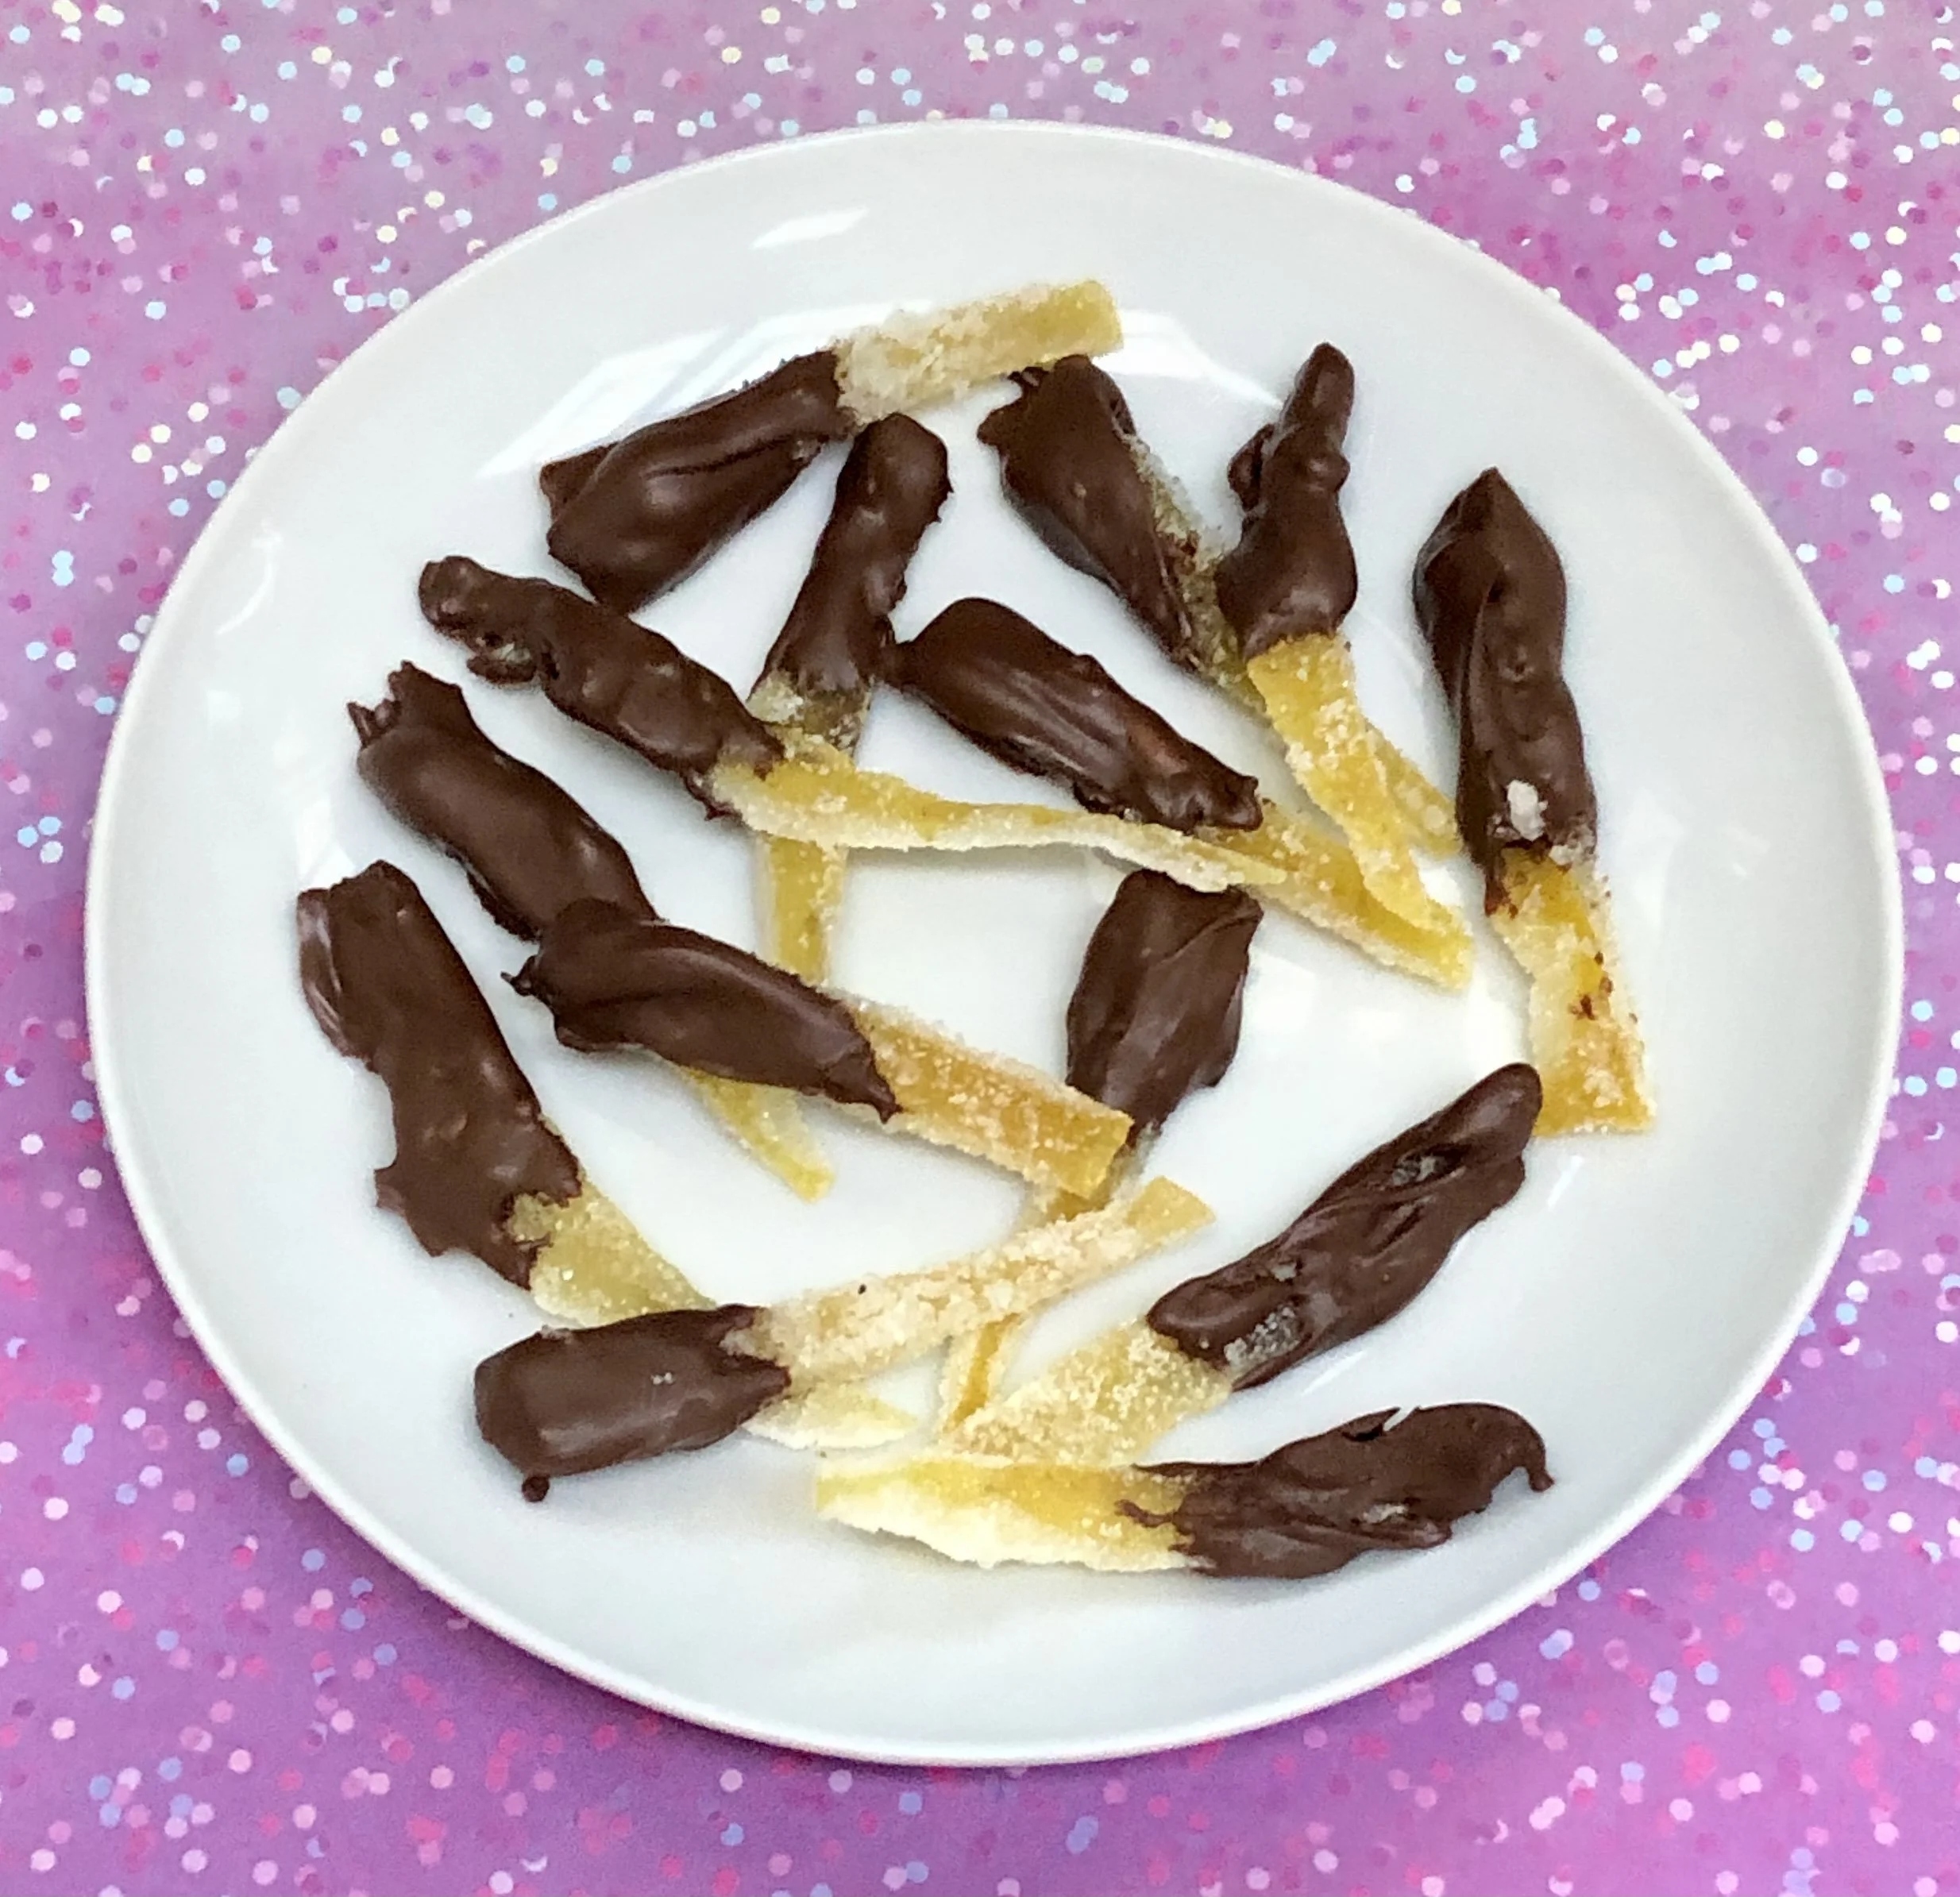
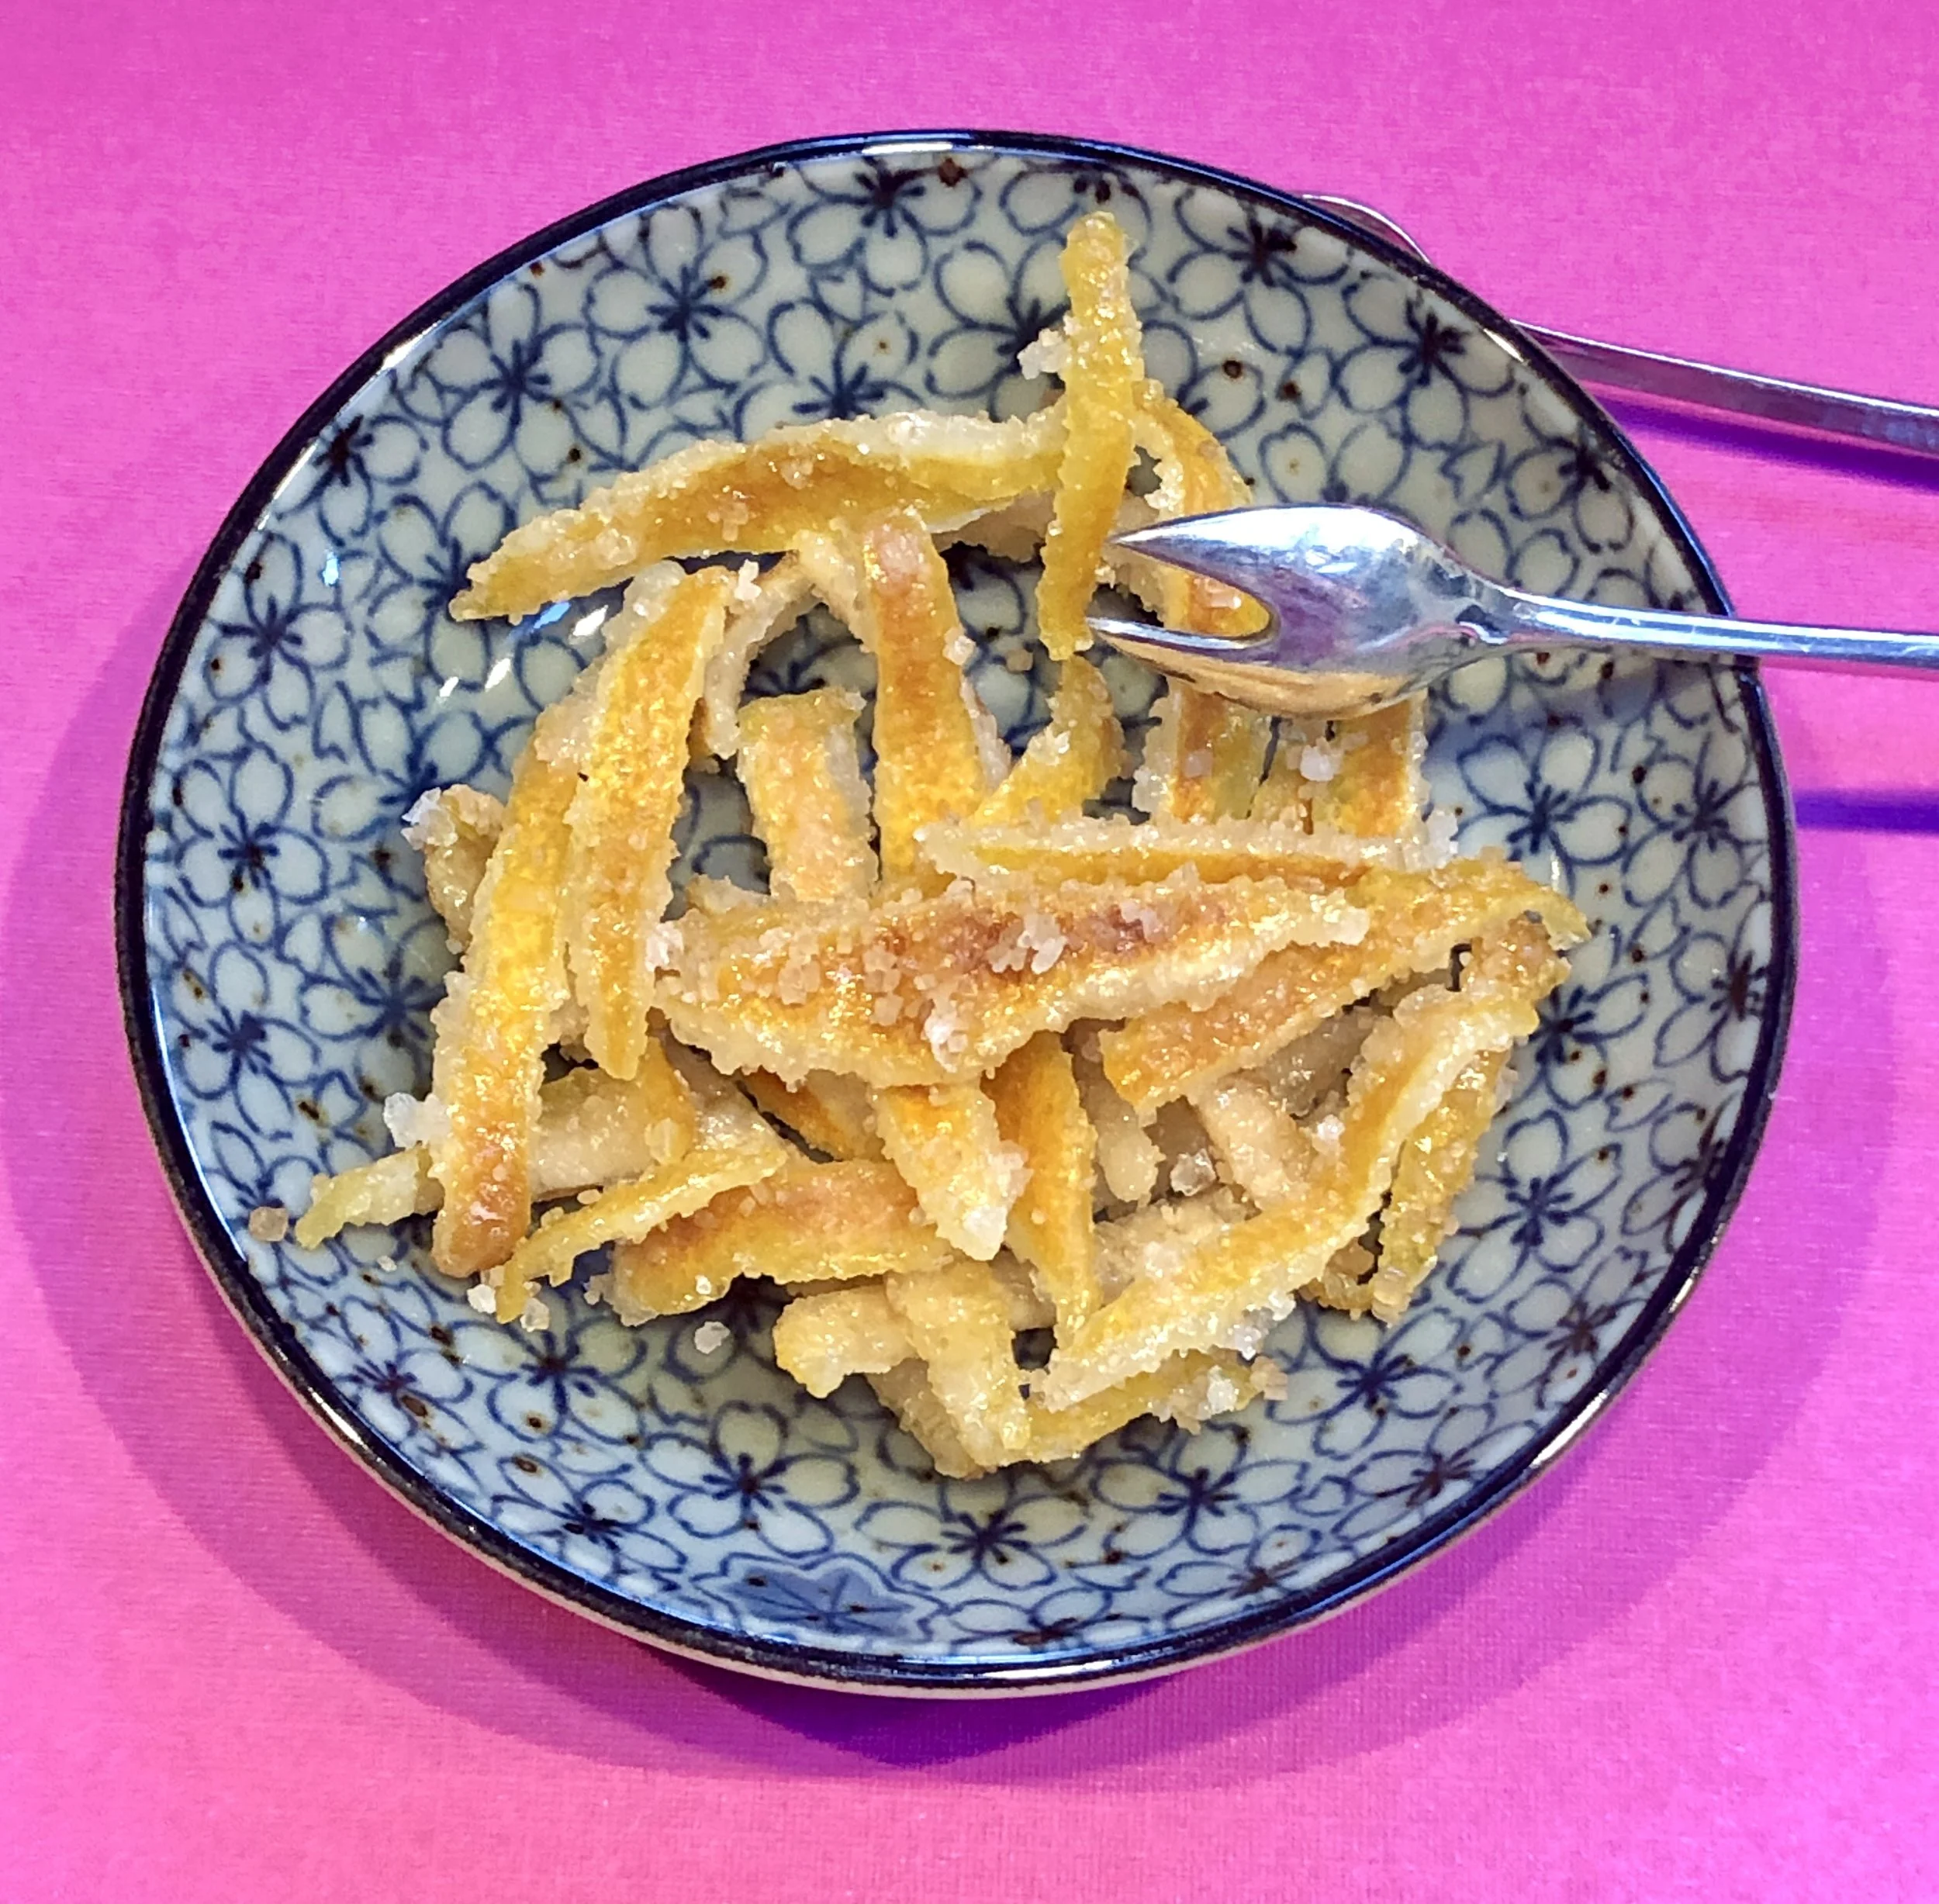
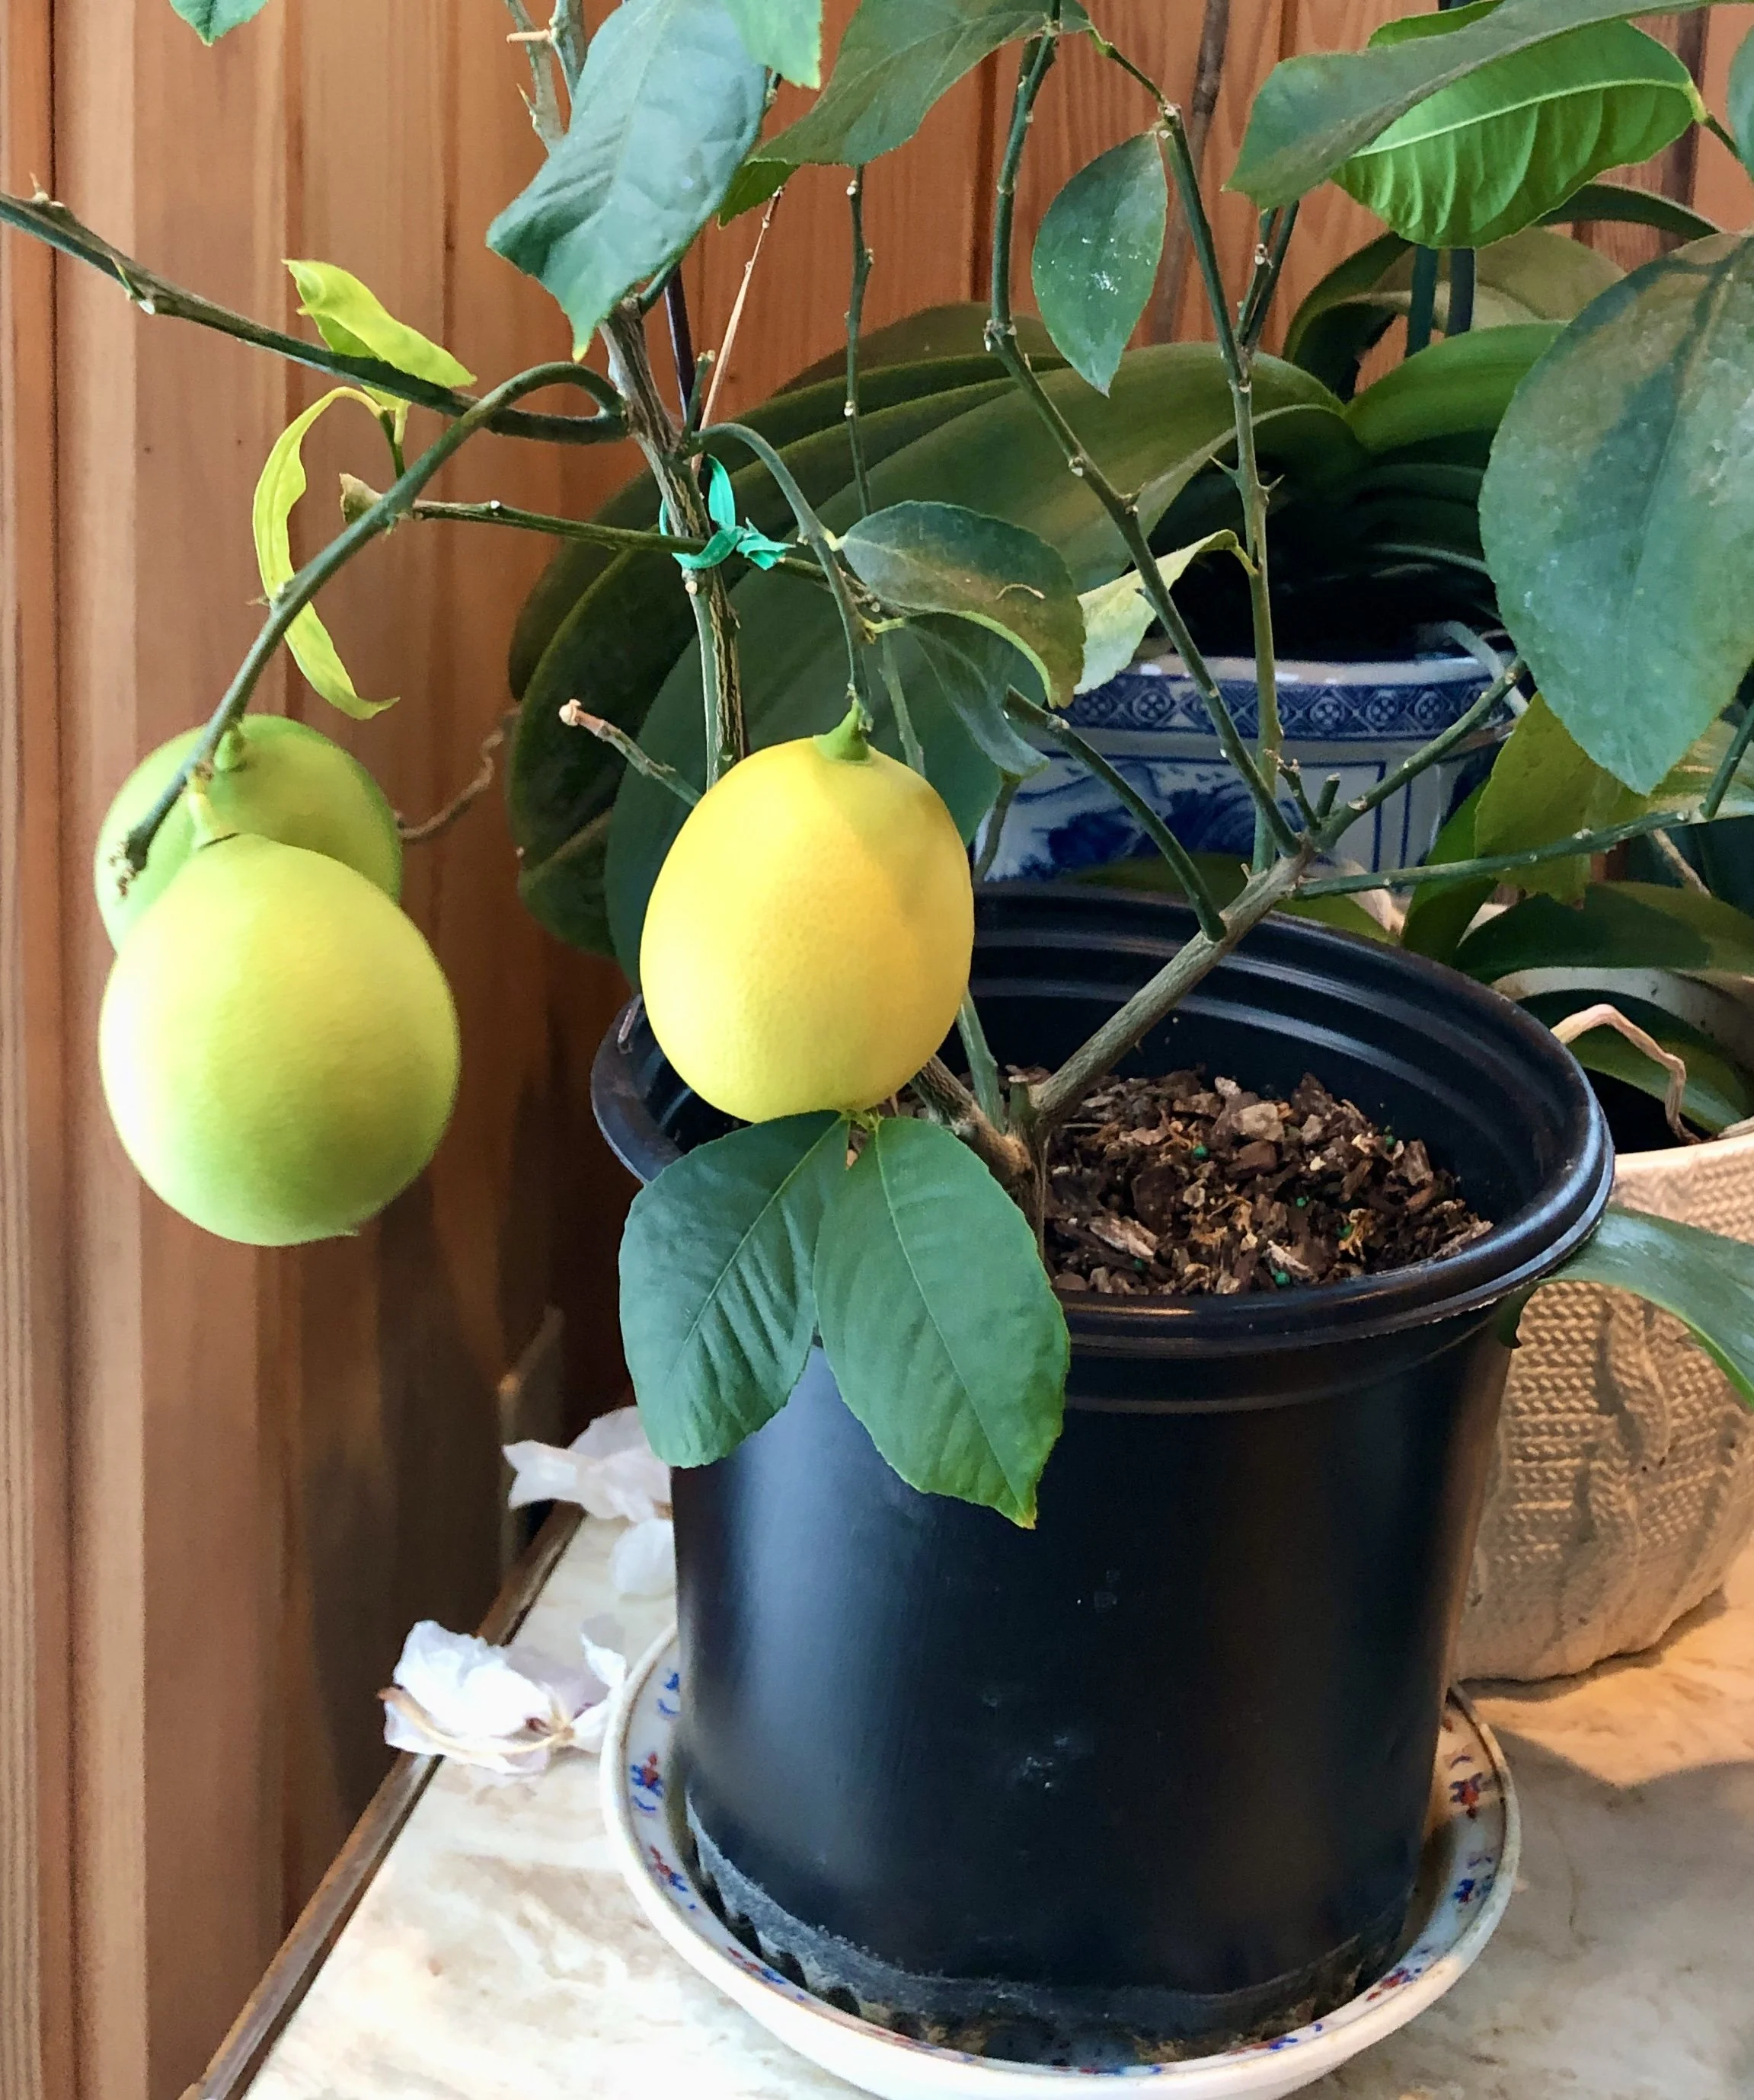
Remember the lemon that blossomed, bloomed, matured and turned yellow in my family room? I used the peel to make candied lemon peel! I am feeling joyous about this. Not just because I got an actual lemon from a house plant! But because the peels are so outrageously delicious. Which is why I say the recipe serves 1-4 people. Because I finished almost all of it all by myself. What did I do with the juice? Stay tuned ….

CANDIED LEMON PEEL

  • 1 large or 2 small lemons

  • Boiling water

  • 1 cup water

  • 2/3 cup sugar

  • 1 teaspoon sugar for coating

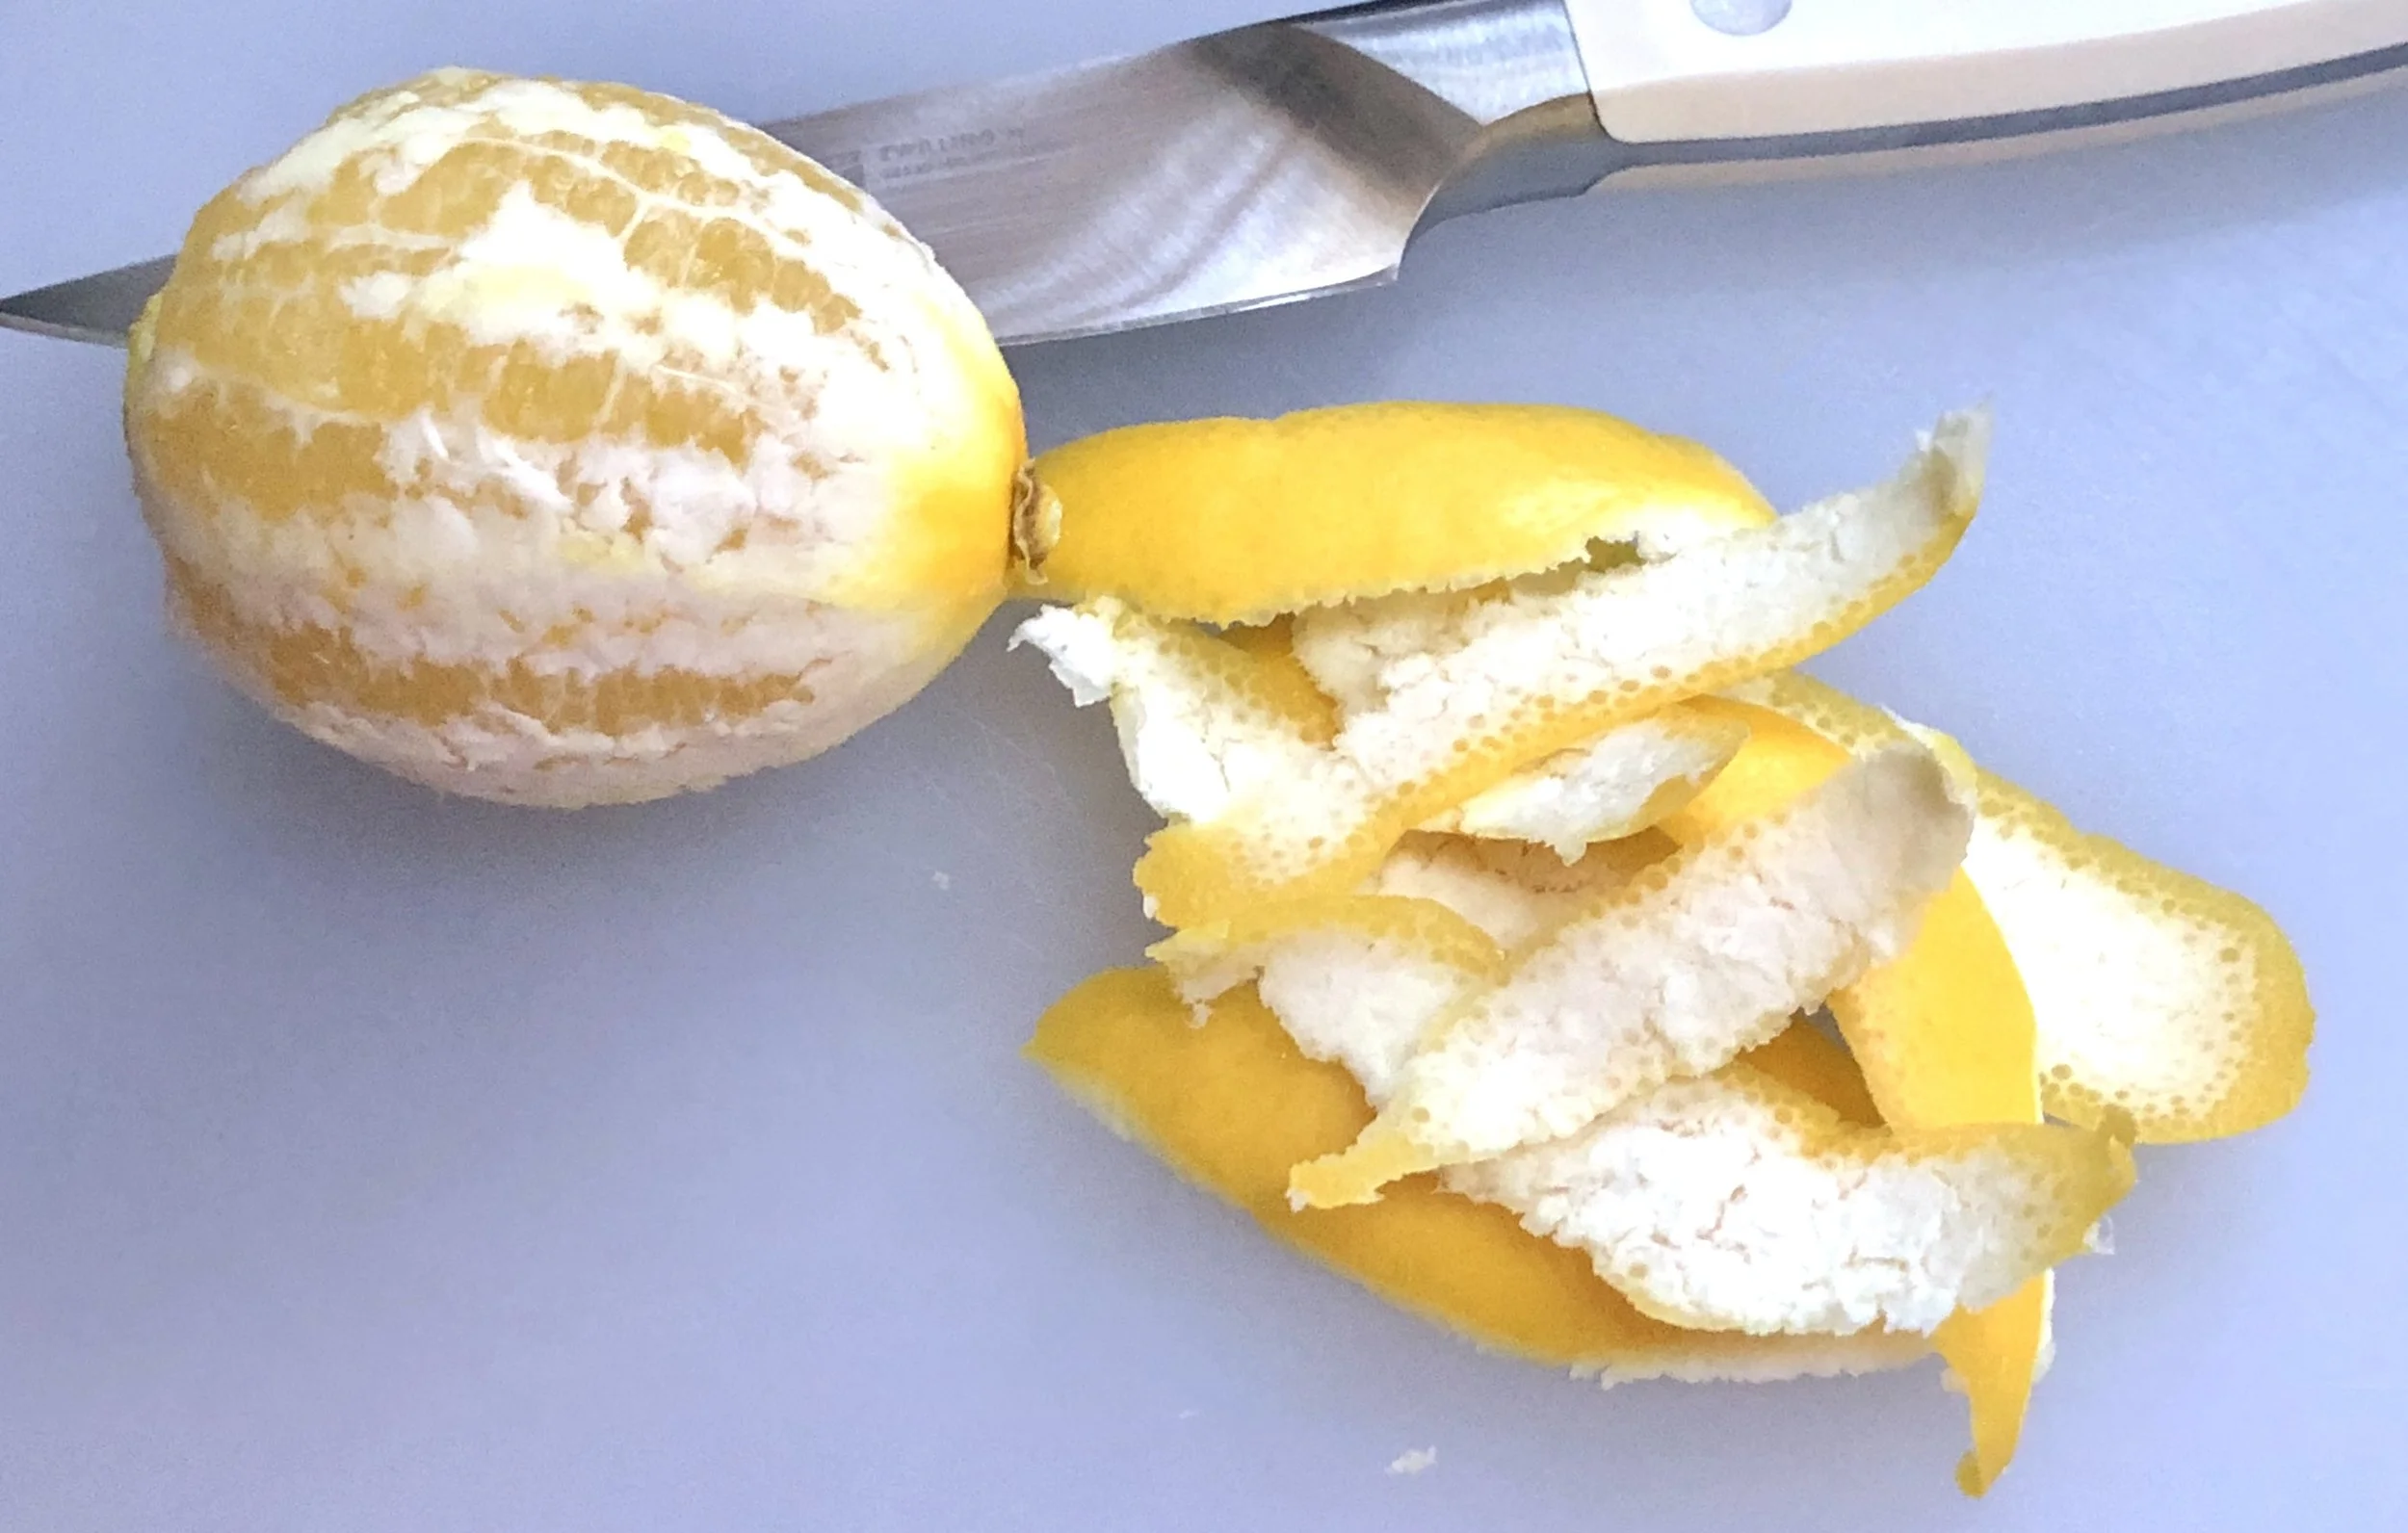
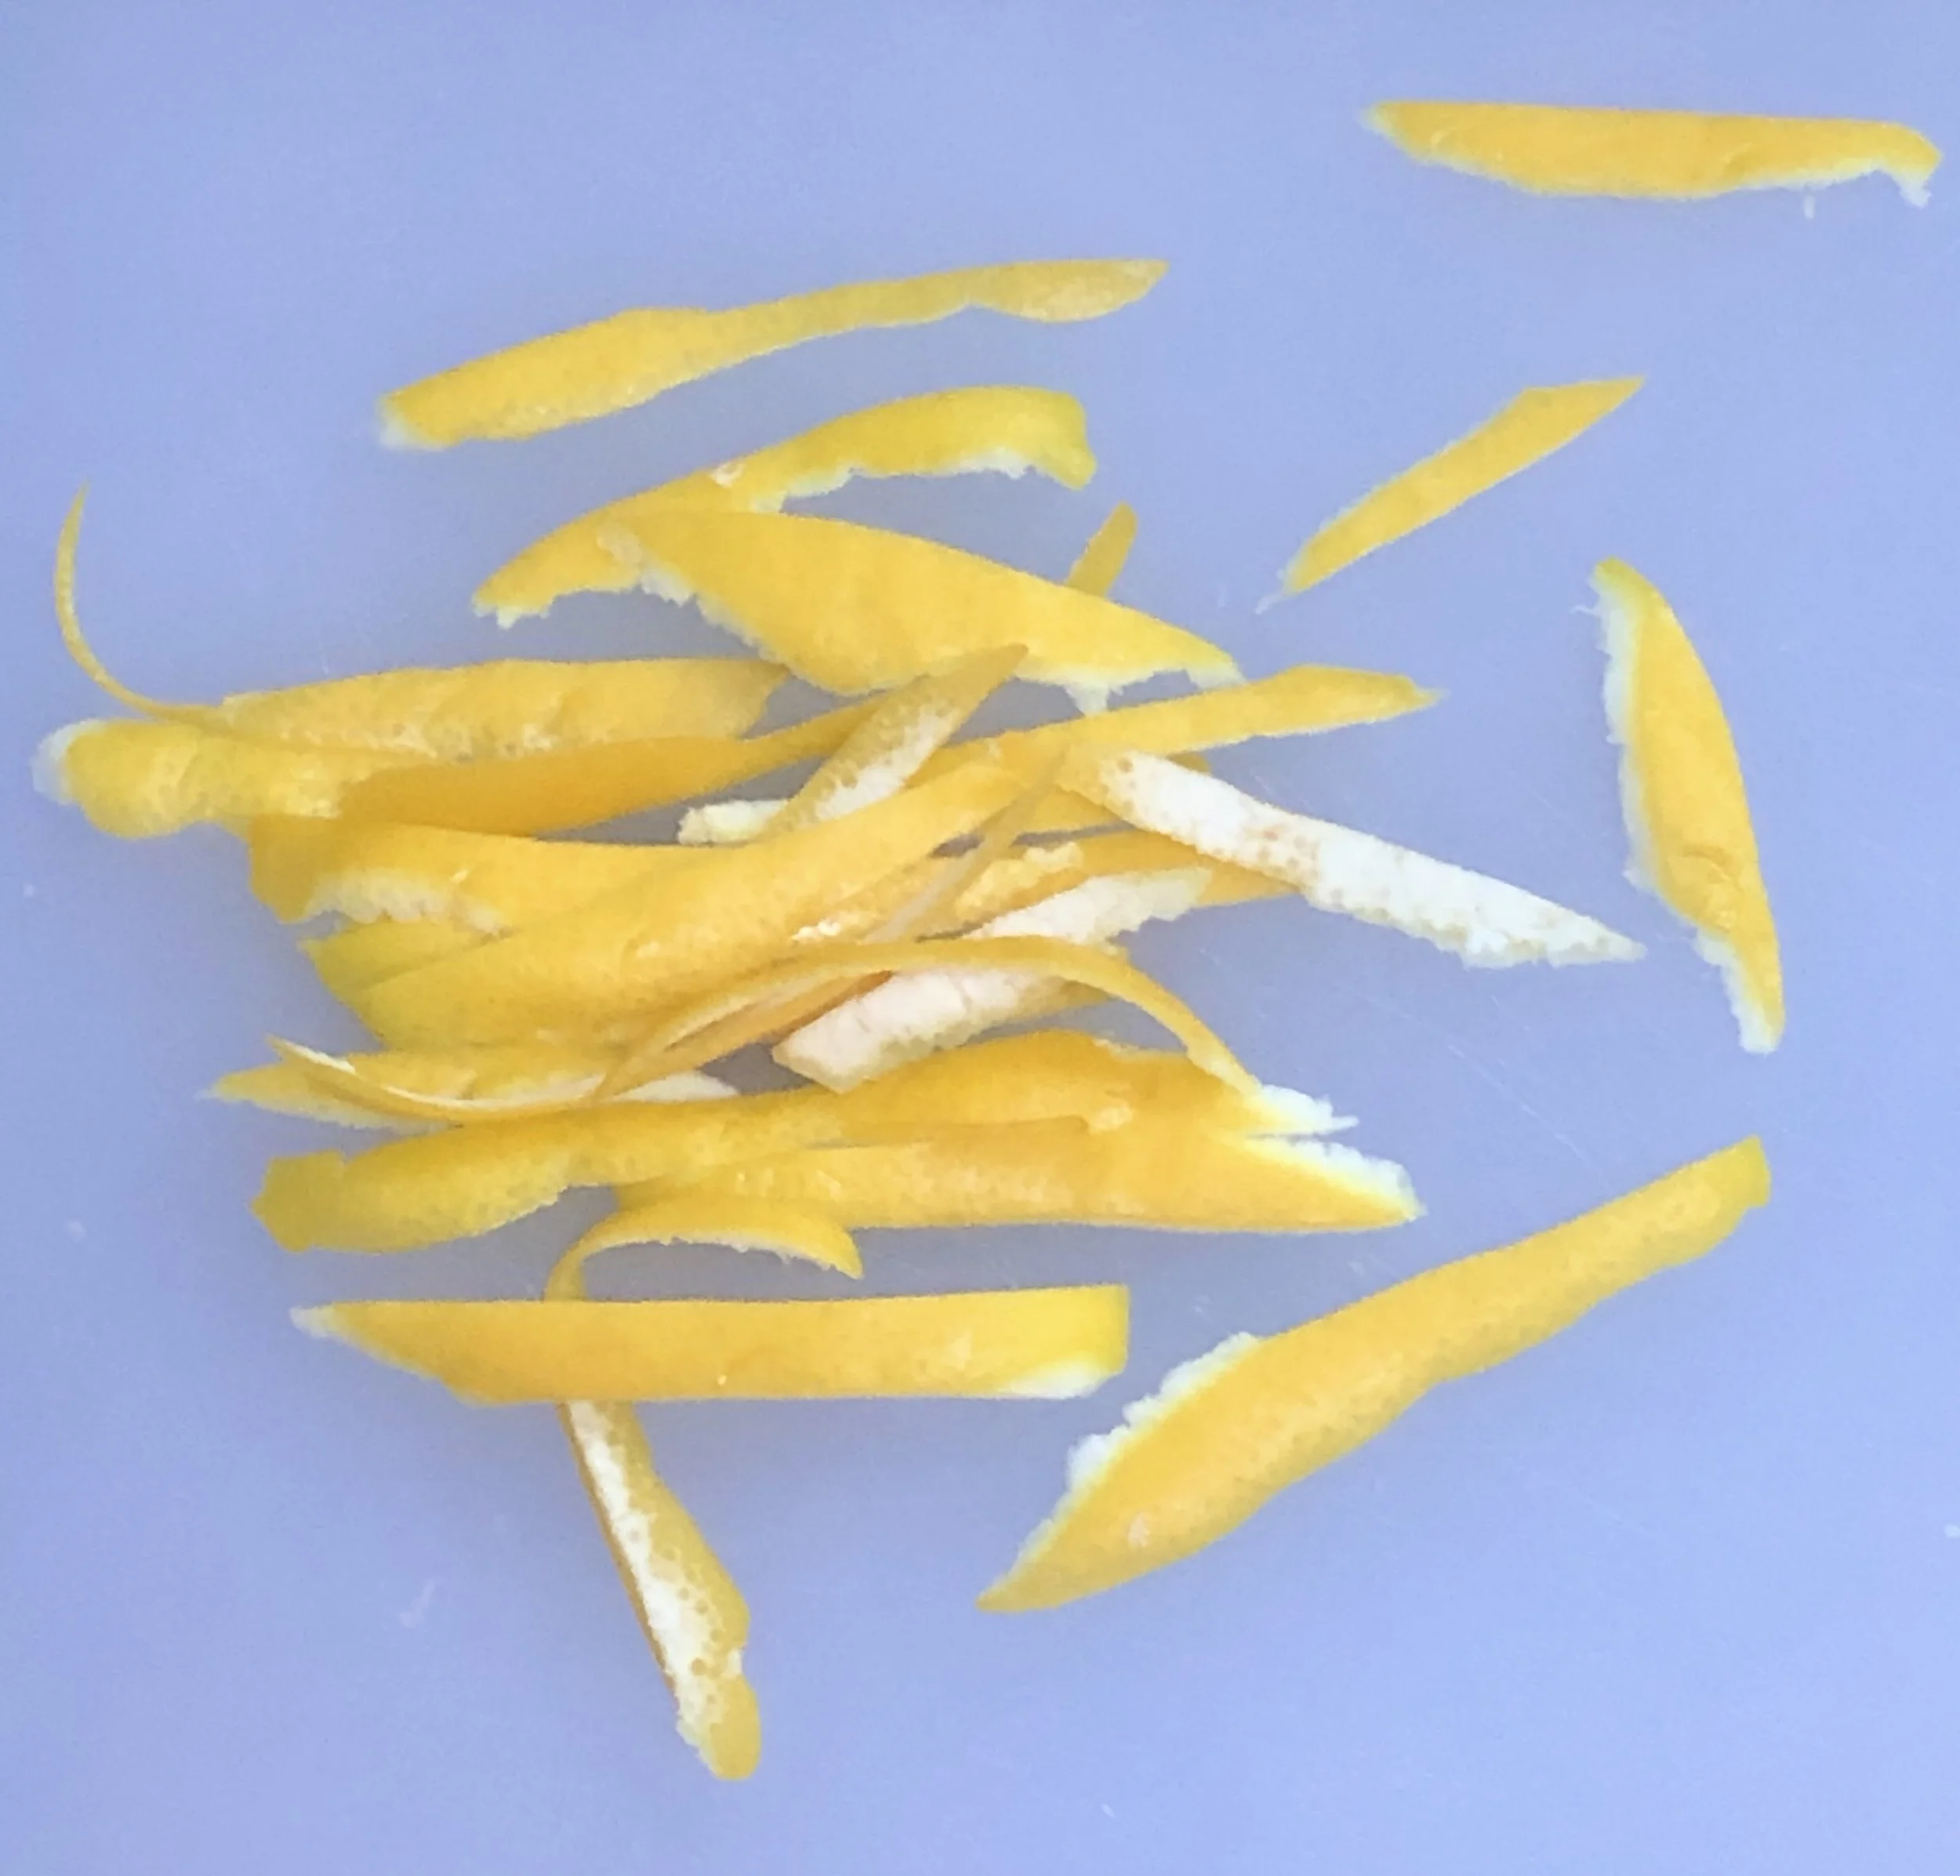
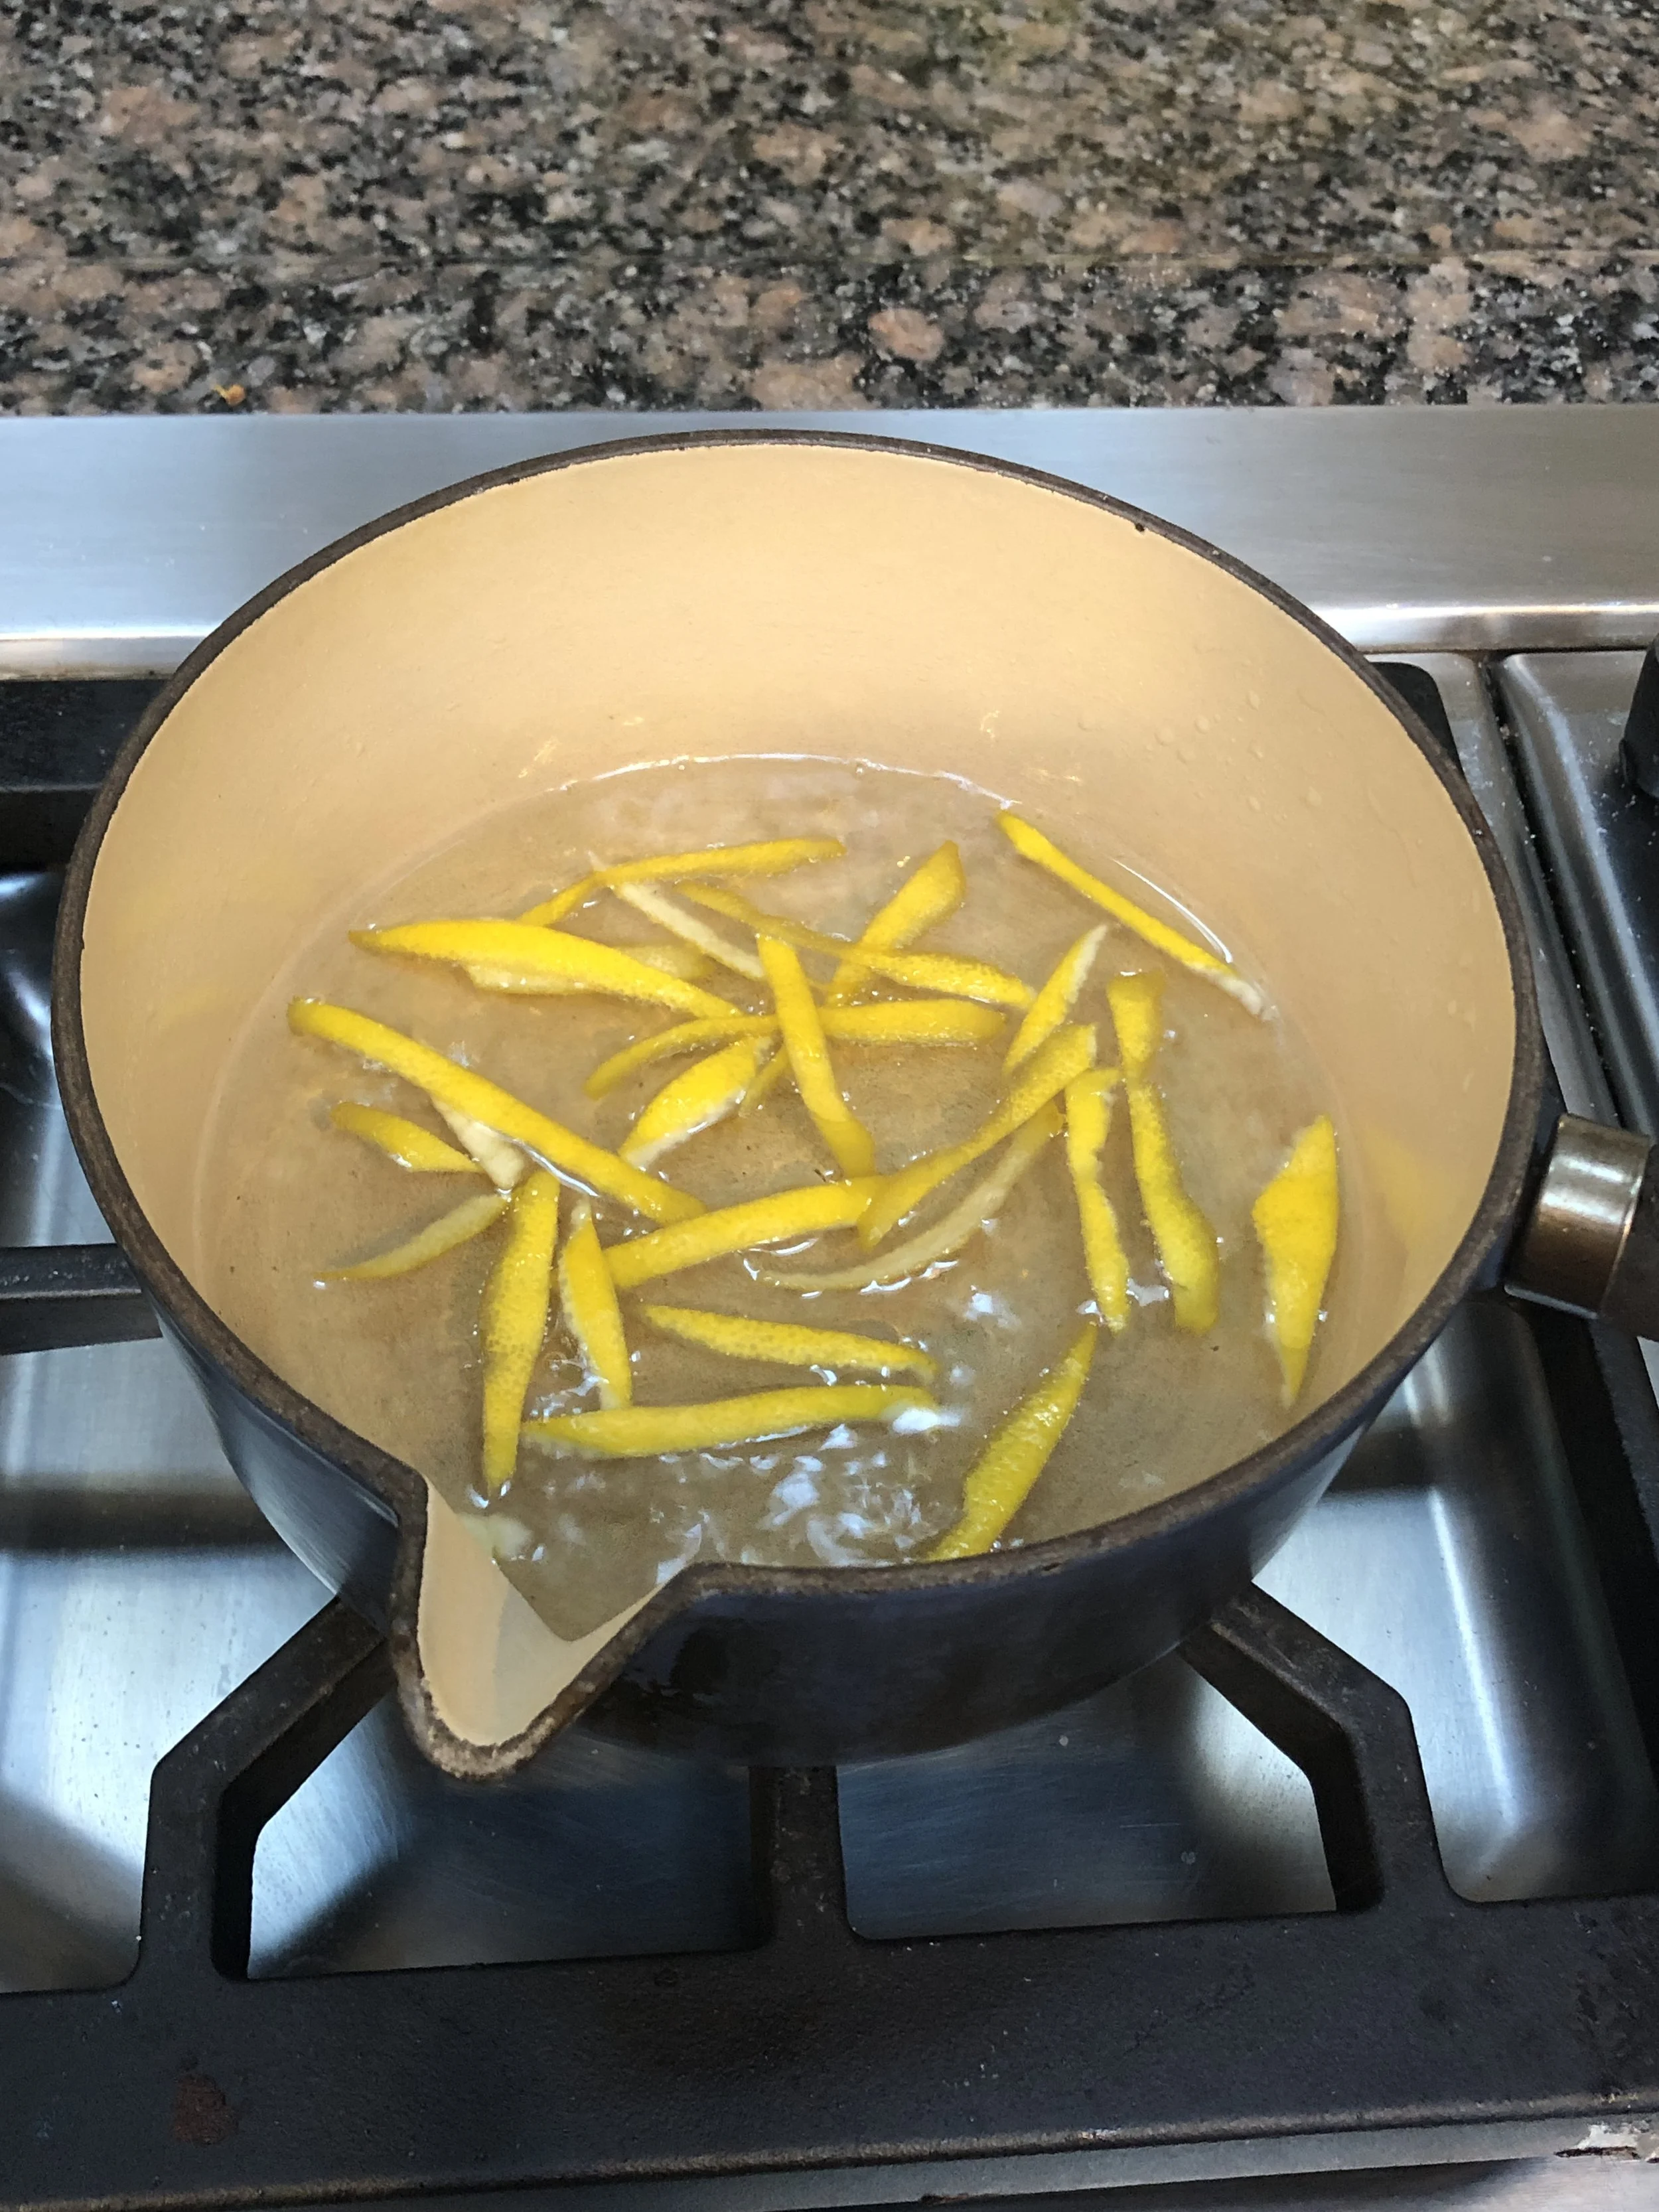
Peel the lemon into strips, being careful not to include any of the lemon flesh. Scrape the white part to remove any excess pith, but leave some pith (it adds good texture). Cut the strips into narrower strips. Place the strips in a bowl and cover with boiling water. Let stand for 3 minutes. Repeat this process one time. Drain the peels and set them aside. Place the cup of water and 2/3 cup sugar into a saucepan and bring to a boil, stirring until the sugar dissolves. Add the peels. Bring to a boil, then turn the heat to low and simmer for about 45 minutes or until the strips are soft and translucent. Drain the strips (save the liquid for use in other recipes, cocktails or other beverages) and place them on a dish. Sprinkle with the teaspoon of sugar and toss to coat them completely. Place the strips in a single layer on a cookie sheet or some parchment paper. Let cool. Makes 1-4 servings #lemon #lemonpeel #candiedlemonpeel #candiedpeel
Candied Lemon Peel

You know those two lemons that ripened on my house plant lemon tree? The ones I posted about a while back? I used the juice to make ice cream, which was incredibly delicious (more about that another time). I candied the peel. Some we ate plain. Some I dipped in chocolate and we ate those too! Oh my were these awesomely good! Really! I used @toriavey’s recipe because I hadn’t made these before and didn’t have a recipe of my own. Thanks Tori! #lemonpeel #candiedlemonpeel #wastenot #wastenotwantnot #homemadecandy

Here is the recipe: https://toriavey.com/how-to-make-candied-lemon-peels/

Btw these make a terrific gift — remember this recipe for Valentine’s Day or Purim!

Corn Syrup Free Butter Crunch

I once wrote that if doomsday was coming and there might not be a tomorrow, I would want some butter crunch before it all ended so I could at least die happy.

That's still my choice. I don't think there's a better candy, that gives that same salty-sweet combo better than butter crunch.

I love my original recipe, but recently someone asked me if I had a recipe that didn't include corn syrup. 

I didn't at the time, but do now.

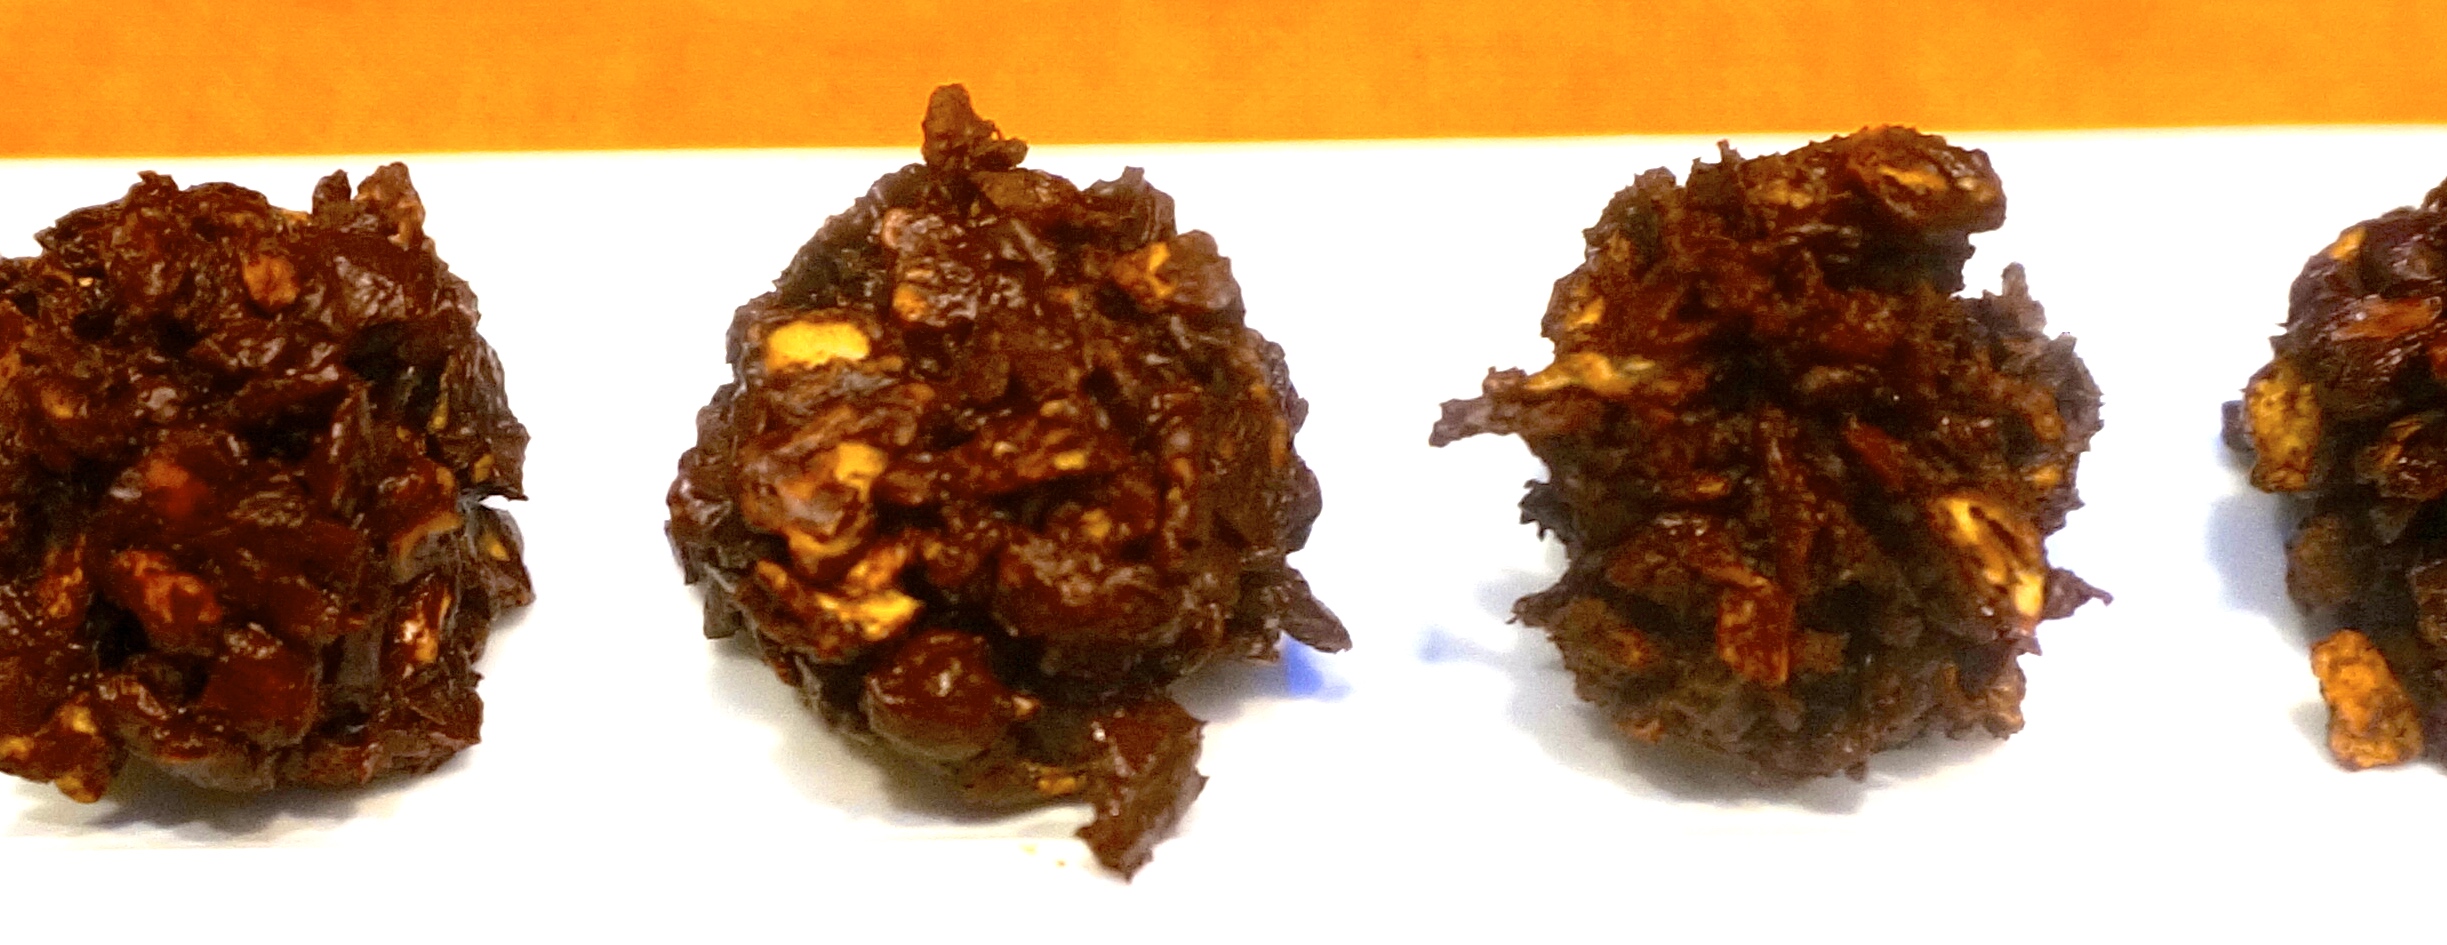
Here it is: crunchy, salty-sweet and tender chocolate on top.

Don't stint on the good stuff. This recipe is too good for cheap chocolate.

Valentine's Day, mishloach manot for Purim, doomsday, whatever. This is a good choice in (or for) any event.


Corn Syrup Free Butter Crunch

  • 1 cup unsalted butter
  • 3/4 cup sugar
  • 1/4 teaspoon salt
  • 1/4 teaspoon vanilla extract
  • 1 cup chopped toasted almonds
  • 1 cup semisweet chocolate, chopped

Lightly butter a small sheet cake pan (about 10”x7” or a portion of a larger pan). Place the butter, sugar and salt into a deep saucepan. Bring the mixture to a boil, then cook over medium heat, stirring constantly with a wooden spoon until the mixture starts to bubble. Continue to cook, stirring occasionally, until the mixture is golden brown (about 7-8 minutes) (or until a candy thermometer reads 280 degrees). Quickly stir in the vanilla and nuts. Pour the mixture into the prepared pan and spread it out evenly to make a layer about 1/8”-1/4” thick. Immediately sprinkle the chocolate on top. Let it melt briefly, then use a spatula or the back of a large spoon to spread the chocolate evenly over the candy. Keep spreading until the chocolate is completely melted and smooth. Sprinkle the nuts on top and press them in lightly. Let cool until the chocolate is firm and set, at least 3 hours. Break into pieces.

Makes about 1 pound, enough for one person, or two if you want to share


Rich Tangerine-Chili Chocolate Truffles

I love the tradition of mishloach manot -- giving away food to family, friends and even strangers during Purim. Besides the actual mitzvah of giving, it is an opportunity to do what I love: cook a lot and give the food away. It's like having the thrill of eating -- without the calories.

If you make edible gifts for Purim or as a host/hostess gift when you are invited to someone's house or for any other occasion, you might want to try truffles. They take some time but are actually quite easy to make and I guarantee they're rich and tasty and anyone would be thrilled to get them.

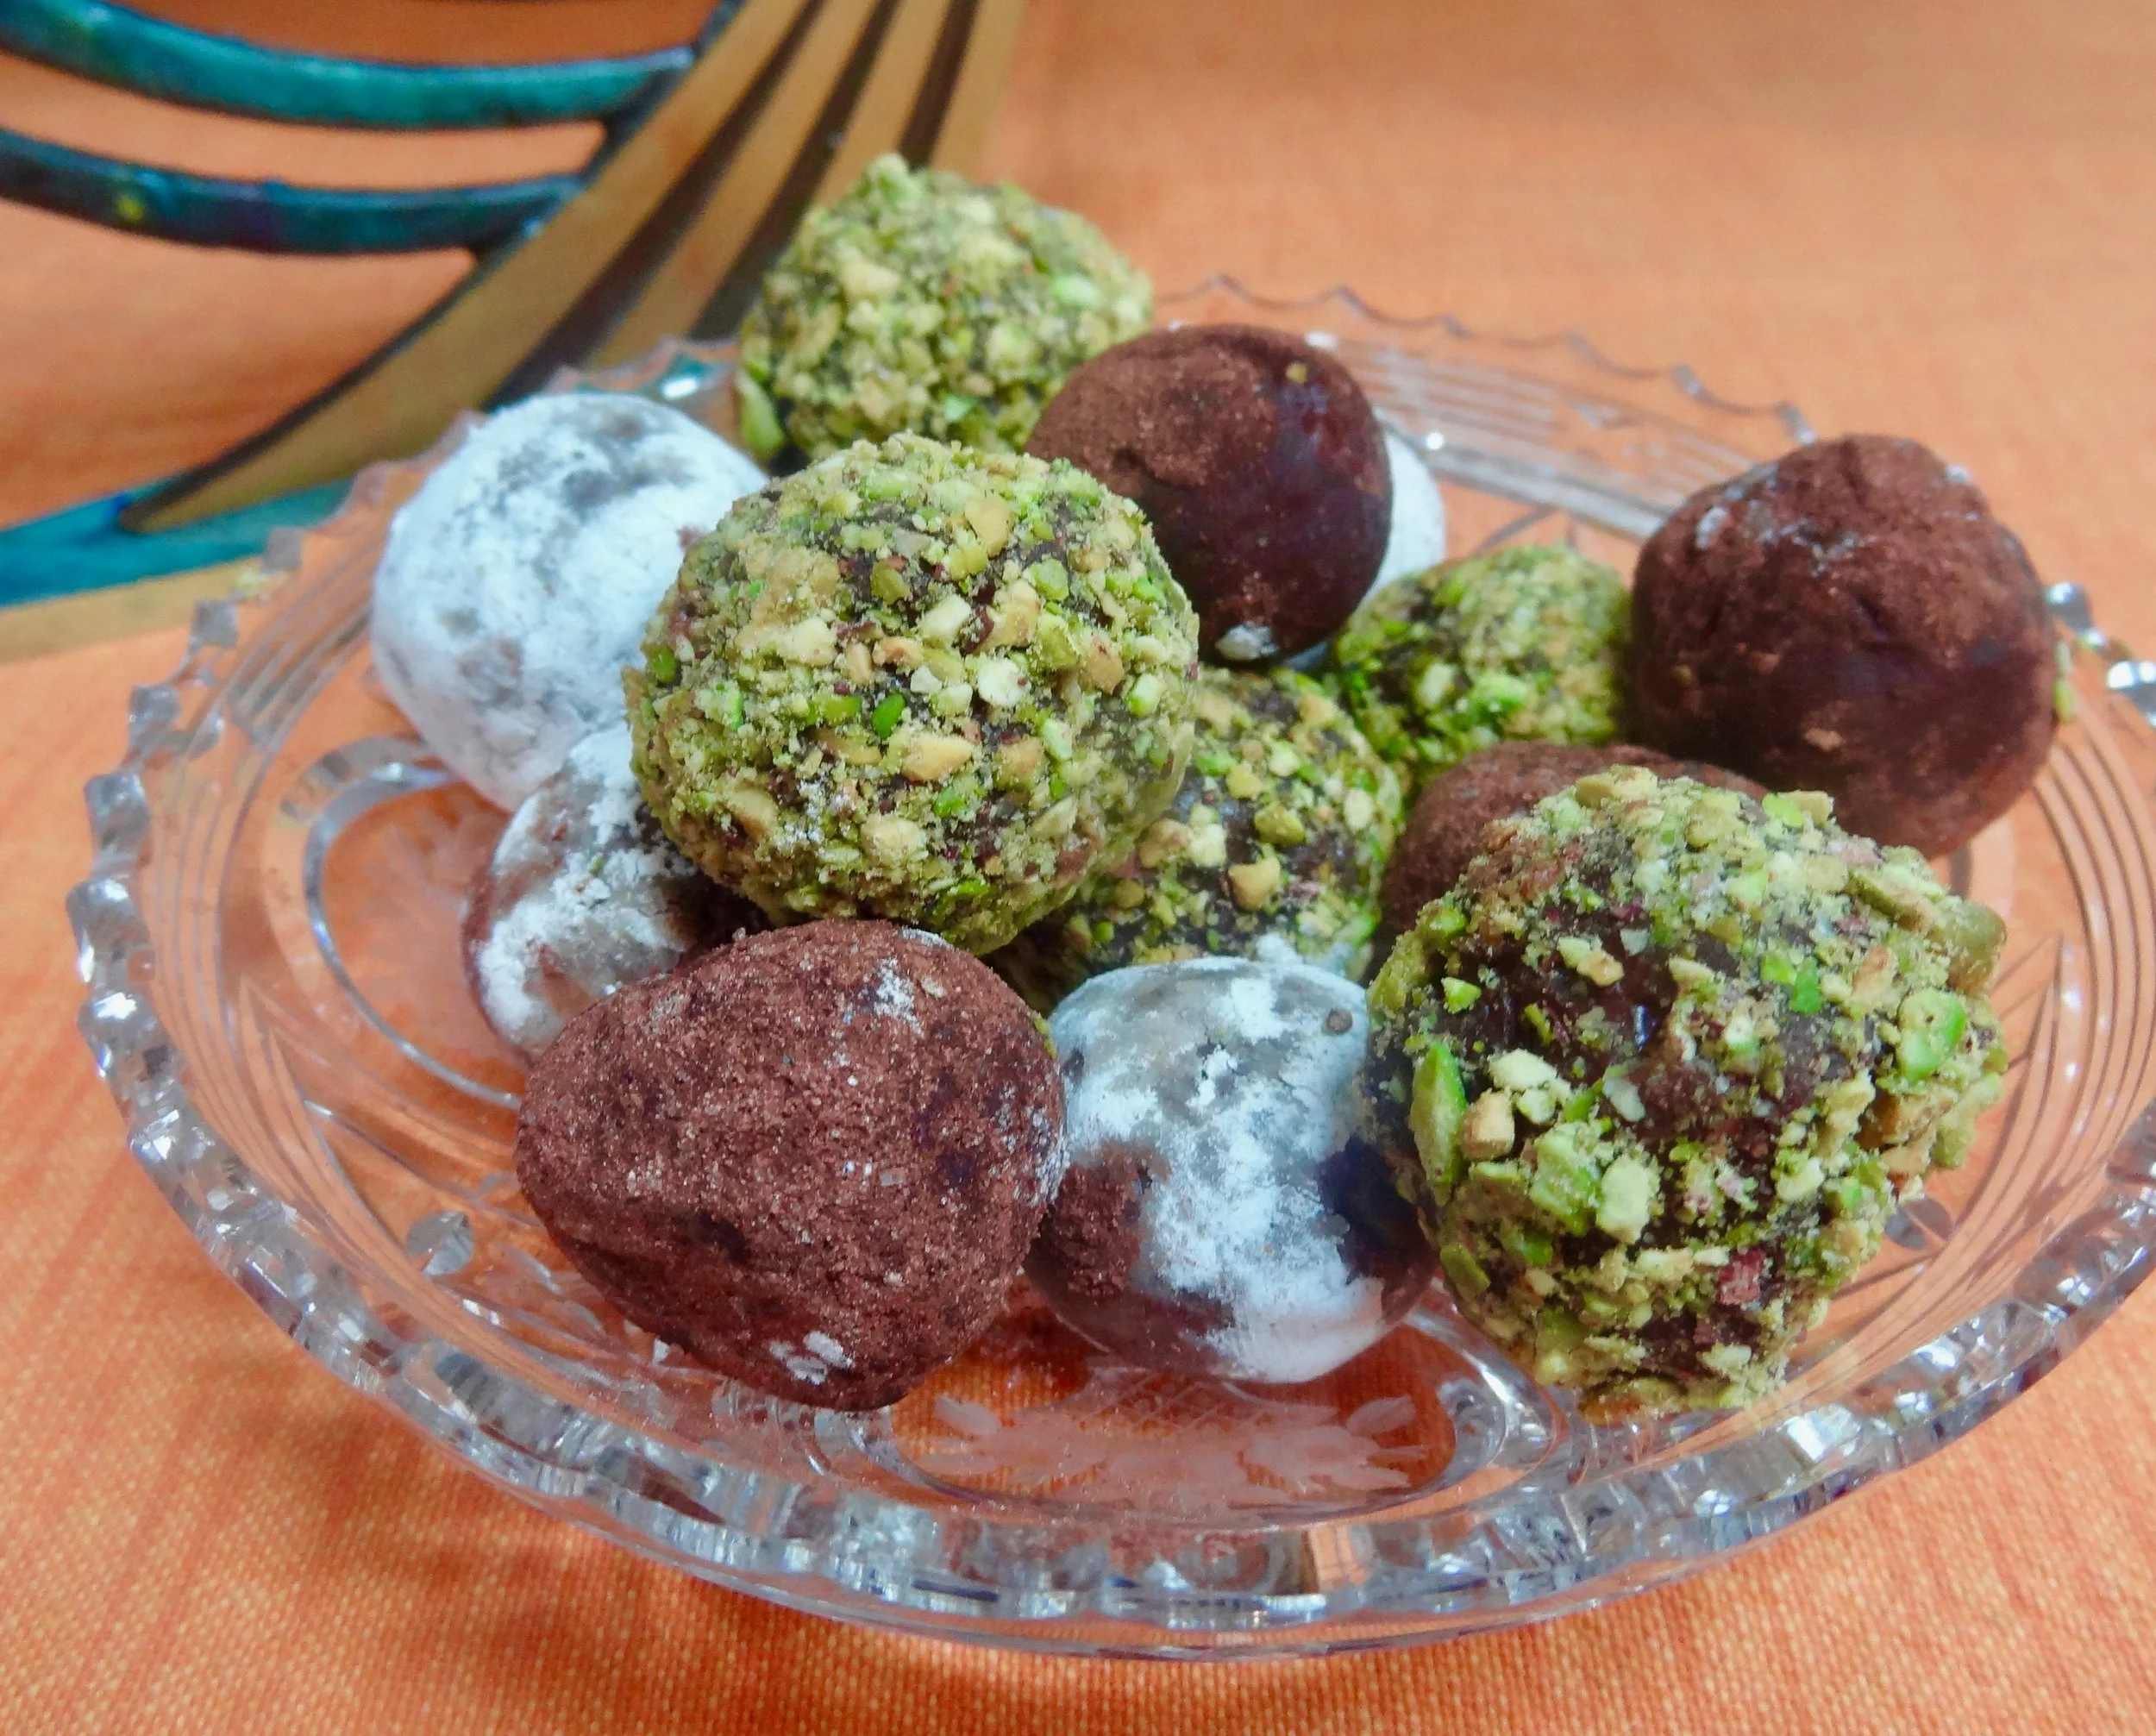
Check out the photo and you'll notice that I don't make my truffles perfectly rounded. Candy truffles get their name because they look like the the underground fungi, the ones that are highly fragrant and are dark, small and irregularly shaped. So the sloppy look is actually more authentic.

I made this recipe using tangerine juice and cayenne pepper. I had once tasted tangerine-chili chocolates and thought they were amazingly wonderful. The extra bit of heat pops the citrus and chocolate into one harmonious whole.

Yes, orange juice and peel are fine, though not as flavorful. And you can leave out the cayenne pepper, though I think the truffles are better with the heat.

Pack these in small cardboard or wooden boxes or small cellophane bags (you can get them at most craft stores) and you have a beautiful homemade gift for any occasion.

Or treat yourself and your family. They'll be happy.

Tangerine-Chili Chocolate Truffles

  • 12 ounces semisweet or bittersweet chocolate
  • 1 cup heavy cream
  • 2 tablespoons tangerine juice
  • 6 tablespoons butter at room temperature
  • 2 teaspoons finely grated fresh tangerine peel
  • 1/8 teaspoon cayenne pepper, approximately
  • 1/2 cup unsweetened cocoa powder, sprinkles, toasted coconut, ground nuts, etc. (approximately)

Chop the chocolate in a food processor. Heat the cream over medium heat until it is hot and bubbles form around the edges of the pan. With the processor on, pour in the cream through the feed tube and process until smooth and well blended with the chocolate (you may have to scrape the sides of the bowl once or twice). Refrigerate the mixture for 30 minutes (in the processor bowl). Add the juice, butter, tangerine peel and cayenne pepper and blend them in thoroughly. Spoon the mixture into a bowl and refrigerate for at least one hour or until the mixture has firmed enough to form a soft “dough.” Take small pieces of the dough and shape into small balls (they don’t have to be perfectly rounded) (I do this wearing disposable gloves). Place the balls on waxed paper or aluminum foil on cookie sheets. Refrigerate until firm, at least 30 minutes. Roll the balls in cocoa, sprinkles, etc.

 Makes about 3 dozen. 


Passover Chocolate Clusters

_DSC6704.JPG

Matzo Farfel Clusters

I have been experimenting with new recipes using matzo farfel. That's because I always buy too much of it and then it gets stale and I throw it out.

It can be difficult to find fresh matzo farfel in my neck of the woods (when it isn't Passover). But matzo farfel doesn't last, it gets stale quickly, so I have to use it up while it's fresh.

Here's a good way: candy!

Don't let the cayenne pepper put you off. That tiny bit of heat brings out the best in the chocolate.

Matzo Farfel Clusters

  • 2 cups matzo farfel
  • 12 ounces semisweet chocolate
  • 1/2 cup chopped toasted almonds
  • 1/2 cup dried cranberries
  • 1/3 cup shredded, sweetened coconut
  • 2 teaspoons grated fresh orange peel
  • pinch cayenne pepper

Preheat the oven to 350 degrees. Place the matzo farfel on a baking sheet and bake for 10 minutes, tossing the farfel around once. Remove the pan from the oven and let the farfel cool. Melt the chocolate. Add the farfel, almonds, cranberries, coconut, orange peel and cayenne pepper to the chocolate and mix to distribute the ingredients evenly. Spoon heaping tablespoons of the mixture into clusters on parchment paper or aluminum foil. Let set.


Makes about 3 dozen clusters


Chocolate Bark with Tangerine and Cayenne

I’m not a would-be confectioner and have absolutely no patience for tempering chocolate or simmering sugar syrup to the exact right temperature for it to become caramel. I did both of those things at least once and moved on to cooking stuff I&…

I’m not a would-be confectioner and have absolutely no patience for tempering chocolate or simmering sugar syrup to the exact right temperature for it to become caramel. I did both of those things at least once and moved on to cooking stuff I’m better at.

BUT

I tasted some chocolates filled with cayenne-infused tangerine syrup and loved them. The store I bought them in is too far from where I live. Besides, I prefer bark to syrupy-filled candies. So I decided to make my own homemade bark with tangerine-cayenne flavor. Plus chopped nuts.

I didn’t temper the chocolate so it doesn’t have the gloss of professionally created candies. And it took hours for the melted chocolate mixture to try.

On the other hand it was about four times cheaper than the store-bought candies (I used good quality chocolate too!). And this candy was so good that it disappeared in a flash. That tiny hint of chili pepper even appealed to my 12 year old grandson.

Chocolate Bark with Tangerine and Cayenne


1 pound dark chocolate

1 tablespoon melted butter or coconut oil

2 teaspoons grated fresh tangerine peel

1/8 teaspoon ground cinnamon or cardamom

2 pinches cayenne pepper

1 cup coarsely chopped roasted marcona almonds

sea salt


Line a baking sheet with parchment paper. Melt the chocolate and butter together in double boiler. Stir in the tangerine peel, cinnamon or cardamom and cayenne pepper. Add the almonds and stir. Spread the mixture over the parchment. Sprinkle lightly with sea salt. Let cool and set (this will take at least 5 hours). Break into pieces. Makes one pound +

Candied Kumquats

Do you think your dentist would like these sugar-crusted kumquat candies?Mine would be horrified.But if you like foods that have a distinctive contrast — like sweet and salty, sweet and sour, bitter-sweet and so on, you’ll love these too.Anyway, my …

Do you think your dentist would like these sugar-crusted kumquat candies?

Mine would be horrified.

But if you like foods that have a distinctive contrast — like sweet and salty, sweet and sour, bitter-sweet and so on, you’ll love these too.

Anyway, my neighbor did. He had a “significant” birthday recently. Ed and I were invited to a party at his house but his wife told me “no gifts.” So, no using my Lord & Taylor 20% discount coupon to get him a sweater he would probably return. No using my 20% Bed, Bath & Beyond coupon to get him a knife he might need for fileting his own fish. 

I couldn’t show up empty handed though. So I made some goodies, specifically candied kumquats, which are completely frivolous, certainly not as well-known (and probably not as well loved as, say, chocolate chip cookies) but absolutely spectacular to look at and to eat.

If you’ve never tasted candied kumquats, you’ve missed something special. The fruit is tender and vaguely resilient, the crust crunchy; the flavor is bitter and sweet all at once. Perfect harmony on your tongue.

I thought this made a very interesting birthday gift. But now that it’s Purim, the time to give mishloach manot, little gifts of food to family and friends to celebrate the holiday, I’m thinking Candied Kumquats.


Candied Kumquats


12-16 ounces kumquats (one carton)

2 cups sugar

1 cup water

sugar for coating


Rinse the kumquats and remove any stems. Slice the kumquats in half lengthwise and remove any seeds. Combine the 2 cups sugar and the water in a large saucepan and bring to a boil over high heat. Stir to dissolve the sugar. Add the kumquats, reduce the heat and cook the kumquats at a bare simmer for 10 minutes. Remove the pan from the heat, cover the pan and let stand for at least one hour. Remove the cover, bring the liquid to a boil again over high heat. Reduce the heat and simmer the kumquats for 20 minutes. Remove the kumquats with a slotted spoon to sheets of parchment paper (or aluminum foil) to cool. Roll the kumquats in sugar to coat them completely. Store in an airtight container. Makes one pound


Cashew Sesame Seed Candy Bars

Candy for Chinese New Year?

When I think about Chinese food it’s usually Egg Rolls or Sichuan Beef with Orange Flavor or Kung Pao Gai Ding.

Not candy.

In fact, I don’t associate Chinese cuisine with anything sweet or dessert-like. Years ago I took Chinese cooking lessons at the China Institute and my teacher, the great Florence Lin, said that Chinese recipes often have a little sugar in them and so, one’s “sweet tooth” is satisfied by the end of a meal, with no need for any special dessert.

And yet — one of the recipes I learned was one for the kind of Sesame Seed-Nut Brittle I remember my parents buying whenever we visited New York’s Chinatown. It is sweet! And salty too, a nice balance. It’s also crunchy and gets into every tooth. 

It’s also easy to make and lasts a while. 

Happy New Year of the Snake.

Celebrate with candy.

Cashew Sesame Seed Candy Bars

  • 1/2 cup sesame seeds

  • 1-1/2 cups cashews, broken up

  • 2 cups sugar

  • 5 tablespoons white vinegar

  • 1-1/2 tablespoons water

Preheat the oven to 350 degrees. Bake the sesame seeds in a single layer in a jelly roll pan for about 10 minutes or until lightly toasted (shake the pan once or twice during the baking time). Lightly oil an 8-inch or 9-inch square cake pan. Place half the sesame seeds and all of the cashews in the prepared pan and set aside. Place the sugar, vinegar and water in a saucepan and bring to a boil over medium-high heat. Stir only until the ingredients are well mixed. Continue to cook until the mixture is turning golden and reaches the “hard crack” stage (a drop of the mixture in cold water will be hard and brittle), about 295 degrees on a candy thermometer. Pour the hot syrup over the seeds and nuts. Sprinkle with the remaining sesame seeds. Let cool for a few minutes, until the ingredients are “set.” Cut into bars with a knife. Let cool and harden completely. Recut where the initial cuts have been placed.

Makes 16 pieces

Butter Crunch

If the world is going to end tomorrow, I want Buttercrunch.
Whoever invented it knew all about combining sweet and salty together in a candy long before the modern love for caramels with sea salt.
We didn’t talk about the sweet and salt back i…

If the world is going to end tomorrow, I want Buttercrunch.

Whoever invented it knew all about combining sweet and salty together in a candy long before the modern love for caramels with sea salt.

We didn’t talk about the sweet and salt back in the Buttercrunch day. We just ate it like there was no tomorrow.

So again, if there isn’t going to be one (a tomorrow I mean), I want to bite into a piece or eight of this; every bite with a brittle, salty crunch and creamy, soft, sweet chocolate melting around it and that final flourish of tender, toasty almonds.

Butter Crunch

1 cup butter

3/4 cup sugar

1/4 teaspoon salt

2 tablespoons light corn syrup

2 tablespoons water

9 ounces semisweet chocolate, chopped (1-1/2 cups chocolate chips)

3/4 cup chopped lightly toasted almonds

Lightly butter a 9”x13” sheet cake pan. Place the butter, sugar, salt, corn syrup and water into a deep saucepan. Cook over medium heat, stirring constantly with a wooden spoon until the mixture starts to bubble. Continue to cook, stirring occasionally, until the mixture is golden brown (about 7-8 minutes) or until a candy thermometer reads 280 degrees. Pour the mixture into the prepared pan and spread it out evenly. Immediately sprinkle the chocolate on top. Let it melt briefly, then use a spatula or the back of a large spoon to spread the chocolate evenly over the candy. Keep spreading until the chocolate is completely melted and smooth. Sprinkle the nuts on top and press them in lightly. Let cool until the chocolate is firm and set, about 2 hours. Break into pieces. Makes about 1-1/4 pounds, enough for one person, or two if you want to share

:)

Chocolate Truffles

DSC09699.jpg

Chocolate instead of broccoli to stay healthy?

No, not really. But in a recent study the results indicated that eating chocolate might cut a woman’s risk for stroke. Read about it here.

This is not the first time I’ve heard that chocolate is healthy (it has flavanoids, which have anti-oxidant properties, which in turn help lower LDL (bad) cholesterol).

But this is the one of the only times I’ve heard someone caution women not to over-interpret the results. Like, do not substitute chocolate for broccoli. And a cardiologist who was interviewed said that although chocolate may be good for you, maybe the study results would have been similar if they used apple skins or grapes.

I’ve always wondered about some of these studies. I wonder whether you can prove whatever you want depending on how you go about the study.

Well, I am no scientist, so I don’t know.

But I do remember, many years ago, when the information regarding dietary fat was still in its infancy and Nabisco came out with SnackWells, the so-called “healthy” cookies because they were lower fat. And people started eating SnackWells because they thought it was okay. And judging from the number of people I met (and watched at the supermarket) who ate boxes and boxes of those cookies, most didn’t seem to realize that it’s way too many calories and that it might be more harmful than if you ate a butter cookie or two.

So the broccoli warning makes sense.

But if you want to eat something delicious and chocolate-y — for your health — try these truffles. They are amazingly easy to make and you can give them away as gifts so they’re good for the upcoming holiday season.

But don’t eat the whole batch at once.

Chocolate Truffles

  • 1/2 pound semisweet or bittersweet chocolate
  • 3/4 cup heavy cream
  • 4 teaspoons brandy or rum or 1 teaspoon vanilla extract
  • 5 tablespoons butter at room temperature
  • 1/2 cup unsweetened cocoa powder, sprinkles, toasted coconut, ground nuts, etc. (approximately)

Chop the chocolate in a food processor into small bits. Heat the cream over medium heat until it is hot and bubbles form around the edges of the pan. With the processor on, pour in the cream through the feed tube and process  until well blended (you may have to scrape the sides of the bowl once or twice). Refrigerate the mixture for 30 minutes. Add the brandy or rum and the softened butter and blend them in thoroughly. Spoon the mixture into a bowl and refrigerate for at least one hour or until the mixture has firmed enough to form a soft “dough.” Take small pieces of the dough and shape into small balls. Place the balls on waxed paper or aluminum foil on cookie sheets. Refrigerate until firm, at least 30 minutes. Roll the balls in cocoa, sprinkles, etc.

Makes about 3 dozen.